Porcelain is additionally a good choice for the bathroom flooring of yours as it is considered impervious to moisture content. These days, you will find a number of kinds of bath room floor vinyl tiles out there. And anything you do to change the layout and design of a bathroom will significantly turn a space of that size. Gone are the period when bathroom floor vinyl suggested boring patterns as well as no style.
Here are Images about Lino Bathroom Floor Tiles
Lino Bathroom Floor Tiles
/bathroom-ceramic-tile-vs-vinyl-plank-1822815_hero_0494-f226f2c0d91f42c4b359ac587c0ce9f9-5356cb6e8e2e483da7d99bfd9a491938.jpg)
Ceramic bathroom floors tile is always used due to its resilience, resistance to dampness, the safety of its to move on when wet and the ease of its of cleaning. A lot of people make use of linoleum. If you would like to squeeze in a dash of color to your bathroom, pick glass or ceramic mosaic bath room floor flooring.
Considerations for Linoleum Flooring in Bathrooms
/linoleum-bathroom-flooring-considerations-1314760_0575-da4de3af6cec4c0b8f5e047c886e2b4c.jpg)
Bathroom flooring, more than anything different, could have a stunning effect on the actual appearance of a bathroom; choose bathroom flooring smartly and you are going to achieve the bathroom of the dreams of yours – or maybe a bathroom that should fulfill your temporary needs. The vast majority of floors demand specific cuts to fit correctly.
Images Related to Lino Bathroom Floor Tiles
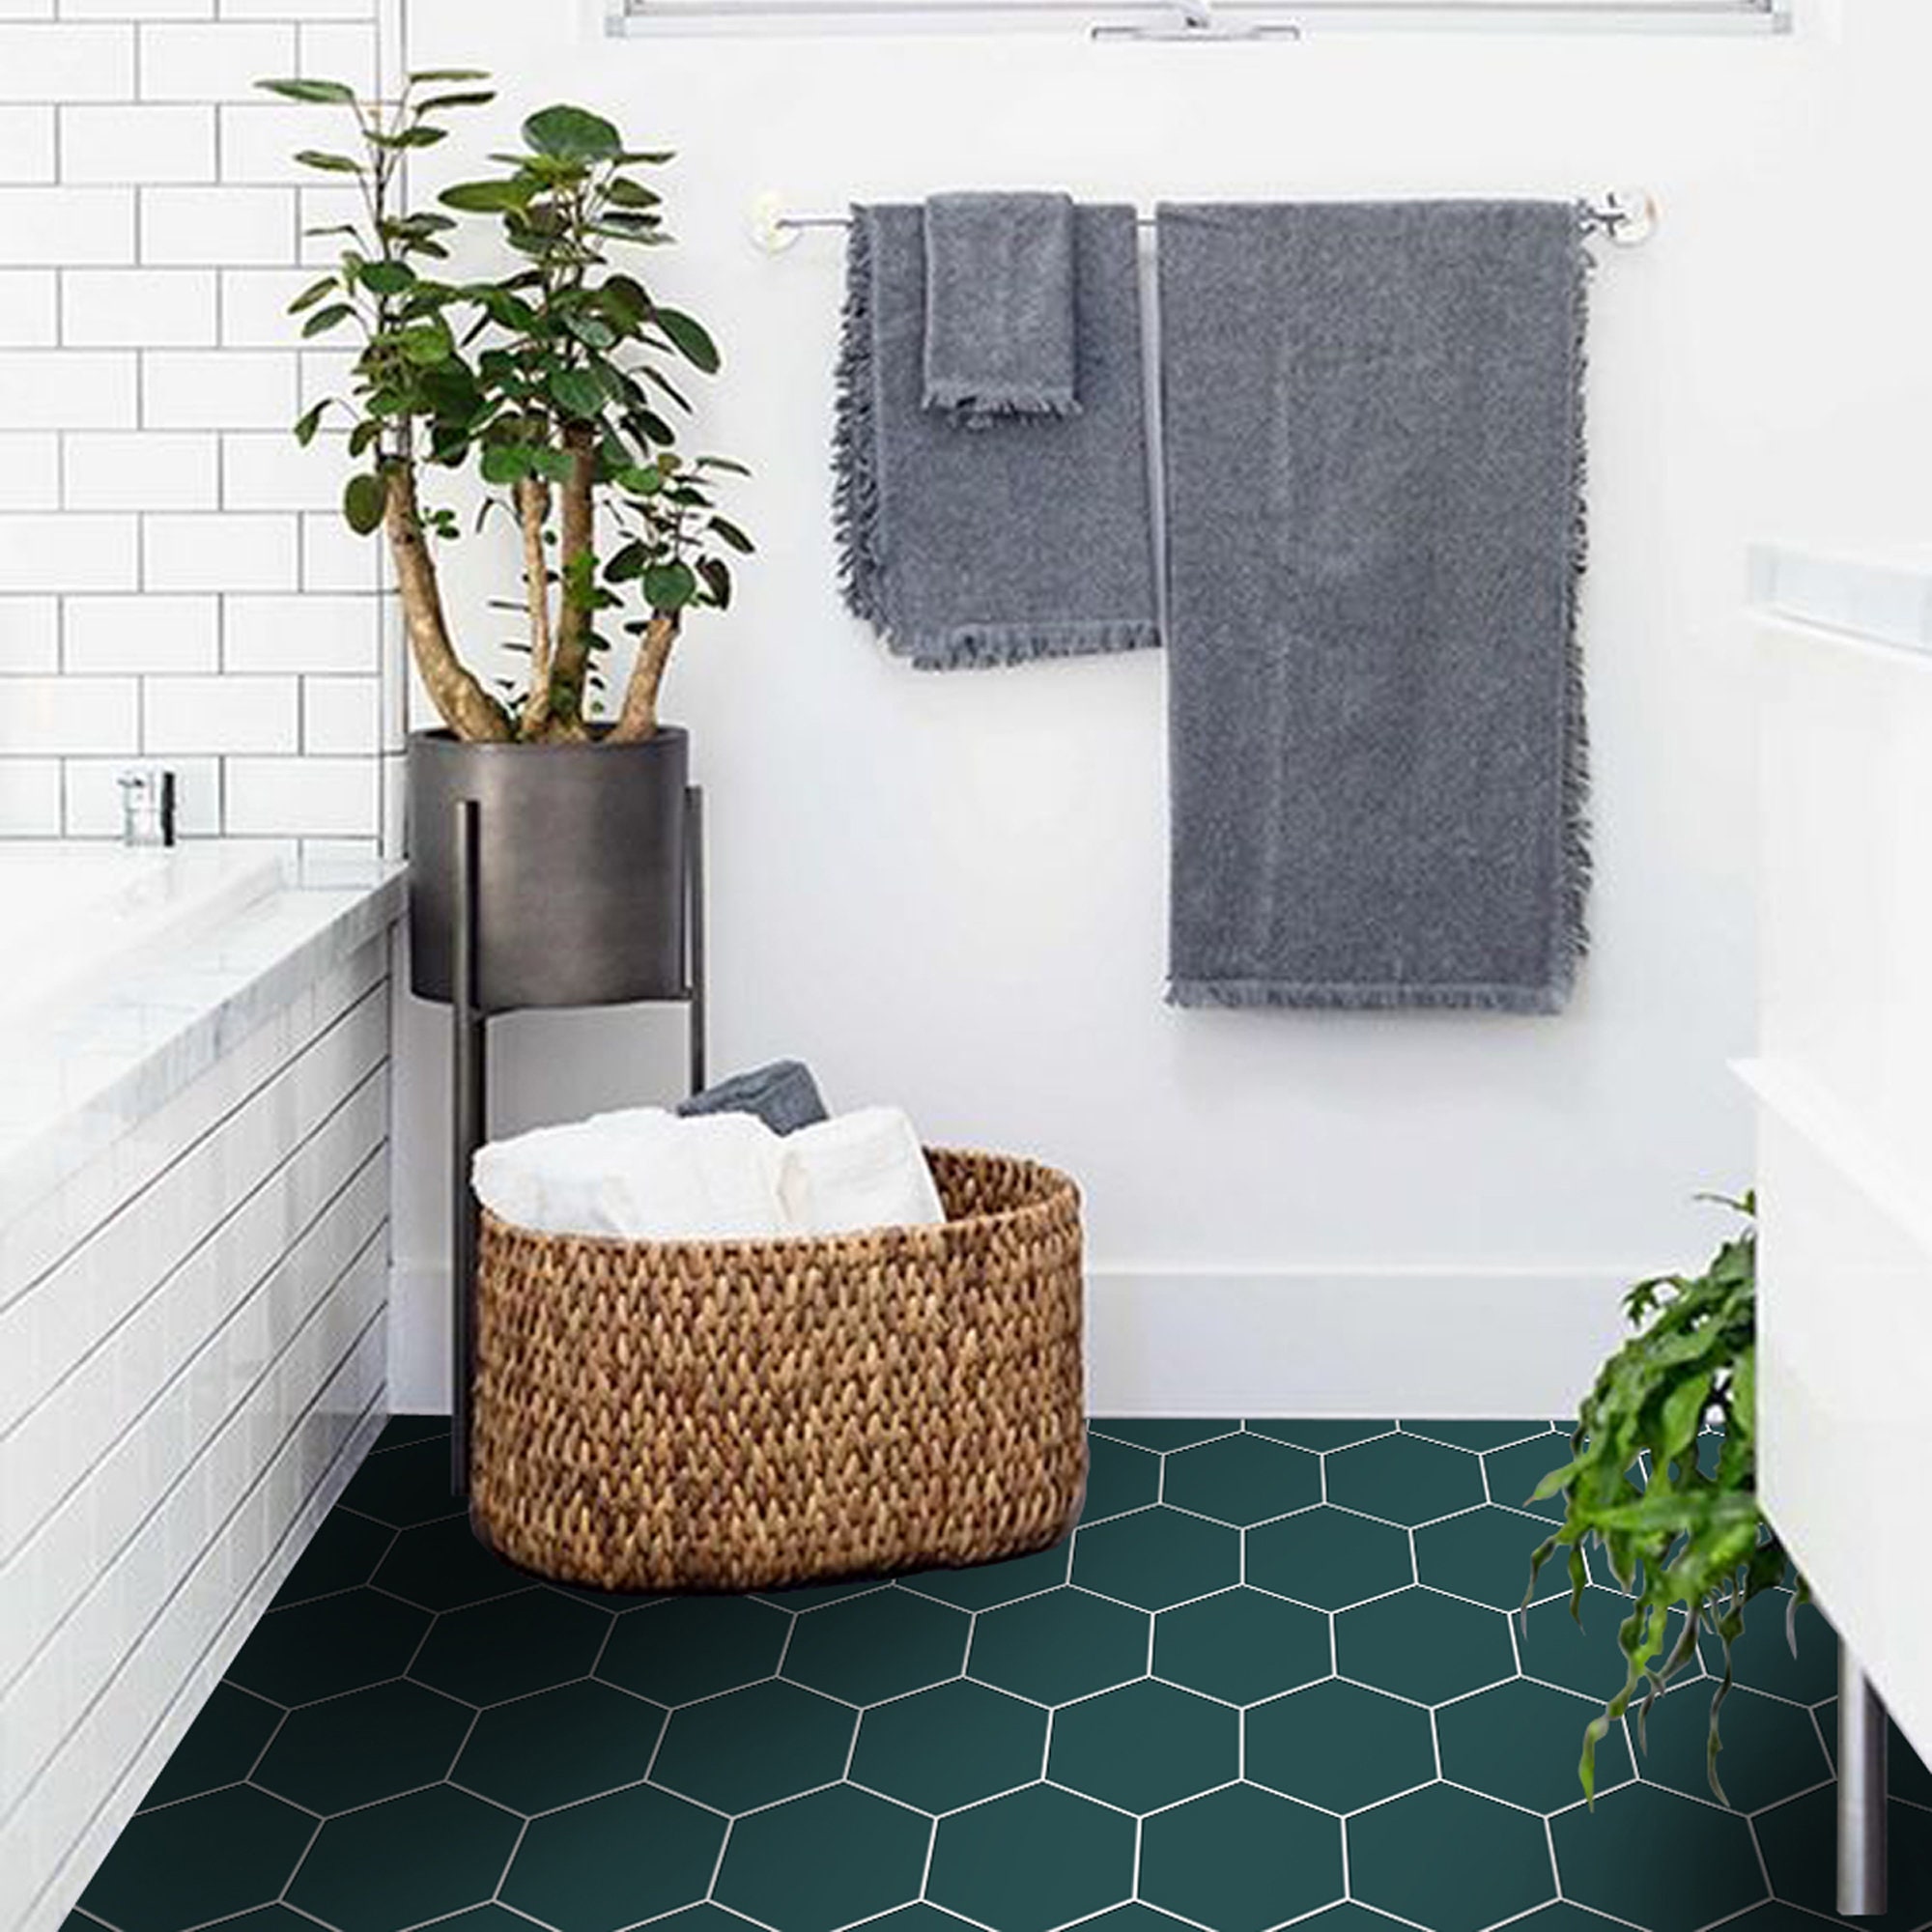
Vinyl Floor Tile Sticker Panel, Peel and Stick Decal – Hexa Peacock Green
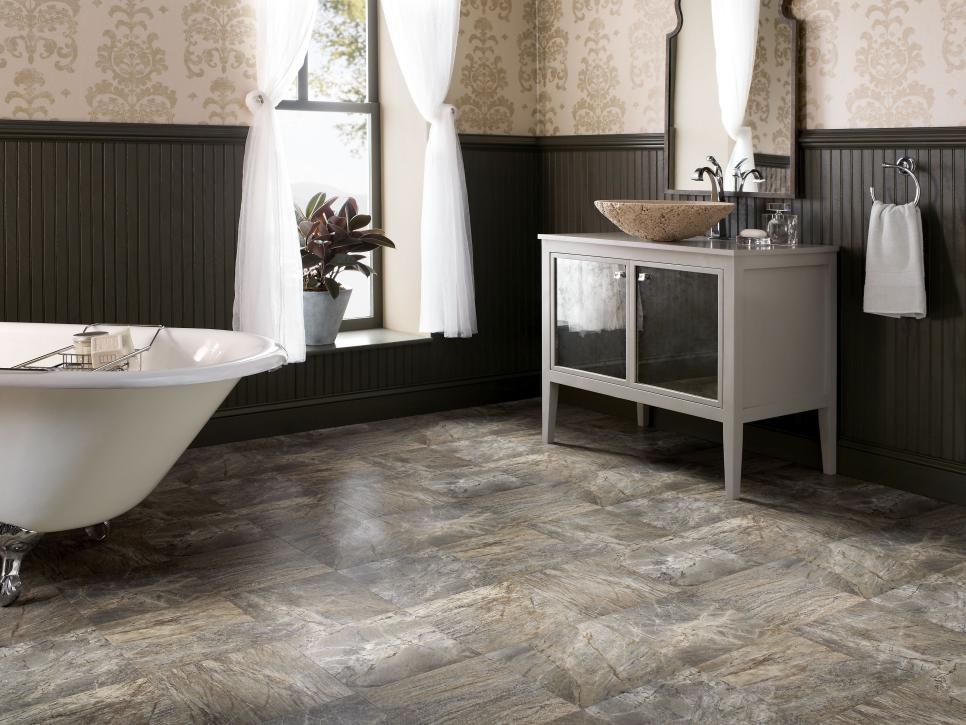
Vinyl Bathroom Floors HGTV
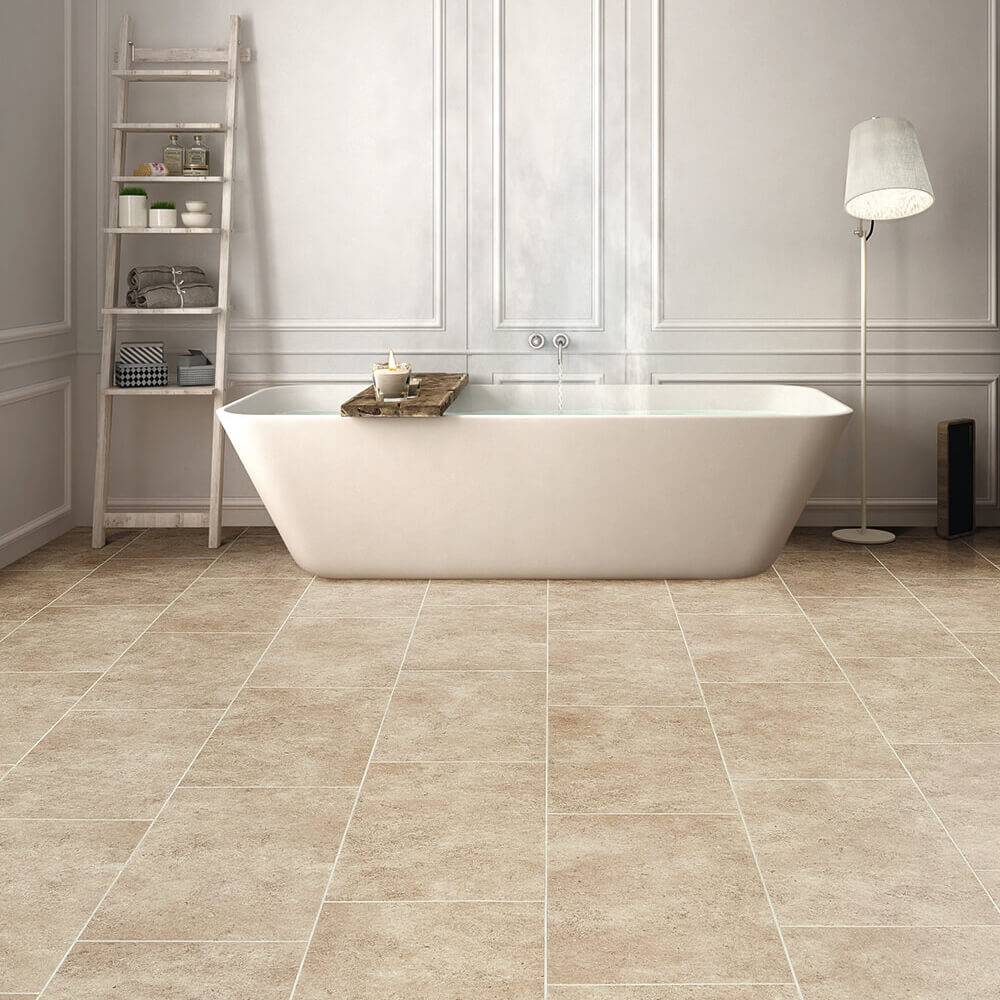
Luxury vinyl bathroom flooring Moduleo
Livelynine Peel and Stick Floor Tile Stickers Waterproof Vinyl Flooring White Marble Vinyl Tiles for Kitchen Bedroom White Laminate Flooring Bathroom

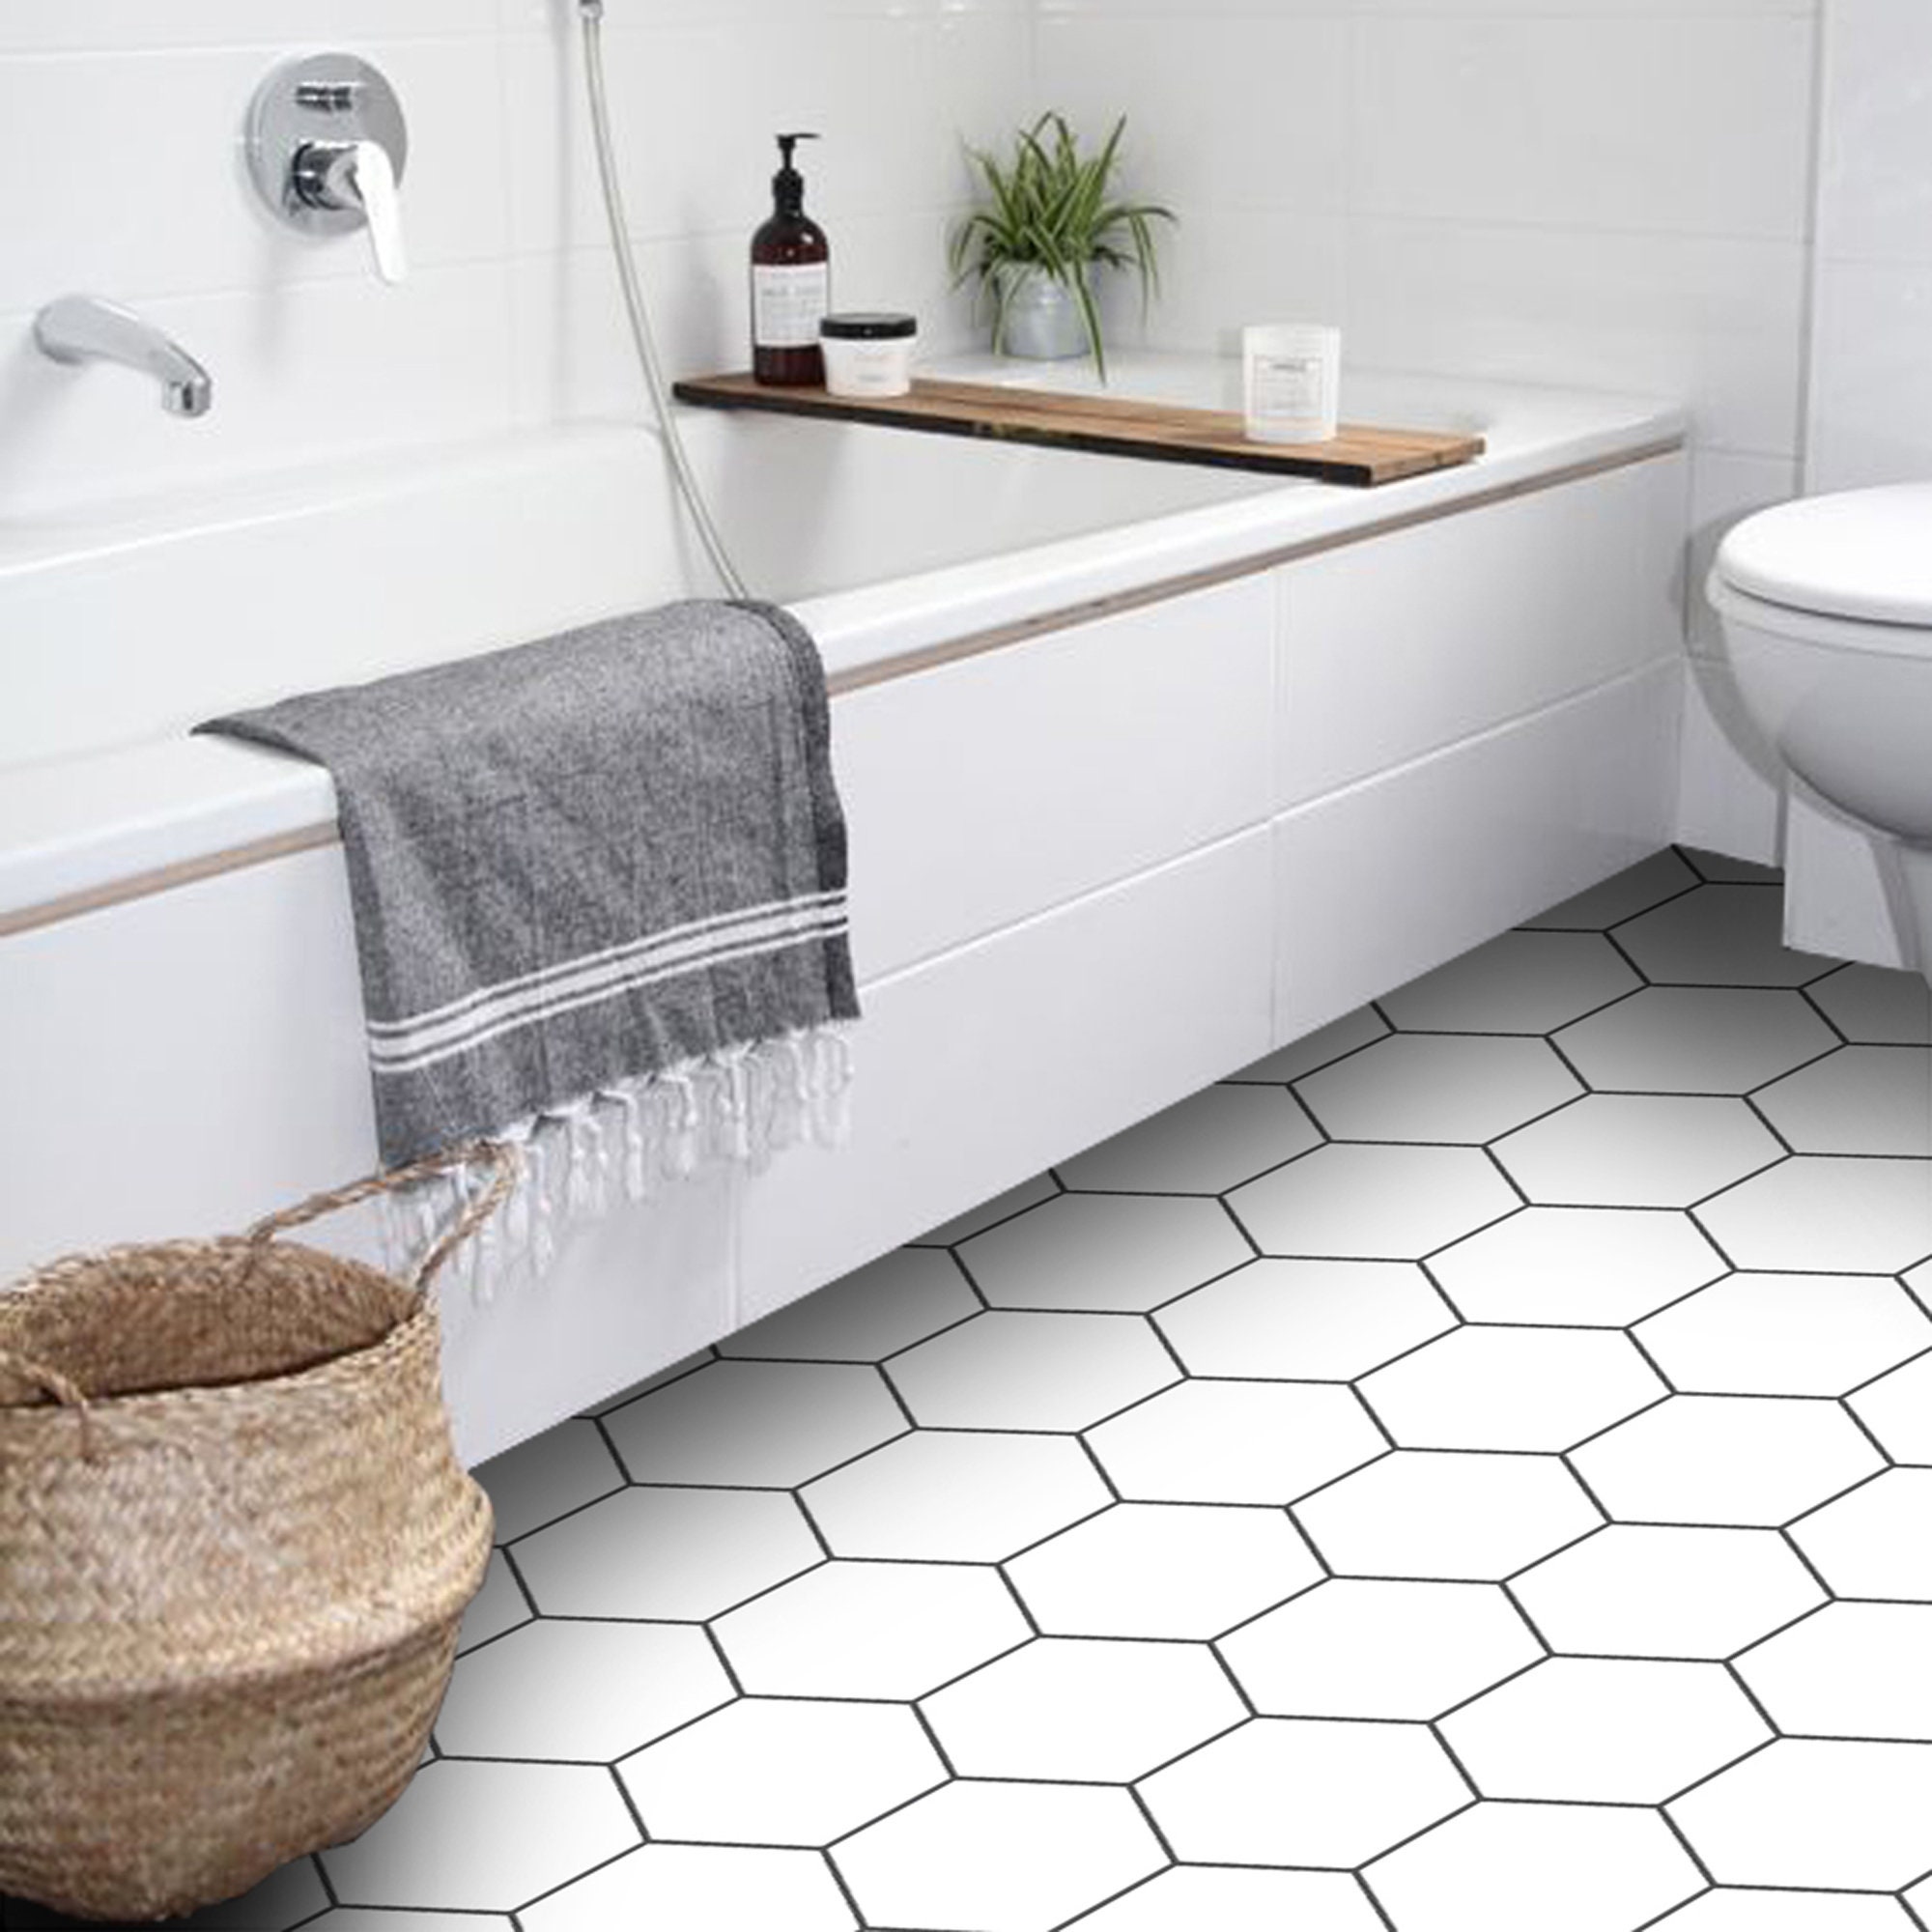
Vinyl Floor Tile Sticker Panel, Peel and Stick Decal – Hexa Pure White
Vinyl vs. Ceramic Tile: Whatu0027s the Difference?
:max_bytes(150000):strip_icc()/bathroom-ceramic-tile-vs-vinyl-plank-1822815_clean_vinyl-867d808236224fd7902c4a333ff14ef9.jpg)
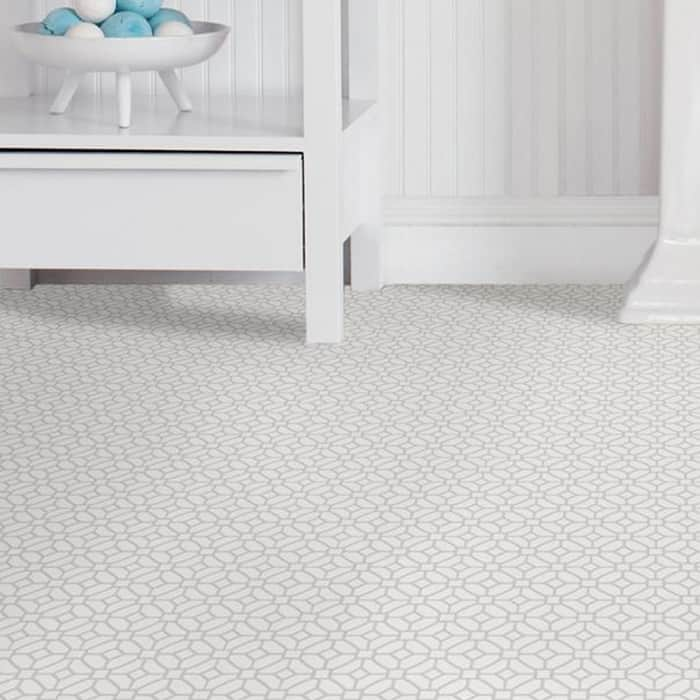
Dear Designer – Dear Designer Bathroom vinyl, Vinyl flooring

All About Vinyl Flooring – This Old House
/cdn.vox-cdn.com/uploads/chorus_image/image/65894768/14143_beton_room.0.jpg)
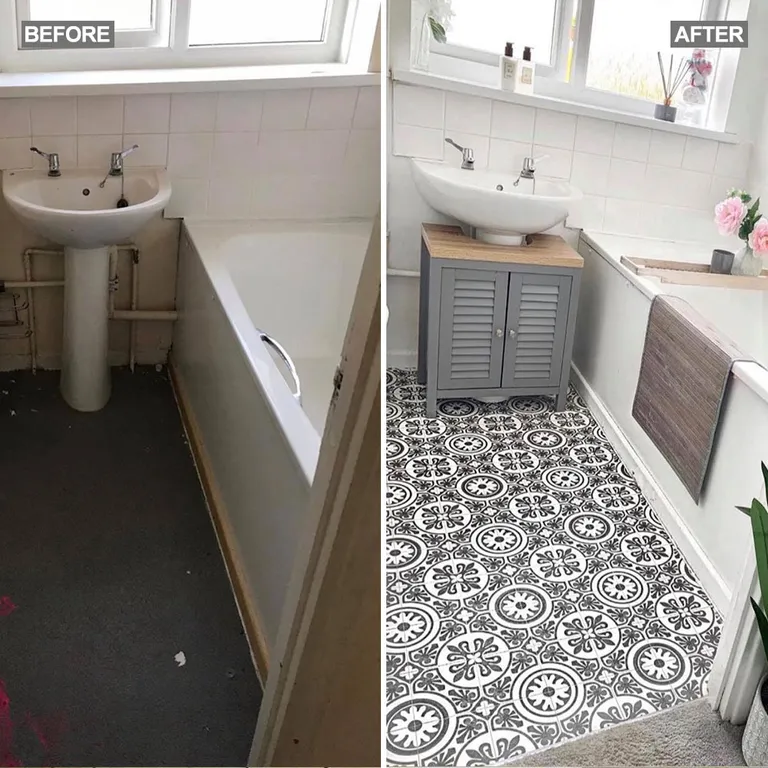
Mumu0027s DIY vinyl bathroom flooring transforms this lacklustre bathroom
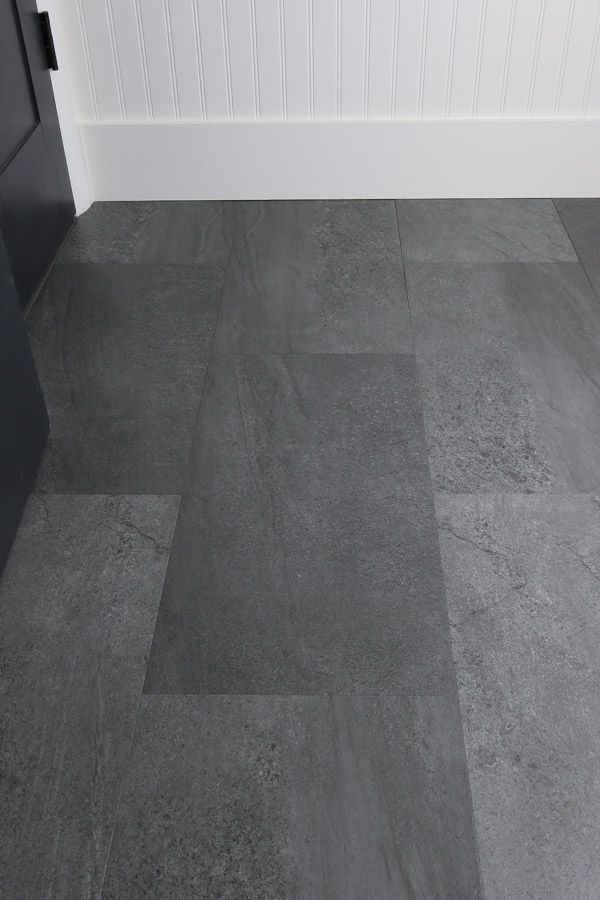
Vinyl Flooring Bathroom Update – Angela Marie Made
Vinyl Flooring – The Home Depot
Bathroom Flooring Ideas – Choosing Bathroom Flooring

Related articles:
- Vintage Bathroom Floor Tile Patterns
- Bathroom Floor Tile DIY
- Limestone Bathroom Floor Tiles
- Bathroom Floor Porcelain Tile
- Concrete Bathroom Floor Ideas
- White Bathroom Ceramic Tiles
- Bathroom Floor Baseboard
- Rustic Bathroom Flooring Ideas
- Bathroom Flooring Options
- Bamboo Bathroom Flooring Ideas
Lino Bathroom Floor Tiles: A Stunning and Practical Choice for Your Bathroom
When it comes to designing or renovating your bathroom, selecting the right flooring is crucial. It not only needs to be aesthetically pleasing but also durable and easy to maintain. One option that ticks all these boxes is lino bathroom floor tiles. In this article, we will delve into the world of lino bathroom floor tiles, exploring their benefits, installation process, maintenance tips, and frequently asked questions.
1. The Advantages of Lino Bathroom Floor Tiles
Lino bathroom floor tiles offer a myriad of advantages that make them an ideal choice for any bathroom. Firstly, they are extremely durable and long-lasting. Made from natural materials such as linseed oil, wood flour, and limestone dust, lino tiles are known for their resilience against wear and tear. This makes them perfect for high-traffic areas like bathrooms.
Moreover, lino bathroom floor tiles are water-resistant. This is a crucial feature in a space where moisture constantly lurks. With lino tiles, you can rest assured that your bathroom floor will remain intact even in the face of frequent exposure to water. Additionally, this water-resistance makes cleaning a breeze since you can easily wipe away any spills or stains without worrying about damage.
Another benefit of lino bathroom floor tiles is their versatility in design. They come in a wide range of colors, patterns, and textures, allowing you to choose the perfect style that suits your personal taste and complements your overall bathroom decor. Whether you prefer a classic look with subtle patterns or a bold statement with vibrant colors, there is a lino tile design to suit every preference.
FAQs:
Q: Are lino bathroom floor tiles suitable for underfloor heating?
A: Yes, lino bathroom floor tiles are compatible with underfloor heating systems. Their natural composition allows them to conduct heat effectively while still maintaining their durability.
Q: Can lino bathroom floor tiles be installed over existing flooring?
A: Yes, lino bathroom floor tiles can be installed over existing flooring as long as the surface is stable, clean, and level. However, it is recommended to consult with a professional installer to ensure proper installation.
Q: Are lino bathroom floor tiles environmentally friendly?
A: Yes, lino bathroom floor tiles are considered an environmentally friendly choice. They are made from natural materials and do not release harmful chemicals into the environment. Additionally, they have a long lifespan, reducing the need for frequent replacements.
2. Installing Lino Bathroom Floor Tiles
Installing lino bathroom floor tiles may seem like a daunting task, but with the right guidance, it can be a manageable DIY project or a job for a professional installer. Here are the steps involved in installing lino bathroom floor tiles:
1. Prepare the subfloor: Ensure that the subfloor is clean, dry, and free from any debris or imperfections. If necessary, repair or replace damaged areas.
2. Measure and plan: Measure your bathroom space accurately to determine the number of tiles needed. Create a layout plan to visualize how the tiles will fit together and make any necessary adjustments.
3. Gather tools and materials: Collect all the tools and materials required for installation, including adhesive, a trowel, a utility knife, a roller, and spacers.
4. Apply adhesive: Begin by applying adhesive to one section of the subfloor using a trowel. Spread it evenly in thin layers to ensure proper adhesion. 5. Lay the tiles: Start laying the lino bathroom floor tiles on top of the adhesive, following your predetermined layout plan. Press each tile firmly into place, using spacers to maintain an even gap between tiles.
6. Trim and cut tiles: Use a utility knife to trim any excess or overlapping edges of the tiles. If necessary, cut tiles to fit around obstacles such as toilets or cabinets.
7. Roll and press: After all the tiles are laid, use a roller to press them firmly into the adhesive, ensuring good adhesion and eliminating any air pockets.
8. Allow for drying time: Give the adhesive enough time to dry according to the manufacturer’s instructions before walking on or grouting the tiles.
9. Grout the tiles (optional): If desired, apply grout between the tiles using a grout float. Wipe away any excess grout with a damp sponge, being careful not to disturb the tiles.
10. Clean up and enjoy: Once the adhesive and grout are fully dry, clean up any remaining residue or debris from the installation process. Your lino bathroom floor tiles are now ready for use!
Remember, if you are unsure about any step of the installation process or if you prefer professional assistance, it is always recommended to consult with a professional installer for best results. A: Yes, lino bathroom floor tiles are considered an environmentally friendly choice. They are made from natural materials and do not release harmful chemicals into the environment. Additionally, they have a long lifespan, reducing the need for frequent replacements.
2. Installing Lino Bathroom Floor Tiles
Installing lino bathroom floor tiles may seem like a daunting task, but with the right guidance, it can be a manageable DIY project or a job for a professional installer. Here are the steps involved in installing lino bathroom floor tiles:
1. Prepare the subfloor: Ensure that the subfloor is clean, dry, and free from any debris or imperfections. If necessary, repair or replace damaged areas.
2. Measure and plan: Measure your bathroom space accurately to determine the number of tiles needed. Create a layout plan to visualize how the tiles will fit together and make any necessary adjustments.
3. Gather tools and materials: Collect all the tools and materials required for installation, including adhesive, a trowel, a utility knife, a roller, and spacers.
4. Apply adhesive: Begin by applying adhesive to one section of the subfloor using a trowel. Spread it evenly in thin layers to ensure proper adhesion.
5. Lay the tiles: Start laying the lino bathroom floor tiles on top of the adhesive, following your predetermined layout plan. Press each tile firmly into place, using spacers to maintain an even gap between tiles.
6. Trim and cut tiles: Use a utility knife to trim any excess or overlapping edges of the tiles. If necessary, cut tiles to fit around obstacles such as toilets or cabinets.
7. Roll and press: After all the tiles are laid, use a roller to press them firmly into the adhesive, ensuring good adhesion and eliminating any air pockets.
8. Allow for drying time: Give the adhesive enough time to dry according to the manufacturer’s instructions before walking on or grouting the tiles.
9. Grout the tiles (optional): If desired, apply grout between the tiles using a grout float. Wipe away any excess grout with a damp sponge, being careful not to disturb the tiles.
10. Clean up and enjoy: Once the adhesive and grout are fully dry, clean up any remaining residue or debris from the installation process. Your lino bathroom floor tiles are now ready for use!
Remember, if you are unsure about any step of the installation process or if you prefer professional assistance, it is always recommended to consult with a professional installer for best results.