But it doesn't have to be this way. In the end, installing kitchen area flooring is already a costly proposition itself and if it occurs you are disappointed with the way it looks or it doesn't live up to your expectations it's either you spend again and in addition have it redone or perhaps deal with it for numerous years. It is relatively easy to maintain bamboo kitchen flooring.
Here are Images about Kitchen Floor Tile Adhesive
Kitchen Floor Tile Adhesive

Remodeling the kitchen of yours is usually a pricey affair and around four % of the entire budget on the average would be taken up by the price of flooring materials. The best level of the floor is moisture-resistant. The kitchen floor is still one of most utilized parts of any house. Take note of the budget of yours for the kitchen floor and you are able to narrow down the search of yours for kitchen floor tiles.
Ben and Jonah Simple Elegance 12″ x 12″ x 1.5mm Luxury Vinyl Tile

I actually suggest the pre finished kind until you love the task of doing the wood flooring and therefore are good at it or maybe you will most likely wind up messing up a good deal of the flooring. A few will be colors which are solid where others has swirl patterns inlayed. A busy restaurant kitchen needs a floor which is reliable to run smoothly.
Images Related to Kitchen Floor Tile Adhesive
Livelynine Concrete Grey Peel and Stick Floor Tile 12X12 Inch 16 Pack Vinyl Flooring Peel and Stick Waterproof Self Adhesive Floor Tiles for Bathroom
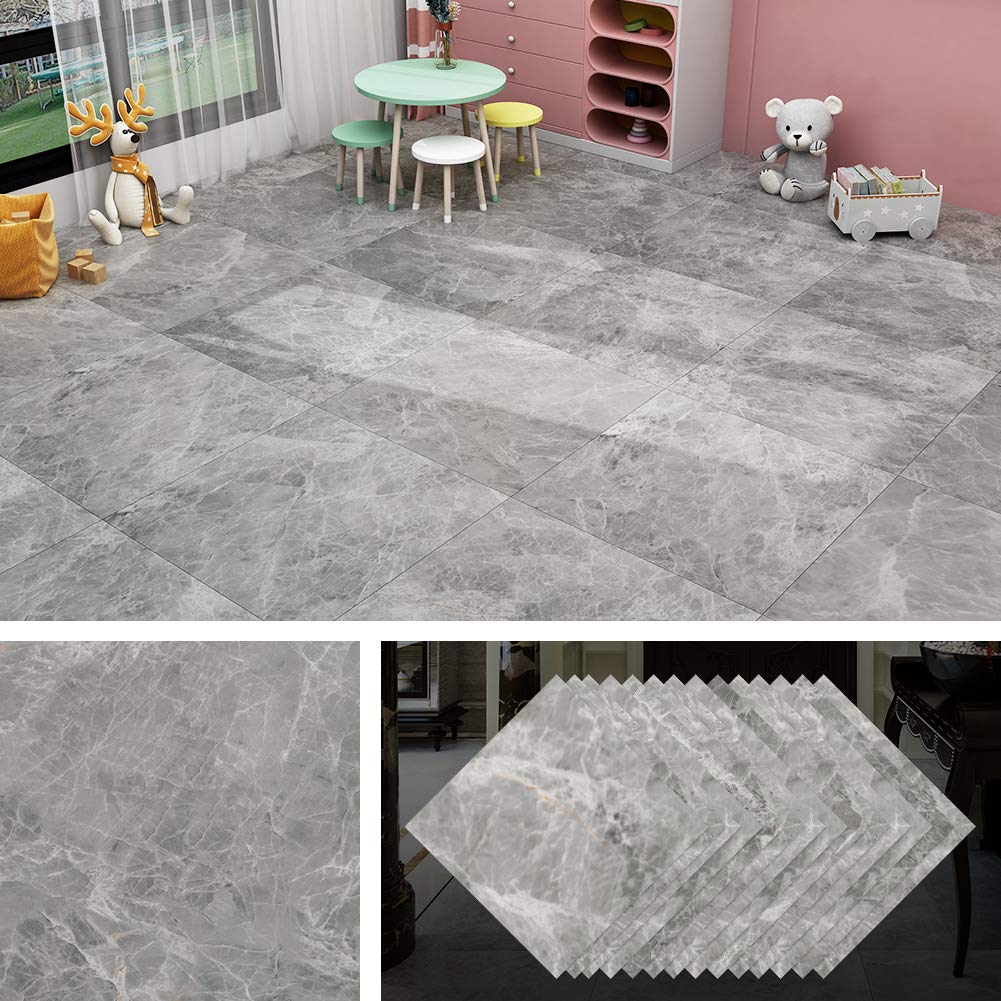
Livelynine Waterproof Peel and Stick Floor Tile 12X12 Inch 16 Pack Light Grey Vinyl Flooring Peel and Stick Tiles for Kitchen Bedroom Self Adhesive
The Pros and Cons of the Cement Tile Trend Apartment Therapy
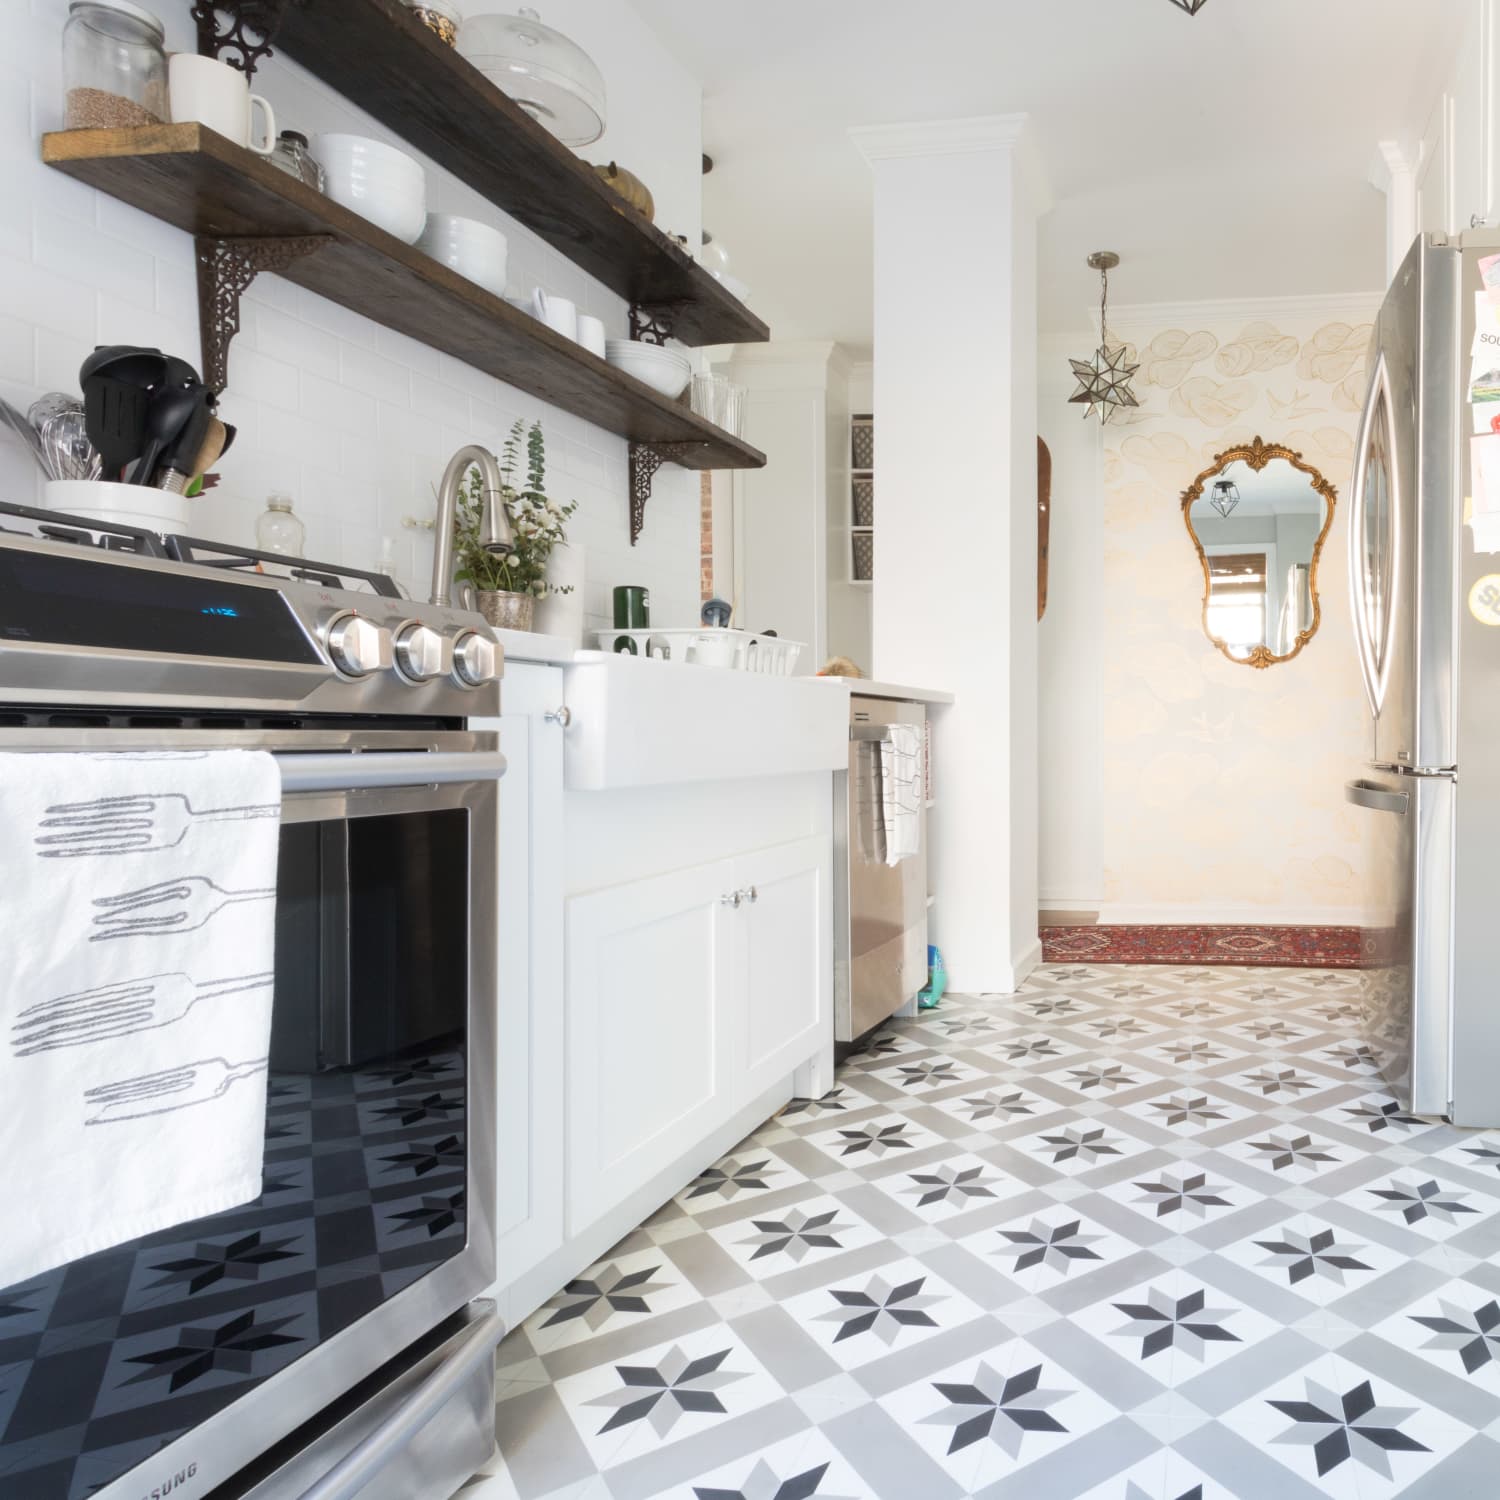
The Prettiest Peel-and-Stick Tiles to Instantly Upgrade Your Floor

Livelynine Concrete Grey Peel and Stick Floor Tile 12X12 Inch 16 Pack Vinyl Flooring Peel and Stick Waterproof Self Adhesive Floor Tiles for Bathroom
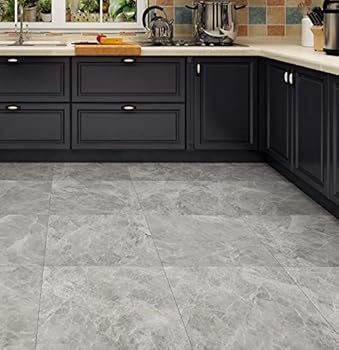
How to Choose the Correct Tile Adhesive or Mortar – Kitchen Infinity
/Installing-Ceramic-Floor-Tile-86464768-583ffd0d5f9b5851e5eac8c0.jpg)
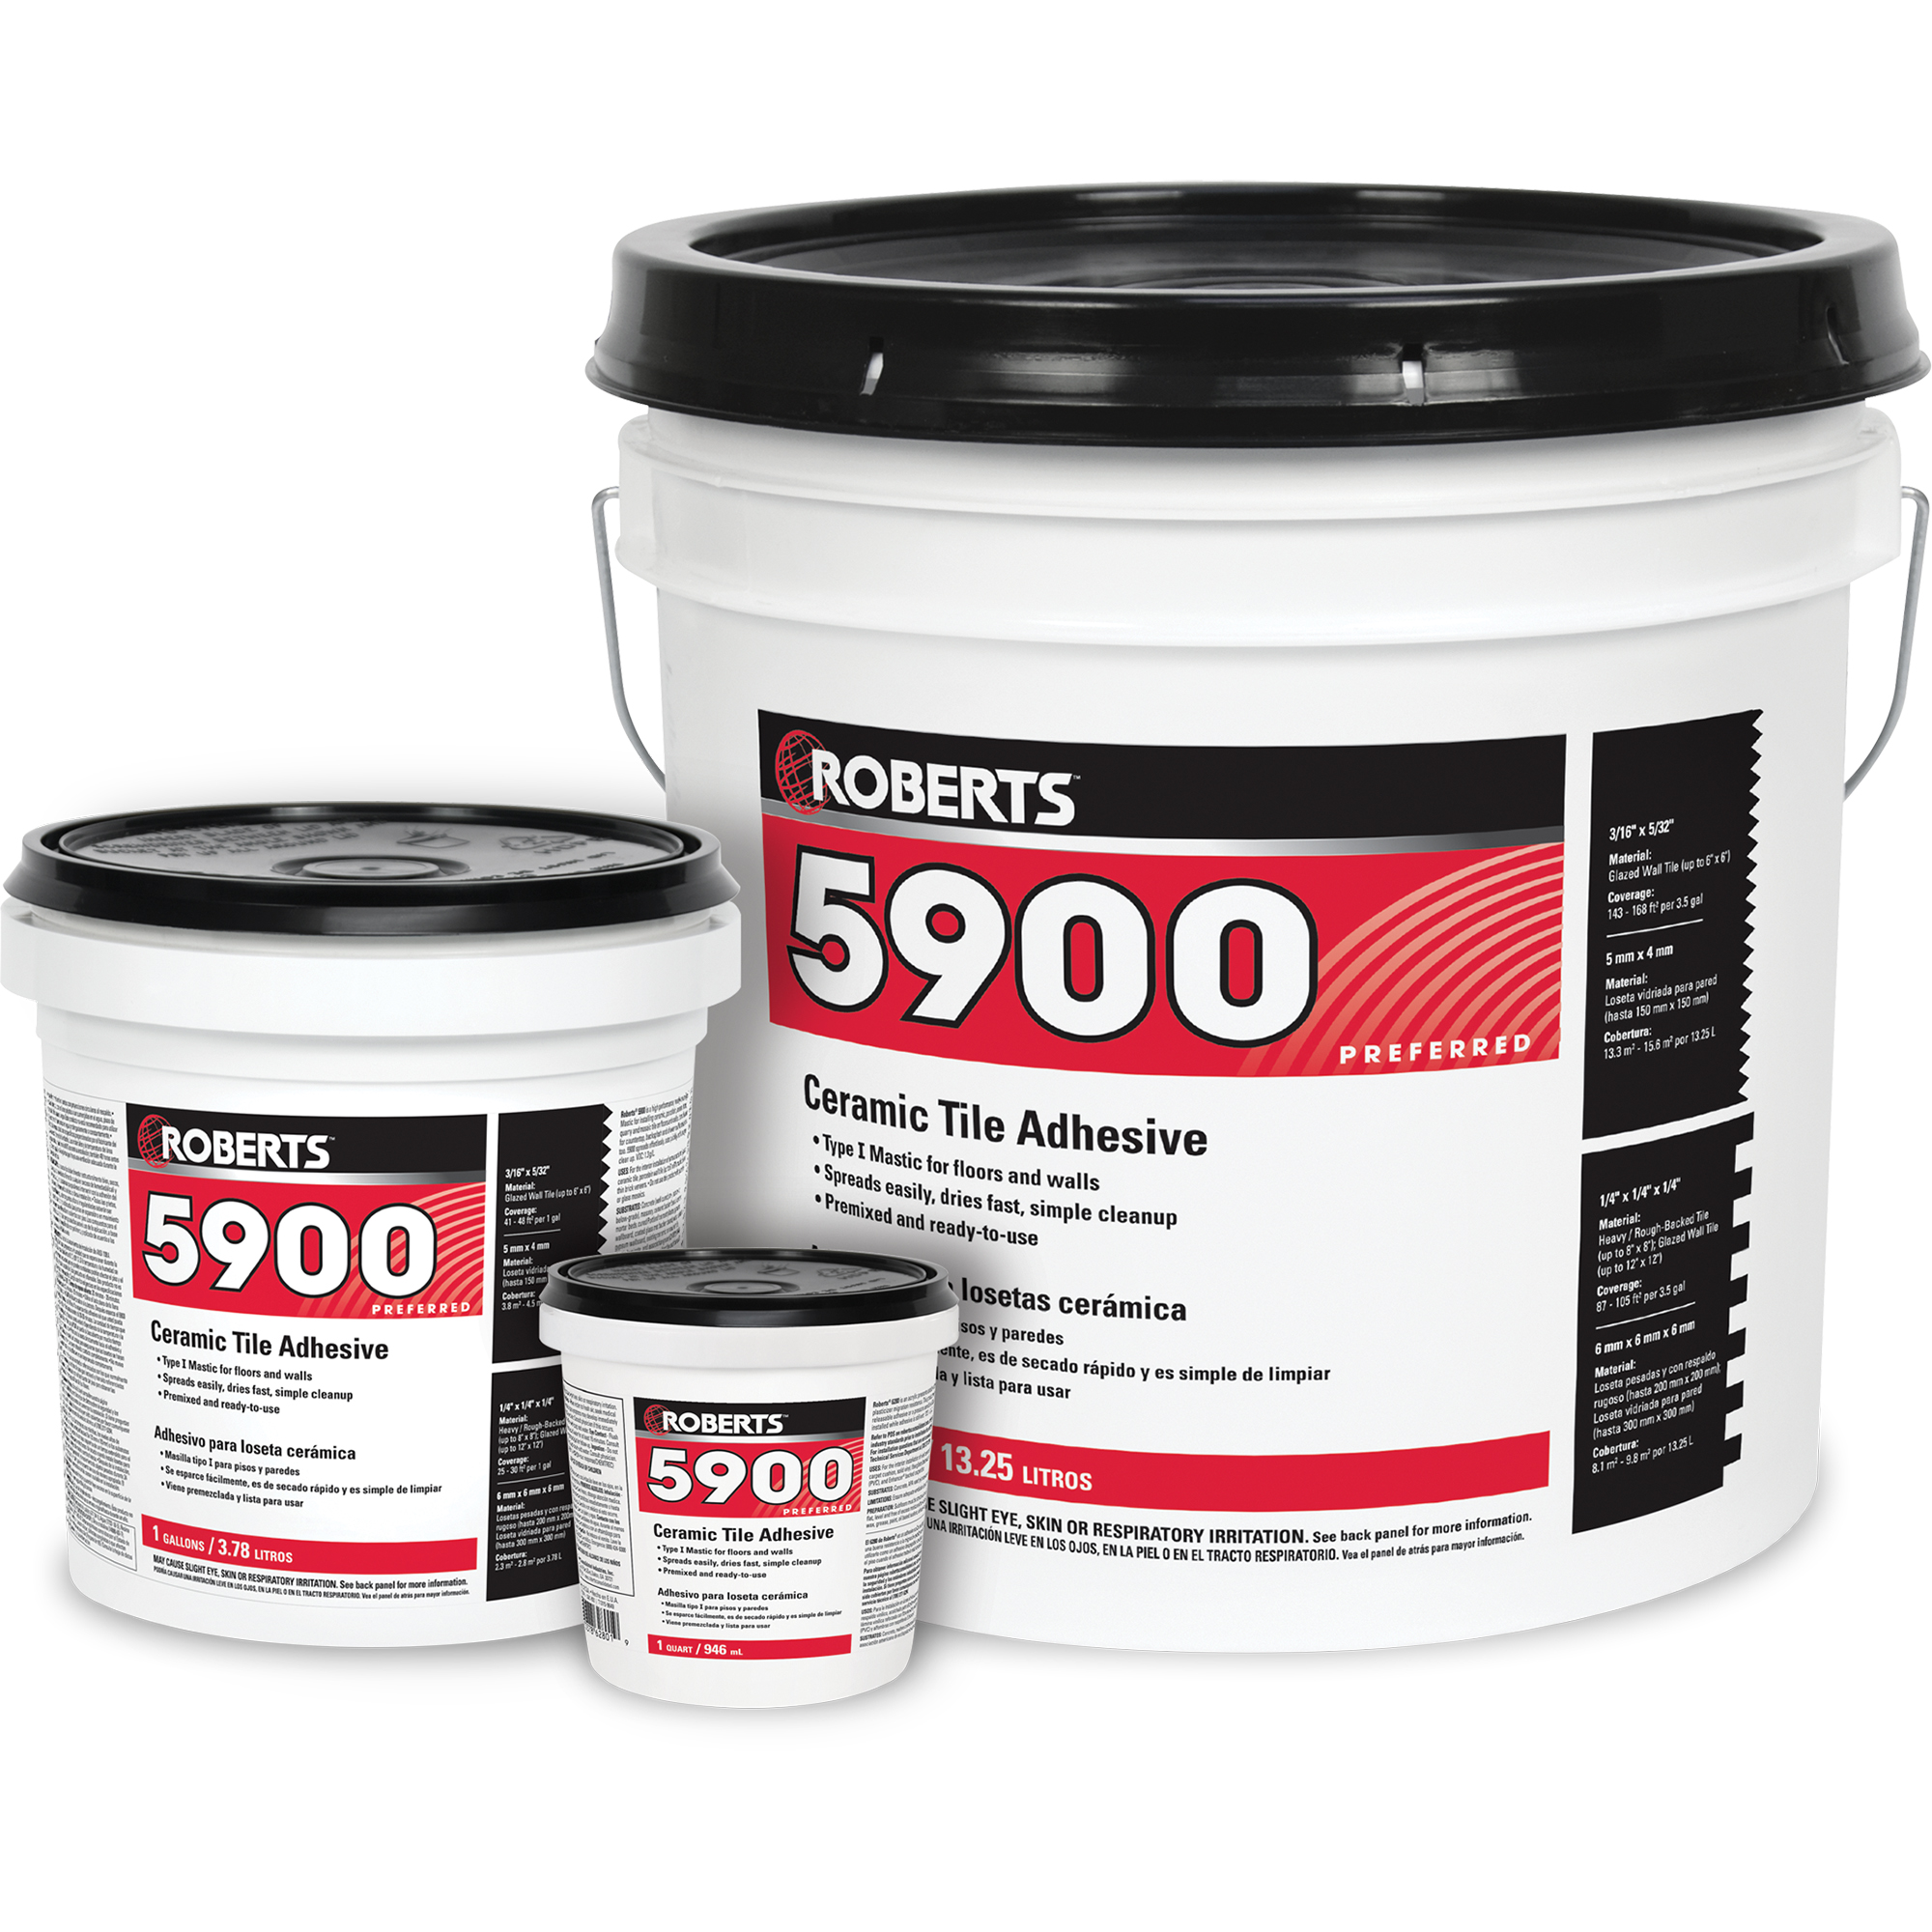
Ceramic Tile Adhesive – Roberts Consolidated
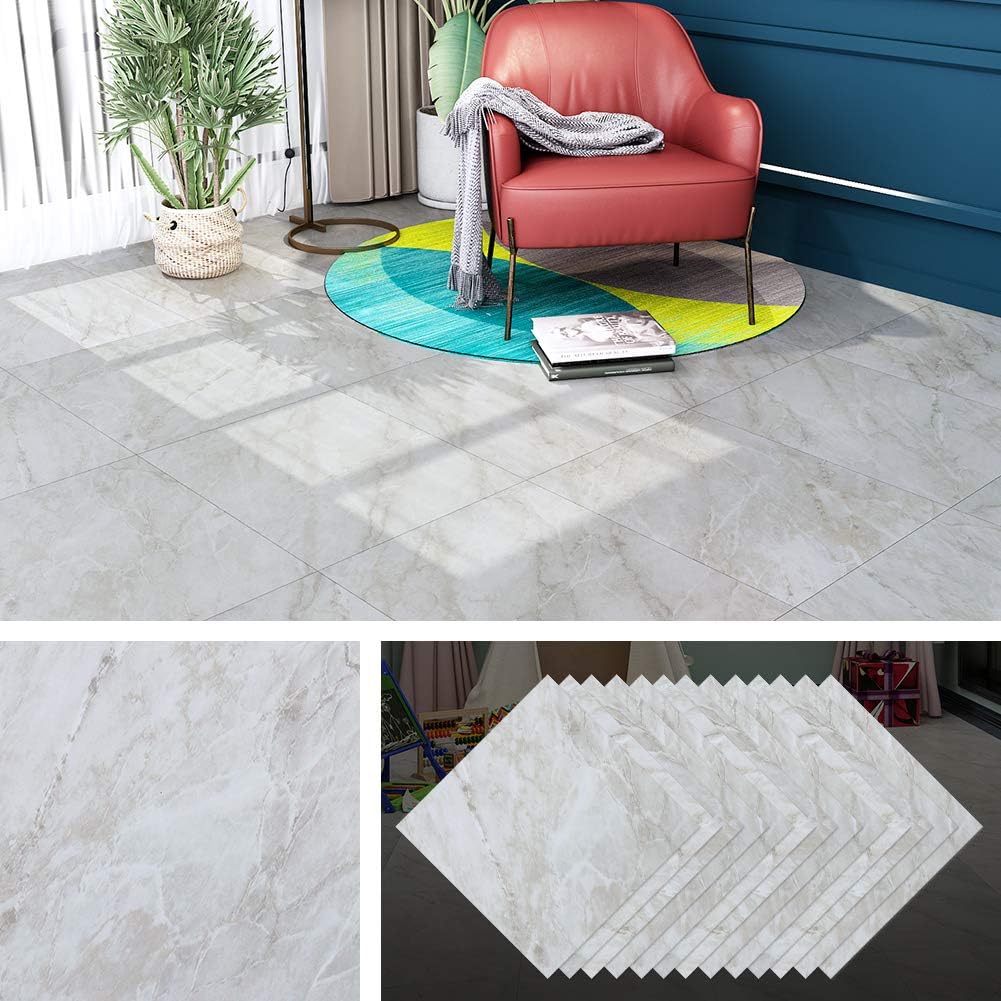
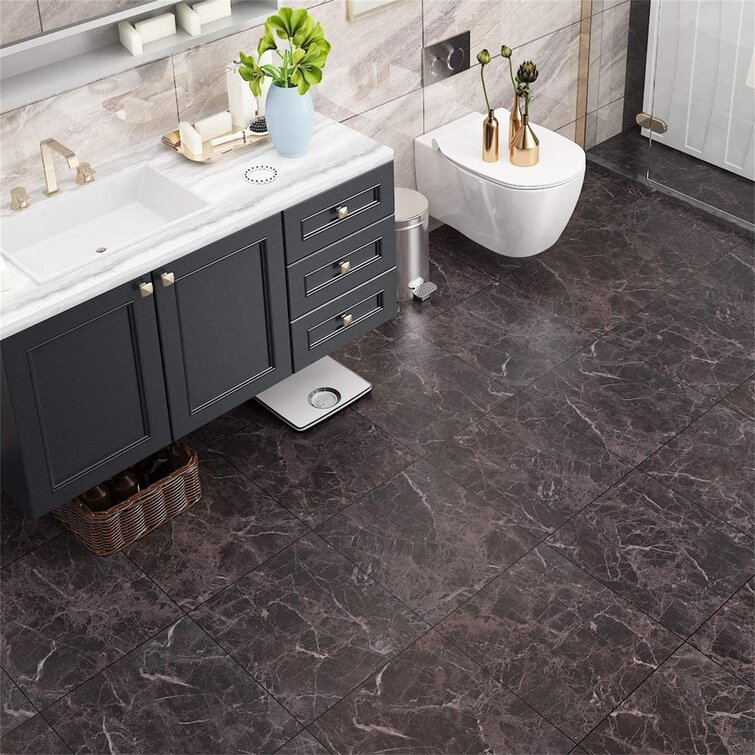
Livelynine Peel And Stick Floor Tile Dark Brown Marble 12X12 16 Pack Waterproof Self Adhesive Floor Tiles Bathroom Vinyl Flooring Peel Stick Tiles For
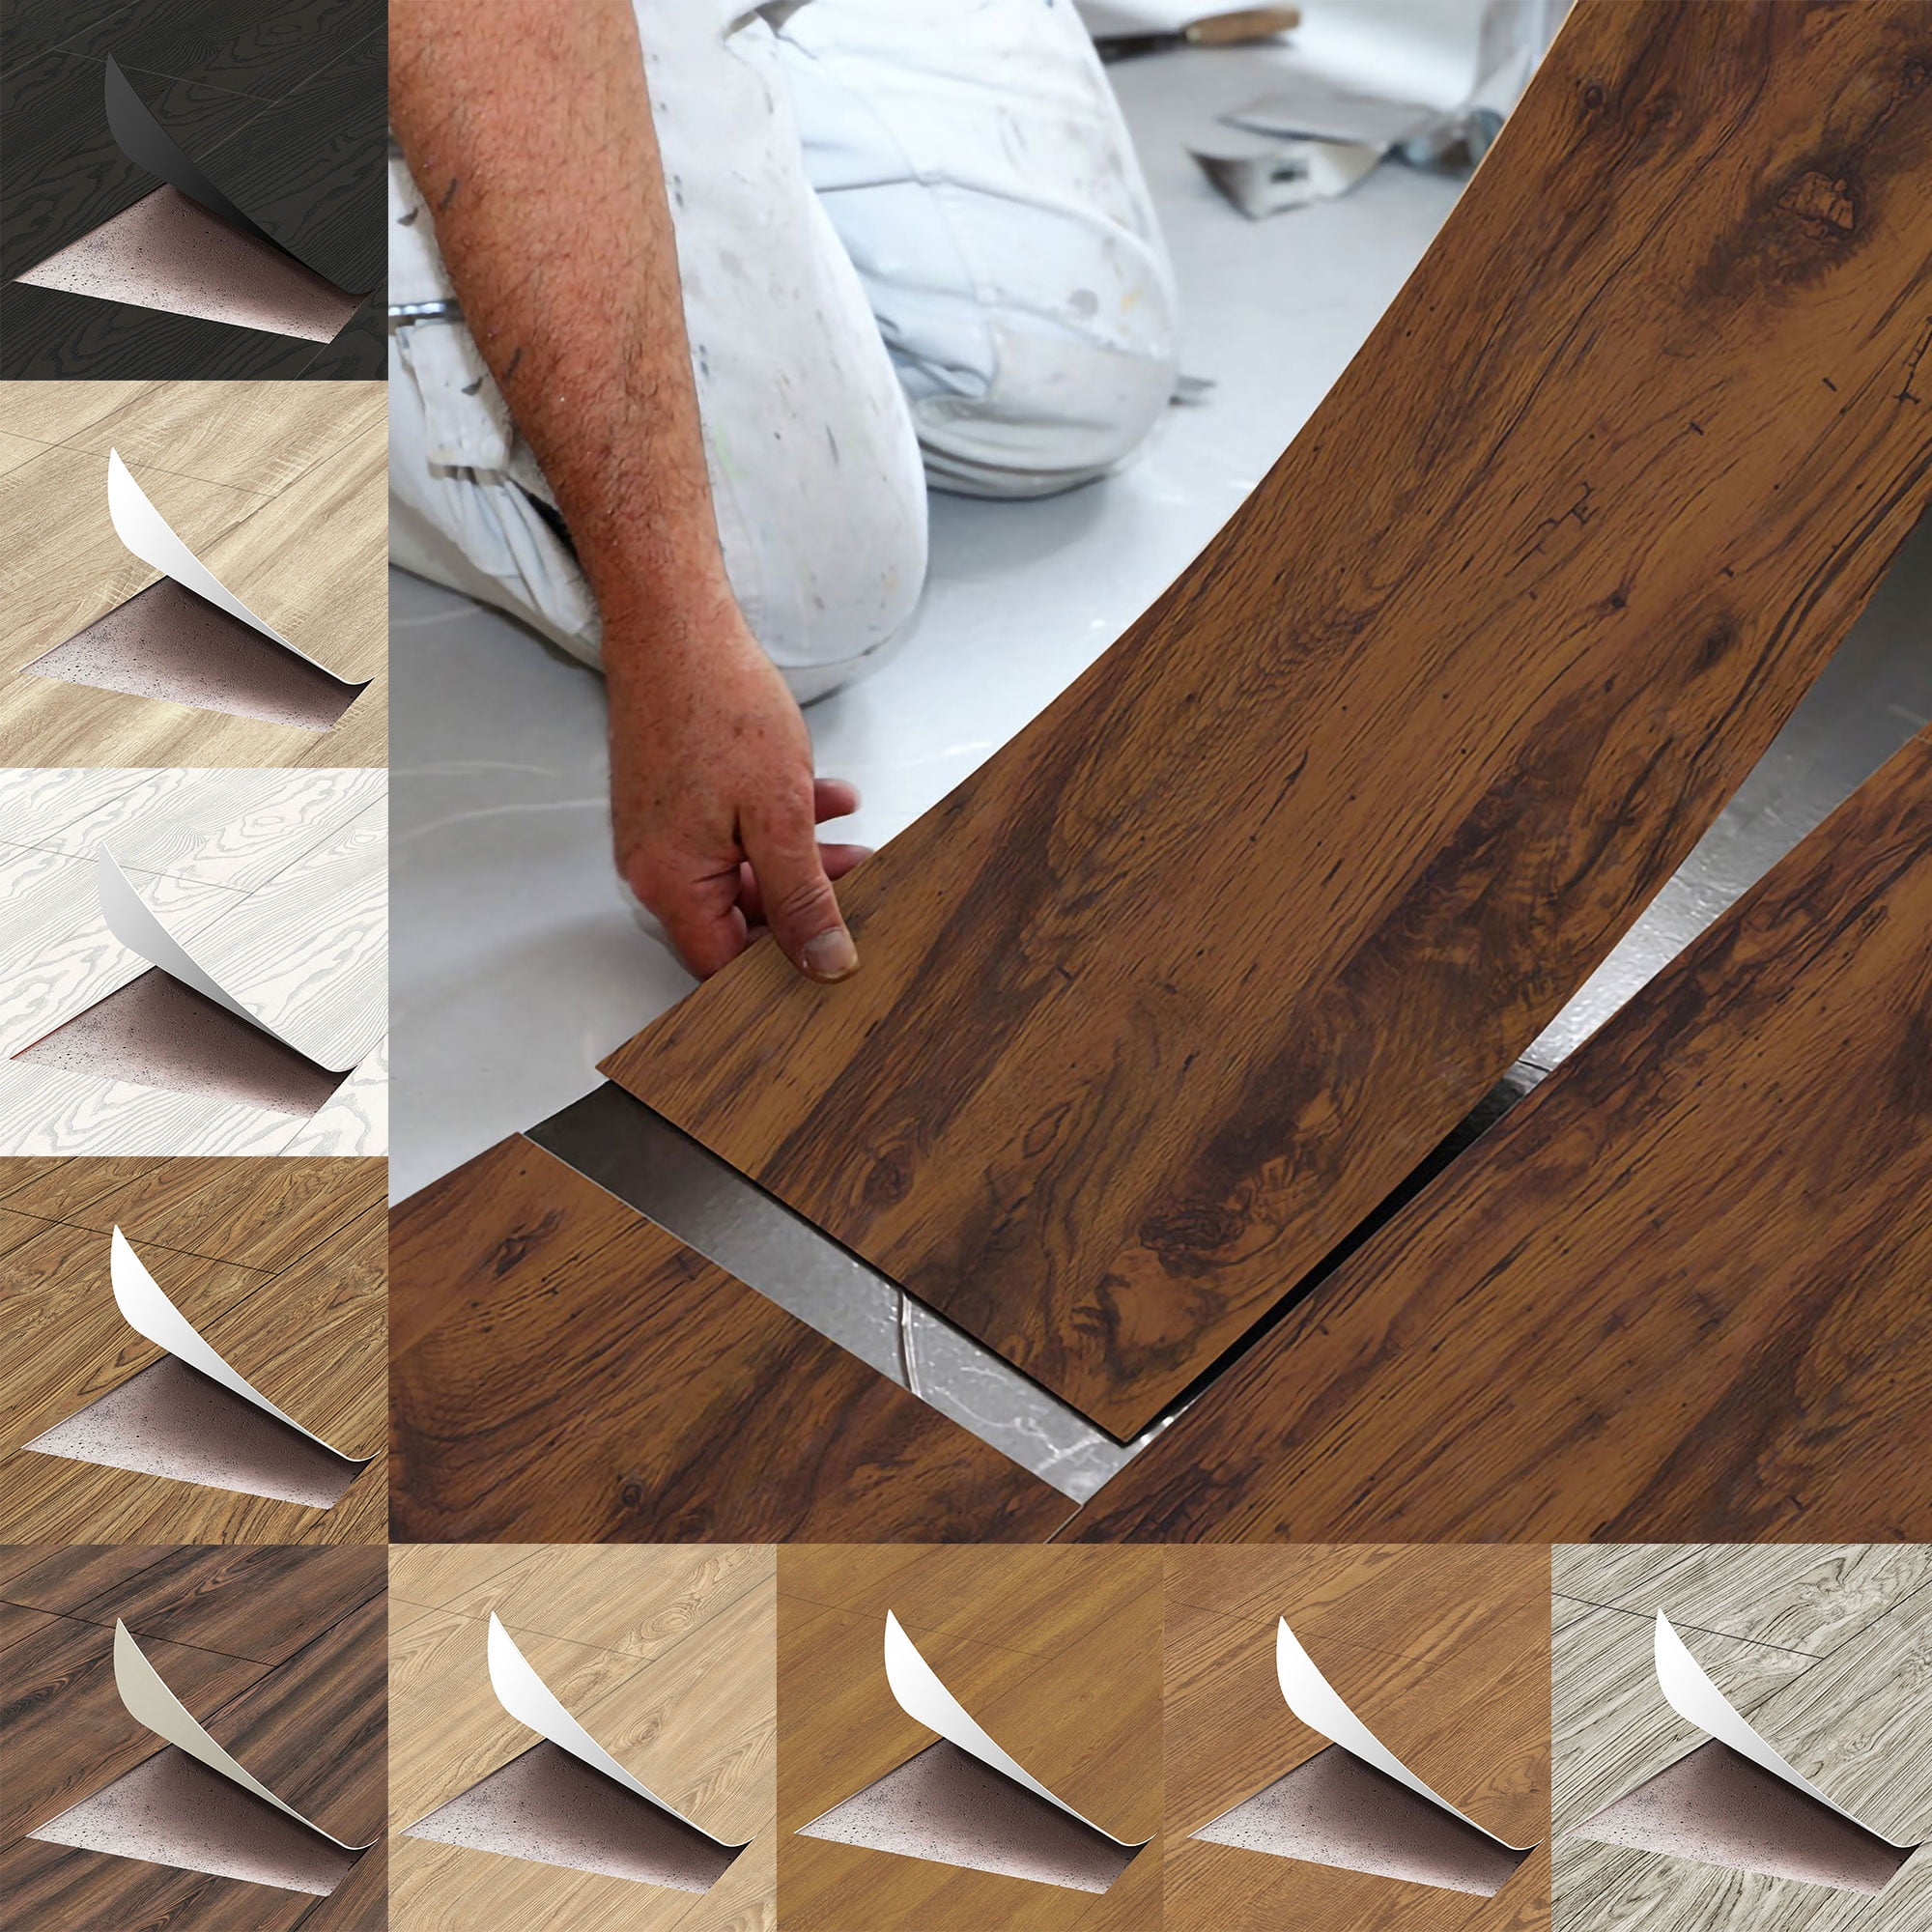
118u0027u0027x7.87″ Vinyl Floor Planks Adhesive Floor Tiles, Kitchen Bathroom DIY Decor Environmental-Friendly
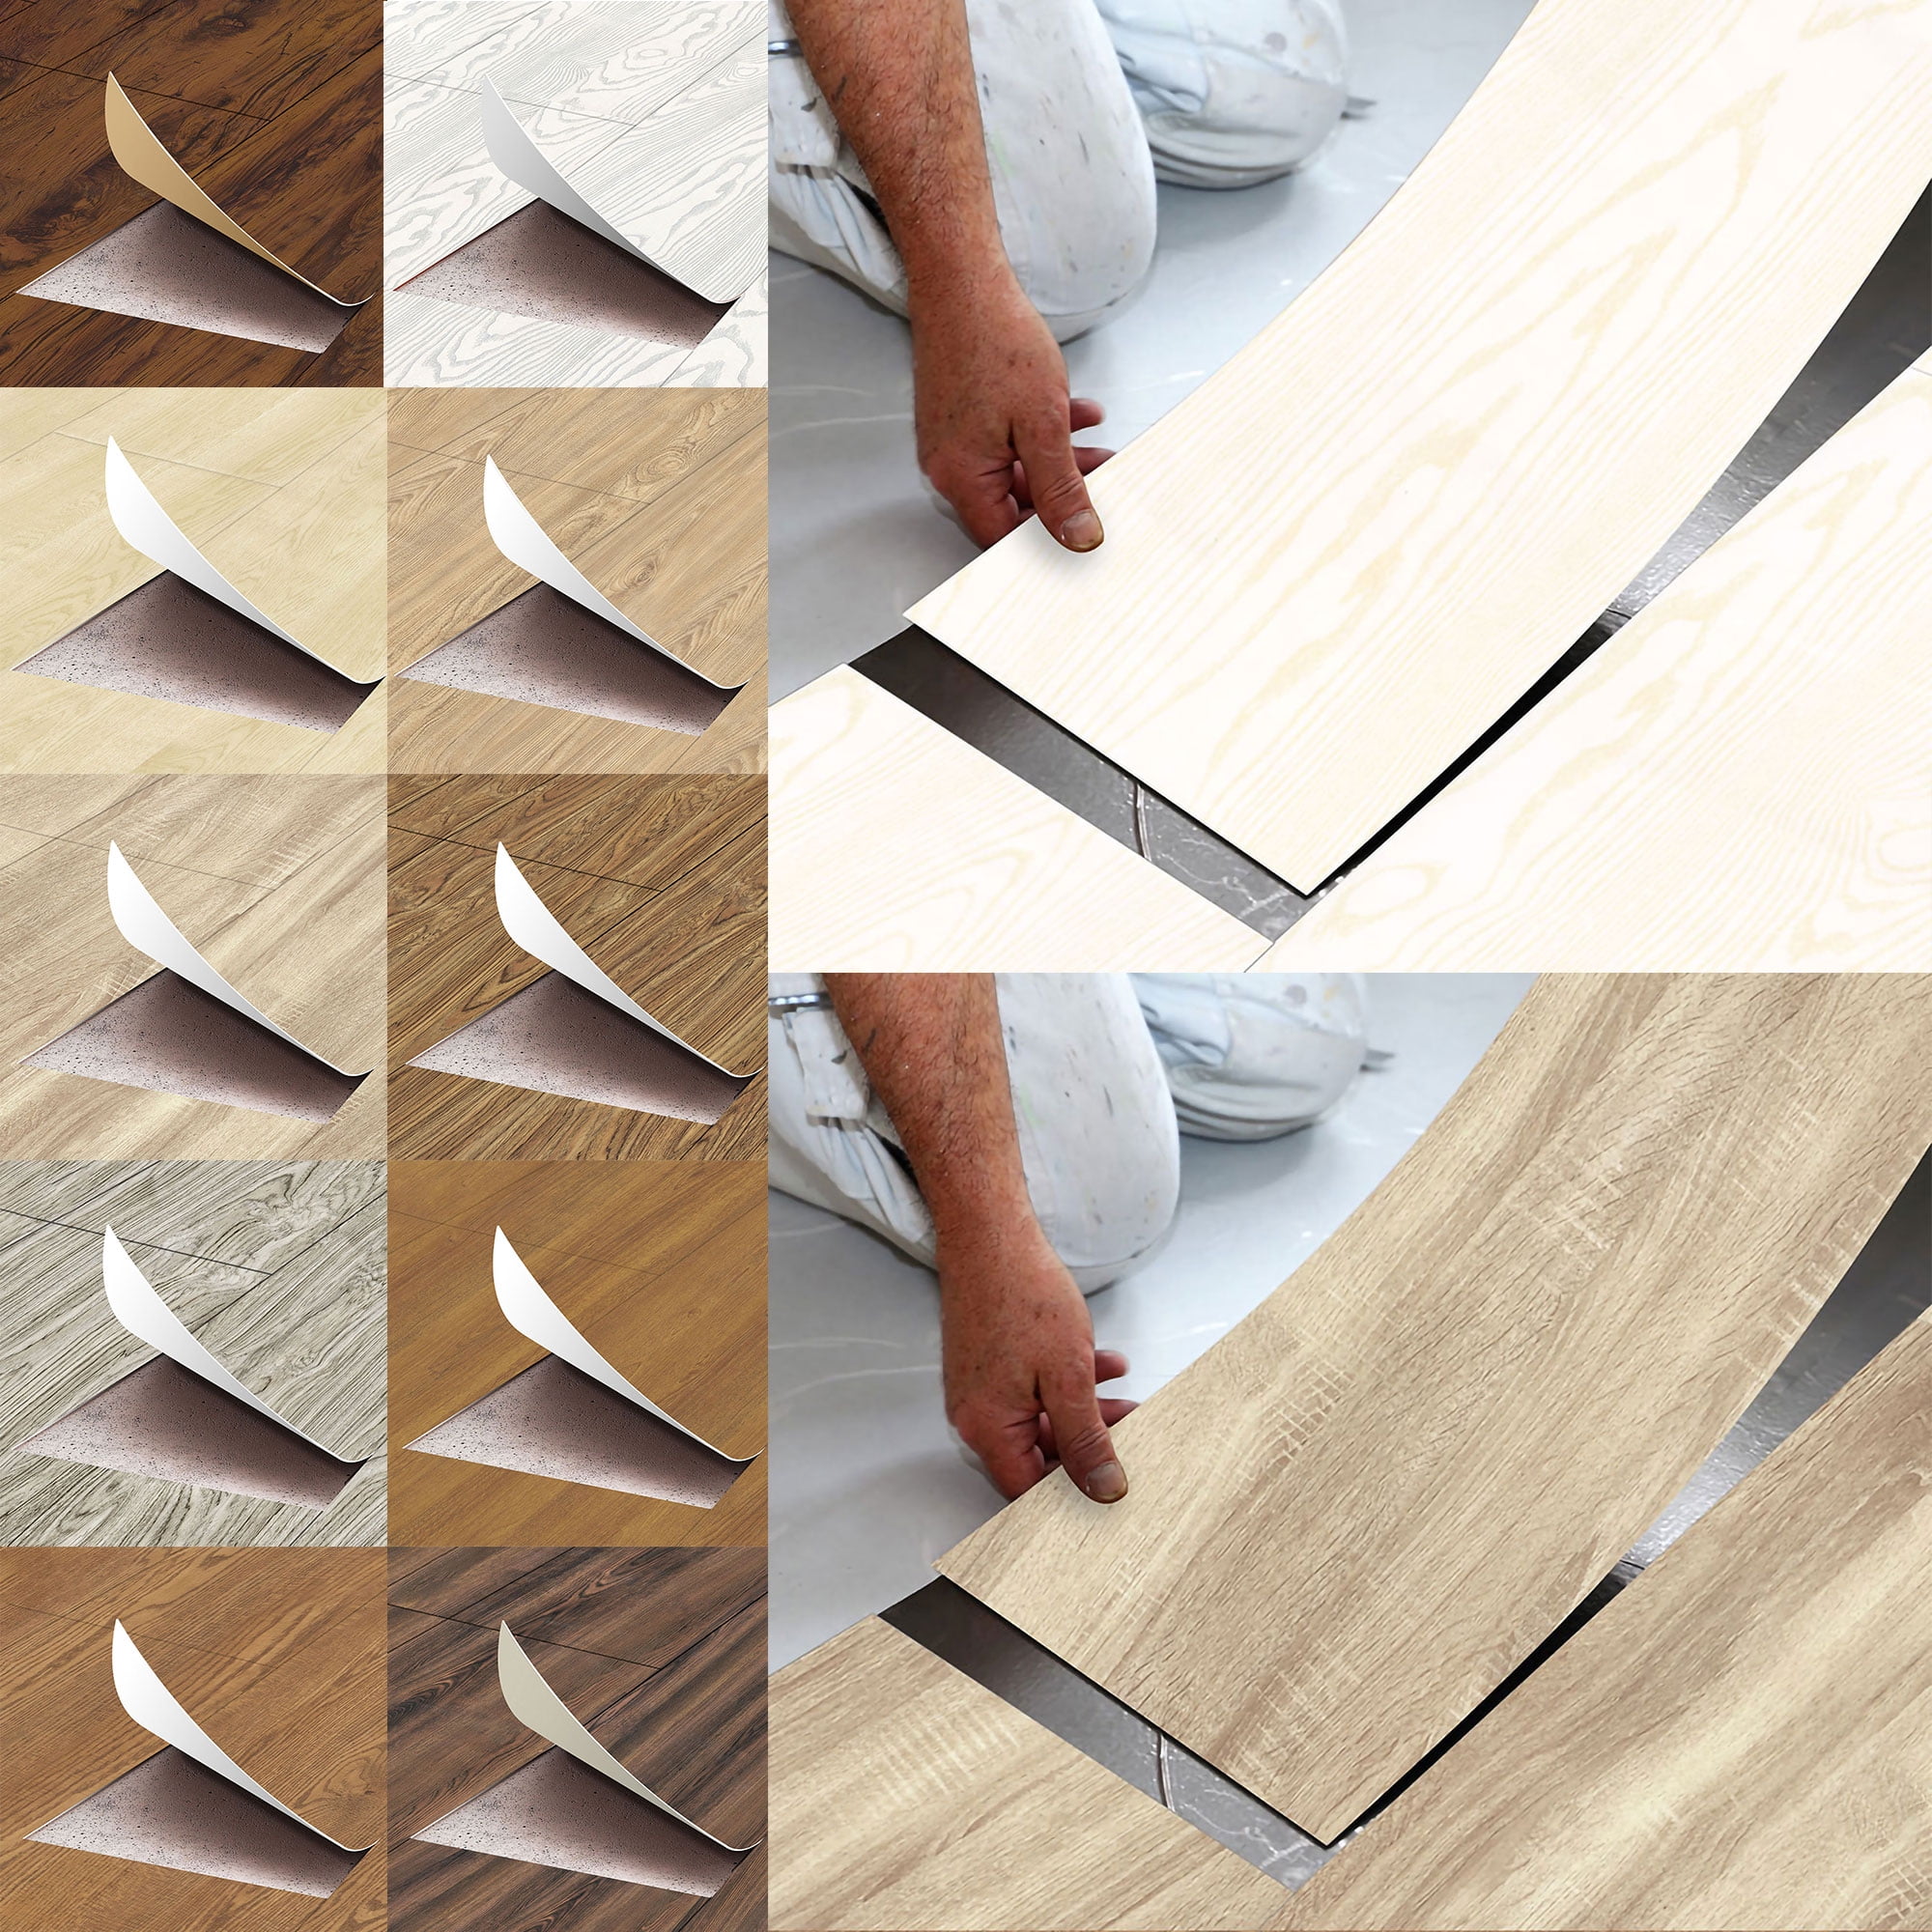
118u0027u0027x7.87″ Vinyl Floor Planks Adhesive Floor Tiles, Kitchen Bathroom DIY Decor Environmental-Friendly
Self Adhesive Floor Tiles – Peel and Stick Floor Tiles by FloorPops
What Is The Correct Adhesive For Porcelain Tile?
Related articles:
- Stained Concrete Basement Floor
- Finishing Basement Floor
- Refinish Concrete Basement Floor
- Best Flooring For Basement
- Basement Gym Flooring Ideas
- Laminate Flooring In Basement
- Basement Concrete Floor Sweating
- Basement Floor Finishing Ideas
- Painting Unfinished Basement Floor
- Unique Basement Flooring
Title: Kitchen Floor Tile Adhesive: A Comprehensive Guide to Choosing and Applying the Perfect Adhesive
Introduction:
When it comes to renovating or installing a new kitchen floor, choosing the right adhesive for your tiles is crucial. A high-quality adhesive ensures that your tiles stay firmly in place for years to come, withstanding heavy foot traffic and moisture exposure. In this comprehensive guide, we will delve into the world of kitchen floor tile adhesive, exploring its types, application methods, and frequently asked questions.
I. Understanding Kitchen Floor Tile Adhesive
Kitchen floor tile adhesive is a specially formulated substance used to bond tiles to the subfloor. It acts as a glue, providing a strong bond that prevents tiles from lifting or shifting over time. These adhesives are designed to withstand the unique challenges of kitchen environments, such as temperature changes, moisture, and heavy loads.
1. Types of Kitchen Floor Tile Adhesive:
a) Thinset Mortar: This type of adhesive is widely used in kitchens due to its excellent bonding properties. Thinset mortar consists of cement, sand, and a polymer additive that enhances its flexibility and water resistance. It is available in both powdered form (requiring mixing with water) and pre-mixed versions for convenience.
b) Epoxy Adhesive: Epoxy adhesives offer exceptional strength and durability, making them suitable for high-traffic areas like kitchens. They consist of two components (resin and hardener) that must be mixed before application. Epoxy adhesives provide excellent resistance to chemicals, moisture, and extreme temperatures.
c) Organic Mastic: Organic mastic adhesives are premixed pastes that are easy to apply directly onto the subfloor. They contain organic compounds and have a sticky consistency that allows for faster installation. However, they are not recommended for areas prone to moisture or temperature changes.
II. Application Methods for Kitchen Floor Tile Adhesive
The success of your kitchen floor tile installation largely depends on the proper application of adhesive. Here, we outline the steps to ensure a seamless and long-lasting bond.
1. Surface Preparation:
Before applying any adhesive, it is crucial to prepare the subfloor adequately. Start by removing any existing flooring or residue. Ensure that the subfloor is clean, dry, level, and free from cracks or loose particles. Patch up any imperfections and allow them to dry before proceeding.
2. Mixing Adhesive (if applicable):
If you are using a powdered adhesive like thinset mortar, follow the manufacturer’s instructions to achieve the desired consistency. Use a mixing paddle attached to a drill for thorough blending. Avoid excessive water usage, as it may weaken the adhesive’s bonding strength.
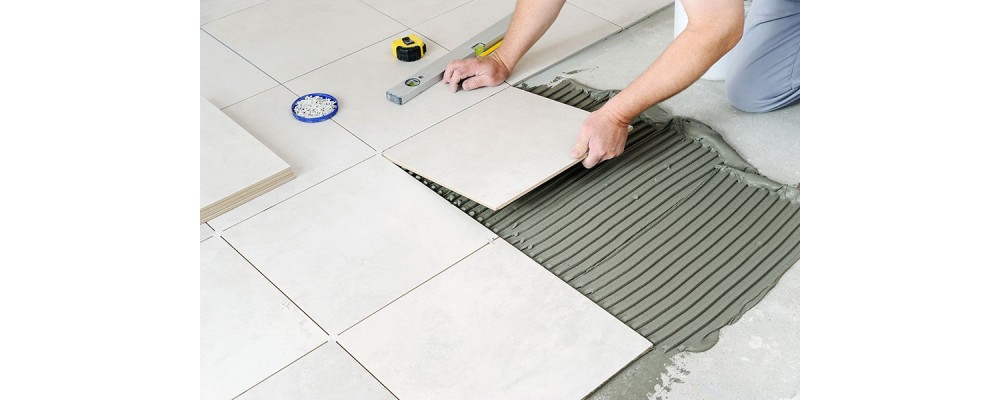
3. Applying the Adhesive:
a) For Thinset Mortar: Apply a thin layer of mortar using a notched trowel at a 45-degree angle to create grooves for better adhesion. Work in small sections to prevent premature drying. Only spread an area that can be tiled within 15-20 minutes.
b) For Epoxy Adhesive: Mix the resin and hardener according to the manufacturer’s instructions, ensuring proper proportions. Apply the mixture using a trowel or putty knife, spreading it evenly over the subfloor.
c) For Organic Mastic: With organic mastic adhesives, simply use a notched trowel to spread an even layer on the subfloor.
4. Tile Installation:
Once the adhesive is applied, You can proceed with the tile installation. Place each tile onto the adhesive, pressing it firmly into place. Use spacers to ensure even spacing between tiles. Continue this process until all tiles are installed.
5. Grouting:
After allowing the adhesive to dry according to the manufacturer’s instructions, you can proceed with grouting. Mix the grout according to the manufacturer’s instructions and apply it using a grout float, filling in the gaps between the tiles. Remove any excess grout with a damp sponge and let it dry completely.
6. Cleaning and Sealing:
Once the grout has dried, clean the tiles thoroughly to remove any grout haze or residue. After cleaning, consider applying a sealant to protect your newly installed tiles from stains and moisture damage. Follow the sealant manufacturer’s instructions for proper application.
By following these application methods, you can ensure a strong and long-lasting bond for your kitchen floor tile adhesive. Remember to always read and follow the manufacturer’s instructions for best results. Surface preparation is essential before applying any adhesive. This involves removing any existing flooring or residue and ensuring that the subfloor is clean, dry, level, and free from cracks or loose particles. Any imperfections should be patched up and allowed to dry before proceeding.
If you are using a powdered adhesive like thinset mortar, follow the manufacturer’s instructions to achieve the desired consistency. Use a mixing paddle attached to a drill for thorough blending. Avoid excessive water usage as it may weaken the adhesive’s bonding strength.
When applying thinset mortar, use a notched trowel at a 45-degree angle to create grooves for better adhesion. Work in small sections to prevent premature drying and only spread an area that can be tiled within 15-20 minutes.
For epoxy adhesive, mix the resin and hardener according to the manufacturer’s instructions and apply the mixture using a trowel or putty knife, spreading it evenly over the subfloor.
Organic mastic adhesives can be applied by using a notched trowel to spread an even layer on the subfloor.
Once the adhesive is applied, you can proceed with tile installation. Place each tile onto the adhesive, pressing it firmly into place, and use spacers to ensure even spacing between tiles. Continue this process until all tiles are installed.
After allowing the adhesive to dry according to the manufacturer’s instructions, you can proceed with grouting. Mix the grout according to the manufacturer’s instructions and apply it using a grout float, filling in the gaps between the tiles. Remove any excess grout with a damp sponge and let it dry completely.
Once the grout has dried, clean the tiles thoroughly to remove any grout haze or residue. Consider applying a sealant to protect your newly installed tiles from stains and moisture damage. Follow the sealant manufacturer’s instructions for proper application.
By following these application methods and reading and following the manufacturer’s instructions, you can ensure a strong and long-lasting bond for your kitchen floor tile adhesive. Remember to always prioritize safety when working with adhesives and follow proper ventilation protocols. Additionally, wear protective gloves and eyewear to prevent any potential skin or eye irritation.