Mosaic tiles add color and texture to the floor and stop slipping. Just before you will head to your area home improvement center, know the option of ours to decide on the right one for the home of yours and your life. When you're consuming bathroom vinyl, do not forget to experiment by blending as well as matching. One of the most useful bathroom floor tiles ideas consists of using concrete tiles.
Here are Images about How To Tile Bathroom Floor On Floorboards
How To Tile Bathroom Floor On Floorboards

In case you buy and install unglazed tiles, they are going to need to be washed often as they absorb stains quite easily. When selecting the floor of yours it's essential in order to stay within your budget, and to find something which you can deal with for a while, since replacing bathroom floors is not an issue that a lot girls do on a routine schedule.
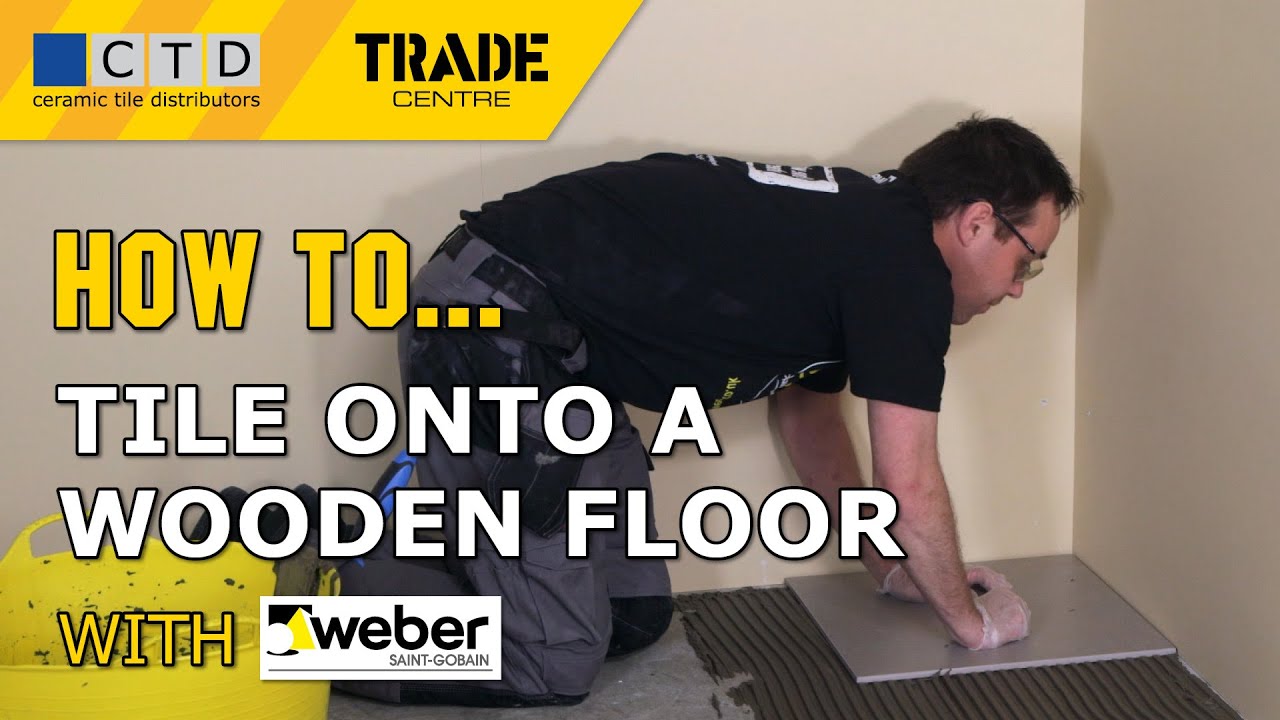
How To Tile Onto A Wooden Floor
Laminate floor surfaces for the bathroom are surprisingly a sound choice over carpets and sound hardwood-made floors. At this time there are 3 issues that your bathroom flooring faces which the flooring surfaces in other areas of the home of yours does not have to brace up for – water, weather extremes and humidity. Sometimes different kinds of tiles are paired in a single mesh to provide you with a mixed mosaic tile.
Images Related to How To Tile Bathroom Floor On Floorboards
Tiling on Floorboards: Can you tile on wooden floorboards

Floor Tiling Over Timber Like a Pro

Tiling a floor Tiling
How to Lay Ceramic Tiles on Floorboards – Rossu0027s Discount Home Centre

How To Lay Floor Tiles RONA

No More Plyu0027 on old floorboards DIYnot Forums
Ideas for Covering Up Tile Floors Without Removing It u2014 The Decor
Tiling on Wooden Floors (Part 1 – Preparation) – UK Bathroom Guru
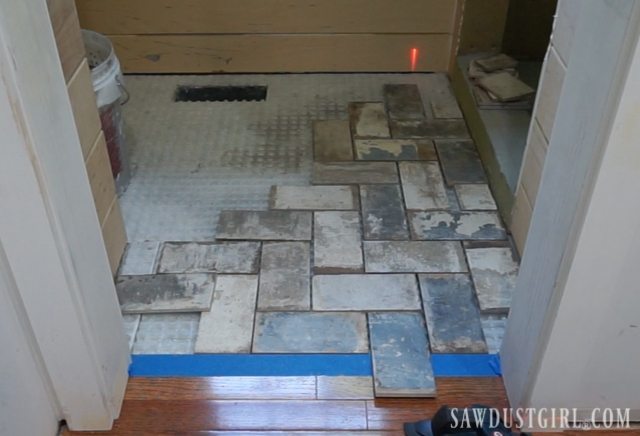
How to Install Tile Flush with Hardwood Floors – Sawdust Girl®
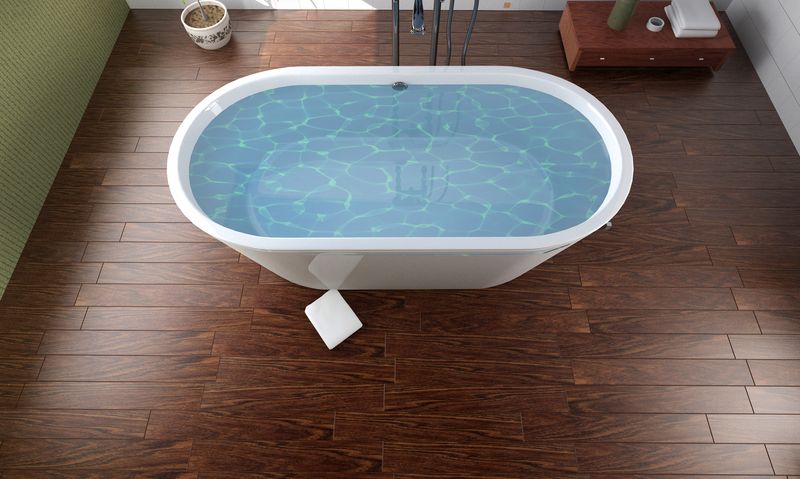
Installing Tile That Looks Like Hardwood

Our Favorite New Trend: Contrast Floors
:max_bytes(150000):strip_icc()/cdn.cliqueinc.com__cache__posts__197136__this-jaw-dropping-home-decor-trend-will-dominate-pinterest-1829237-1467898610.700x0c-87daaba1c5a749dd94877a7bb225cd00.jpg)
Installing Wood Flooring In The Bathrooms » ESB Flooring
Related articles:
- Vintage Bathroom Floor Tile Patterns
- Bathroom Floor Tile DIY
- Limestone Bathroom Floor Tiles
- Bathroom Floor Porcelain Tile
- Concrete Bathroom Floor Ideas
- White Bathroom Ceramic Tiles
- Bathroom Floor Baseboard
- Rustic Bathroom Flooring Ideas
- Bathroom Flooring Options
- Bamboo Bathroom Flooring Ideas
Title: Mastering the Art of Tiling a Bathroom Floor on Floorboards
Introduction:
When it comes to updating your bathroom, tiling the floor can instantly elevate its aesthetic appeal and durability. However, if your bathroom has floorboards instead of concrete or plywood subfloor, you may be wondering how to tackle this project efficiently. In this comprehensive guide, we will walk you through the step-by-step process of tiling a bathroom floor on floorboards, addressing common concerns and providing expert tips for a successful outcome.
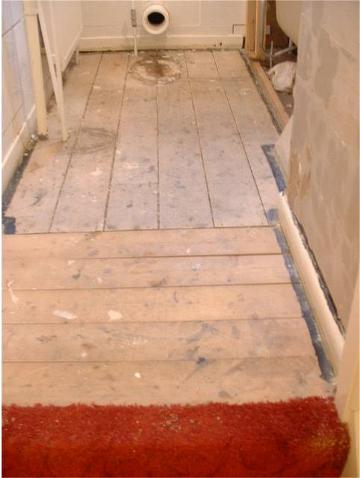
I. Preparing the Floorboards:
Before diving into the tiling process, it is crucial to ensure that your floorboards are in good condition and properly prepared. Follow these steps:
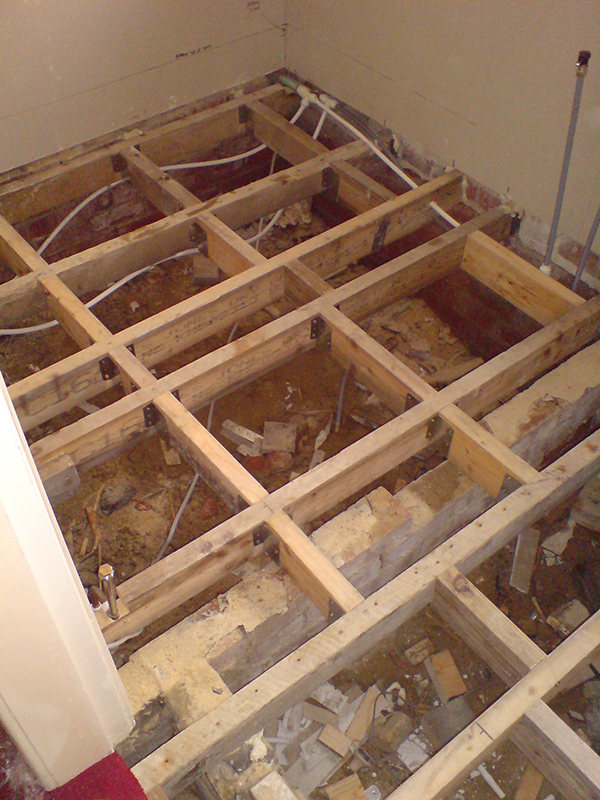
1. Inspect and reinforce: Thoroughly examine the floorboards for any signs of damage, such as rot or loose boards. Replace any weakened areas and reinforce the existing structure by adding additional support joists where necessary.
2. Stabilize: To minimize movement and prevent tiles from cracking over time, secure any loose or squeaky floorboards by screwing them down into the joists below.
3. Leveling: It’s essential to have a level surface for optimal tile installation. Use a long spirit level to check for any unevenness in the floorboards. If needed, sand down or replace any protruding boards to achieve a flat surface.
FAQs:
Q1: How can I determine if my floorboards are stable enough for tiling?
Answer: Check for signs of rot, loose boards, or excessive movement. If you notice any issues, reinforce the floor by replacing damaged boards or adding support joists.
Q2: Can I tile directly over uneven floorboards?
Answer: It is not recommended to tile over uneven surfaces as it may result in cracked tiles over time. Ensure your floor is leveled before proceeding with tile installation.
II. Adding an Underlayment:
To provide extra stability and moisture resistance, adding an underlayment is highly recommended. Follow these steps:
1. Choose the right underlayment: Opt for cement backer board or uncoupling membrane as they are suitable for wooden subfloors. Avoid using regular plywood as it may expand and contract, compromising the integrity of the tiles.
2. Measure and cut: Measure the dimensions of your bathroom floor and cut the underlayment sheets accordingly, leaving space around pipes and fixtures.
3. Secure the underlayment: Lay the sheets on top of the floorboards, ensuring a 1/8-inch gap between each sheet for expansion. Use screws or nails to secure the underlayment every 6 to 8 inches along the edges and every 12 inches in the field.
FAQs:
Q1: Why is an underlayment necessary for tiling on floorboards?
Answer: An underlayment provides stability, prevents tile movement, and acts as a moisture barrier, ensuring long-lasting tile installation.
Q2: Can I use regular plywood as an underlayment?
Answer: Regular plywood is not recommended as it may expand and contract with moisture changes, leading to cracked tiles. Use cement backer board or uncoupling membrane instead.
III. Planning and Layout:
Proper planning ensures that your tiled bathroom floor looks aesthetically pleasing while minimizing wastage and avoiding awkward tile cuts. Follow these steps:
1. Determine your layout: Start by deciding which direction you want your tiles to run. Consider factors such as room size, natural light sources, and patterns You want to create. Mark the starting point and lay out a few tiles to visualize how they will look.
2. Measure and calculate: Measure the dimensions of your bathroom floor and calculate the number of tiles needed. Account for any cuts or waste by adding an extra 10% to your calculation.
3. Create a grid: Use a chalk line or tile spacers to create a grid on the floor, ensuring equal spacing between tiles. This will help guide your tile installation process.
4. Dry lay the tiles: Before applying adhesive, dry lay the tiles on the floor to check if they fit properly and make any necessary adjustments.
FAQs:
Q1: Why is planning and layout important for tiling?
Answer: Proper planning ensures that you achieve the desired aesthetic outcome, minimize wastage, and avoid awkward tile cuts.
Q2: How do I calculate the number of tiles needed?
Answer: Measure the length and width of your bathroom floor in inches or centimeters. Multiply these measurements to get the total square footage. Divide this number by the size of one tile to determine how many tiles you need. Don’t forget to add 10% for cuts and waste.
IV. Applying Adhesive and Installing Tiles:
Once you have prepared the floorboards, added an underlayment, and planned your layout, it’s time to start installing the tiles. Follow these steps:
1. Mix the adhesive: Follow the manufacturer’s instructions to mix the adhesive properly. Use a trowel to create a smooth consistency without any lumps.
2. Apply the adhesive: Use the flat side of the trowel to spread a layer of adhesive on a small section of the floor. Work in small areas to prevent the adhesive from drying out before you can lay the tiles.
3. Lay the tiles: Press each tile firmly into the adhesive, following your planned layout. Use tile spacers to maintain consistent spacing between tiles.
4. Cut tiles if necessary: Use a wet saw or tile cutter to make any necessary cuts to fit tiles around fixtures or along edges.
5. Allow for drying time: Let the adhesive dry according to the manufacturer’s instructions before grouting the tiles.
FAQs:
Q1: How long does it take for the adhesive to dry?
Answer: Drying times can vary depending on the type of adhesive used and environmental conditions. Follow the manufacturer’s instructions for specific drying times.
Q2: Can I walk on the newly installed tiles immediately?
Answer: It is best to wait at least 24 hours before walking on the newly installed tiles to allow the adhesive to fully set and dry.
6. Grout the tiles: Once the adhesive has dried, it’s time to grout the tiles. Follow these steps:
1. Mix the grout: Follow the manufacturer’s instructions to mix the grout properly. Use a trowel or grout float to create a smooth consistency without any lumps.
2. Apply the grout: Use the grout float to spread the grout over the tiles, making sure to fill in all the gaps between them. Hold the float at a 45-degree angle and work in small sections at a time.
3. Clean off excess grout: After applying the grout, use a damp sponge to gently wipe away any excess grout from the surface of the tiles. Rinse and wring out the sponge regularly to keep it clean.
4. Let it dry: Allow the grout to dry for the recommended amount of time according to the manufacturer’s instructions.
5. Seal the grout (optional): If desired, you can apply a sealer to protect and enhance the appearance of the grout. Follow the manufacturer’s instructions for application and drying times.
FAQs:
Q1: How long does it take for the grout to dry?<><<><<<><<<>
Answer: Drying times can vary depending on factors such as humidity and temperature. It usually takes 24-48 hours for grout to fully dry, but it’s best to follow the manufacturer’s instructions for specific drying times.
Q2: Do I need to seal the grout?
Answer: Sealing the grout is optional, but it can help protect it from stains and make it easier to clean. Consider sealing the grout, especially in high-traffic areas or in bathrooms and kitchens where spills are common.
Can you tile a bathroom floor directly on top of floorboards?
Yes, it is possible to tile a bathroom floor directly on top of floorboards. However, there are a few important considerations to keep in mind:1. Stability: Ensure that the floorboards are stable and not prone to movement or flexing. If the floorboards are old or damaged, it may be necessary to reinforce or replace them before tiling.
2. Subfloor Preparation: Make sure the floorboards are clean and free from any debris or dust. It is recommended to install a cement backer board or an uncoupling membrane over the floorboards to provide a stable and flat surface for the tiles.
3. Moisture Protection: Bathrooms are prone to moisture and water exposure, so it is essential to install a waterproofing membrane before tiling. This will help prevent water damage and ensure the longevity of the tiles and subfloor.
4. Height Considerations: Adding extra layers like backer board and tiles might increase the overall height of the bathroom floor. Check if this could cause any issues with door clearances or transitions to other rooms.
5. Professional Opinion: If you’re unsure about your specific situation, it’s best to consult with a professional contractor or tile installer who can assess the condition of your floorboards and provide appropriate recommendations for your bathroom tiling project.