Kitchen flooring made out of hardwood endures a lot longer than some other options, in any case it does need to experience resurfacing every once in a while. You are able to decide to select the higher laminate grades in case you will be placing demands which are high on your floor for the sake of durability. This flooring is really durable which it can take care of liquids and objects getting dropped on it.
Here are Images about How To Replace Kitchen Floor Vinyl
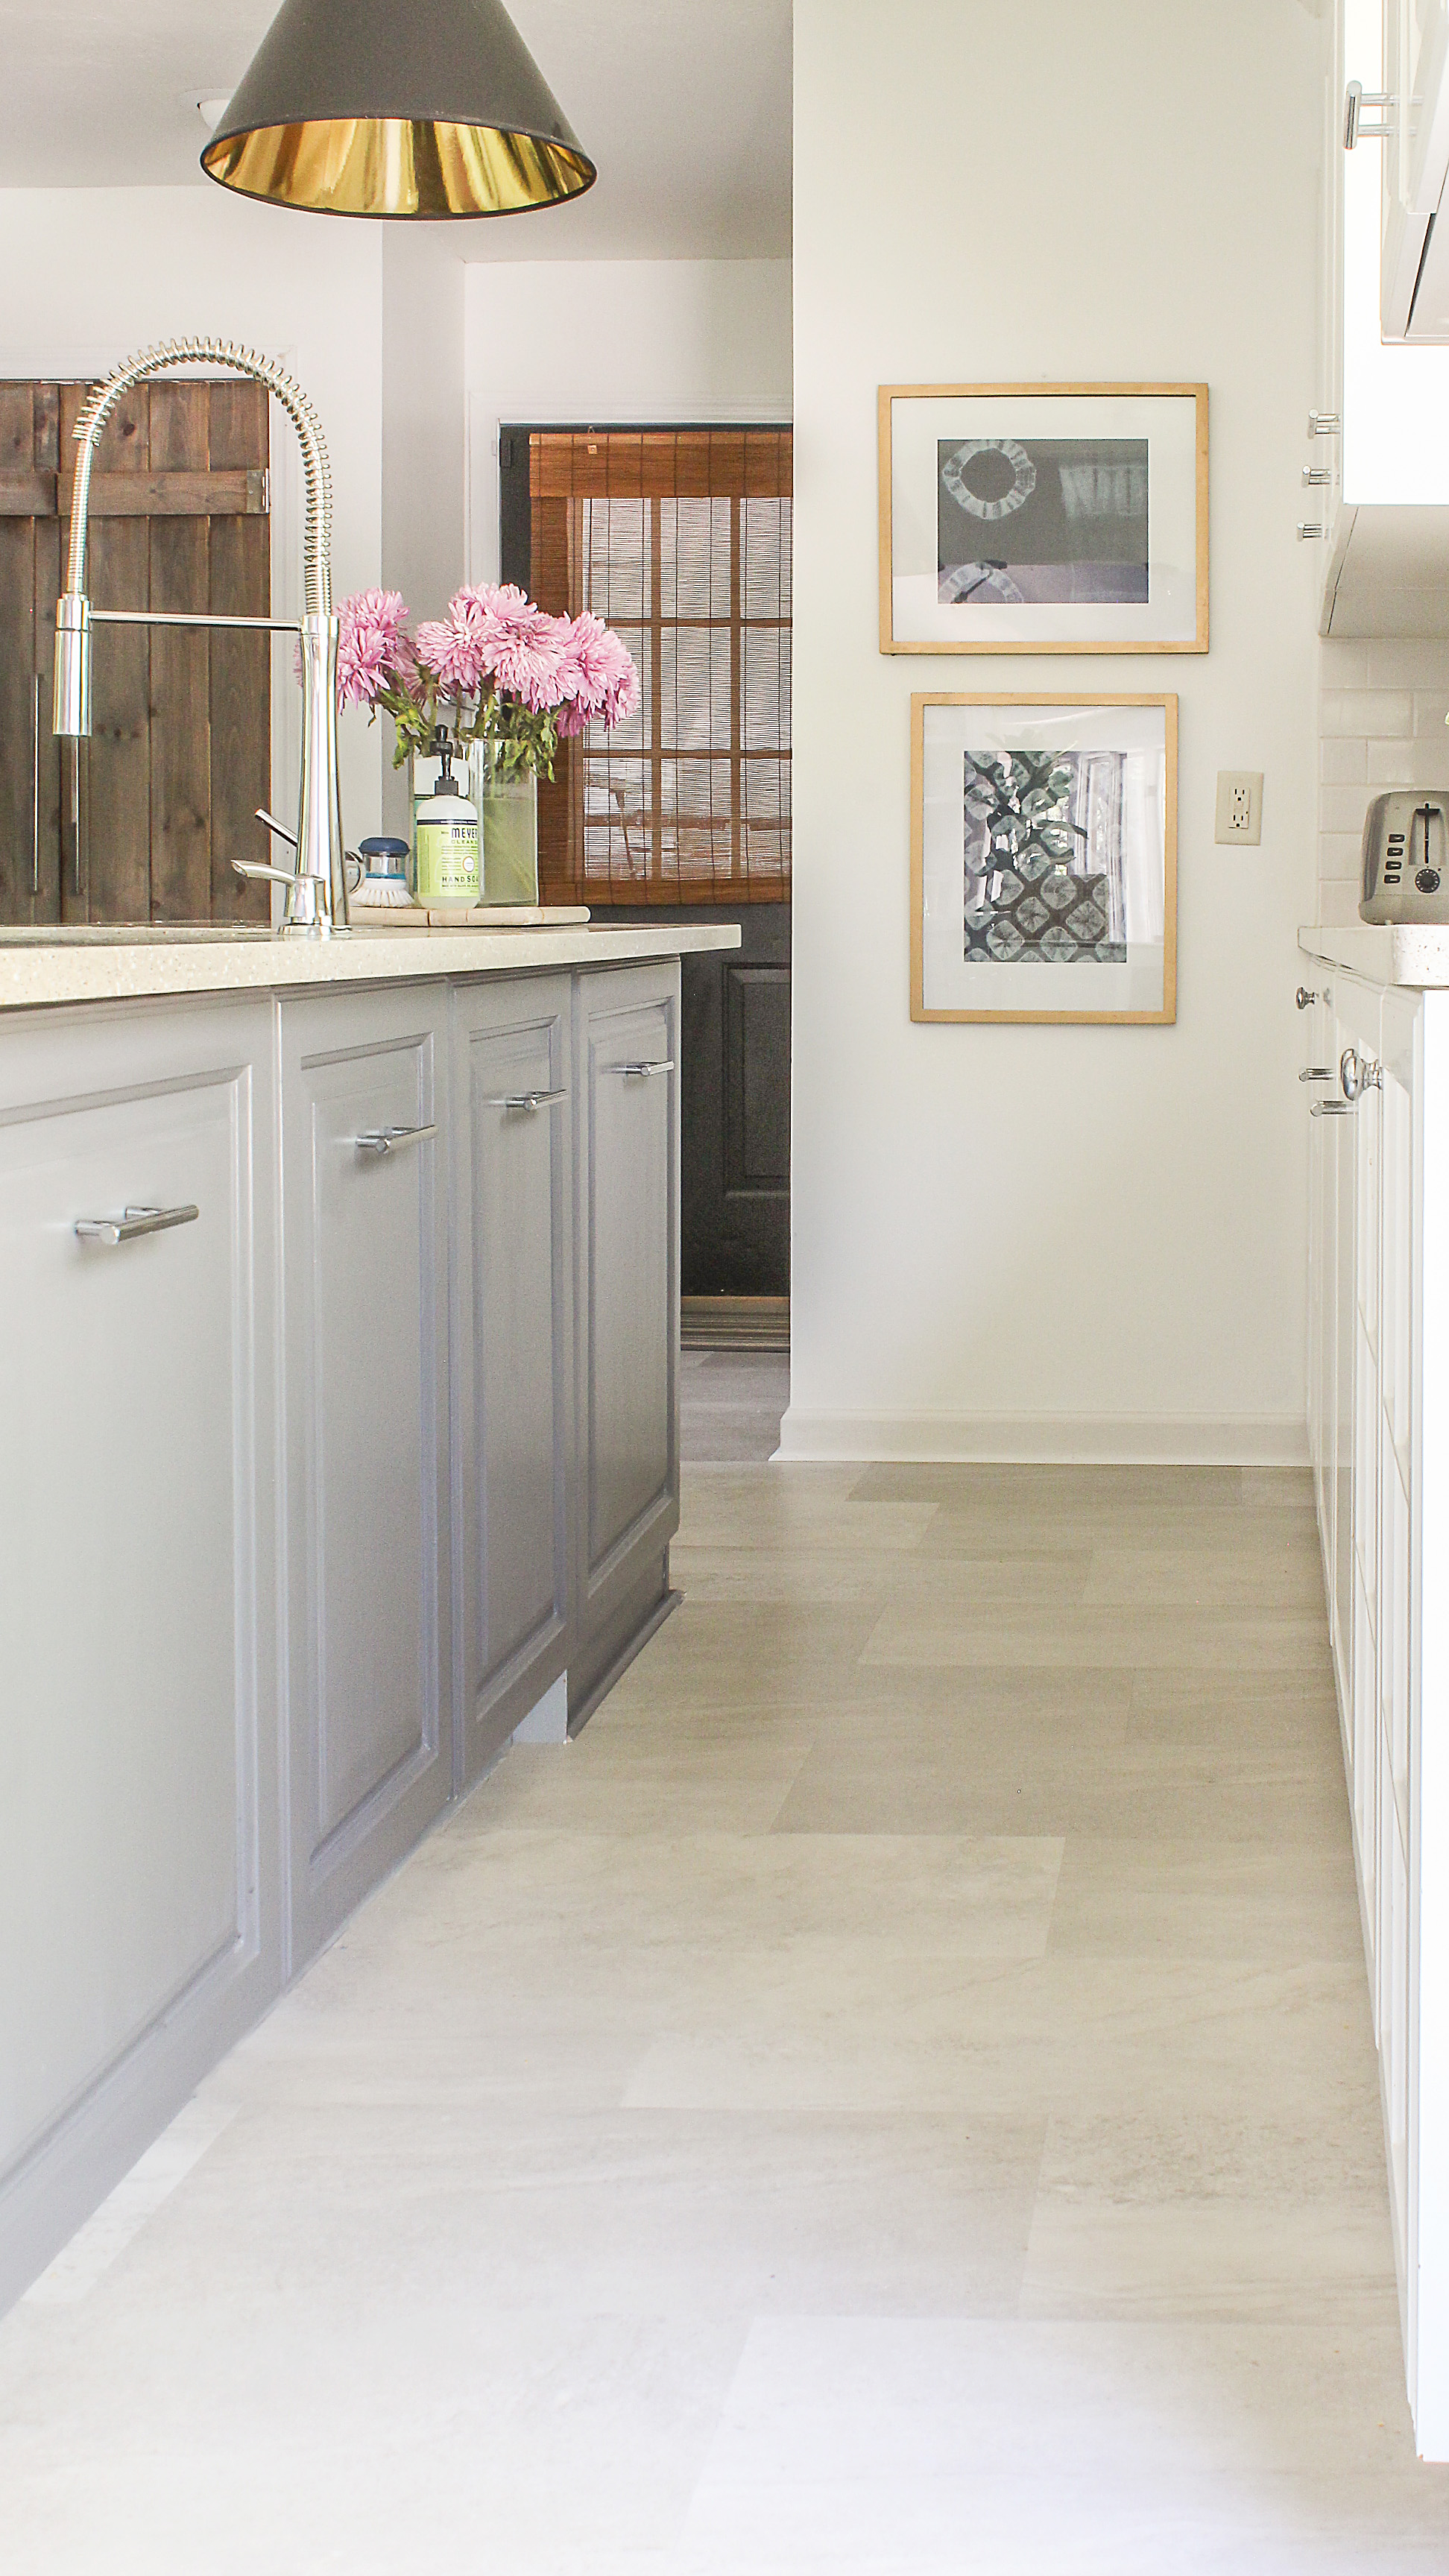
How To Replace Kitchen Floor Vinyl
In spite of the best type of sealant if you allow water by sitting on top of your cork floors it's about to damage them so I continually advise a mat where water is a possible problem together with making certain that any liquid spill is wiped up instantly. They include bar stools to sit on and everyone can talk and take pleasure in the cooking experience together.
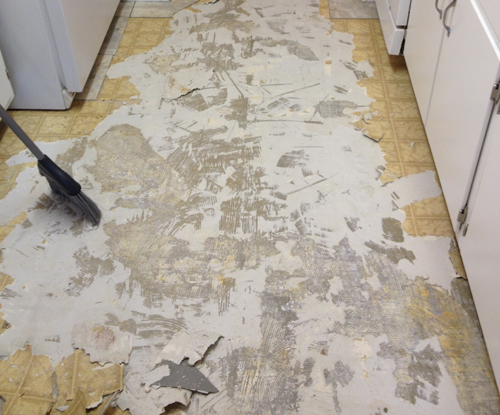
Tearing Out Old Kitchen Flooring PlanItDIY

Bamboo kitchen Flooring allows you to bring the beauty of the outside the house into the kitchen of yours. It's durable, it is long-lasting, and It is extremely affordable. Wood floors is obviously a prospective fire hazard as it is made out of wood as well as wood skin burns so make certain that whatever wood floors you purchase has been treated to help retard a fire within the affair that you are unfortunate enough to get it happen to you.
Images Related to How To Replace Kitchen Floor Vinyl
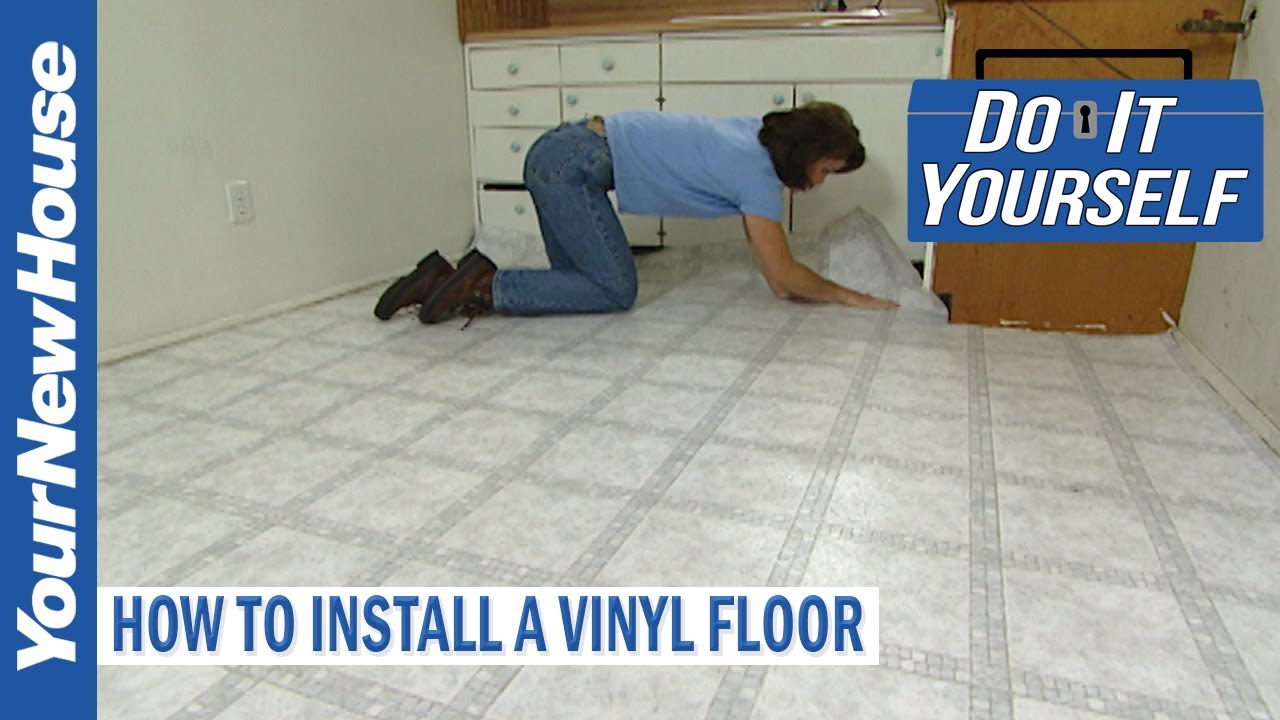
How to Install a Vinyl Floor – Do It Yourself
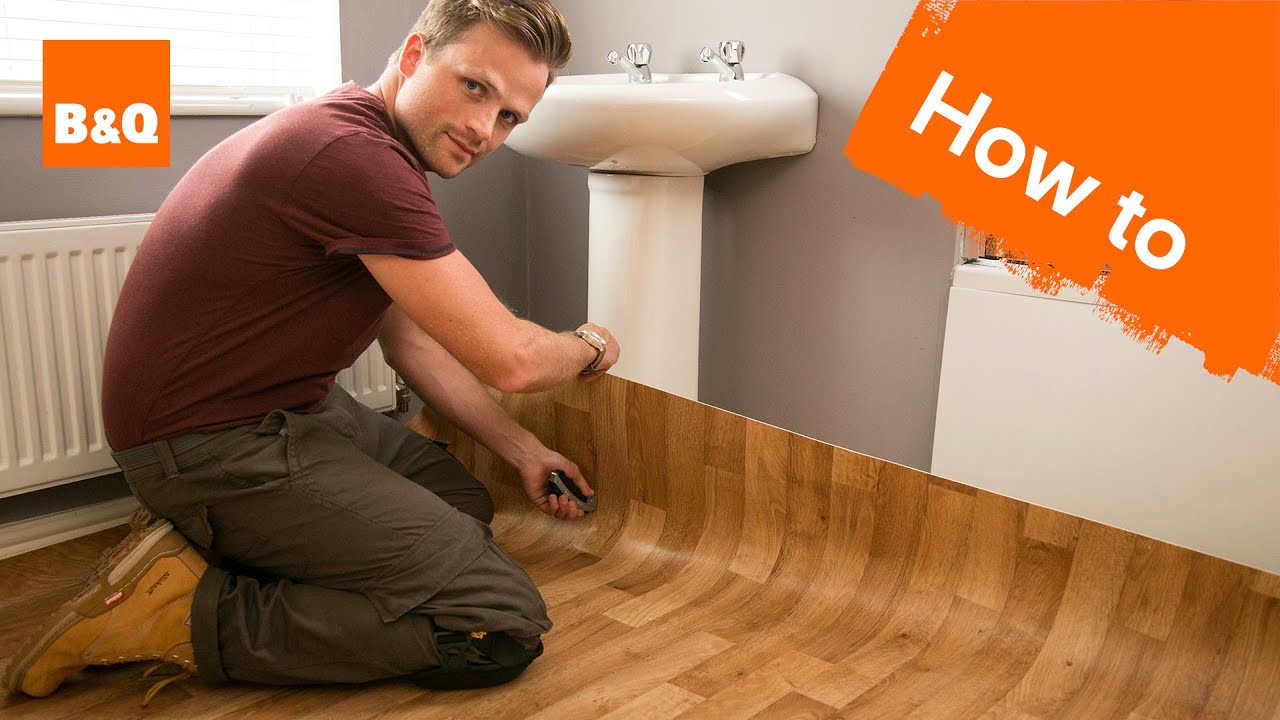
How to lay sheet vinyl flooring
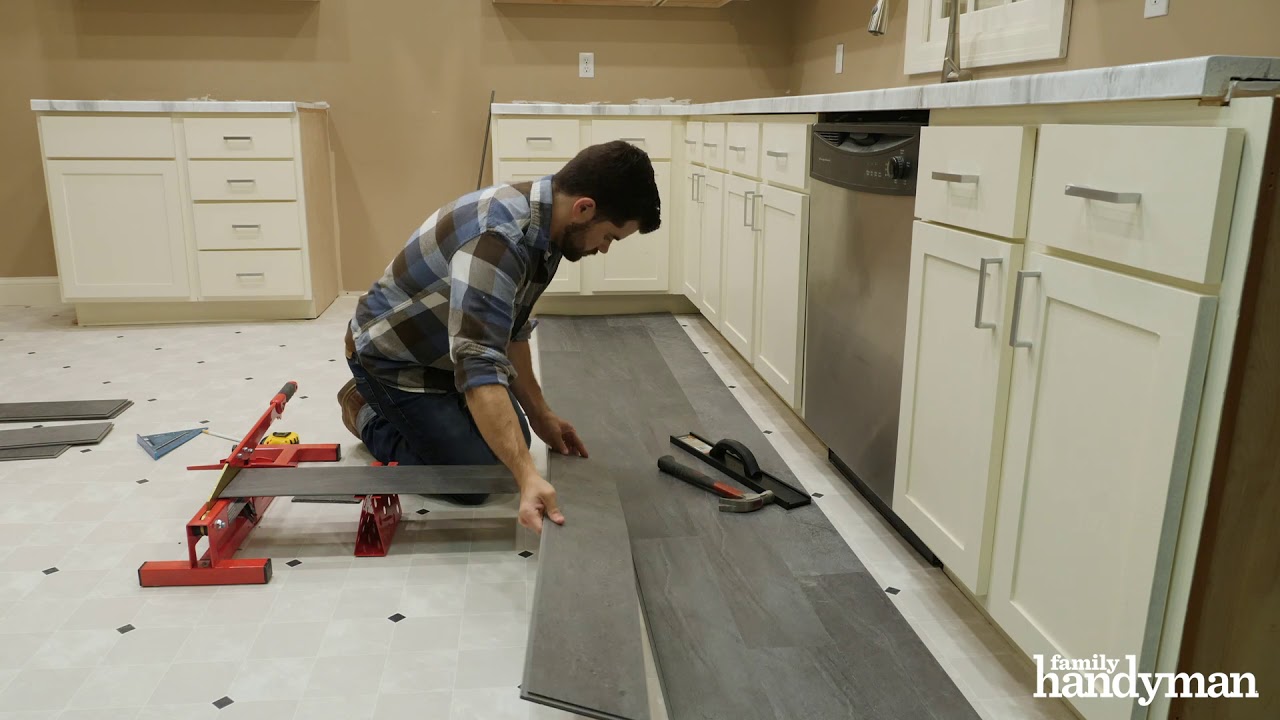
How to Install Vinyl Plank Flooring as a Beginner Home Renovation

Tips for Installing Luxury Vinyl Tile
LVT Flooring Over Existing Tile the Easy Way – Vinyl Floor
Tearing Out Old Kitchen Flooring PlanItDIY
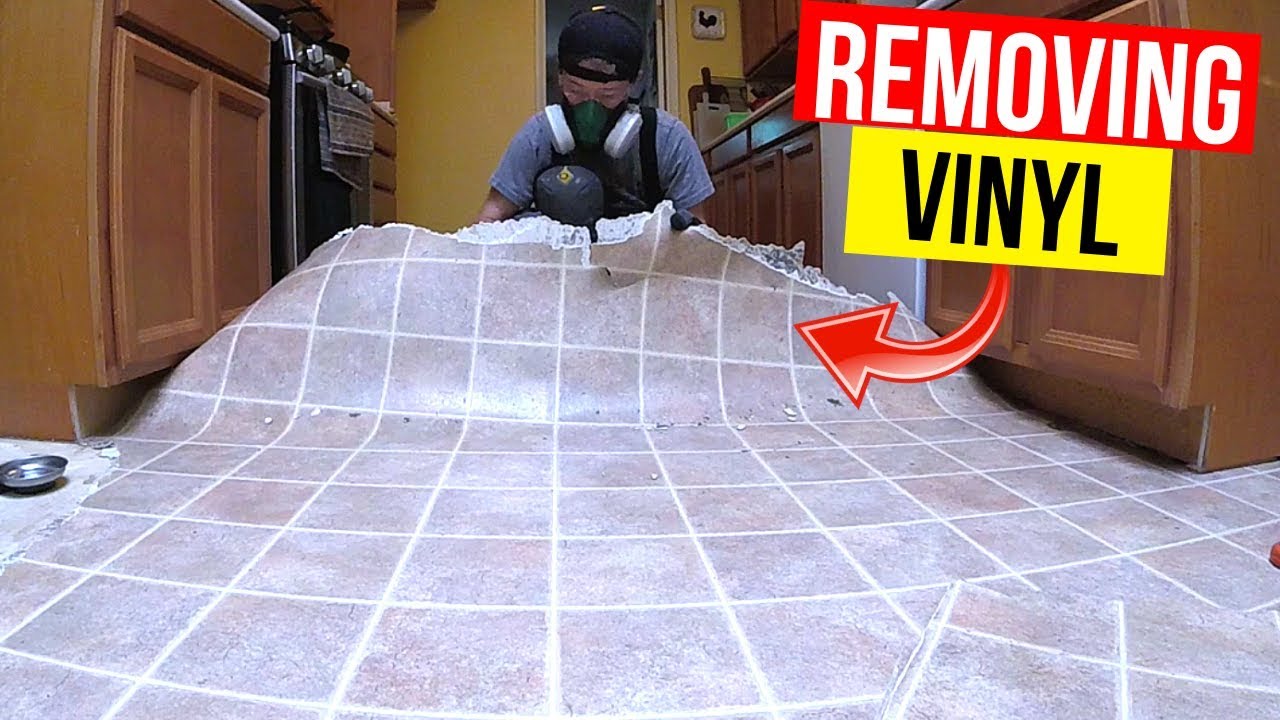
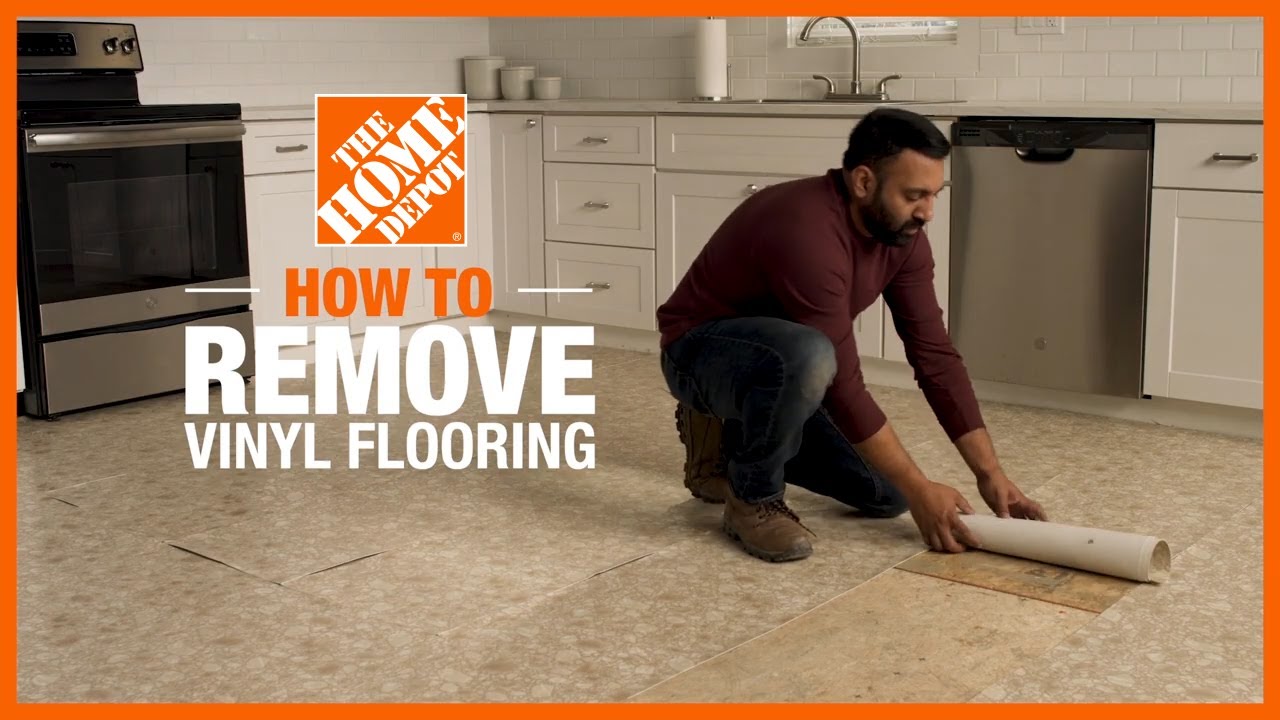
How to Remove Vinyl Flooring
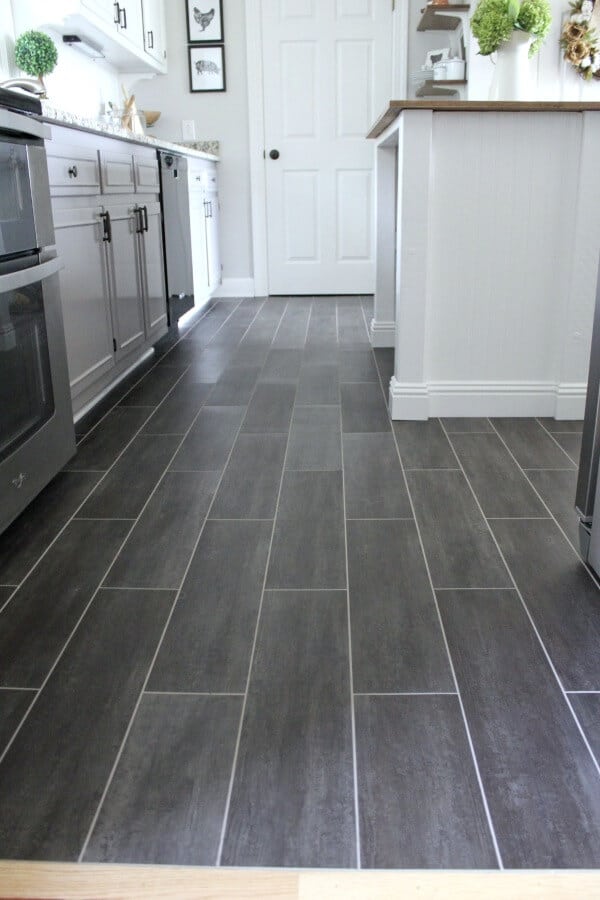
DIY Flooring: How We Changed our Kitchen in 3 days for Less than
Vinyl flooring for kitchens: 14 floor ideas made from vinyl Real

Fast Fixes for Vinyl Floors – This Old House
/cdn.vox-cdn.com/uploads/chorus_asset/file/19489184/vinyl_floors_x.jpg)
LVT Flooring Over Existing Tile the Easy Way – Vinyl Floor

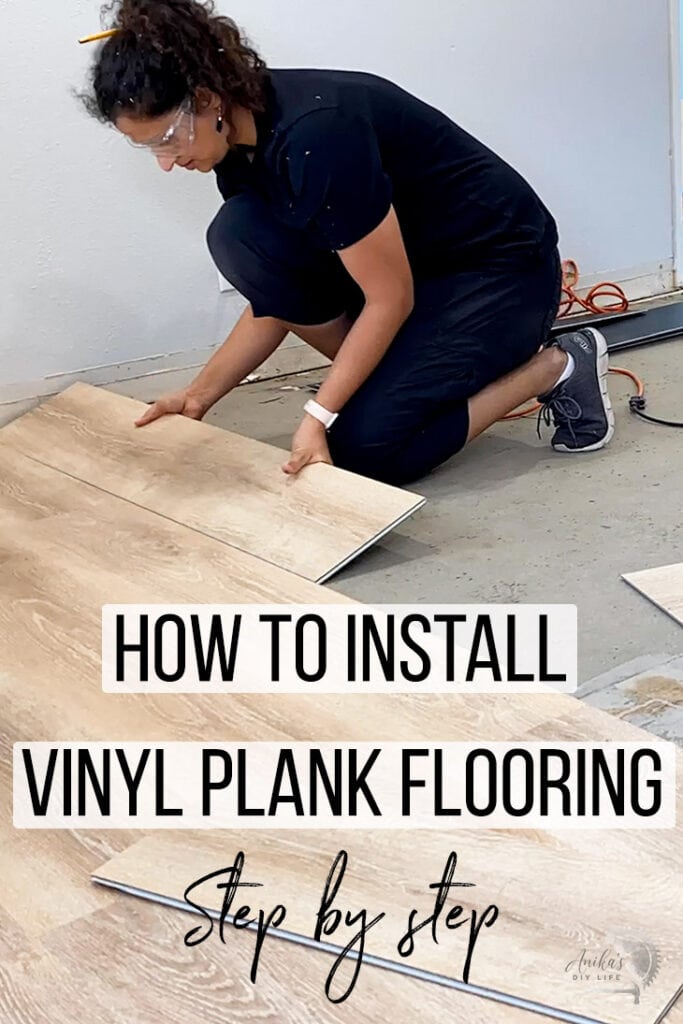
Installing Vinyl Plank Flooring For Beginners – Anikau0027s DIY Life
Related articles:
- Stained Concrete Basement Floor
- Finishing Basement Floor
- Refinish Concrete Basement Floor
- Best Flooring For Basement
- Basement Gym Flooring Ideas
- Laminate Flooring In Basement
- Basement Concrete Floor Sweating
- Basement Floor Finishing Ideas
- Painting Unfinished Basement Floor
- Unique Basement Flooring
Step 1: Choose Your Vinyl Flooring
When choosing your new kitchen floor vinyl, there are a few things you should consider. First, decide what type of vinyl you want; there are several options such as luxury vinyl planks and tiles, sheet vinyl, and more.
You should also look at the wear rating and thickness of the product you choose. The wear rating tells you how well the product can withstand scratches and scuffs, while the thickness will help determine how durable it is.
Finally, pick a color or pattern that matches the rest of your kitchen decor. With so many options available, you’re sure to find something that fits your style perfectly.
Step 2: Preparing the Floor
Before you can install your new kitchen floor vinyl, you need to prepare the surface for installation. Start by removing any existing flooring material and thoroughly cleaning the subfloor with a vacuum and damp mop.
Next, use a level to make sure the subfloor is even. If there are any low spots or high spots, you can use self-leveling compound or concrete patching compound to even out the surface.
You should also inspect the subfloor for signs of moisture or water damage before installing your new flooring. If you find any areas that need repair, make sure to fix them before continuing with installation.
Step 3: Installing Your Kitchen Floor Vinyl
Once the subfloor is prepped and ready to go, it’s time to start installing your kitchen floor vinyl. Depending on what type of product you chose, there are different methods for installation.
For example, luxury vinyl planks and tiles require an adhesive while sheet vinyl may require seaming or heat welding. Follow the manufacturer’s instructions carefully to ensure a successful installation.
Once all of the pieces are in place, use a rolling pin or weighted roller to ensure that they are securely adhered to the subfloor. Make sure to pay special attention to any seams or edges where pieces meet; this will help prevent any air pockets from forming.
Step 4: Finishing Touches
Now that your kitchen floor vinyl is installed, it’s time for some finishing touches. For example, if you’re using luxury vinyl tiles or planks, you may want to add grout between them for extra protection against moisture and dirt buildup.
You should also consider adding trim around the edges of your room if needed for a more finished look. If you have stairs leading into your kitchen, be sure to add stair nosing along each step as well.
Finally, take some time to clean up any excess adhesive or materials you may have used during installation and enjoy your brand new kitchen floor!
Common Questions & Answers:
Q: Do I need special tools to install kitchen floor vinyl?
A: You may need some specific tools depending on what type of product you choose; luxury vinyl planks and tiles typically require an adhesive while sheet vinyl may require seaming or heat welding tools. It’s best to consult the manufacturer’s instructions beforehand so that you have everything you need for installation.
Q: How do I clean my new kitchen floor vinyl?
A: To keep your new kitchen floor vinyl looking its best, sweep it regularly with a soft bristled broom and mop it with warm water and a mild detergent designed specifically for vinyl floors. You should also avoid using harsh cleaners or abrasive scrubbing pads as these may damage the surface over time.
Q: How long will my kitchen floor vinyl last?
A: The lifespan of your kitchen floor vinyl depends on several factors such as how well it is maintained and its quality/thickness when installed.