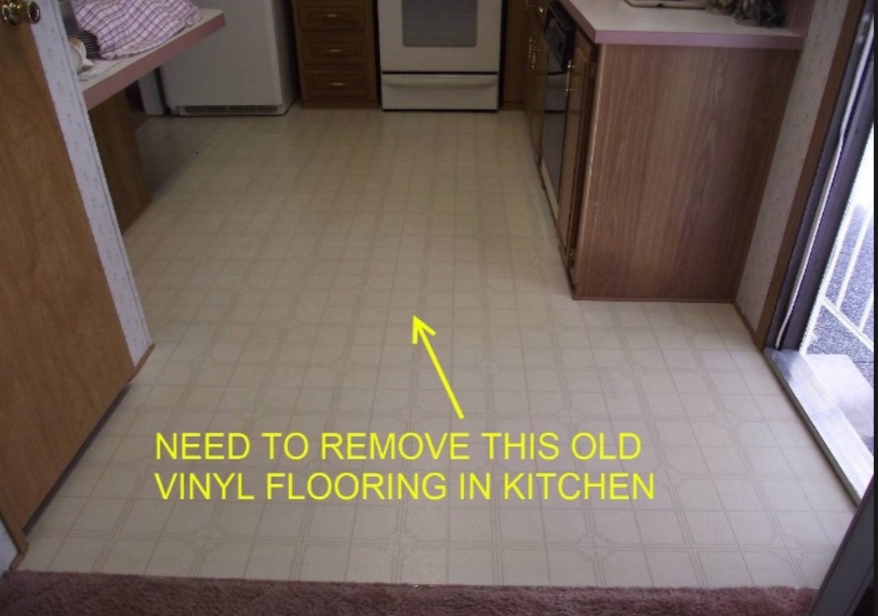
Gathering Tools and Preparing the Area
Before starting the removal process, gather essential tools such as a utility knife, scraper, heat gun, adhesive remover, and safety gear. Clear the area of any furniture and appliances to ensure an unobstructed workspace. Wear gloves and knee pads for protection. Preparing the area and having the right tools on hand will make the task more manageable and efficient, ensuring a smooth removal process.
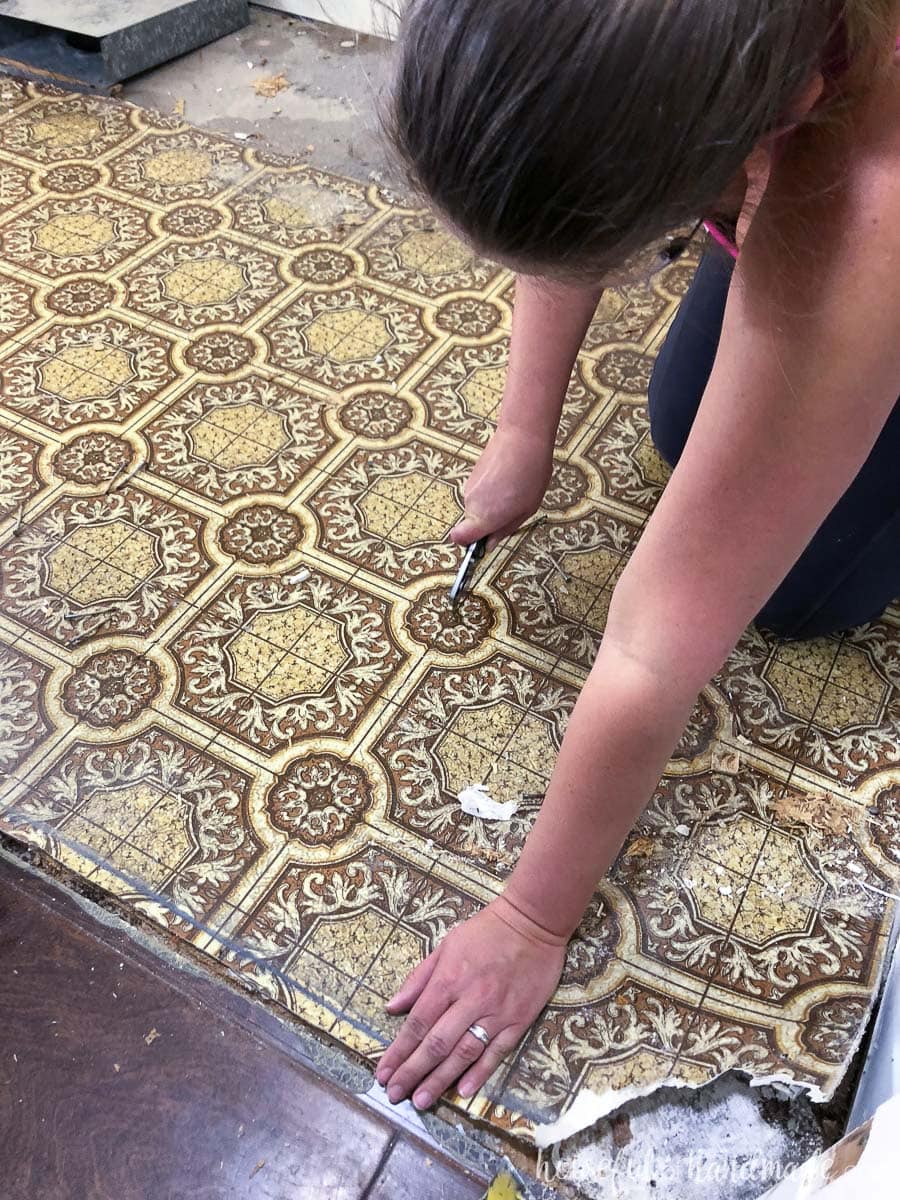
Cutting and Lifting the Flooring
Begin by cutting the vinyl flooring into manageable strips using a utility knife. Make parallel cuts approximately 6-12 inches wide across the floor. This step helps in breaking down the flooring into smaller sections, making it easier to handle. Once cut, use a scraper to lift the edges of each strip. Gently pull up the vinyl, applying steady pressure to avoid tearing. Continue this process until all sections are removed, revealing the adhesive layer beneath.
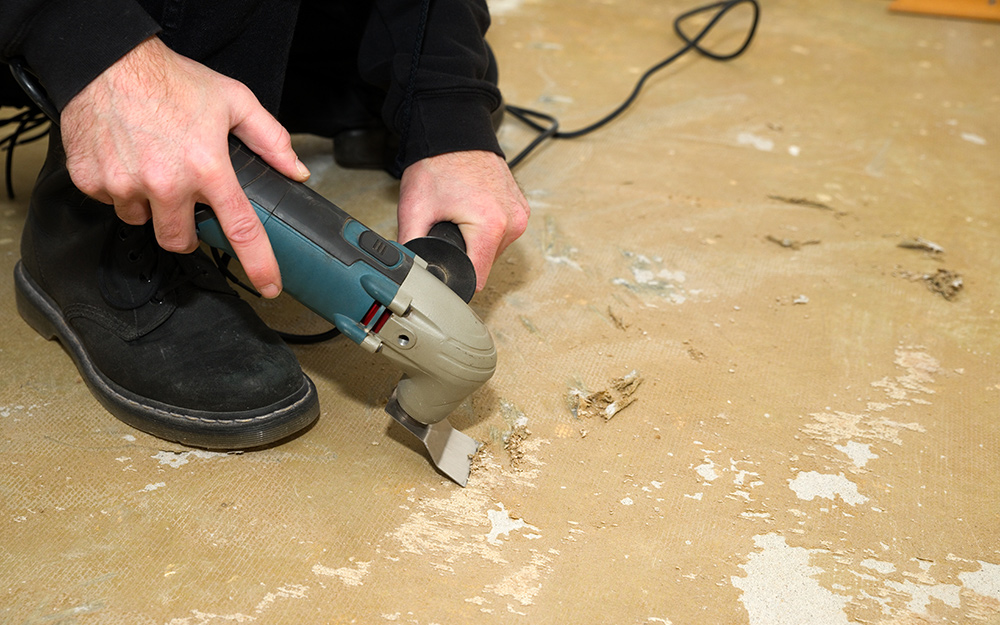
Removing Adhesive Residue
After removing the vinyl flooring, you will likely encounter adhesive residue on the subfloor. Use a heat gun to soften the adhesive, making it easier to scrape off. Hold the heat gun a few inches away from the adhesive and move it in a back-and-forth motion. As the adhesive softens, use a scraper to lift and remove it. For stubborn areas, apply an adhesive remover and let it sit for a few minutes before scraping. Patience and persistence are key to thorough adhesive removal.
Cleaning the Subfloor
With the adhesive removed, it’s time to clean the subfloor. Sweep or vacuum the area to remove any loose debris. Wipe down the subfloor with a damp cloth or mop to eliminate any remaining adhesive residue and dust. Ensure the subfloor is completely dry before proceeding with any new flooring installation. A clean and smooth subfloor is essential for achieving a professional finish with your new flooring.
Inspecting and Repairing the Subfloor
Inspect the subfloor for any damage, such as cracks, holes, or uneven areas. Address these issues by filling in cracks and holes with a suitable filler and sanding down uneven spots. Ensuring the subfloor is in good condition provides a solid foundation for your new flooring. Making any necessary repairs now will prevent future problems and ensure a long-lasting, high-quality installation.
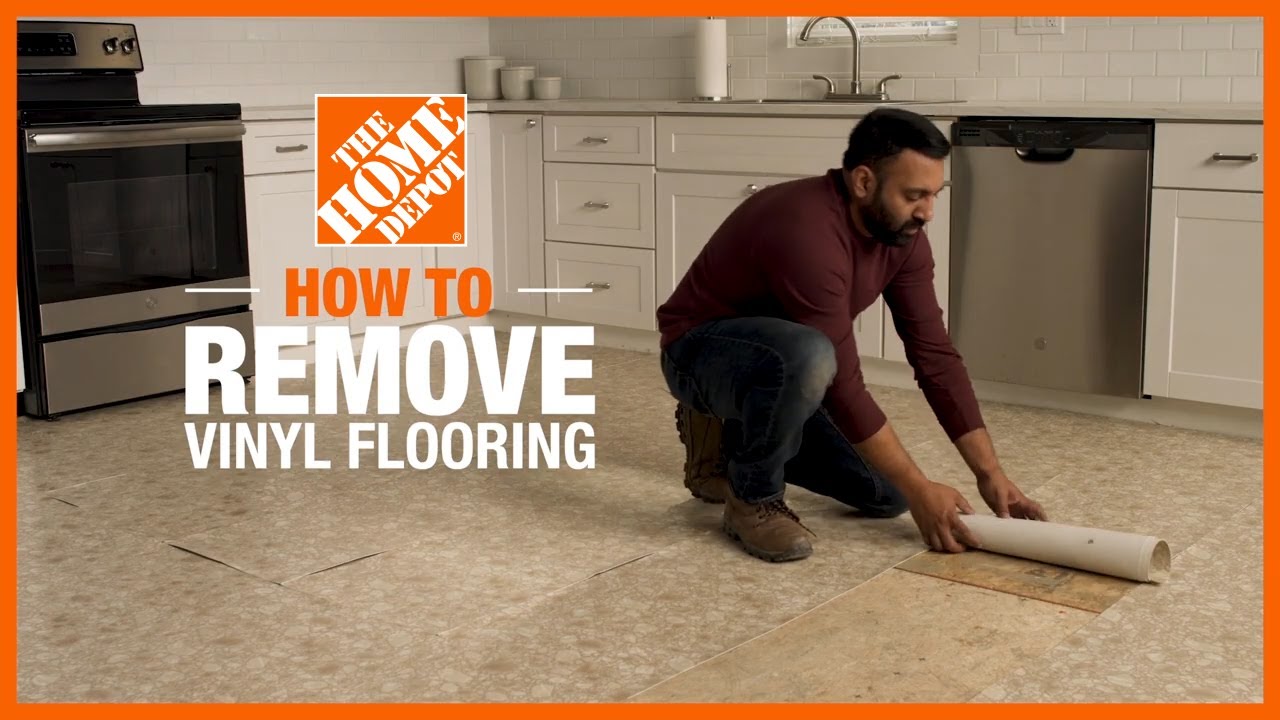
How to Remove Vinyl Flooring
How to Easily Remove Linoleum – Houseful of Handmade

Related articles: