They come in a variety of sizes, shapes and colors to meet the specific styling must have of yours. Pick designs which flow into one another to create the complete outcome pleasing to the eye. You will find over a couple of things to sense about when you're choosing to decorate the home of yours. It might have had a marble swirl added to it, but on the complete it was very plain looking.
Images Related to How To Remove Laminate Tile Flooring
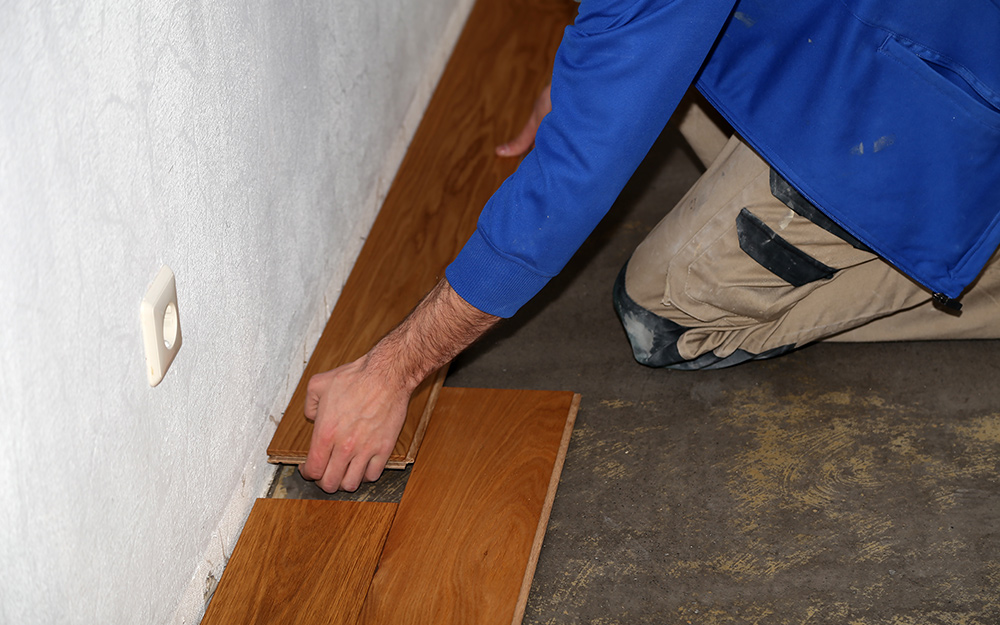
How To Remove Laminate Tile Flooring

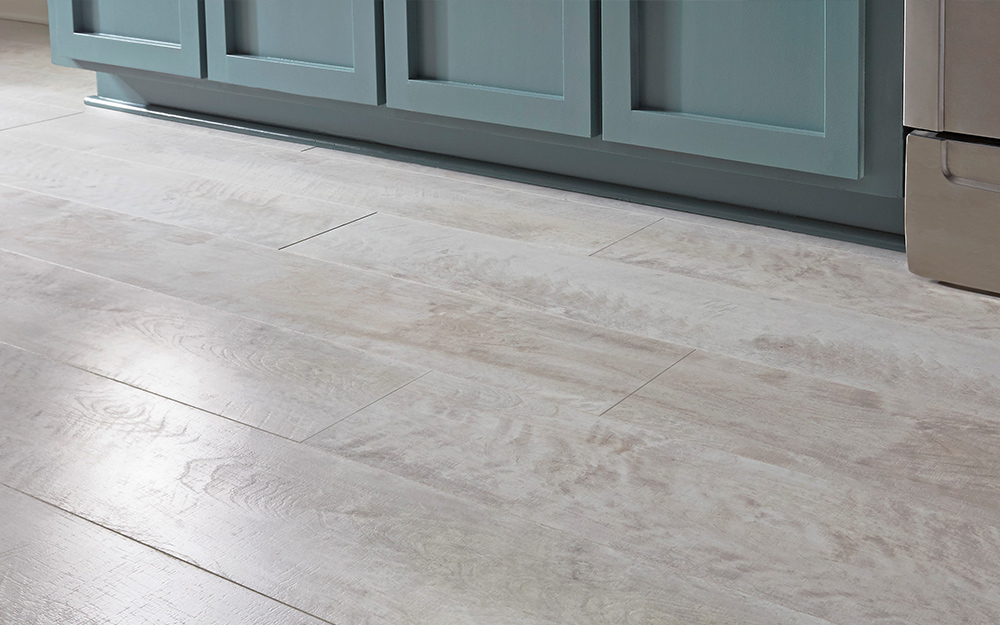
Ceramic tile is able to seem Southwestern, starkly contemporary or smoothly traditional. Whenever you used to think of floor tile flooring, you might have believed cream, off white, or black colored as that was virtually what was available. Whatever strategy you opt to learn from, take copious notes to be able to do a wonderful job on ones own. In terms of upkeep, tile flooring is actually one of the simplest to manage.
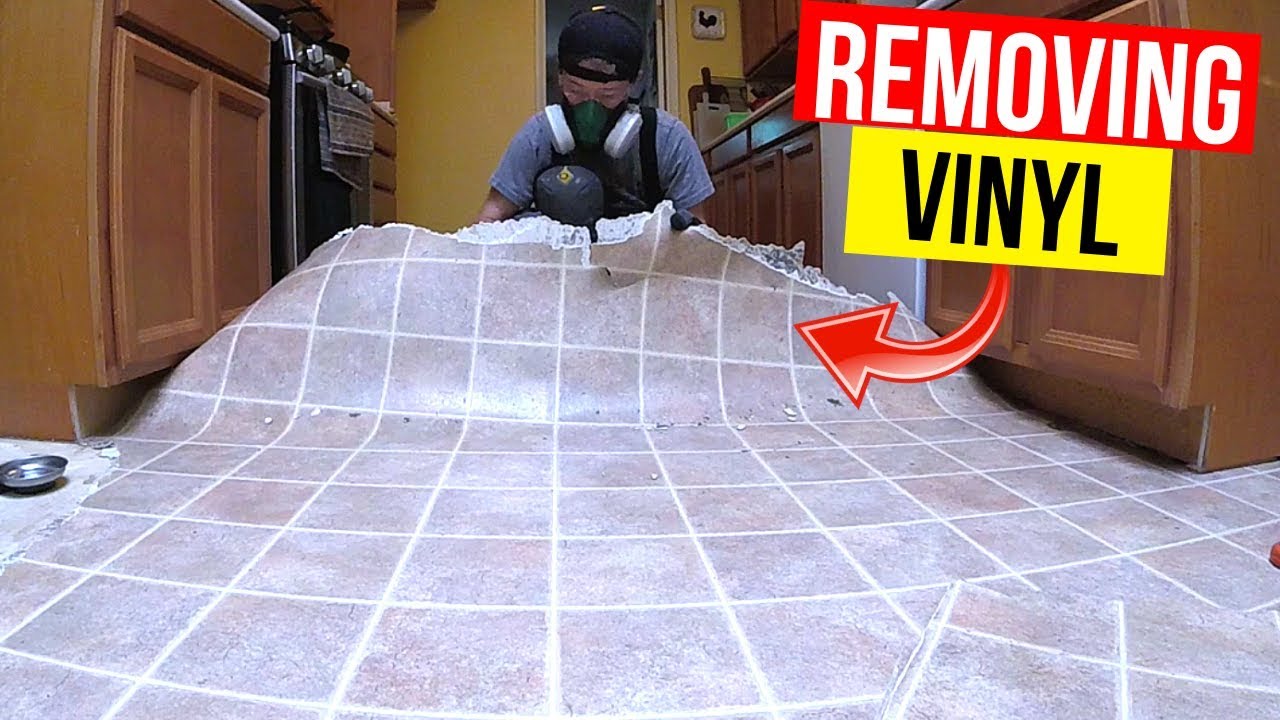
How To Remove Vinyl or Linoleum Flooring -Jonny DIY
When you plan to market the house of yours or even set it up for rent, then you're guaranteed to find a much better resale value for tile for the floor flooring homes rather than every other flooring type. Due to this particular changeability, tiles are excellent for all those individuals that want to modify the look of a floor. process isn't only easy but is also quite rapidly.
How to Remove Laminate Flooring
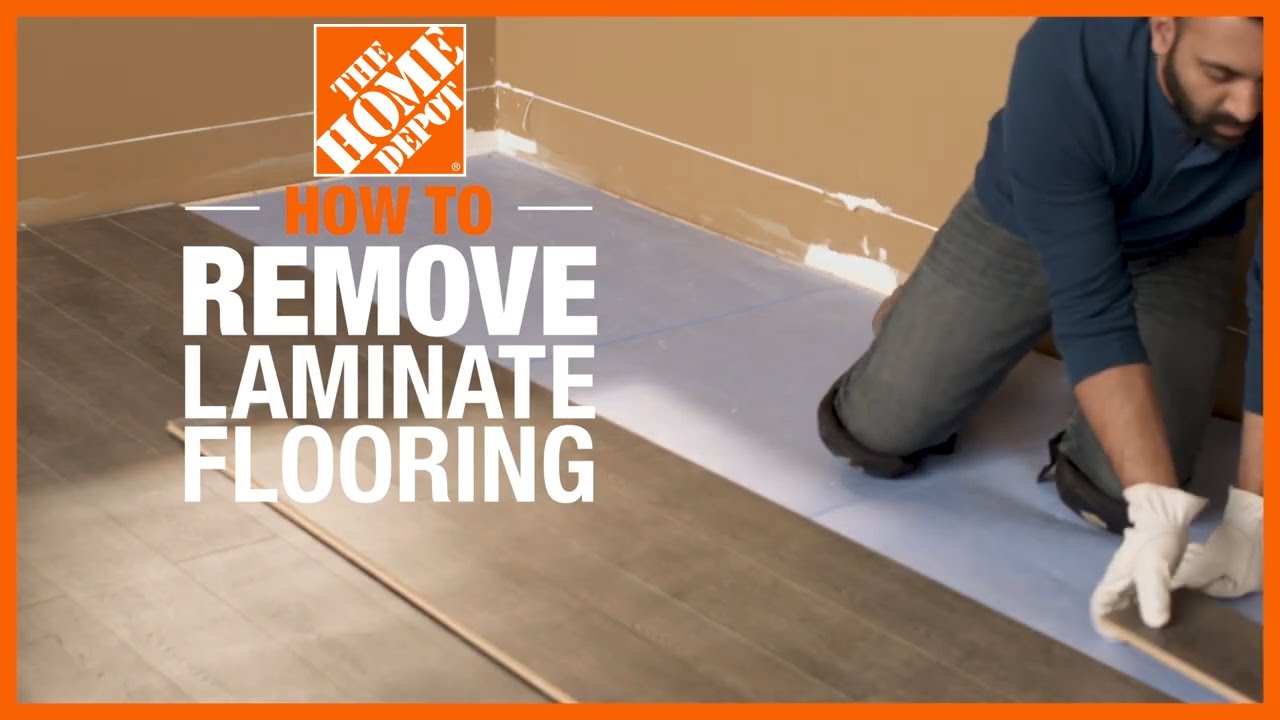
How To Remove Laminate Flooring
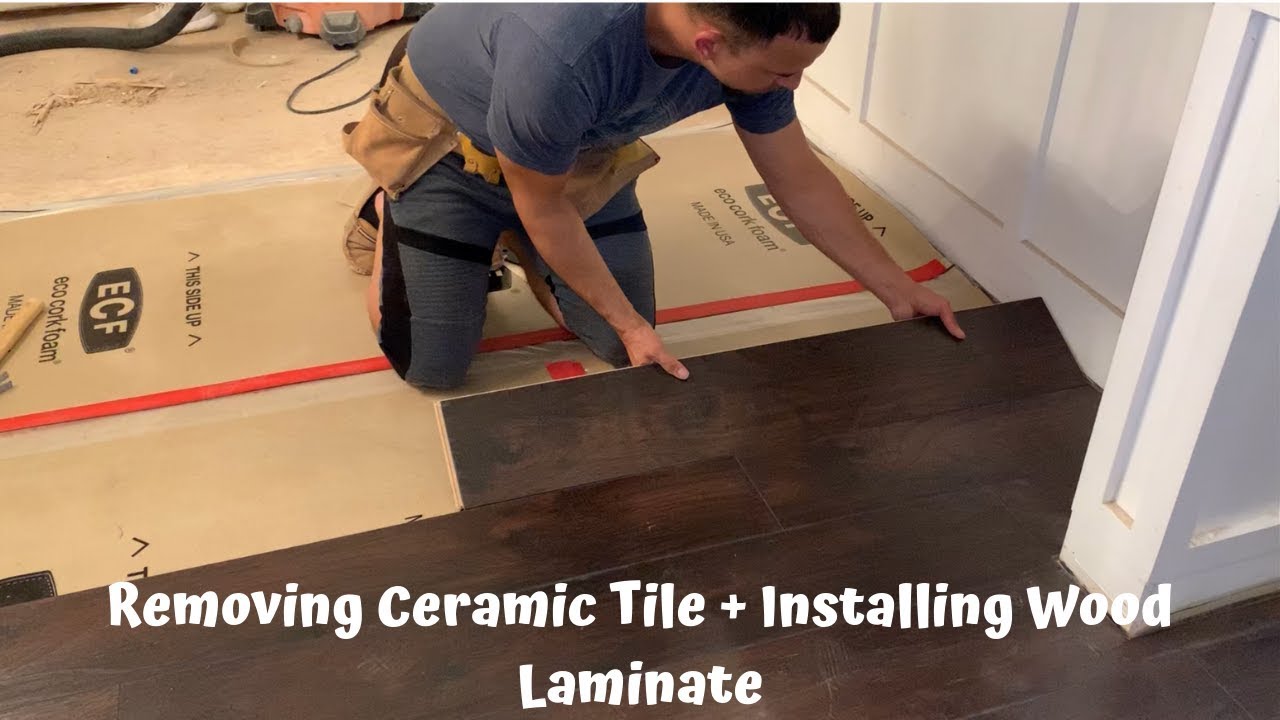
Removing Ceramic Tile + Installing Wood Laminate
How to Remove Vinyl Flooring
How to Remove Vinyl Flooring
/RemovingVinylFlooring-5b561e26c9e77c00372a8ae6.JPG)
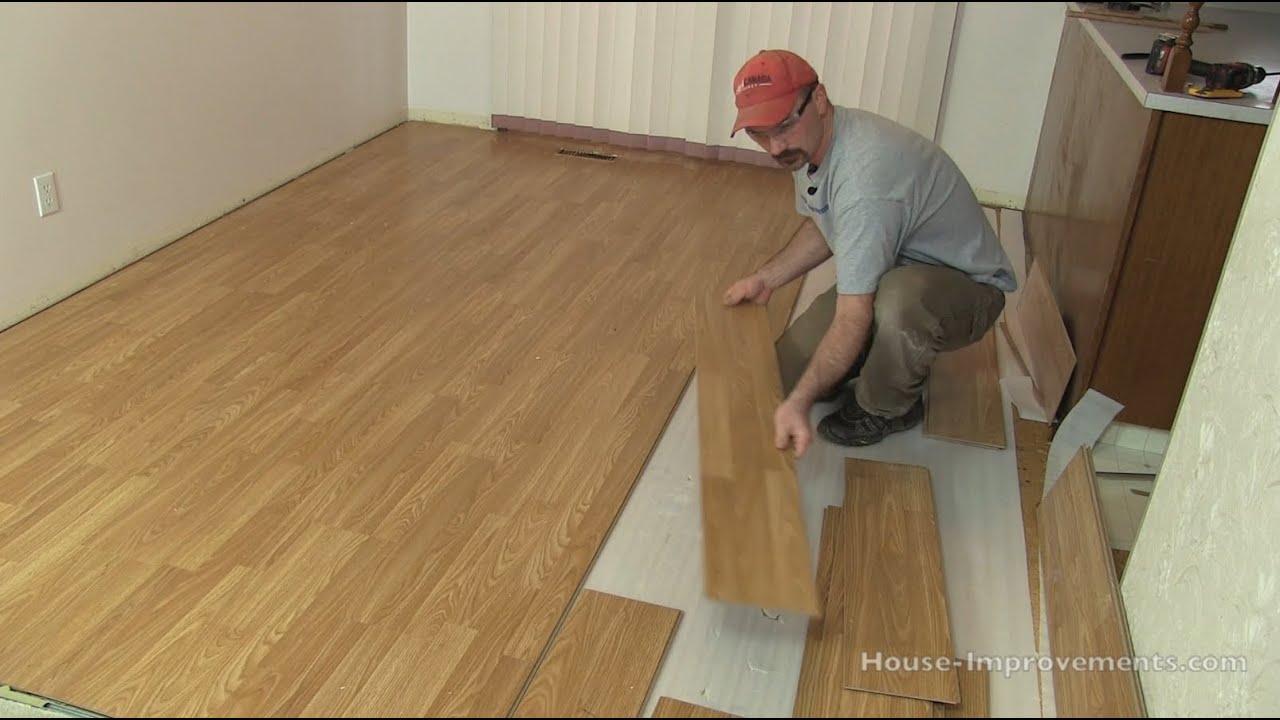
How to Remove Laminate Flooring
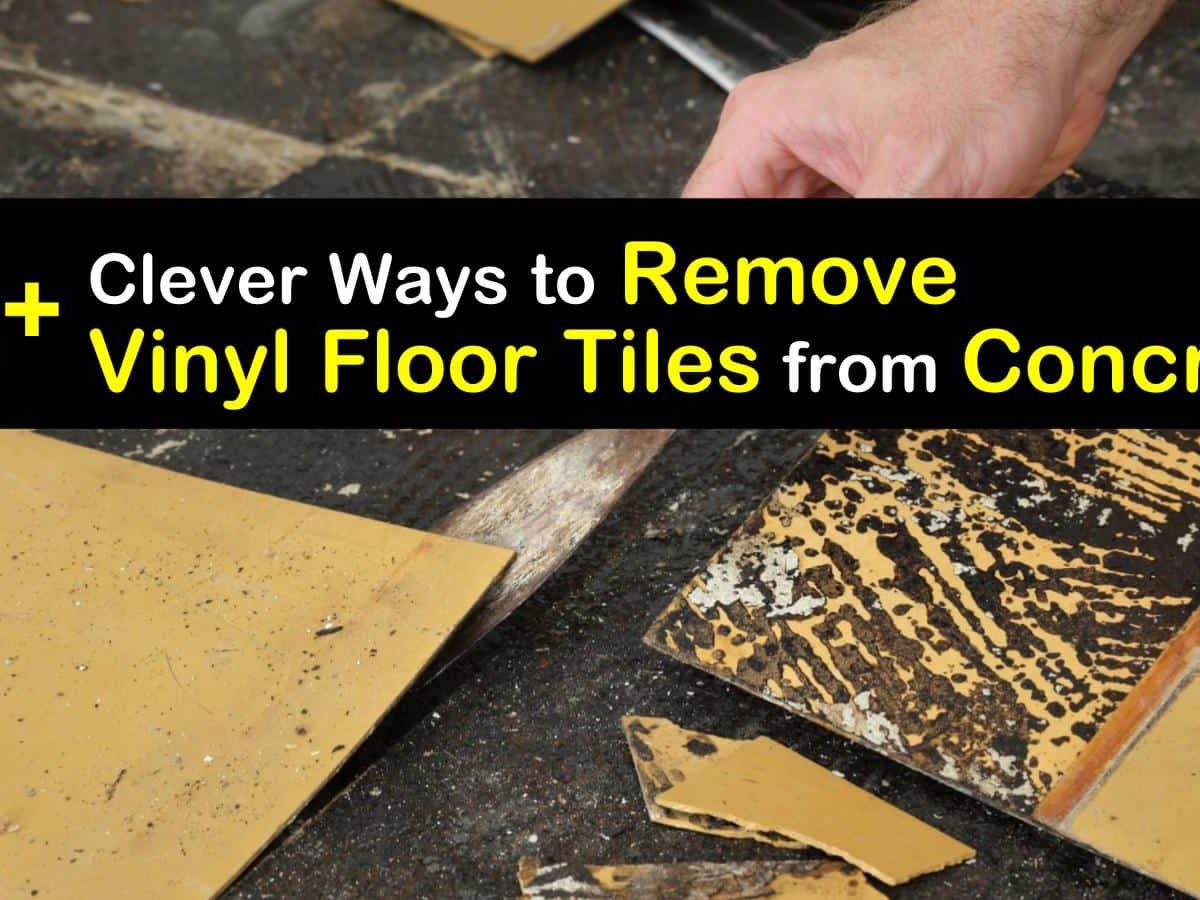
4+ Clever Ways to Remove Vinyl Floor Tiles from Concrete
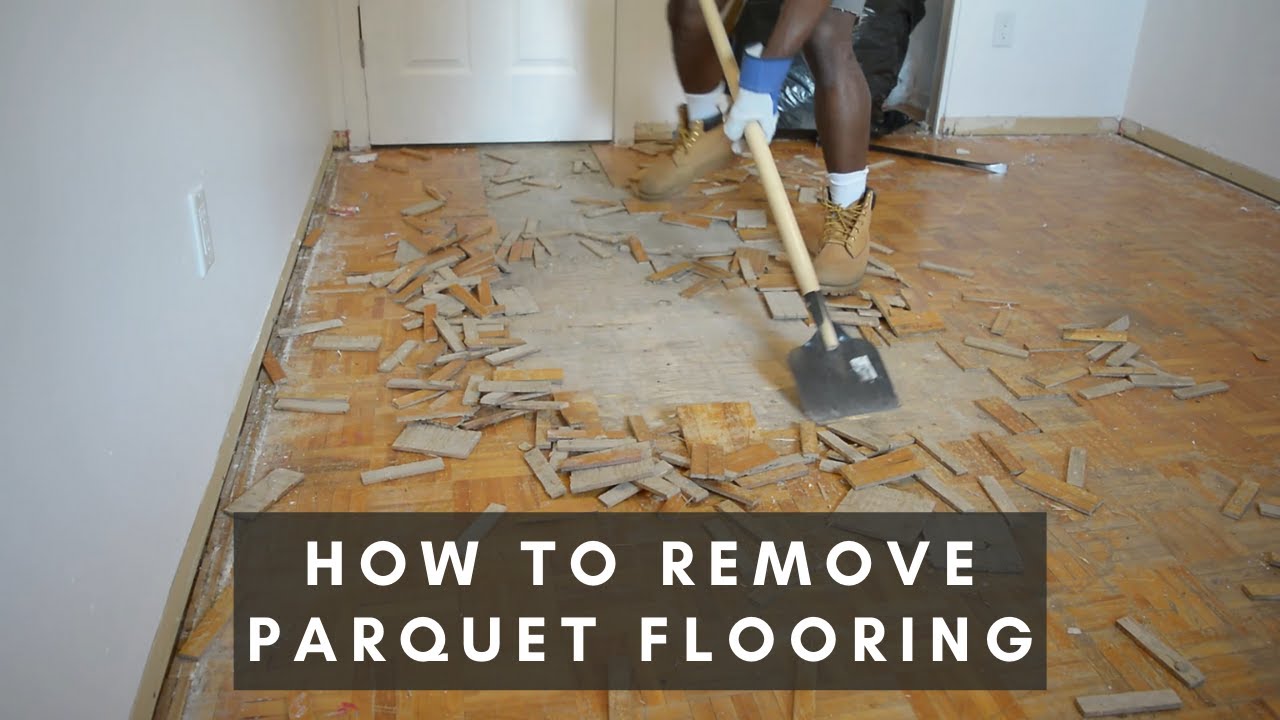
How to Remove Baseboards u0026 Parquet Flooring
How to Lay a Vinyl Tile Floor – This Old House
/cdn.vox-cdn.com/uploads/chorus_asset/file/19493864/howto_vinylfloor_05.jpg)
How to Remove Glue from Laminate Flooring? [Quick Tips]

How to Remove Tile Flooring Yourself {with Tips and Tricks} All
How to Remove Laminate Flooring The Home Depot – YouTube

Related articles:
- Vintage Bathroom Floor Tile Patterns
- Bathroom Floor Tile DIY
- Limestone Bathroom Floor Tiles
- Bathroom Floor Porcelain Tile
- Concrete Bathroom Floor Ideas
- White Bathroom Ceramic Tiles
- Bathroom Floor Baseboard
- Rustic Bathroom Flooring Ideas
- Bathroom Flooring Options
- Bamboo Bathroom Flooring Ideas
Title: Mastering the Art of Removing Laminate Tile Flooring
Introduction:
Laminate tile flooring has become a popular choice due to its durability, affordability, and versatility. However, there may come a time when you need to remove it, whether it’s for renovation purposes or to replace damaged tiles. In this comprehensive guide, we will walk you through the step-by-step process of removing laminate tile flooring, ensuring a smooth and successful endeavor.
I. Preparing for the Removal Process:
Before diving into the actual removal process, it’s crucial to prepare properly. Here are the essential steps to follow:
1. Gather the necessary tools:
To make your job easier and more efficient, gather the following tools:
– Pry bar or crowbar
– Utility knife
– Hammer
– Chisel
– Pliers
– Knee pads
– Safety goggles
– Dust mask
2. Clear the area:
Remove all furniture and objects from the room where you’ll be working. This will provide ample space and prevent any potential damage to your belongings during the removal process.
3. Ensure proper ventilation:
Open windows or use fans to ensure proper ventilation throughout the room. This will help minimize dust accumulation and promote a healthier environment while working.
FAQs:
Q1: Can I remove laminate tile flooring without specialized tools?
A1: While specialized tools can make the process easier, you can still remove laminate tile flooring with basic hand tools like a pry bar or crowbar, hammer, and chisel.
Q2: Is wearing safety gear necessary?
A2: Yes, wearing safety goggles and a dust mask is highly recommended as they protect your eyes from debris and prevent inhalation of harmful dust particles.
II. Removing Laminate Tiles:
Now that you’re fully prepared, let’s dive into the process of removing laminate tiles:
1. Start at an edge:
Identify an accessible edge of your laminate tile flooring to begin the removal process. Using a pry bar or crowbar, gently wedge it beneath the edge of a tile and apply pressure to lift it.
2. Work slowly and carefully:
Once you’ve lifted an edge, gradually work your way along the tile, applying pressure to loosen it from the adhesive or interlocking system. Be cautious not to damage the underlying surface.
3. Utilize a chisel and hammer:
For stubborn tiles that won’t easily lift, use a chisel and hammer to break them into smaller pieces. Insert the chisel into any cracks or gaps between tiles and tap it gently with a hammer until the tile loosens.
FAQs:
Q1: Can I reuse laminate tiles after removal?
A1: Unfortunately, laminate tiles are not designed for reuse due to their interlocking mechanisms and adhesive properties. It’s best to replace them with new tiles during installation.
Q2: How can I remove adhesive residue left on the subfloor?
A2: To remove adhesive residue from the subfloor, apply a commercial adhesive remover following the manufacturer’s instructions. Allow it to sit for a few minutes, then scrape off the residue using a putty knife or scraper tool.
III. Dealing with Subfloor Preparation:
Removing laminate tile flooring often leaves behind an adhesive residue on the subfloor. To ensure a clean and level surface for future flooring installation, follow these steps:
1. Remove excess adhesive:
Using a putty knife or scraper tool, scrape off any remaining adhesive on the subfloor. Take care not to gouge or damage the subfloor Surface in the process.
2. Clean the subfloor:
After removing the adhesive residue, thoroughly clean the subfloor using a mild detergent and warm water. Scrub the surface to remove any remaining dirt or debris.
3. Smooth out imperfections:
Inspect the subfloor for any uneven areas or imperfections. Use a floor leveling compound to fill in any gaps or low spots, following the manufacturer’s instructions.
4. Allow time for drying:
Once the leveling compound is applied, allow it to dry completely before proceeding with the installation of new flooring. This will ensure a stable and even surface for your new flooring materials.
FAQs:
Q1: How long does it take for the leveling compound to dry?
A1: The drying time for leveling compounds can vary depending on factors such as temperature and humidity. It is best to refer to the manufacturer’s instructions for specific drying times.
Q2: Can I install new flooring directly over the subfloor without leveling?
A2: It is recommended to level the subfloor before installing new flooring to ensure a smooth and stable surface. Installing flooring over an uneven subfloor can lead to issues such as cracking or sagging in the future. It is always best to properly prepare the subfloor before installing new flooring to ensure a long-lasting and stable result. Title: A Comprehensive Guide on How to Remove Laminate Tile Flooring
Introduction:
Laminate tile flooring offers a durable and aesthetically pleasing option for many homeowners. However, there may come a time when you need to remove this type of flooring, whether for renovation purposes or to replace it with a different material. In this article, we will provide you with a step-by-step guide on how to remove laminate tile flooring effectively and efficiently.
I. Preparing for the Removal Process
Before diving into the removal process, it’s essential to gather the necessary tools and take some precautionary measures.
1. Tools required:
– Pry bar
– Hammer
– Utility knife
– Chisel
– Safety goggles
– Dust mask
– Knee pads
– Plastic sheets or tarps (to protect the surrounding area)
2. Safety precautions:
Wearing safety goggles and a dust mask will protect your eyes and lungs from potential debris during the removal process. Additionally, using knee pads can prevent discomfort and injuries while working on your knees for an extended period.
FAQs:
Q1. Can I remove laminate tile flooring without using knee pads?
A1. While knee pads are not mandatory, they significantly improve comfort and reduce strain on your knees during the removal process. We highly recommend using them for a more efficient and pain-free experience.
Q2. Are safety goggles necessary if I’m wearing regular glasses?
A2. Yes, safety goggles provide additional protection against flying debris that may not be prevented by regular glasses alone. It is crucial to prioritize your safety and wear them throughout the removal process.
II. Removing Baseboards and Trim
Before you can start removing the laminate tile flooring, it’s important to detach any baseboards or trim that may hinder the process.
1. Use a utility knife to cut through any caulk or paint along the edges of the baseboards.
2. Insert a pry bar between the baseboard and the wall, gently applying pressure to detach it.
3. Continue prying the baseboard away from the wall until it is completely removed.
FAQs:
Q1. Can I reuse the baseboards after removing them?
A1. In most cases, baseboards can be reused if they are not damaged during the removal process. However, it’s important to inspect them for any signs of wear or breakage before reinstalling.
Q2. What should I do if the baseboards are glued to the wall?
A2. If your baseboards are glued to the wall, you can use a heat gun or a hairdryer to soften the adhesive before gently prying them off with a putty knife or pry bar.
III. Peeling Off the Laminate Tile Flooring
Once you have prepared the area by removing baseboards and trim, it’s time to tackle the laminate tile flooring itself.
1. Locate an edge: Start by identifying a corner or an exposed edge where you can begin peeling off the laminate tiles.
2. Lift and pry: Insert a pry bar under the edge of a tile and gently lift it up. Use a hammer to tap on the pry bar if needed.
3. Continue lifting: Gradually work your way along the edge, lifting each tile as you go.
4. Remove adhesive residue: After removing all tiles, you may notice adhesive residue left on the subfloor. Use a chisel or scraper to scrape off any remaining glue carefully.
FAQs:
Q1. What should I do if some tiles are firmly stuck and won’t lift easily?
A1. For stubbornly adhered tiles, try using a heat gun or hairdryer to soften the adhesive beneath them. Apply heat for a few seconds and then attempt to lift them again using a pry bar.
Q2. Can I remove laminate tile flooring without damaging my subfloor?
A2. When removing laminate tile flooring, there is a possibility of minor damage to the subfloor. However, by using gentle techniques and being cautious during the removal process, you can minimize any potential harm.
IV. Dealing with Underlayment
Underlayment is often used beneath laminate tile flooring to provide additional support and insulation. If your laminate flooring has an underlayment, follow these steps to remove it.
1. Locate an edge: Similar to removing the laminate tiles, find a corner or exposed edge where you can start peeling away the underlayment.
2. Lift and peel: Use a pry bar or chisel to lift the underlayment from the subfloor gently.
3. Roll it up: Once you have loosened one section of the underlayment, roll it up gradually while continuing to lift any remaining sections.
FAQs:
Q1. Can I reuse the underlayment after removing it?
A1. Reusing underlayment is not recommended as it may become damaged during the removal process. It’s best to purchase new underlayment when installing new flooring.
Q2. Do all laminate tile flooring installations require underlayment?
A2. The use of underlayment depends on various factors such as subfloor type, insulation requirements, and manufacturer recommendations. Check with your specific flooring manufacturer or installer to determine if underlayment is necessary.
V. Cleaning Up and Post-Removal Tips
After successfully removing the laminate tile flooring and its underlayment, it’s time to clean up any remaining debris and prepare for future flooring installation.
1. Sweep or vacuum: Thoroughly clean the subfloor using a broom or vacuum cleaner to remove any loose debris.
2. Inspect for damages: Carefully examine the subfloor for any signs of damage that may require repair before installing new flooring.
3. Leveling the subfloor: If you notice uneven areas, you may need to level the subfloor by adding a self-leveling compound or sanding down high spots.
4. Consider professional help: If you’re unsure about repairing or leveling the subfloor, it’s best to consult a flooring professional for expert advice and assistance.
FAQs:
Q1. Is it necessary to clean the subfloor after removing laminate tile flooring?
A1. Yes, cleaning the subfloor is crucial before installing new flooring to ensure a smooth and secure surface. Any debris left behind may interfere with the adhesion of your new flooring material.
Q2. Can I install new flooring immediately after removing laminate tile flooring?
A2. It is generally recommended to allow your subfloor to acclimate to its environment for at least 24 hours before installing new flooring. This allows any moisture or temperature changes to stabilize, ensuring optimal conditions for your new floor.
Conclusion:
Removing laminate tile flooring can be a challenging task, but with proper tools, precautions, and step-by-step guidance, you can successfully complete the process. Remember to take your time, be patient, and prioritize safety throughout each stage of removal. By following this comprehensive guide, you’ll be well-equipped to remove your laminate tile flooring efficiently and prepare for your next flooring adventure.