You will find a number of designs, types and colors and the prices depend on the quality as well as substance used in manufacturing. Thus, everything about the home of ours has to be simply perfect in order to get relaxation. Home would be the place just where we go back in the end of busy day and a tiring. The online world also provides numerous websites where you can compare discounted and regular vinyl flooring prices.
Images Related to How To Lay Vinyl Floor Covering
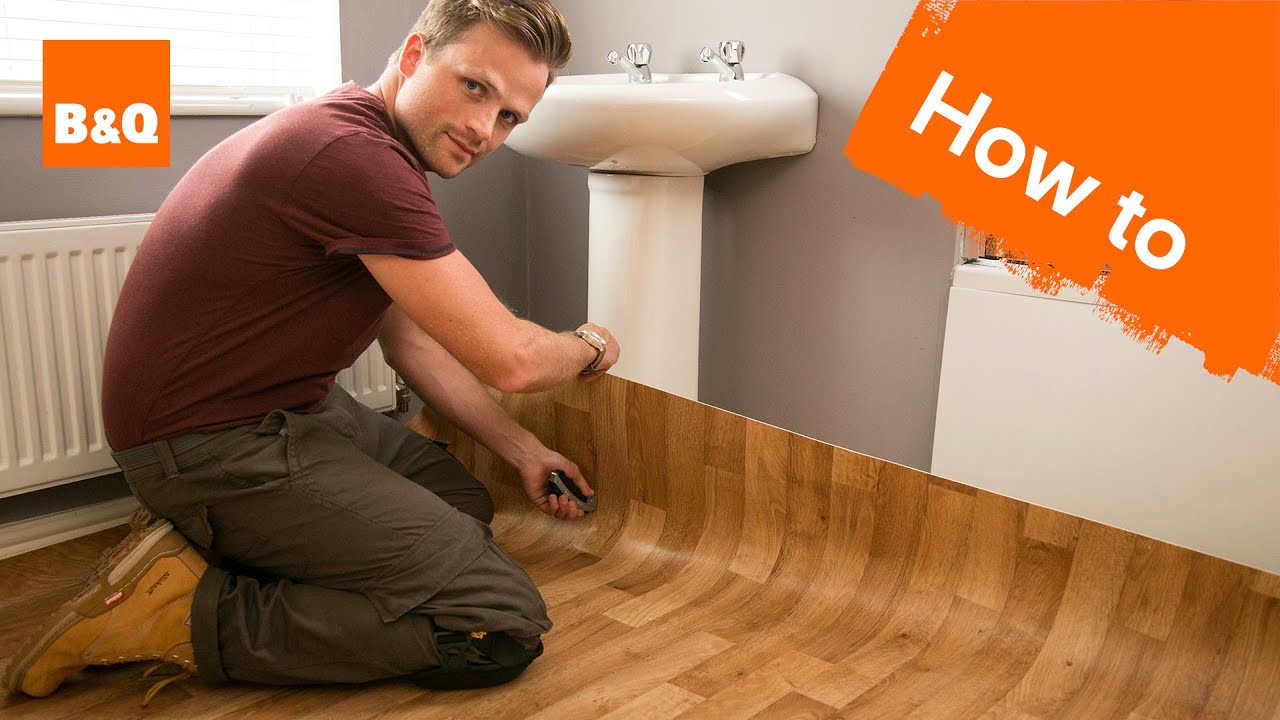
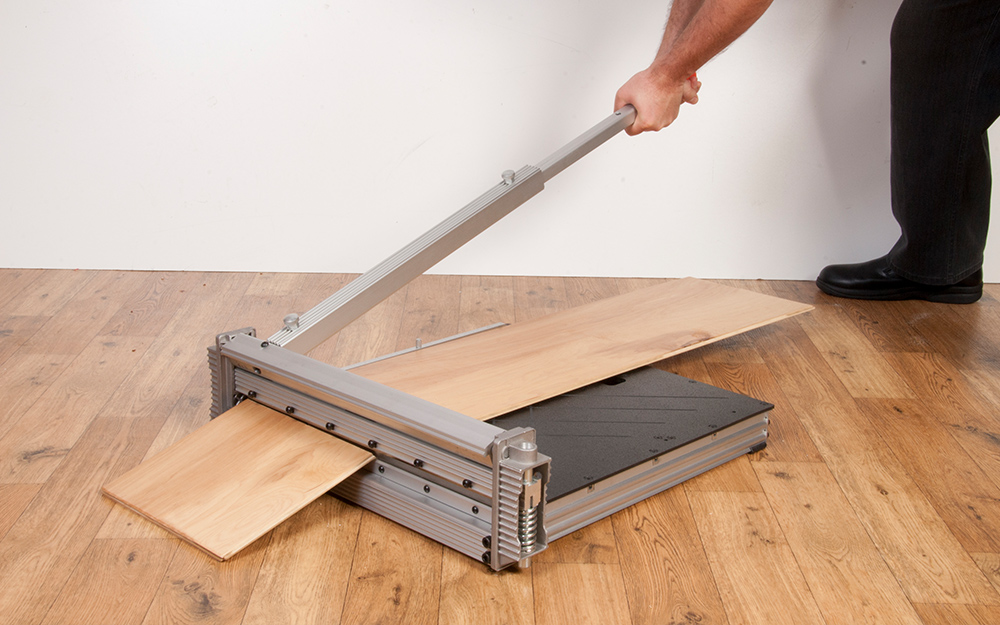
How To Lay Vinyl Floor Covering
Stone, linoleum, wood, tile, brick and also marble are simply several of the options available. Use tiles if you desire more designs and it is likewise easy to install on your own. This kind of sort of flooring is great for laying in kitchens, bathrooms, youngster's playrooms as well as entrances to the home of yours possibly in the conservatories of yours (sun rooms). Thus, the tiles are not suitable for temporary flooring.
How to Install Vinyl Plank Flooring as a Beginner Home Renovation

You might likewise have a similar pattern installed in your kitchen – an area where very few would consider wood for due to the heavy foot traffic as well as strong chance of stains and spills. Perhaps even in case you are enticed to cut on costs & simply DIY installation of the vinyl sheets/ tiles of yours, be happy to hear that hiring a pro would be a much better option.
How to Lay a Vinyl Tile Floor – This Old House
/cdn.vox-cdn.com/uploads/chorus_image/image/65891755/howto_vinylfloor_05.0.jpg)
How To Install Vinyl Plank Flooring – Kitchen Infinity
:max_bytes(150000):strip_icc()/easy-install-plank-vinyl-flooring-1822808-06-3bb4422ca1bd49b080bfa73bce749acc.jpg)
Installing Vinyl Plank Flooring – How To FixThisBuildThat
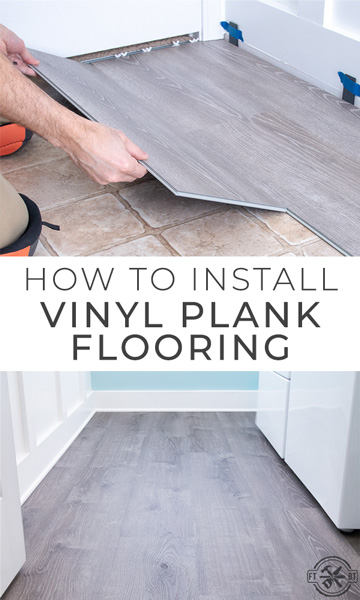
How to Install Vinyl Plank Flooring
How to Install Vinyl Plank Flooring as a Beginner Home

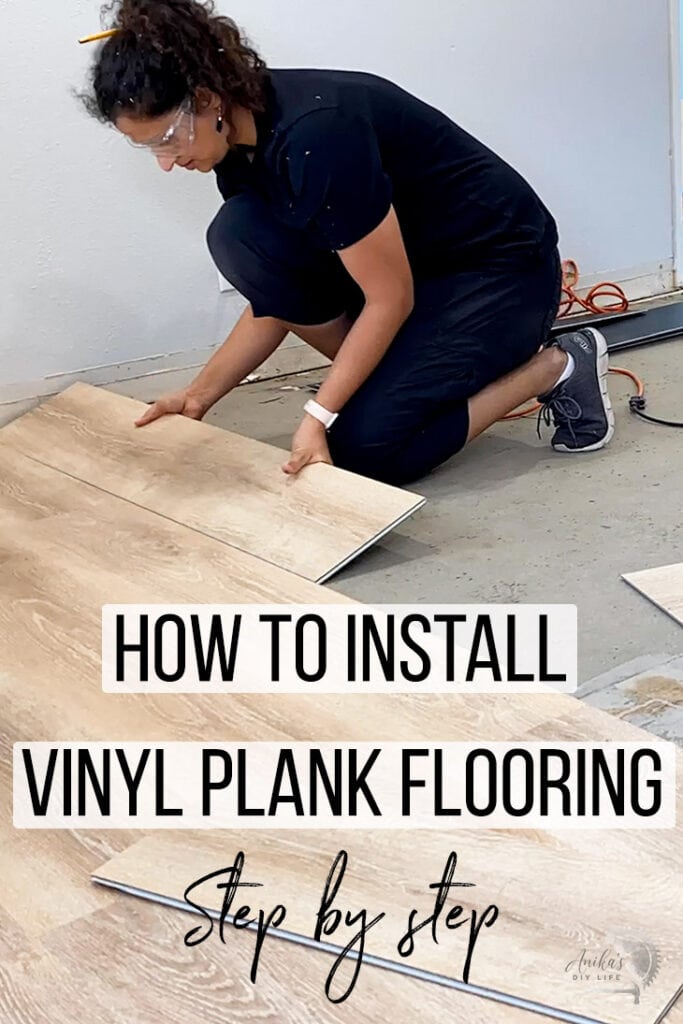
Installing Vinyl Plank Flooring For Beginners – Anikau0027s DIY Life
How to Install Vinyl Plank Flooring
How To Install Luxury Vinyl Plank Flooring – Bower Power
How to Install Vinyl Plank Flooring
/easy-install-plank-vinyl-flooring-1822808-hero-cefa2d84f781434b9e1e73a0c44e3a5c.jpg)
How to Install Vinyl Plank Flooring Loweu0027s

How to Install Vinyl Plank Flooring Loweu0027s

How to Install Luxury Vinyl Plank Flooring Installing vinyl

Related articles:
- Vinyl Flooring Bathroom Tile
- Modern Vinyl Flooring
- Funky Vinyl Flooring
- Vinyl Flooring For Kitchen
- Vintage Look Vinyl Flooring
- Kitchen Vinyl Floor Tiles Ideas
- Vinyl Flooring With Wood Look
- Waterproof Vinyl Flooring
- Vinyl Flooring For Cheap
- How To Remove Vinyl Flooring
Vinyl floor covering is a great way to add a stylish and modern look to any room in your home. It’s easy to install, affordable, and durable, making it the perfect choice for any home renovation project. With the right preparation and installation techniques, you can have beautiful vinyl floors in no time.
In this article, we’ll walk you through the step-by-step process of laying vinyl floor covering, from preparing the subfloor to putting down the finishing trim. With these easy-to-follow instructions, you’ll be able to give any room in your home an attractive and long-lasting new look.
Steps for Preparing the Subfloor
Before beginning your installation, it’s important to make sure that the subfloor is level and free from any dust or debris. To do this, you’ll need to sweep or vacuum the surface thoroughly and inspect it for any problems. If there are any bumps or irregularities on the surface, use a putty knife or sandpaper to smooth them out before continuing.
Once your subfloor is prepped and ready for installation, you’re ready to start laying down the vinyl floor covering.
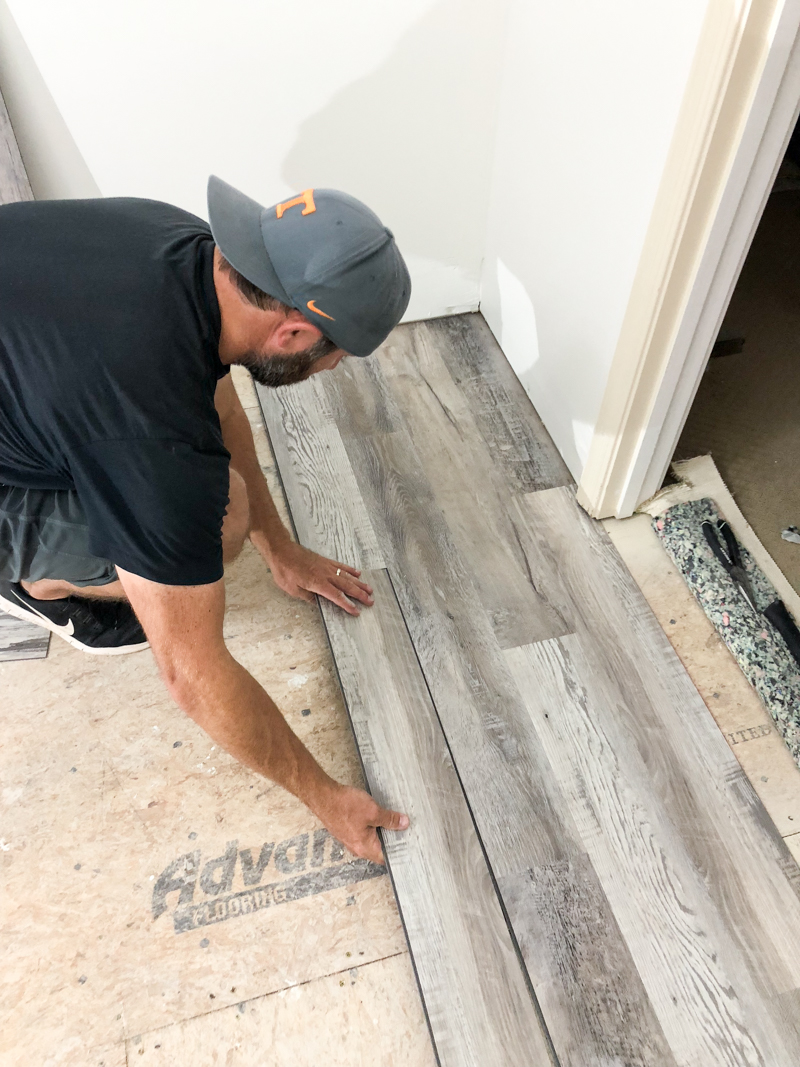
Laying Down The Vinyl
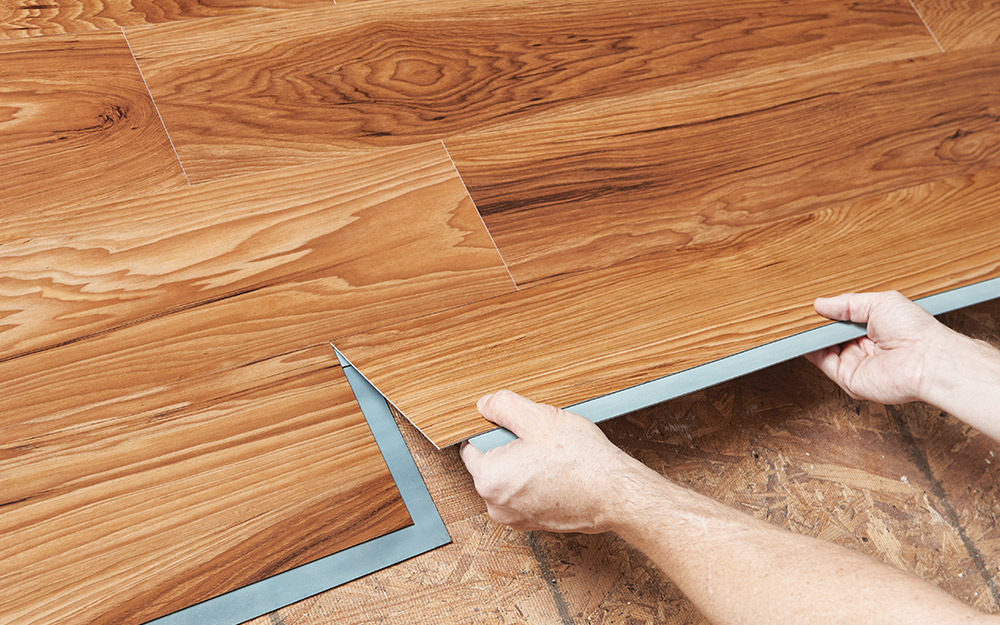
Start by unrolling the vinyl onto the subfloor, making sure that one edge is aligned with a wall or cabinet so that it’s easier to install. Then, use a utility knife or scissors to cut the vinyl to fit the room’s exact measurements.
To ensure that your flooring has a professional finish, you’ll need to overlap each piece of vinyl by at least two inches. Use a straight edge and ruler to make sure that each piece is even before pressing down firmly on all sides. For larger pieces of vinyl, use a rolling pin or rubber mallet to ensure that it adheres properly to the subfloor.
Adding Seam Tape and Trim
Once all of your vinyl flooring is laid down, it’s time to add seam tape and trim around the edges of the room. Start by measuring and cutting seam tape that is slightly larger than each joint between two pieces of vinyl. Then, place the tape over each joint and press down firmly with a roller or rubber mallet until it adheres completely.
Finally, add trim around all of the edges of the room. Measure and cut trim pieces that are slightly longer than each wall or cabinet edge, then attach them with nails or adhesive. Make sure that all of your trim pieces are even and flush with each other before moving on to the final step.
Conclusion
By following these simple steps, you can lay down beautiful and long-lasting vinyl floor covering in no time. With proper preparation and installation techniques, you can enjoy a stylish new look for many years to come. Good luck with your project!