Vinyl floors installation may sound very easy to do but if you are not up to the expected errors, simply call a team of experts and they'd be ready to provide you assistance. FHA requirements are a minimum of ten mils however, the most beneficial flooring types offer up to thirty mils for optimum protection. Sweep away from the dirt from your floor on a regular basis to prevent it from harming your vinyl floor.
Images Related to Vinyl Flooring Tiles That Look Like Stone
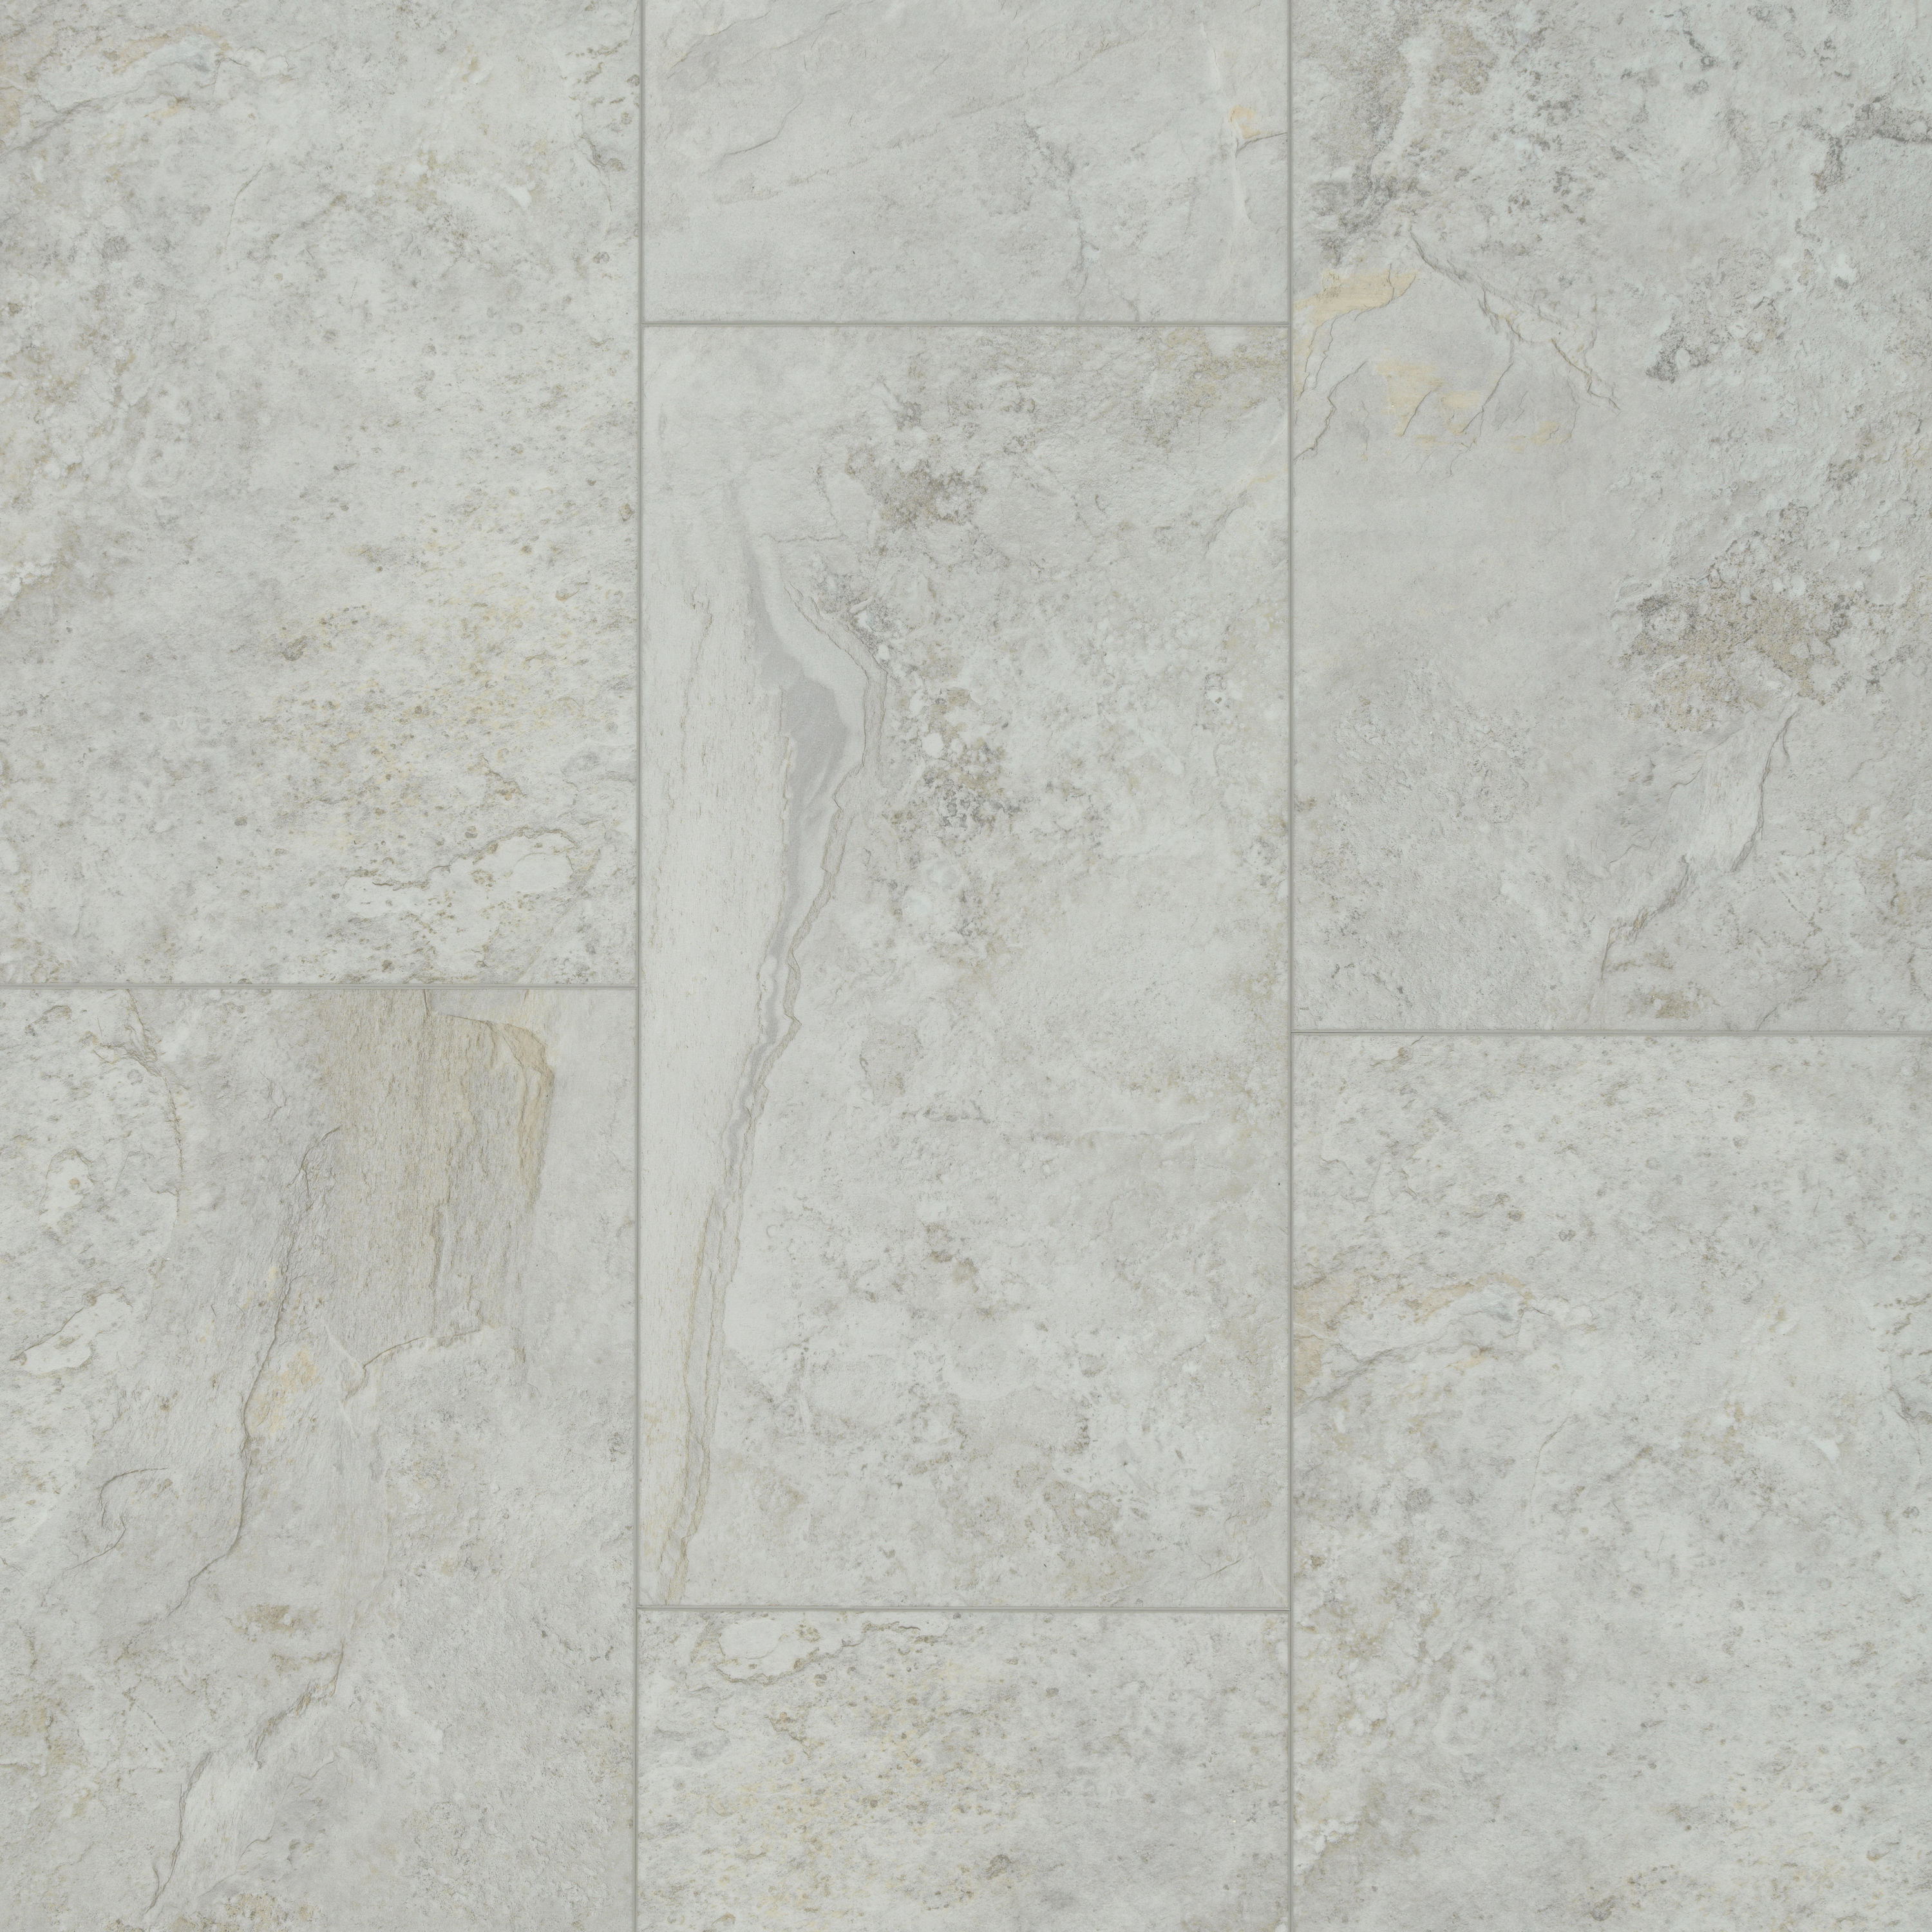
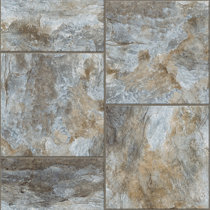
Vinyl Flooring Tiles That Look Like Stone

If you will want reducing your chances of causing serious dents or harm to your floor triggered by furniture, then we would recommend using padding under the legs of all of the furniture inside the room in which the vinyl is being laid. It is important to ask the sales person about the thickness of the use layer if you are looking for the most effective overall performance.
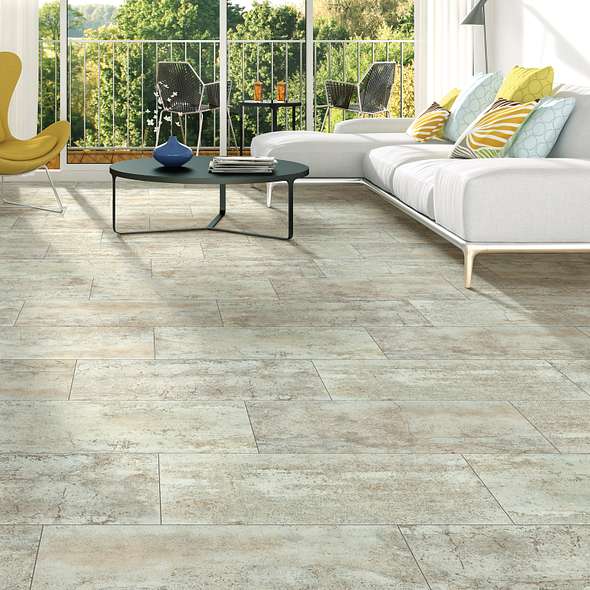
Vinyl Flooring That Looks Like Stone

Or say, the number of times have children neglected to fill their inline skates off prior to entering the kitchen and in addition have gouged the floor with their skates? These're simply several of the many reasons as to why men and women favor Vinyl Kitchen flooring. Vinyl is relatively inexpensive. For all the modifications as well as developments made to vinyl like flooring, it is tough to not give it a second look.
SMARTCORE Sumter Stone 12-in x 24-in Waterproof Luxury Flooring
Shaw® Avalon 12″ x 24.01″ Floating Luxury Vinyl Tile Flooring

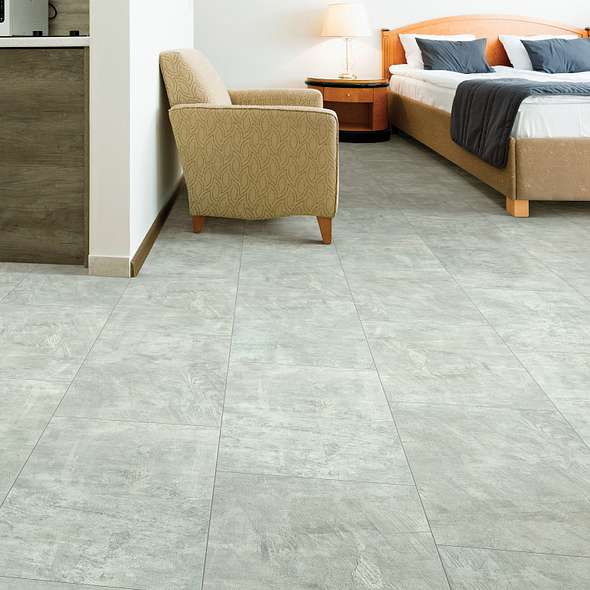
Vinyl Flooring That Looks Like Stone

SMARTCORE Chatham Stone 12-in x 24-in Waterproof Luxury Flooring (19.63-sq ft)

The Benefits of Stone Look Vinyl Flooring Great Floors
LUCiDA SURFACES Luxury Vinyl Flooring Tiles-Interlocking Flooring for DIY Installation-8 Stone-Look Planks-Calacatta-TerraCore-16 Sq. Feet

The Benefits of Stone Look Vinyl Flooring Great Floors
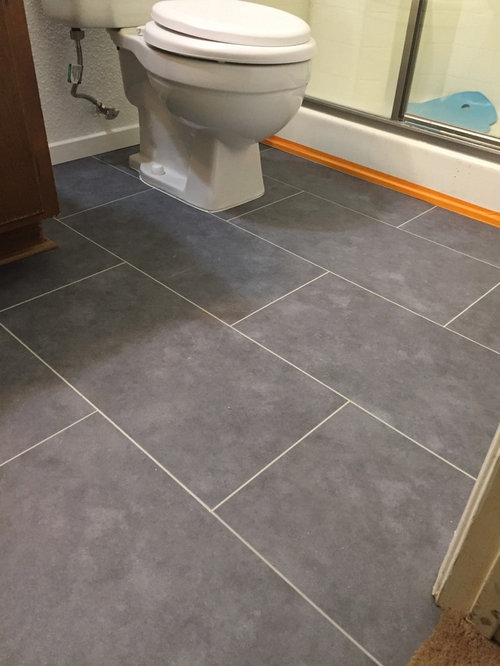
I recently put in stone/slate look luxury vinyl tiles in my bathroom?
Natural Stone Effect Vinyl Flooring Realistic Stone Floors

luxury vinyl – Google Search Luxury vinyl tile flooring, Vinyl

Wayfair Stone u0026 Slate Look Vinyl Flooring Youu0027ll Love in 2022
All About Vinyl Flooring – This Old House
/cdn.vox-cdn.com/uploads/chorus_image/image/65894768/14143_beton_room.0.jpg)
Related articles:
- Vinyl Flooring Bathroom Tile
- Modern Vinyl Flooring
- Funky Vinyl Flooring
- Vinyl Flooring For Kitchen
- Vintage Look Vinyl Flooring
- Kitchen Vinyl Floor Tiles Ideas
- Vinyl Flooring With Wood Look
- Waterproof Vinyl Flooring
- Vinyl Flooring For Cheap
- How To Remove Vinyl Flooring
Vinyl Flooring Tiles That Look Like Stone
Introduction:
Vinyl flooring is a popular choice for homeowners due to its durability, affordability, and easy maintenance. While vinyl flooring is often associated with imitating wood or tile, there is another option that has gained traction in recent years – vinyl flooring tiles that look like stone. These tiles are designed to mimic the natural beauty and elegance of various types of stone, providing a realistic and sophisticated appearance to any space. In this article, we will explore the benefits of vinyl flooring tiles that look like stone, their installation process, and address some frequently asked questions.
Benefits of Vinyl Flooring Tiles That Look Like Stone:
1. Realistic Appearance: One of the main advantages of vinyl flooring tiles that look like stone is their ability to replicate the authentic look of natural stone. With advancements in technology, manufacturers can create highly detailed designs that mimic different types of stone such as marble, slate, or granite. These tiles feature intricate patterns, textures, and color variations that closely resemble the real thing.
2. Affordability: Vinyl flooring tiles that look like stone offer a cost-effective alternative to genuine stone flooring. While natural stone can be expensive and require professional installation, vinyl tiles are more budget-friendly and can be easily installed by homeowners themselves. This makes it an attractive option for those who desire the aesthetic appeal of stone without breaking the bank.
3. Durability: Vinyl flooring is known for its durability and resistance to wear and tear. Vinyl tiles that resemble stone are no exception. They are designed to withstand high foot traffic areas and are resistant to scratches, stains, and moisture. This makes them suitable for use in kitchens, bathrooms, or other areas prone to spills or heavy use.
4. Easy Maintenance: Another advantage of vinyl flooring tiles that look like stone is their low maintenance requirements. Unlike natural stone which may require regular sealing or polishing, vinyl tiles only need basic cleaning such as sweeping or mopping with a mild detergent. This saves homeowners time and effort in maintaining their flooring while still enjoying the beauty of stone-like aesthetics.
5. Comfort and Sound Insulation: Vinyl flooring tiles provide a more comfortable surface compared to cold and hard natural stone. They offer a softer feel underfoot, making them ideal for areas where people tend to stand for extended periods, such as kitchens or laundry rooms. Additionally, vinyl’s construction helps to reduce noise transmission, providing sound insulation benefits in multi-level homes or apartments.
Installation Process:
Installing vinyl flooring tiles that look like stone is a relatively straightforward process that can be accomplished by homeowners with basic DIY skills. Here is a step-by-step guide to help you get started:
1. Prepare the Subfloor: Ensure that the subfloor is clean, dry, and level before installation. Remove any existing flooring materials and repair any imperfections on the surface.
2. Acclimate the Tiles: Allow the vinyl tiles to acclimate to the room’s temperature and humidity for at least 48 hours before installation. This step ensures that the tiles adjust to their surroundings, reducing the risk of expansion or contraction after installation.
3. Lay Out the Tiles: Begin by finding the center point of the room and snap chalk lines to create a grid pattern. This will serve as a guideline for laying out the vinyl tiles evenly across the floor.
4. Apply Adhesive: Using a recommended adhesive for vinyl flooring, apply it evenly on the subfloor using a trowel or notched spreader. Work in small sections to prevent the adhesive From drying before the tiles are laid.
5. Install the Tiles: Start at the center of the room and place the first tile on the adhesive, aligning it with the chalk lines. Press down firmly to ensure proper adhesion. Continue laying the tiles in a staggered pattern, following the grid lines, and trimming them as needed to fit around edges or obstacles.
6. Secure and Seal: Once all the tiles are installed, use a roller or weighted object to firmly press them into the adhesive and ensure a secure bond. If desired, apply a vinyl seam sealer to the edges of each tile to prevent moisture or dirt from getting underneath.
7. Finishing Touches: After allowing the adhesive to dry according to manufacturer instructions, install baseboards or transition strips to complete the look. Clean up any excess adhesive or debris and enjoy your new vinyl flooring that resembles stone!
Overall, vinyl flooring tiles that mimic stone offer a cost-effective and easy-to-install solution for homeowners who want the aesthetic appeal of natural stone without the high cost and maintenance requirements. With their durability, easy maintenance, comfort, and sound insulation benefits, they are a practical choice for various areas in the home. By following a simple installation process, homeowners can achieve a beautiful stone-like look in their flooring while saving time and money. Vinyl flooring tiles that resemble stone are a great option for homeowners who want the look of natural stone without the high cost and maintenance. These tiles are easy to install and can be done by homeowners with basic DIY skills. Here is a step-by-step guide to help you through the installation process:
1. Prepare the Subfloor: Before installation, make sure the subfloor is clean, dry, and level. Remove any existing flooring materials and repair any imperfections on the surface.
2. Acclimate the Tiles: Allow the vinyl tiles to acclimate to the room’s temperature and humidity for at least 48 hours before installation. This helps them adjust to their surroundings and reduces the risk of expansion or contraction after installation.
3. Lay Out the Tiles: Find the center point of the room and snap chalk lines to create a grid pattern. This will serve as a guideline for laying out the vinyl tiles evenly across the floor.
4. Apply Adhesive: Use a recommended adhesive for vinyl flooring and apply it evenly on the subfloor using a trowel or notched spreader. Work in small sections to prevent the adhesive from drying before the tiles are laid.
5. Install the Tiles: Start at the center of the room and place the first tile on the adhesive, aligning it with the chalk lines. Press down firmly to ensure proper adhesion. Continue laying the tiles in a staggered pattern, following the grid lines, and trim them as needed to fit around edges or obstacles.
6. Secure and Seal: Once all the tiles are installed, use a roller or weighted object to firmly press them into the adhesive and ensure a secure bond. If desired, apply a vinyl seam sealer to prevent moisture or dirt from getting underneath.
7. Finishing Touches: After allowing the adhesive to dry according to manufacturer instructions, install baseboards or transition strips to complete the look. Clean up any excess adhesive or debris, and enjoy your new vinyl flooring that resembles stone!
Overall, vinyl flooring tiles that mimic stone offer a cost-effective and easy-to-install solution for homeowners. They provide the aesthetic appeal of natural stone without the high cost and maintenance requirements. With their durability, easy maintenance, comfort, and sound insulation benefits, they are a practical choice for various areas in the home. By following this simple installation process, homeowners can achieve a beautiful stone-like look in their flooring while saving time and money.