You are able to choose very simple solid colors as cream or perhaps white colored and mix it with chrome fixtures, white rugs and potted plants to provide the bathroom of yours a contemporary feel and look. The exact same considerations apply to hardwood as well as marble. Colors like pink, dark green and violet are regarded as serene or cool colors.
Here are Images about How To Install Marble Floor Tile In A Bathroom
How To Install Marble Floor Tile In A Bathroom
:max_bytes(150000):strip_icc():saturation(0.2):brightness(10):contrast(5)/184592313-56a1bc405f9b58b7d0c220f2.jpg)
All you will need is a gentle brush as well as a cloth, and also you are able to subsequently clean the tiles with warm water. While typically one of probably the smallest rooms in the house, a bathroom can easily still have tremendous visual impact. Probably the most popular sort of bath room flooring is ceramic flooring. Merely apply glue at the sides and stick it.
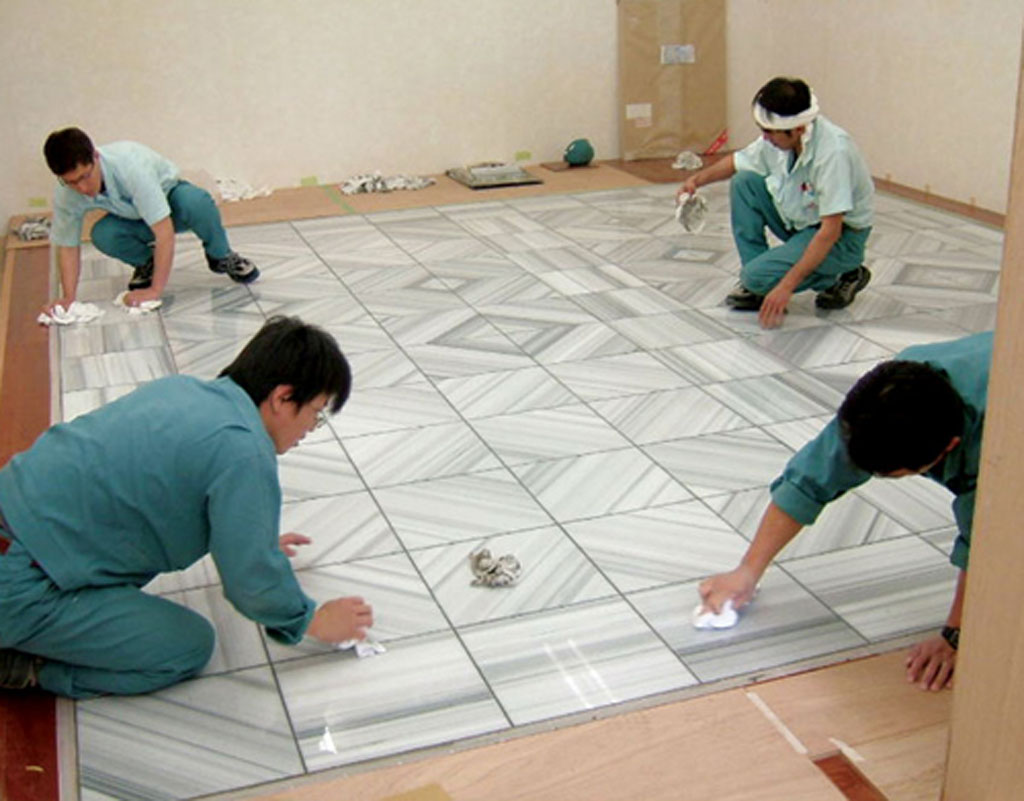
How to Install Marble Tile – Tidbits
An essential advantage of using mosaic bathroom floor tiles is that you can deviate from the common exercise of installing tiles in a row by row way. Below, an introduction of the most desired content for bathroom floors is outlined for the convenience of yours. Hardwood floors for toilets are sealed and so as to preserve moisture, dirt and grime from penetrating as well as ruining the wood.
Images Related to How To Install Marble Floor Tile In A Bathroom
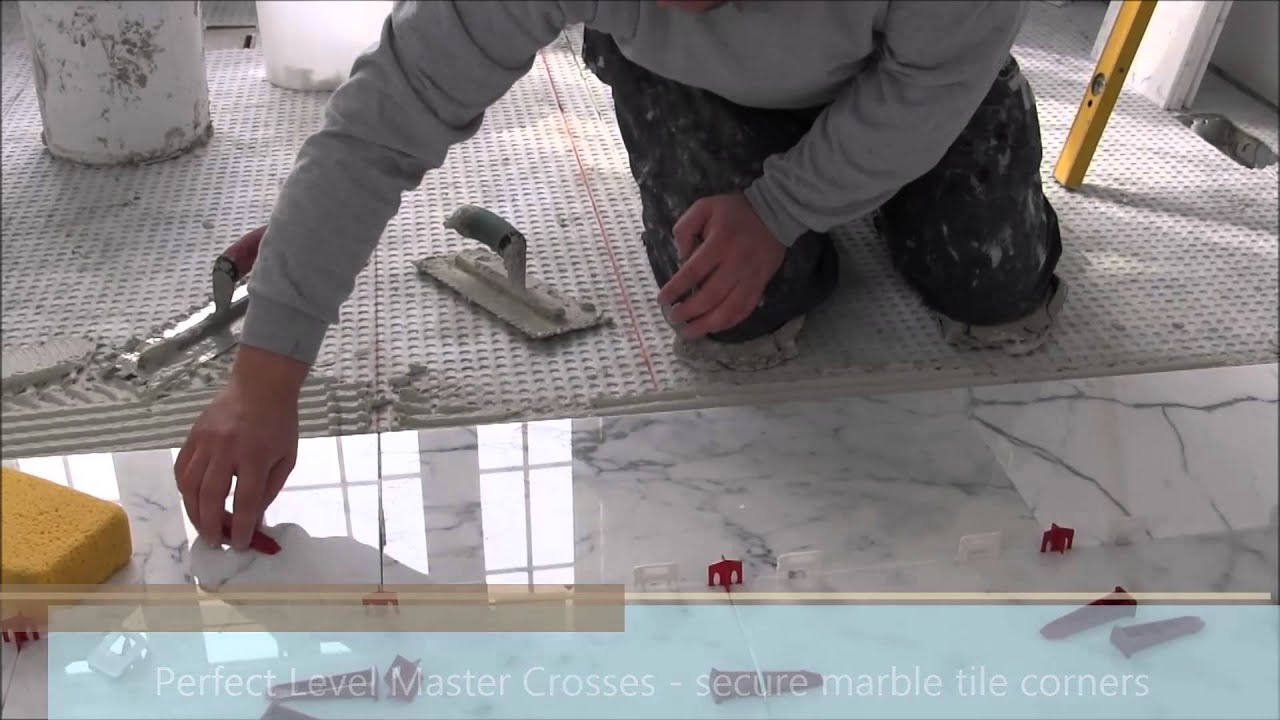
12″x24″ (30×60) marble tile installation using Perfect Level Master™ T-Lock™
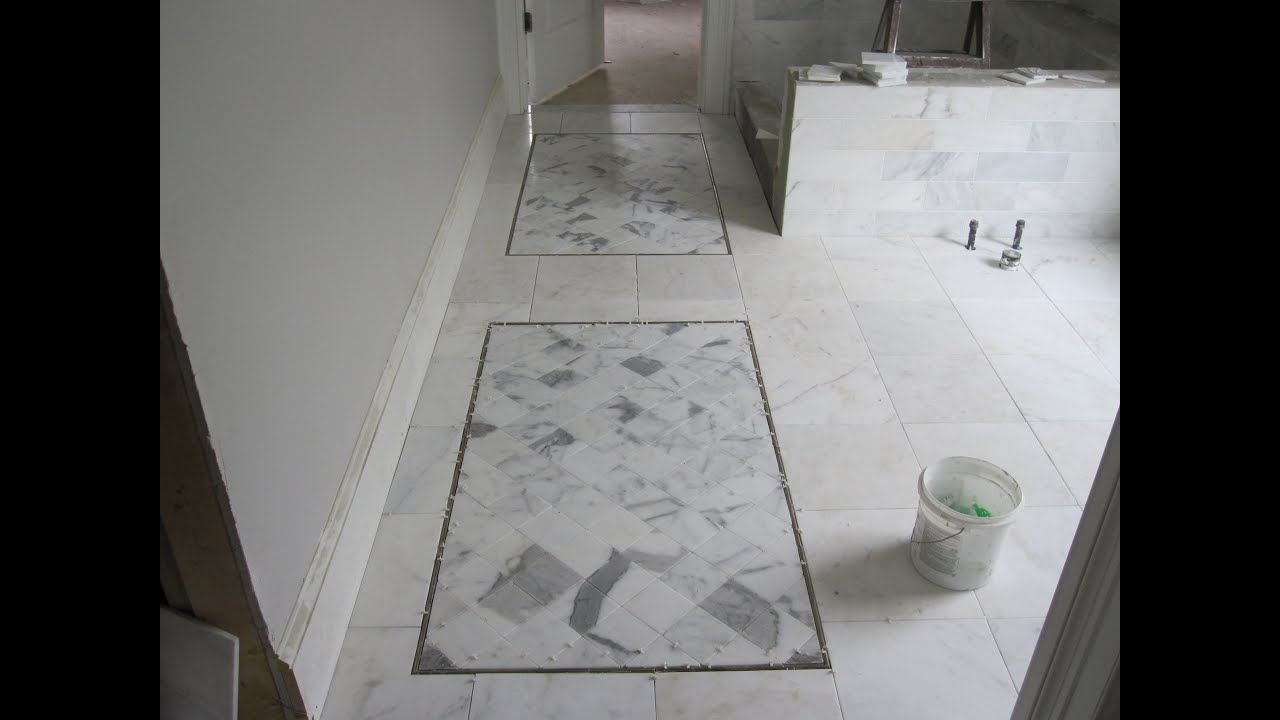
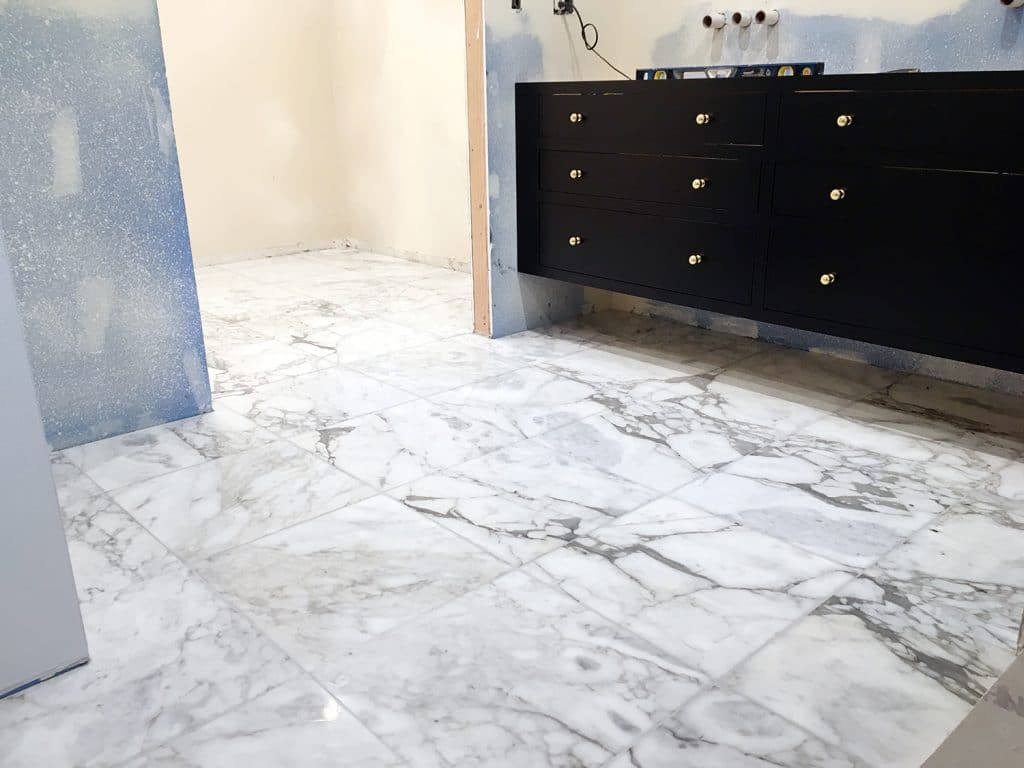
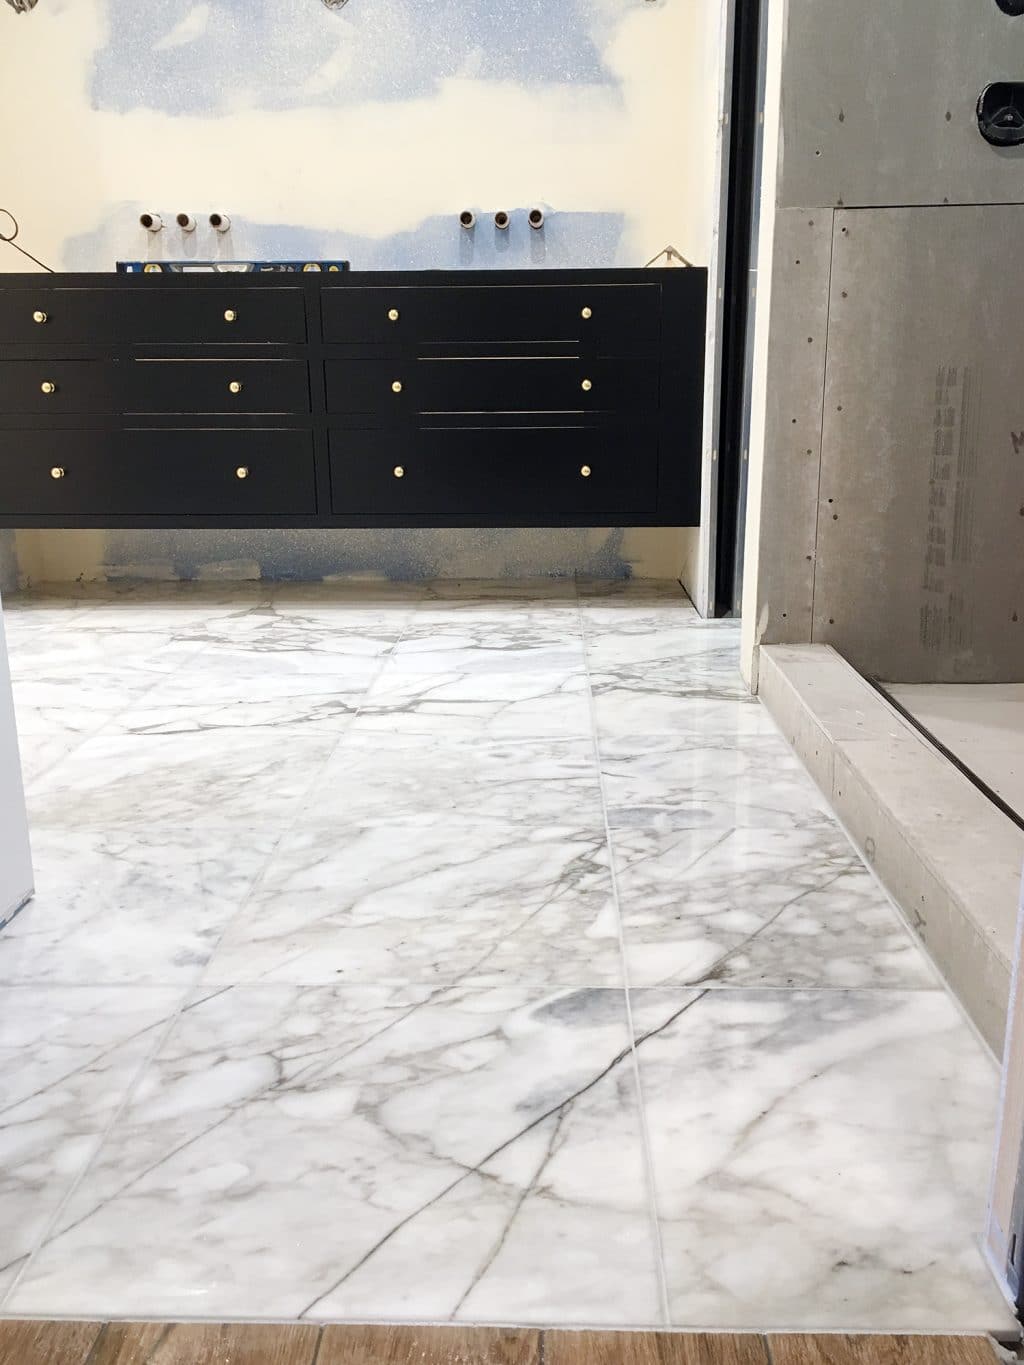
Master bathroom marble tile floor
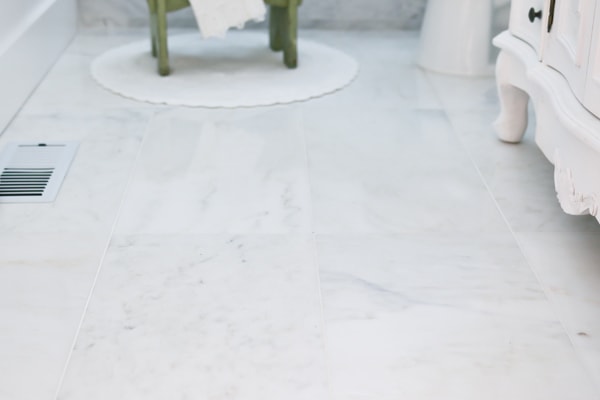
How to Install Marble Tile Floor?

How to Install Marble Tile – Tidbits
How to Install Marble Tile Floor?

How to install marble floor: the detailed instructions
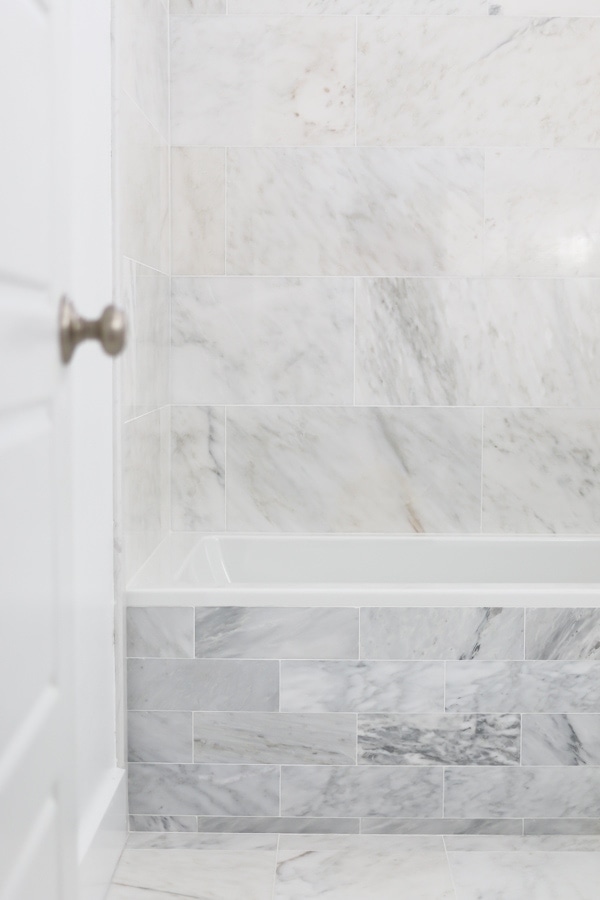
Adding Marble Flooring to the Master Bathroom – Chris Loves Julia
How to Install Marble Floor Tiles
/5-56a2fc793df78cf7727b6a26.jpg)
Adding Marble Flooring to the Master Bathroom – Chris Loves Julia
Marble Flooring Pros and Cons
/marble-flooring-pros-and-cons-1314701-hero-5a5fae7b62fc4646a573c43ca52b521f.jpg)
The Pros and Cons of Marble Tile DIY
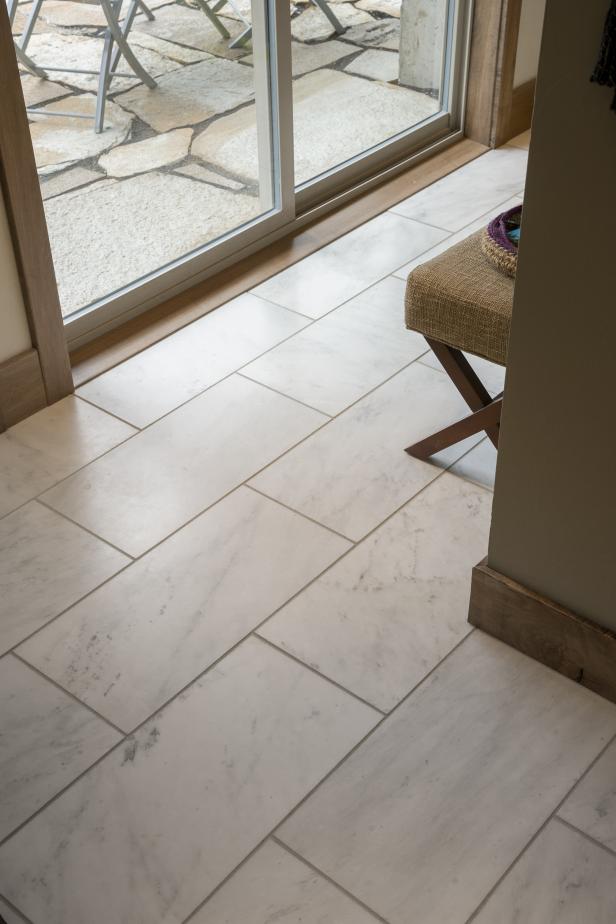
How to Install Marble Floor Tiles
/grand-foyer--staircase--chandelier--marble-floor-showcase-home-interior-design-157593982-5c456bbd46e0fb0001aac789-6388125b42b14a0f9bad74f1753fd9c5.jpg)
Related articles:
- Vintage Bathroom Floor Tile Patterns
- Bathroom Floor Tile DIY
- Limestone Bathroom Floor Tiles
- Bathroom Floor Porcelain Tile
- Concrete Bathroom Floor Ideas
- White Bathroom Ceramic Tiles
- Bathroom Floor Baseboard
- Rustic Bathroom Flooring Ideas
- Bathroom Flooring Options
- Bamboo Bathroom Flooring Ideas
Title: How to Install Marble Floor Tile in a Bathroom: A Comprehensive Guide
Introduction:
Marble floor tiles can instantly elevate the elegance and aesthetic appeal of any bathroom. Their natural beauty, durability, and timeless appeal make them a popular choice for homeowners seeking to create a luxurious and sophisticated space. However, installing marble floor tiles requires careful planning and execution to ensure optimal results. In this article, we will provide you with a detailed step-by-step guide on how to install marble floor tile in a bathroom, along with valuable tips and FAQs to help you achieve a flawless finish.
I. Preparing for Installation:
1. Assessing the Subfloor:
Before embarking on your marble floor tile installation journey, it is crucial to evaluate the condition of your bathroom’s subfloor. Ensure that it is even, clean, dry, and free from any cracks or imperfections. If necessary, repair or replace the subfloor to ensure a stable foundation for your marble tiles.
2. Measuring and Calculating Tile Quantity:
Accurate measurements are essential to determine the number of marble tiles required for your bathroom. Measure the length and width of the floor space and multiply these dimensions to calculate the square footage. It is advisable to purchase an additional 10% of tiles to account for any cutting mistakes or future replacements.
3. Acclimating the Tiles:
Marble is a natural material that expands or contracts with temperature changes. To prevent potential issues after installation, allow your marble tiles to acclimate in the bathroom for at least 48 hours before starting the installation process. This helps them adjust to the room’s temperature and humidity levels.
II. Installing Marble Floor Tiles:
1. Gathering Necessary Tools:
To install marble floor tiles effectively, gather essential tools such as a notched trowel, tile spacers, wet saw or tile cutter, grout float, sponge or cloth, level, measuring tape, safety goggles, dust mask, and gloves.
2. Applying Thinset Mortar:
Start by applying an even layer of thinset mortar on a small section of the subfloor using a notched trowel. Begin at the center of the room and work your way towards the walls, smoothing the mortar as you go. Ensure that the layer is uniform in thickness.
FAQ: Can I use regular adhesive instead of thinset mortar for marble floor tile installation?
Answer: No, it is not recommended to use regular adhesive for marble floor tile installation. Thinset mortar provides a stronger bond and prevents potential issues such as tiles becoming loose or cracking over time.
3. Laying the Tiles:
Carefully place the first marble tile onto the mortar, pressing it firmly into place. Use tile spacers to create consistent spacing between each tile. Continue laying tiles in a straight line, aligning them properly and pressing them down to ensure proper adhesion. Repeat this process until all tiles are installed.
4. Cutting Tiles:
When reaching areas that require partial tiles, measure and mark your cuts on the marble tiles using a measuring tape and a pencil or marker. Use a wet saw or tile cutter to make precise cuts according to your measurements. Remember to wear safety goggles and follow the manufacturer’s instructions when operating these tools.
FAQ: Can I install marble floor tiles over existing ceramic tiles?
Answer: While it is technically possible to install marble floor tiles over existing ceramic tiles, it is generally not recommended due to potential issues with height discrepancies and long-term stability. It is advisable to remove the existing tiles Before installing marble floor tiles for a more secure and durable installation.
5. Applying Grout:
Once all the tiles have been laid and any necessary cuts have been made, allow the mortar to dry for at least 24 hours. Then, mix the grout according to the manufacturer’s instructions. Using a grout float, spread the grout over the tiles, making sure to fill in all the gaps between them. Remove excess grout with a damp sponge or cloth, being careful not to remove too much from the joints.
6. Sealing the Tiles:
After the grout has dried completely, typically after 48-72 hours, it is important to seal the marble tiles to protect them from stains and moisture. Choose an appropriate marble sealer and apply it according to the manufacturer’s instructions. Allow sufficient drying time before using the bathroom.
7. Cleaning and Maintenance:
Regular cleaning and maintenance are essential to keep your marble floor tiles in good condition. Use a pH-neutral cleaner specifically designed for marble surfaces and avoid harsh chemicals or abrasive cleaners that can damage the tiles. Wipe up spills immediately and avoid dragging heavy furniture across the floor to prevent scratches.
Additionally, it is recommended to periodically reseal the marble tiles to maintain their protective barrier and keep them looking their best. Overall, proper cleaning and maintenance will help prolong the lifespan and beauty of your marble floor tiles. To summarize, the process of installing marble floor tiles includes:
1. Preparing the Subfloor: Ensure that the subfloor is clean, level, and free of any debris or moisture.
2. Applying Mortar: Use a trowel to spread a layer of mortar onto the subfloor, creating a smooth and even surface.
3. Laying the Tiles: Carefully place the marble tiles onto the mortar, using tile spacers to maintain consistent spacing between each tile. Press them firmly into place and continue laying tiles in a straight line.
4. Cutting Tiles: Measure and mark the cuts needed for partial tiles, then use a wet saw or tile cutter to make precise cuts according to your measurements.
5. Applying Grout: Allow the mortar to dry for at least 24 hours, then mix grout according to instructions and spread it over the tiles using a grout float. Remove excess grout with a damp sponge or cloth.
6. Sealing the Tiles: After the grout has dried completely, seal the marble tiles with an appropriate sealer according to manufacturer instructions.
7. Cleaning and Maintenance: Regularly clean your marble floor tiles with a pH-neutral cleaner designed for marble surfaces. Avoid harsh chemicals or abrasive cleaners and promptly wipe up spills. Periodically reseal the tiles to maintain their protective barrier.
By following these steps and taking proper care of your marble floor tiles, you can achieve a beautiful and durable installation that will last for years to come.