Did they are available in on budget? How many years did it take to the floor to be installed? Did they get a price reduction on the flooring in case you purchased it from the pro service or individual which installed the floor? Quite often the supplies are considerably less costly if you buy the flooring from the business enterprise putting in the wood flooring. They are additionally relatively easy to maintain.
Images Related to Glue Down Solid Wood Flooring
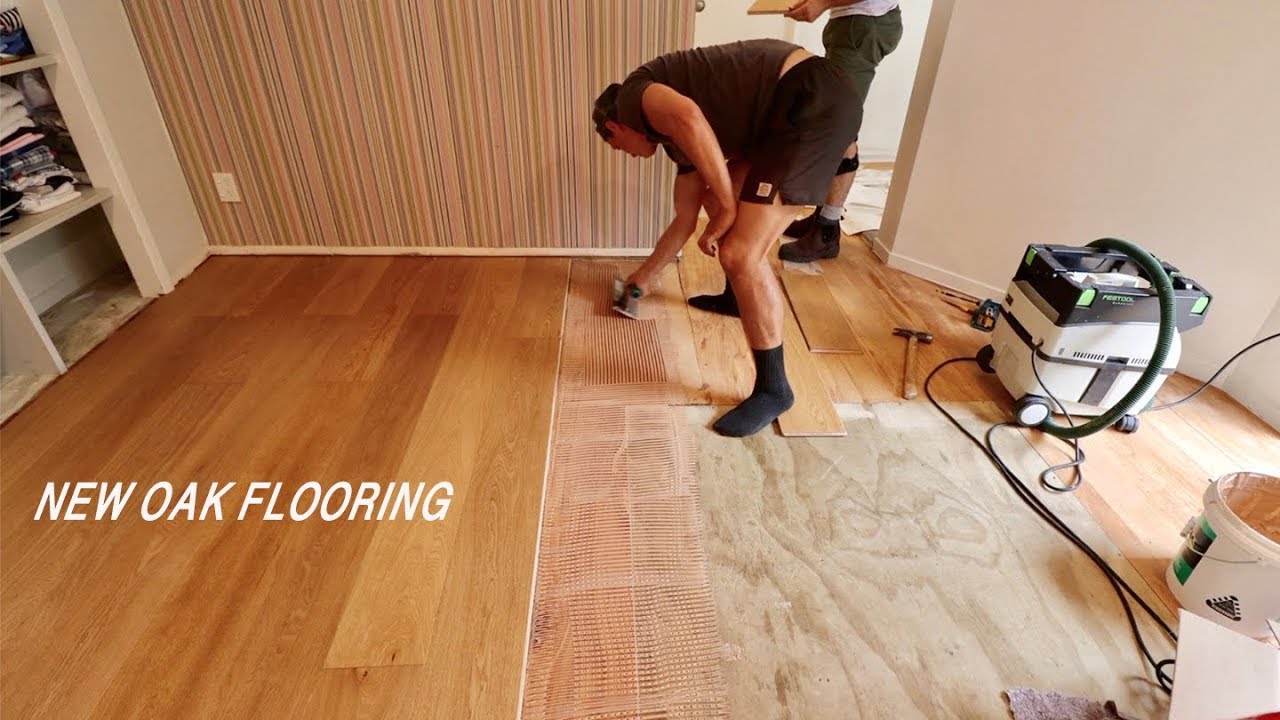
Glue Down Solid Wood Flooring
Most prefinished hardwood floors really can't be refinished easily. Moreover , be certain that your floor isn't a wood effect vinyl, they've become extremely popular in recent years because of their seemingly low maintenance attributes, they are quite simple to clean but once they're looking dull and old or scratched, unfortunately the sole choice is replacing.
5 Simple Tips to Help Your Glue-Down Wood Floor Jobs Succeed

The beauty of engineered wood floors is that you are able to even select which finish you would like. Vintage and antique reclaimed wood enhances the warmth, character and atmosphere of a country home. Ask them queries like, was the flooring set up properly and on time? Have they experienced some issues with the wood flooring, like buckling or warping? All of this is determined by the money at ones disposal.
Should You Float or Glue Down Your Wood Flooring? u2014 Inner Space
Floating Floor vs. Nail Down Slaughterbeck Floors, Inc.
How to Install DIY glue-down engineered hardwood flooring
Installing Hardwood Flooring (with Glue)
Top 6 Best Glue Hardwood Floors 2021 [Review u0026 Guide] – Letu0027s Wood
Engineered Hardwood Flooring Installation: Tips and Common

Floating Floor vs. Nail Down Slaughterbeck Floors, Inc.
Floating Vs. Glue-Down Wood Flooring [Pros u0026 Cons]

How to Glue Down a Hardwood Floor During Installation- Urban Floor

Floating vs. Glue-down Wood Flooring City Floor Supply

Engineered Hardwood Floors Installation – Hardwood Floor
How to Install Glue Down Hardwood Flooring – A DIY Guide

Related articles:
- Black Walnut Wood Flooring
- Wood Flooring Designs
- Wood Flooring Options For Kitchens
- Contemporary Wood Flooring Ideas
- Dark Wood Floor Bedroom Ideas
- Real Wood Flooring For Kitchens
- Natural Wood Floor Stain
- Oak Wood Flooring
- Birch Wood Flooring Reviews
- Wood Floor Damage Repair
Solid wood flooring is a great choice for both homeowners and businesses. It adds a timeless and elegant look to any room, but you need to know how to install it properly. Glue down solid wood flooring is one of the most popular installations, and with the right preparation, your floors could last a lifetime. Here’s an overview on how to glue down solid wood flooring.
Preparing the Subfloor and Room
Before you begin, prepare the room and the subfloor for installation. Make sure that the subfloor is level within 3/16th of an inch over a ten-foot span, and that it is free of dirt, grease, or other contaminants. You may need to use a patching compound to fill in any depressions or low spots. Also, make sure that the room has been cleared of furniture and any other items that could get in the way of installation.
Choosing the Right Glue
The next step is to choose the right type of glue for your project. Most manufacturers recommend using a latex-based glue, but you can also use epoxy or urethane if necessary. Be sure to read the instructions carefully and use only the recommended amount of glue. Too much glue can cause problems with adhesion, so it’s important to apply it correctly.
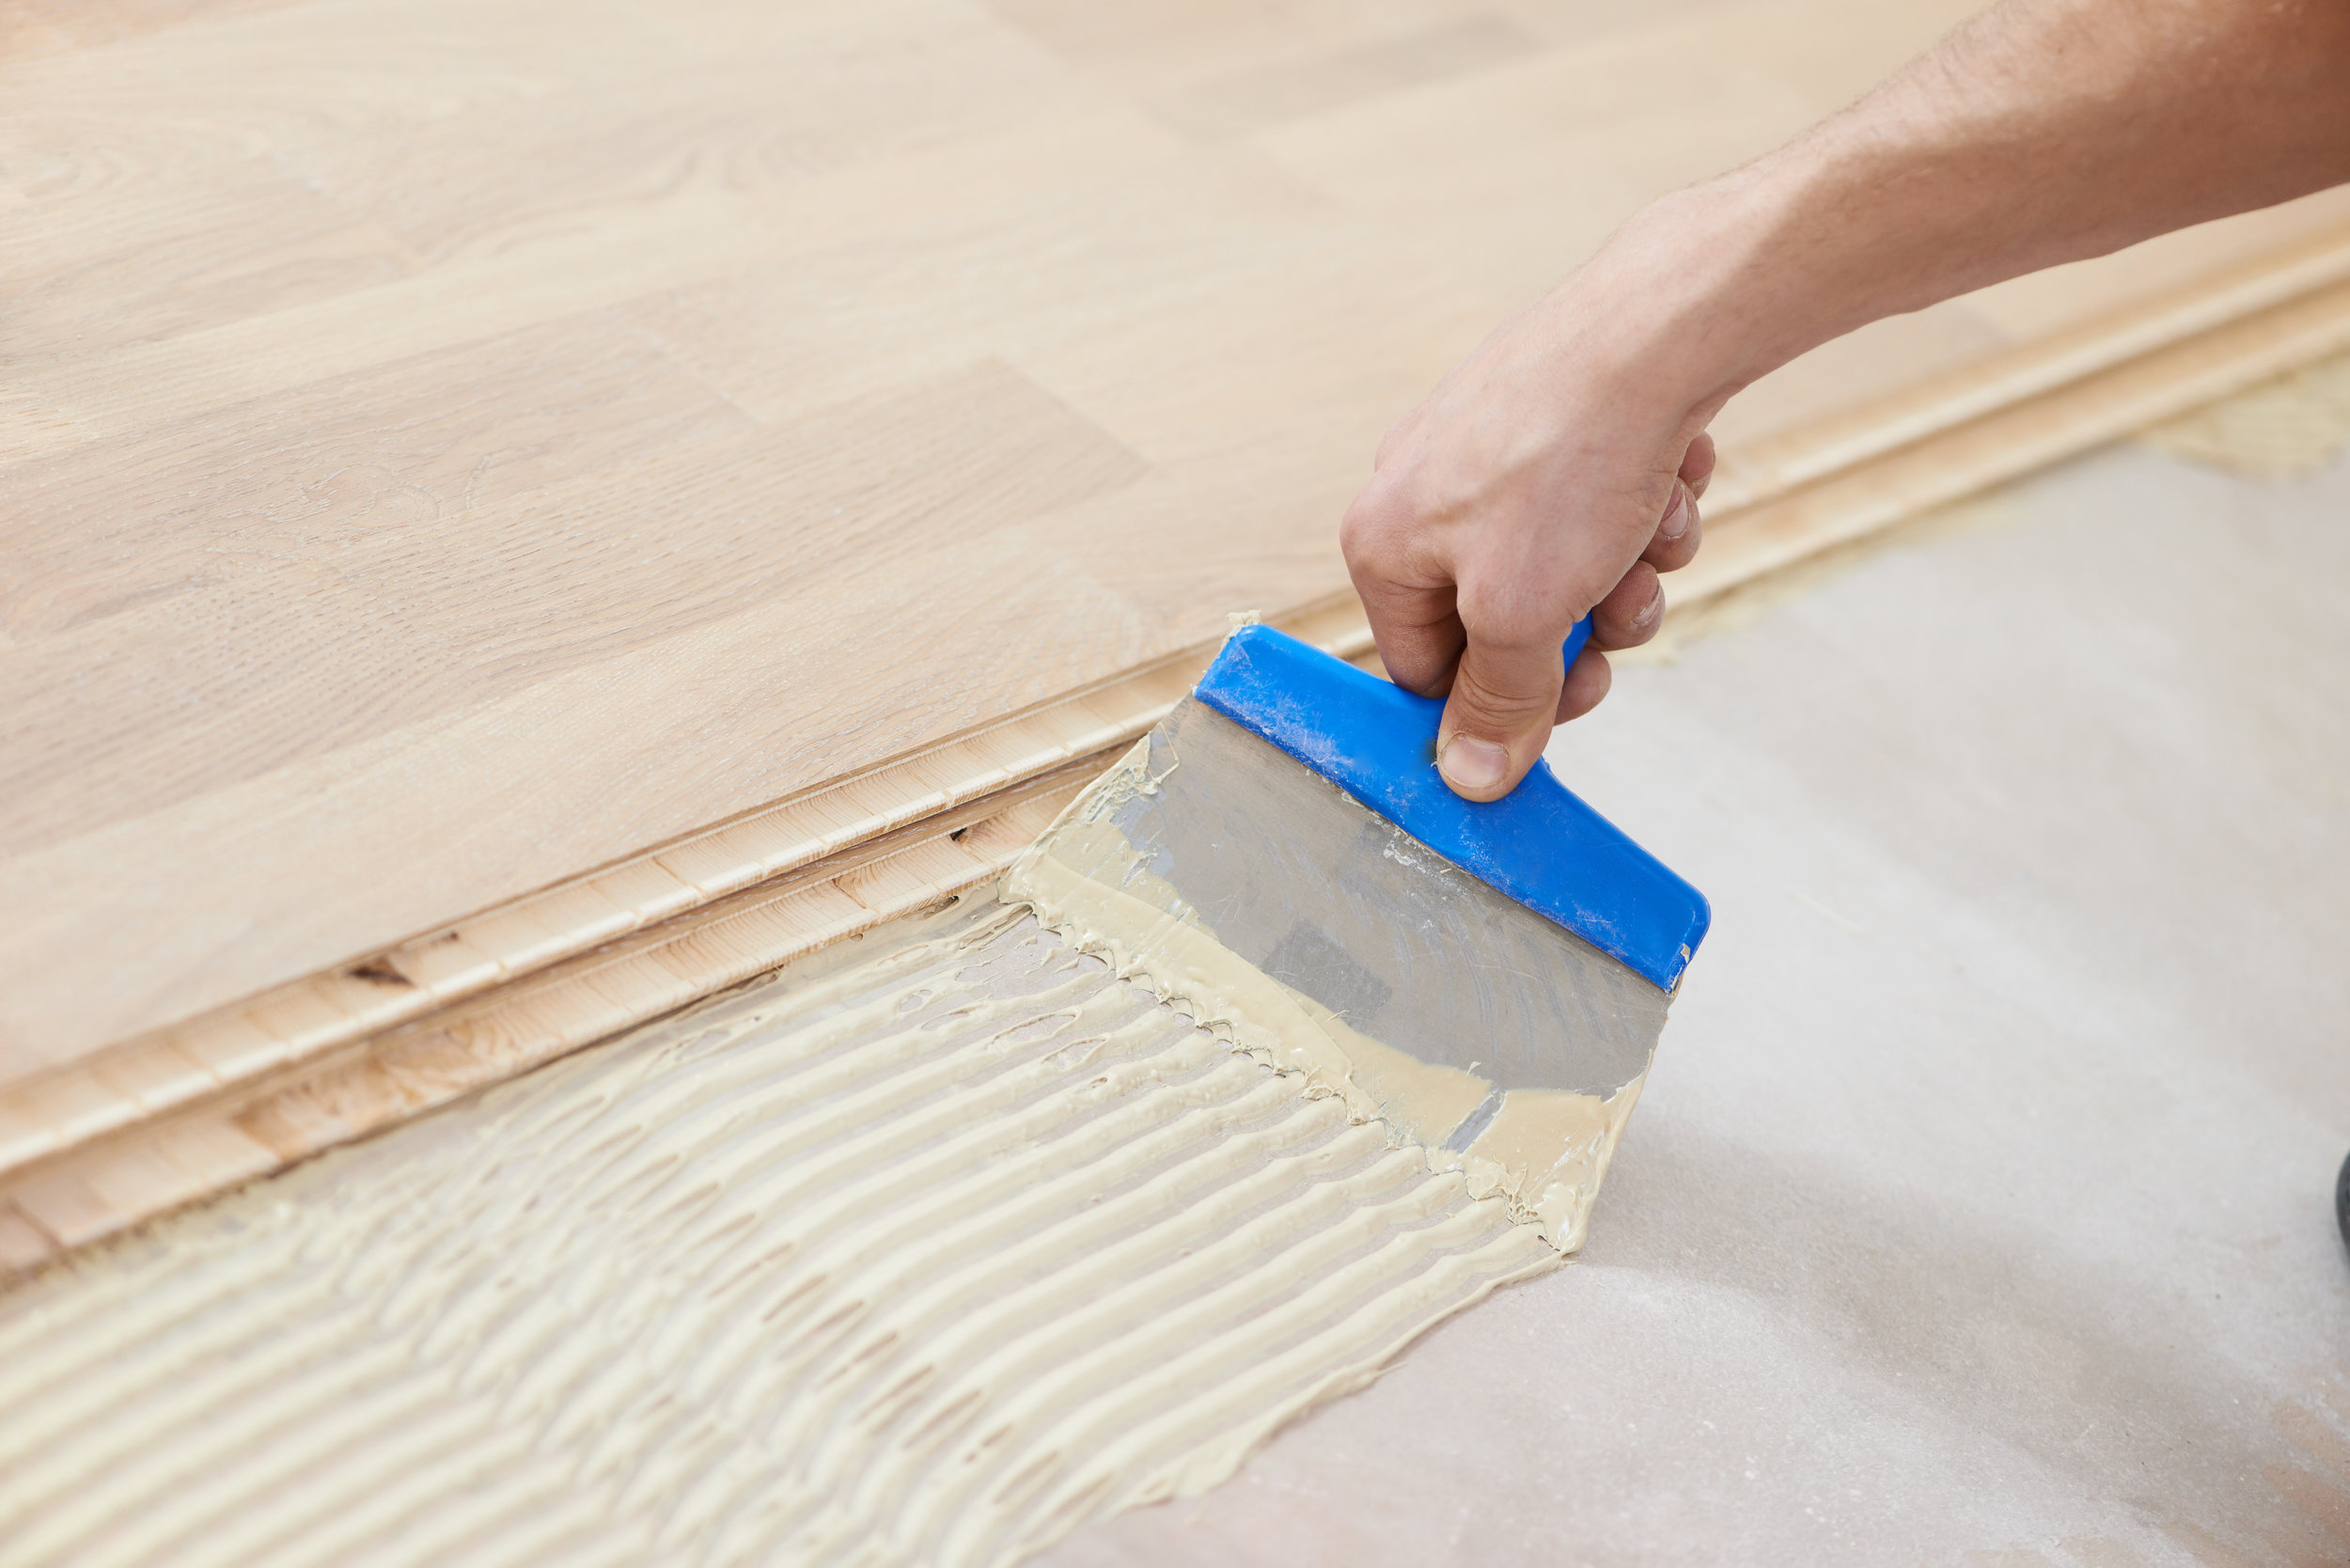
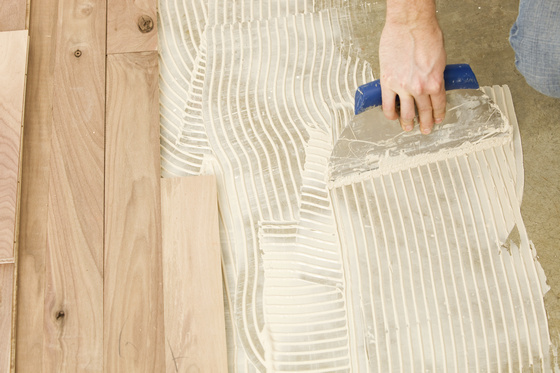
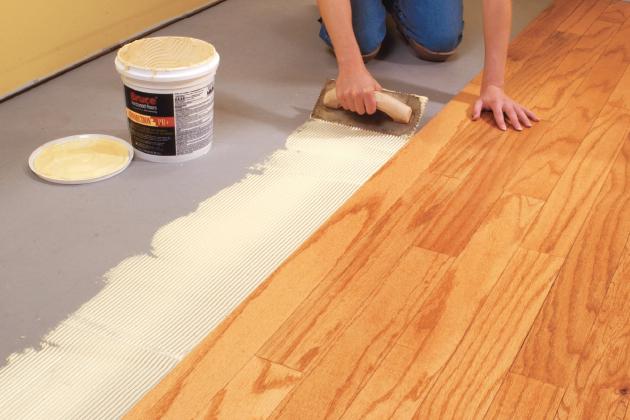
Applying the Glue
Once you have chosen your glue, it’s time to start applying it. Start by spreading a thin layer of adhesive over the entire surface of the subfloor using a trowel. Make sure that you cover all of the seams and edges to ensure proper adhesion. Once you have applied the adhesive, allow it to dry for at least 24 hours before proceeding with installation.
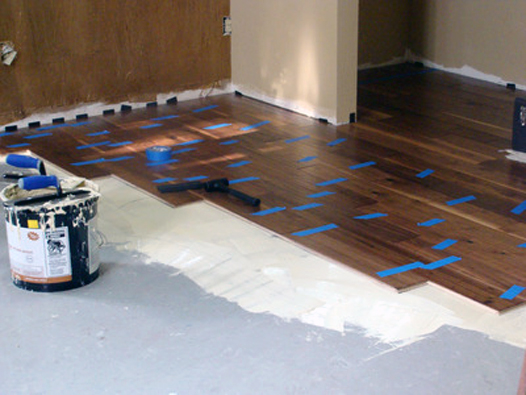
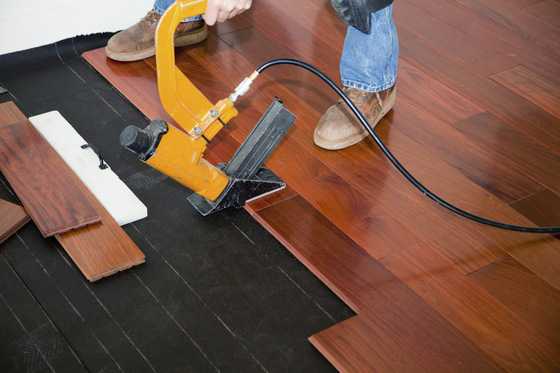
Installing the Flooring
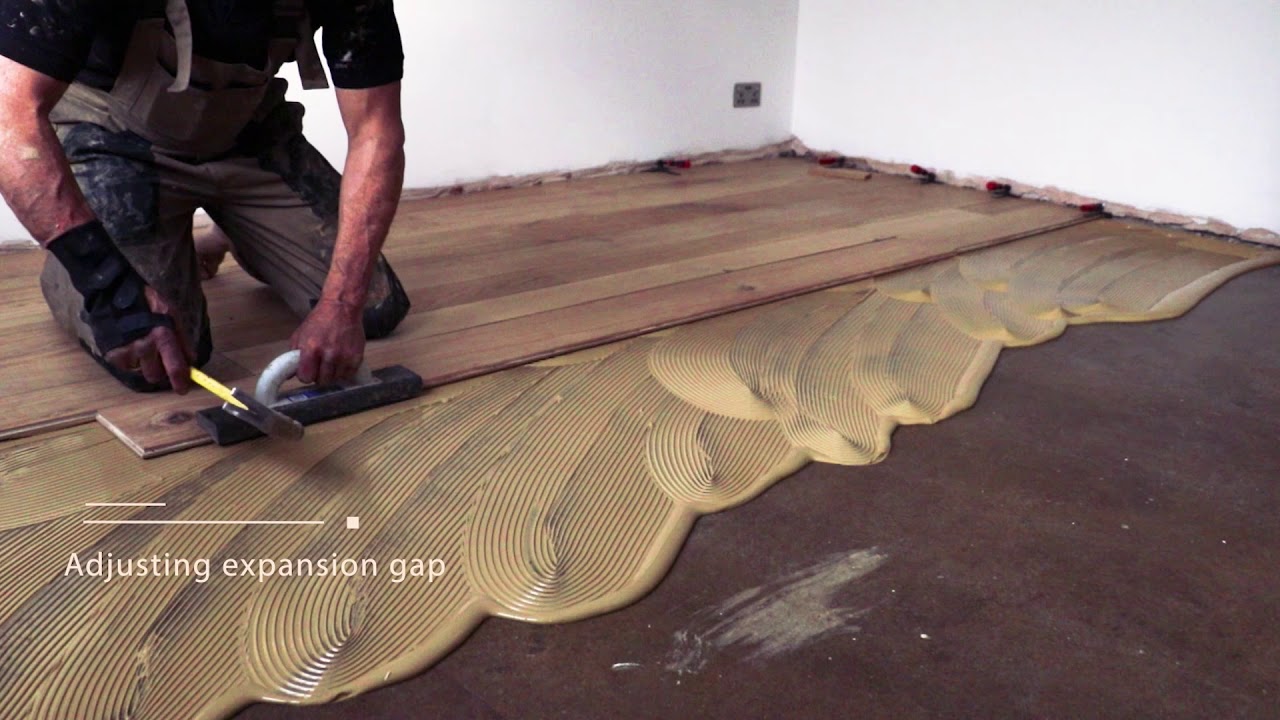
When it’s time to install your flooring, make sure that you start at one corner and work your way out. Place each plank onto the adhesive and press firmly into place. If necessary, you can use a tapping block and hammer to ensure that each plank is secure. Be sure to leave small gaps between each plank for expansion purposes—typically 1/4 inch or less.
Finishing Touches
Once all of your flooring is installed, you’ll want to finish off your project with some finishing touches. This includes filling any nail holes with putty, caulking around baseboards and doorways, and applying sealant or finish as necessary. With these final steps complete, your floors should be ready for years of use!
FAQs about Glue Down Solid Wood Flooring
Q: How long does it take for glue down solid wood flooring installation?
A: The length of time will vary depending on the size of your project, but most installations can be completed in 1-2 days with proper preparation and planning.
Q: What type of glue should I use for my flooring?
A: Most manufacturers recommend using a latex-based adhesive for installing glue down solid wood flooring. However, epoxy or urethane can also be used if necessary.
Q: How much space should I leave between planks?
A: Leave at least 1/4 inch between each plank when installing solid wood flooring; this allows for expansion during temperature changes and ensures that your floors don’t buckle or warp over time.