There are many more styles and colors available than epoxy paint or floor mats, as well as the tiles themselves interlock for installation that is easy. Even in case you do not spend period that is very much in your garage you may want to look at garage flooring for a new home update. The garage floor coatings are made available as per the need as well as needs of the customers.
Here are Images about Garage Floor Heating Mats
Garage Floor Heating Mats
Garage flooring tiles are capable of doing almost anything at the same time, if not better than, every other flooring type, which means that you should determine which qualities are probably the most crucial for the situation of yours prior to starting to select the tiles for the garage of yours.
Anderson-Bolds – Heated-Mats
The lengthiest step in the task is preparing the garage floor for coating. Setting up a garage floor mat requires an hour's really worth of the time of yours at many. To know how much you need, measure your garage's floor area from every one of the corners. The hard garage tiles are floating tiles and they're both perforated to allow water and spills to drain below them or solid to somewhat keep spills higher than than tile.
Images Related to Garage Floor Heating Mats
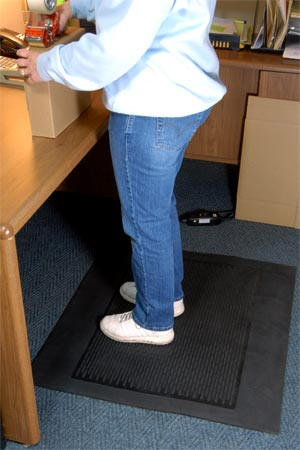
Cozy Products Electric Foot Warmer Mat-Heated Rubber Pad, Small Portable Floor Heater, for Home, Office, Garage, Car Use, 135 Watts, 8 lbs, 36.5″ x

Portable Electric Radiant Floor Heating for Under Area Rugs

Slab Heat Mats

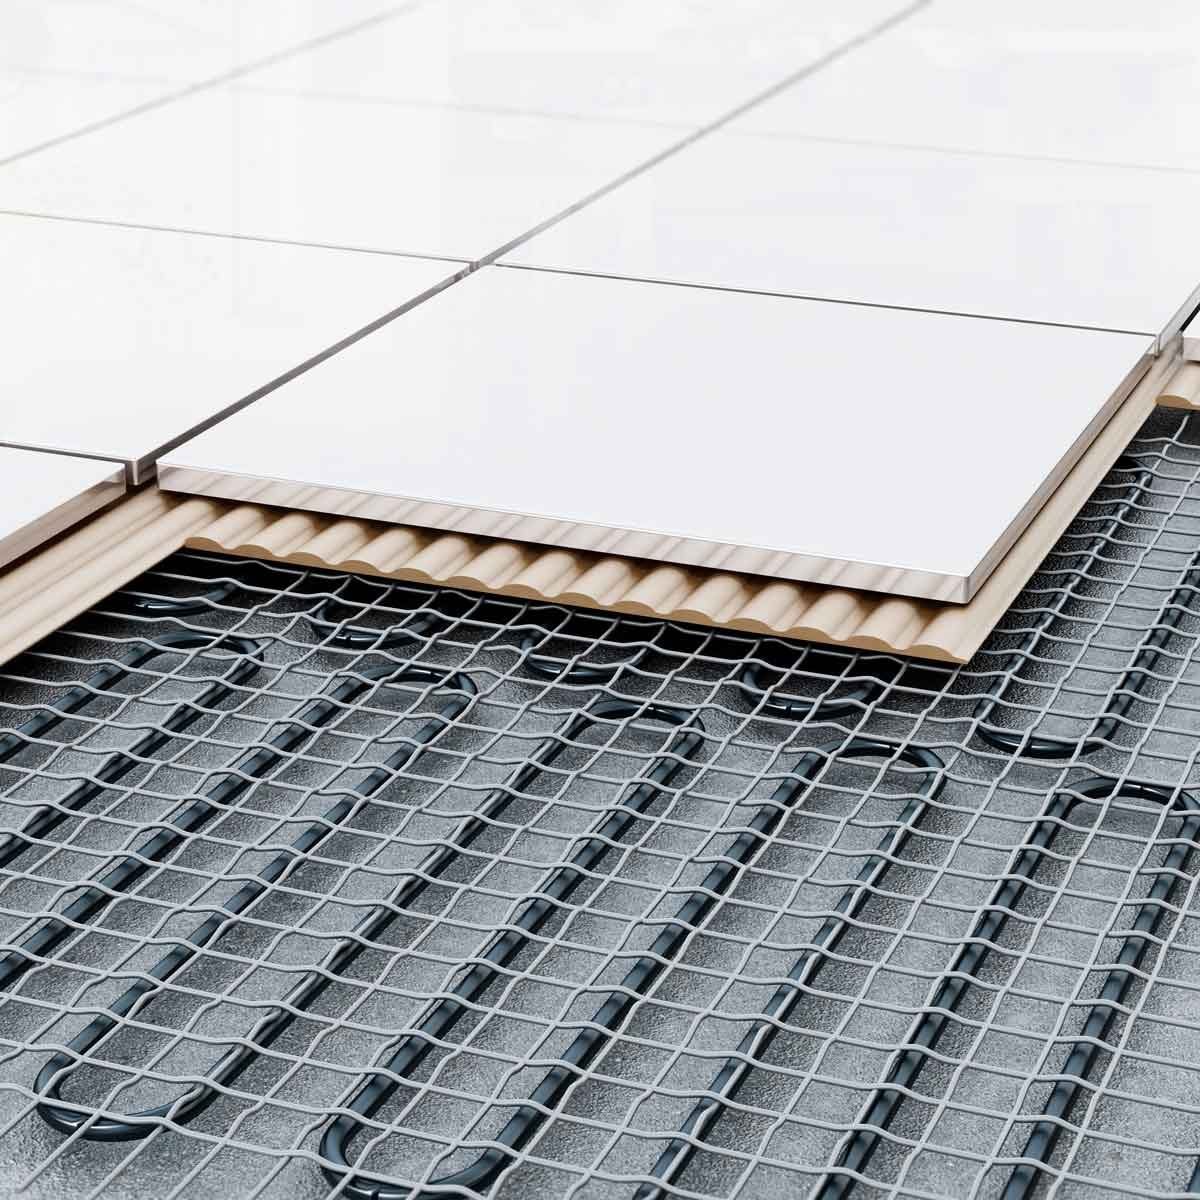
ThermoTile In-Floor Heating Mats ThermoSoft

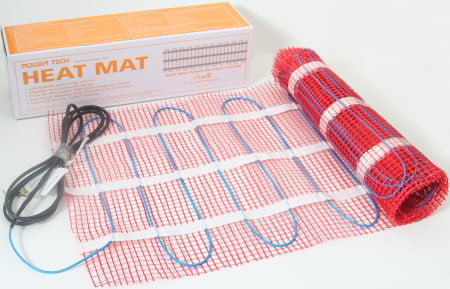
Powertech WJ0501201 50 Sq Ft 600W 120V Heat Mat
Anderson-Bolds – Heated-Mats
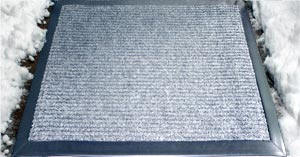
Martinson-Nicholls Heated Entrance and Work Mats Provide Safer

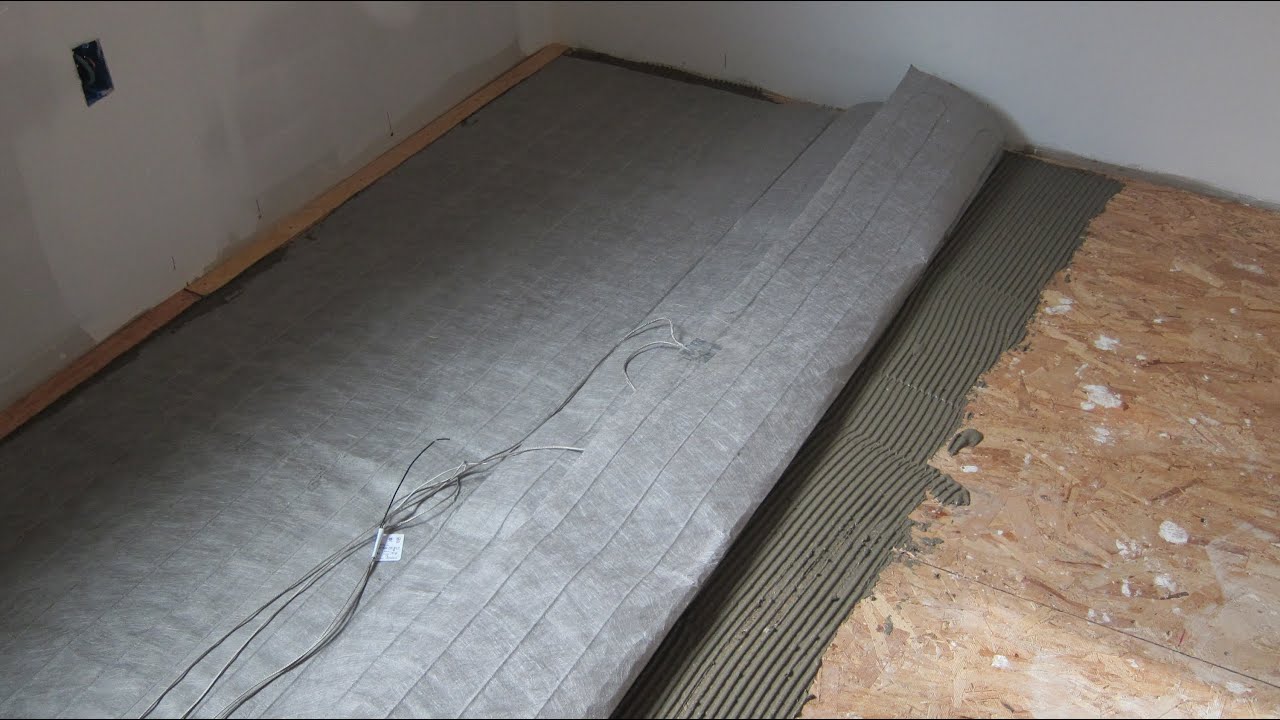
Heated Floor on Concrete Slab with Strata Heat

Install Radiant Heating Floor Mat Video 1 of 3
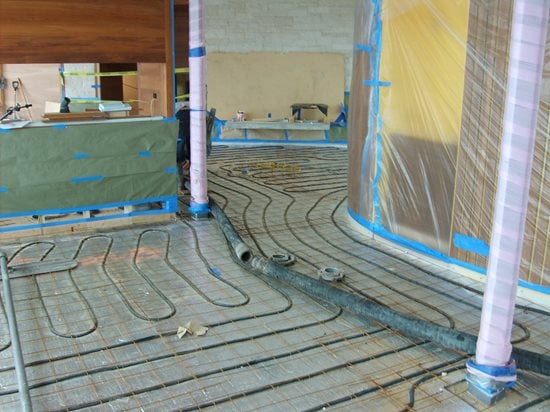
Heated Concrete Floors – Radiant Floor Heating – Concrete Network
How to Install In-Floor Radiant Heat
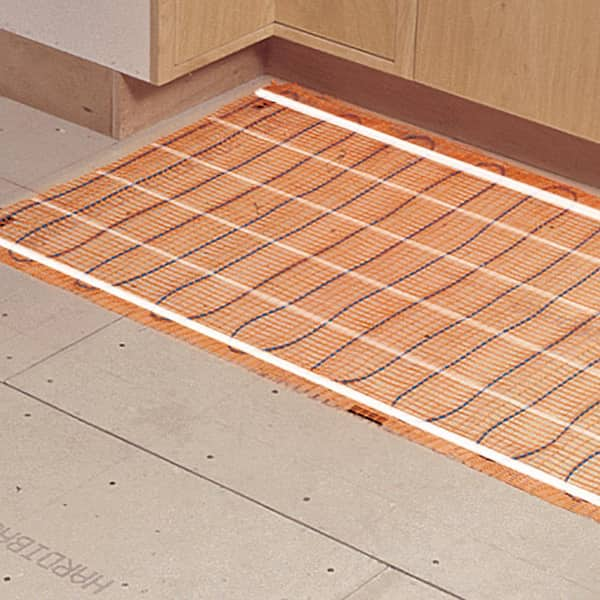
SunTouch Floor Warming 20 ft. x 30 in. 120-Volt Radiant Floor
Related articles:
- Interlocking Garage Floor Tiles
- Garage Floor Coatings
- Garage Floor Ideas
- Garage Floor Paint
- Garage Floor Rubber Covering
- Garage Floor Coating Paint
- Garage Floor Epoxy Ideas
- Best Garage Floor Material
- Black Epoxy Garage Floor Coating
- Garage Floor Slab Thickness
Garage Floor Heating Mats: The Ultimate Solution for a Warm and Cozy Garage
Introduction:
When it comes to creating a comfortable environment in your garage, one of the most important factors to consider is the flooring. Cold concrete floors can make working in your garage during the winter months unbearable. However, with the advent of garage floor heating mats, you can now enjoy a warm and cozy space all year round. In this article, we will explore everything you need to know about garage floor heating mats, including their benefits, installation process, maintenance tips, and frequently asked questions.
I. What are Garage Floor Heating Mats?
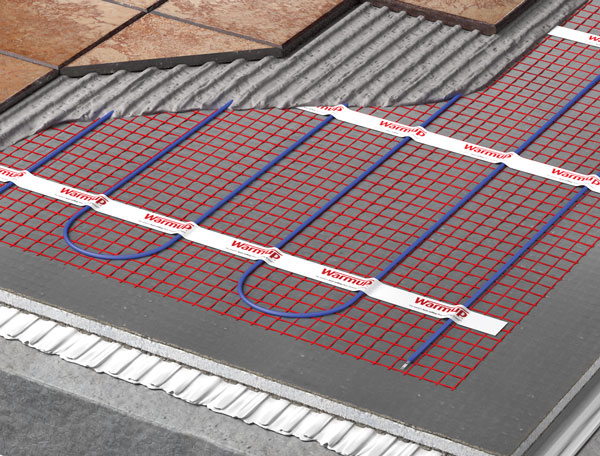
Garage floor heating mats are electrically powered systems that are designed to heat up your garage floor. These mats consist of a network of heating elements that are evenly distributed over a durable mat material. The heating elements generate heat when connected to an electrical power source, thereby providing warmth to the entire surface area of your garage floor.
FAQs:
1. How do garage floor heating mats work?
Garage floor heating mats utilize a radiant heat system to warm up your garage floor. The heating elements in the mats produce heat when electricity passes through them. This heat is then transferred directly to the floor, warming up the space above it.
2. Are garage floor heating mats safe?
Yes, garage floor heating mats are safe to use as they are designed with safety features such as built-in thermostats and insulation layers. These features prevent overheating and ensure that the mats do not pose a fire hazard.
II. Benefits of Garage Floor Heating Mats
Installing garage floor heating mats offers several benefits that enhance both the functionality and comfort of your garage space.
1. Enhanced Comfort:
One of the primary benefits of using garage floor heating mats is the enhanced comfort they provide. By keeping your garage floor warm, these mats create a more pleasant working environment during colder months. Whether you’re working on DIY projects or simply using your garage as a workspace, you’ll appreciate the added comfort of a warm floor beneath your feet.
2. Energy Efficiency:
Garage floor heating mats are designed to be energy-efficient. They distribute heat evenly across the entire floor surface, minimizing energy wastage. Additionally, most mats come with built-in thermostats that allow you to control the temperature and avoid unnecessary energy consumption.
3. Protection for Your Vehicle:
Cold temperatures can be detrimental to your vehicle’s health. By installing garage floor heating mats, you can protect your vehicle from freezing temperatures and prevent damage caused by condensation. The warmth generated by these mats helps maintain a stable temperature in your garage, ensuring that your vehicle starts easily and avoids potential issues such as battery drainage or engine damage.
FAQs:
1. Can garage floor heating mats be installed under any type of flooring?
Garage floor heating mats are compatible with a wide range of flooring materials, including concrete, tile, vinyl, laminate, and epoxy coatings. However, it is important to ensure that the specific mat you choose is suitable for use with your desired flooring material.
2. How long does it take for garage floor heating mats to warm up?
The time required for garage floor heating mats to warm up depends on factors such as the size of the space and the insulation of the area. Generally, it takes around 30 minutes to an hour for the mats to reach their optimal operating temperature.
III. Installation Process
Installing garage floor heating mats is a straightforward process that can be completed by homeowners with basic DIY skills. Here’s a Step-by-step guide to help you install garage floor heating mats:
1. Measure the area: Start by measuring the dimensions of your garage floor to determine how many heating mats you will need. It’s important to ensure that the mats cover the entire floor surface for effective heating.
2. Prepare the floor: Before installing the mats, make sure the floor is clean and free of any debris or obstructions. Sweep or vacuum the area to remove any dirt or dust.
3. Lay down insulation: If your garage floor is not already insulated, it’s recommended to install a layer of insulation before placing the heating mats. This helps to improve energy efficiency and retain heat.
4. Unroll the heating mats: Carefully unroll the heating mats across your garage floor, making sure they are properly aligned and cover the entire surface area. If needed, you can cut the mats to fit specific areas using scissors or a utility knife.
5. Connect the mats: Each heating mat should have a power cord attached. Connect all the cords together and route them towards an electrical outlet. Make sure to follow the manufacturer’s instructions for connecting multiple mats.
6. Install a thermostat: If your heating mats do not come with a built-in thermostat, you will need to install one separately. The thermostat allows you to control the temperature and set desired heating levels in your garage.
7. Test the system: Before using your garage floor heating mats, it’s important to test the system to ensure everything is functioning properly. Turn on the power and adjust the thermostat settings to check if the mats are heating up as expected.
8. Secure the mats: Once you’re satisfied with the functionality of your garage floor heating system, secure the mats in place using adhesive tape or other recommended methods provided by the manufacturer.
9. Finish with flooring: If desired, you can install your preferred flooring material over the heated mats. This can be anything from tiles or laminate to epoxy coatings or carpet tiles. Make sure the flooring material is compatible with the heating mats.
10. Enjoy your warm garage: Once the installation is complete, you can enjoy the benefits of a warm garage floor. Whether you’re using the space for storage, working on projects, or simply parking your car, the heated floor will provide added comfort and protection.
It’s important to note that while installing garage floor heating mats can be done as a DIY project, it’s always recommended to follow the manufacturer’s instructions and consult a professional if needed. Additionally, ensure that you have the necessary tools and equipment for the installation process, such as a utility knife, adhesive tape, and a power drill if required.
11. Safety precautions: Before starting the installation process, ensure that the power to the garage is turned off to prevent any accidents or electrical hazards.
12. Follow manufacturer’s instructions: Each brand may have specific guidelines for installation, so it’s important to read and follow these instructions carefully to ensure proper installation and avoid any damage to the heating mats.
13. Take care of the power cord: Ensure that the power cords are placed in a safe location where they won’t be tripped over or damaged. You can use cable management systems or protective covers to secure the cords and prevent any accidents.
14. Maintenance: Regularly inspect the heating mats for any signs of damage or wear and tear. Clean the floor regularly to keep it free from debris that could affect the efficiency of the heating system.
15. Energy efficiency: Consider using a programmable thermostat or timer to control when your garage floor heating system operates. This can help save energy by only heating the floor when it’s needed.
By following these steps and taking proper precautions, you can successfully install garage floor heating mats and enjoy a warm and comfortable garage space.