How tough is actually the tile to be put in? Fairly thick quarry tiles, for instance, may be rated for heavy duty industrial applications, however, they're often installed in houses. When tile flooring installation is finished, the finish and layout alone are worth the cost. There are lots of diverse types of marble tile used in residential and commercial applications.
Images Related to Do It Yourself Tile Flooring
Do It Yourself Tile Flooring

If you plan to sell your house or put it up for rent, then you are guaranteed to own a better resale value for tile for the floor flooring homes instead of every other type of flooring. As a result of this changeability, tiles are superb for those men and women who want to change the look of a floor.
DIY Tiling u2013 Is it Worth it? Networx

Lots of master installers can help you floor tile at a fantastic discount, specifically when they're putting in the tile flooring. A number of the alternatives are inventory items so you won't need to hold on for a specific order to come in. You can work with a tile cutter or perhaps a glasscutter for modest jobs, but for bigger assignments you might need to have a damp saw.
Installing Tile Floor for the First Time // How To Lay Tile Floor
How to Lay Peel-and-Stick Vinyl Tile Flooring – Dengarden
How To Update Your Bathroom Floor Tiles – 6 DIY ideas

Installing Tile Floor for the First Time // How To Lay Tile Floor
How to Install Ceramic Tile Flooring in 9 Steps – This Old House
/cdn.vox-cdn.com/uploads/chorus_asset/file/19497064/howto_tile_12.jpg)
How To Update Your Bathroom Floor Tiles – 6 DIY ideas

How to Install Ceramic Tile Flooring in 9 Steps – This Old House
/cdn.vox-cdn.com/uploads/chorus_asset/file/19497110/howto_tile_07.jpg)
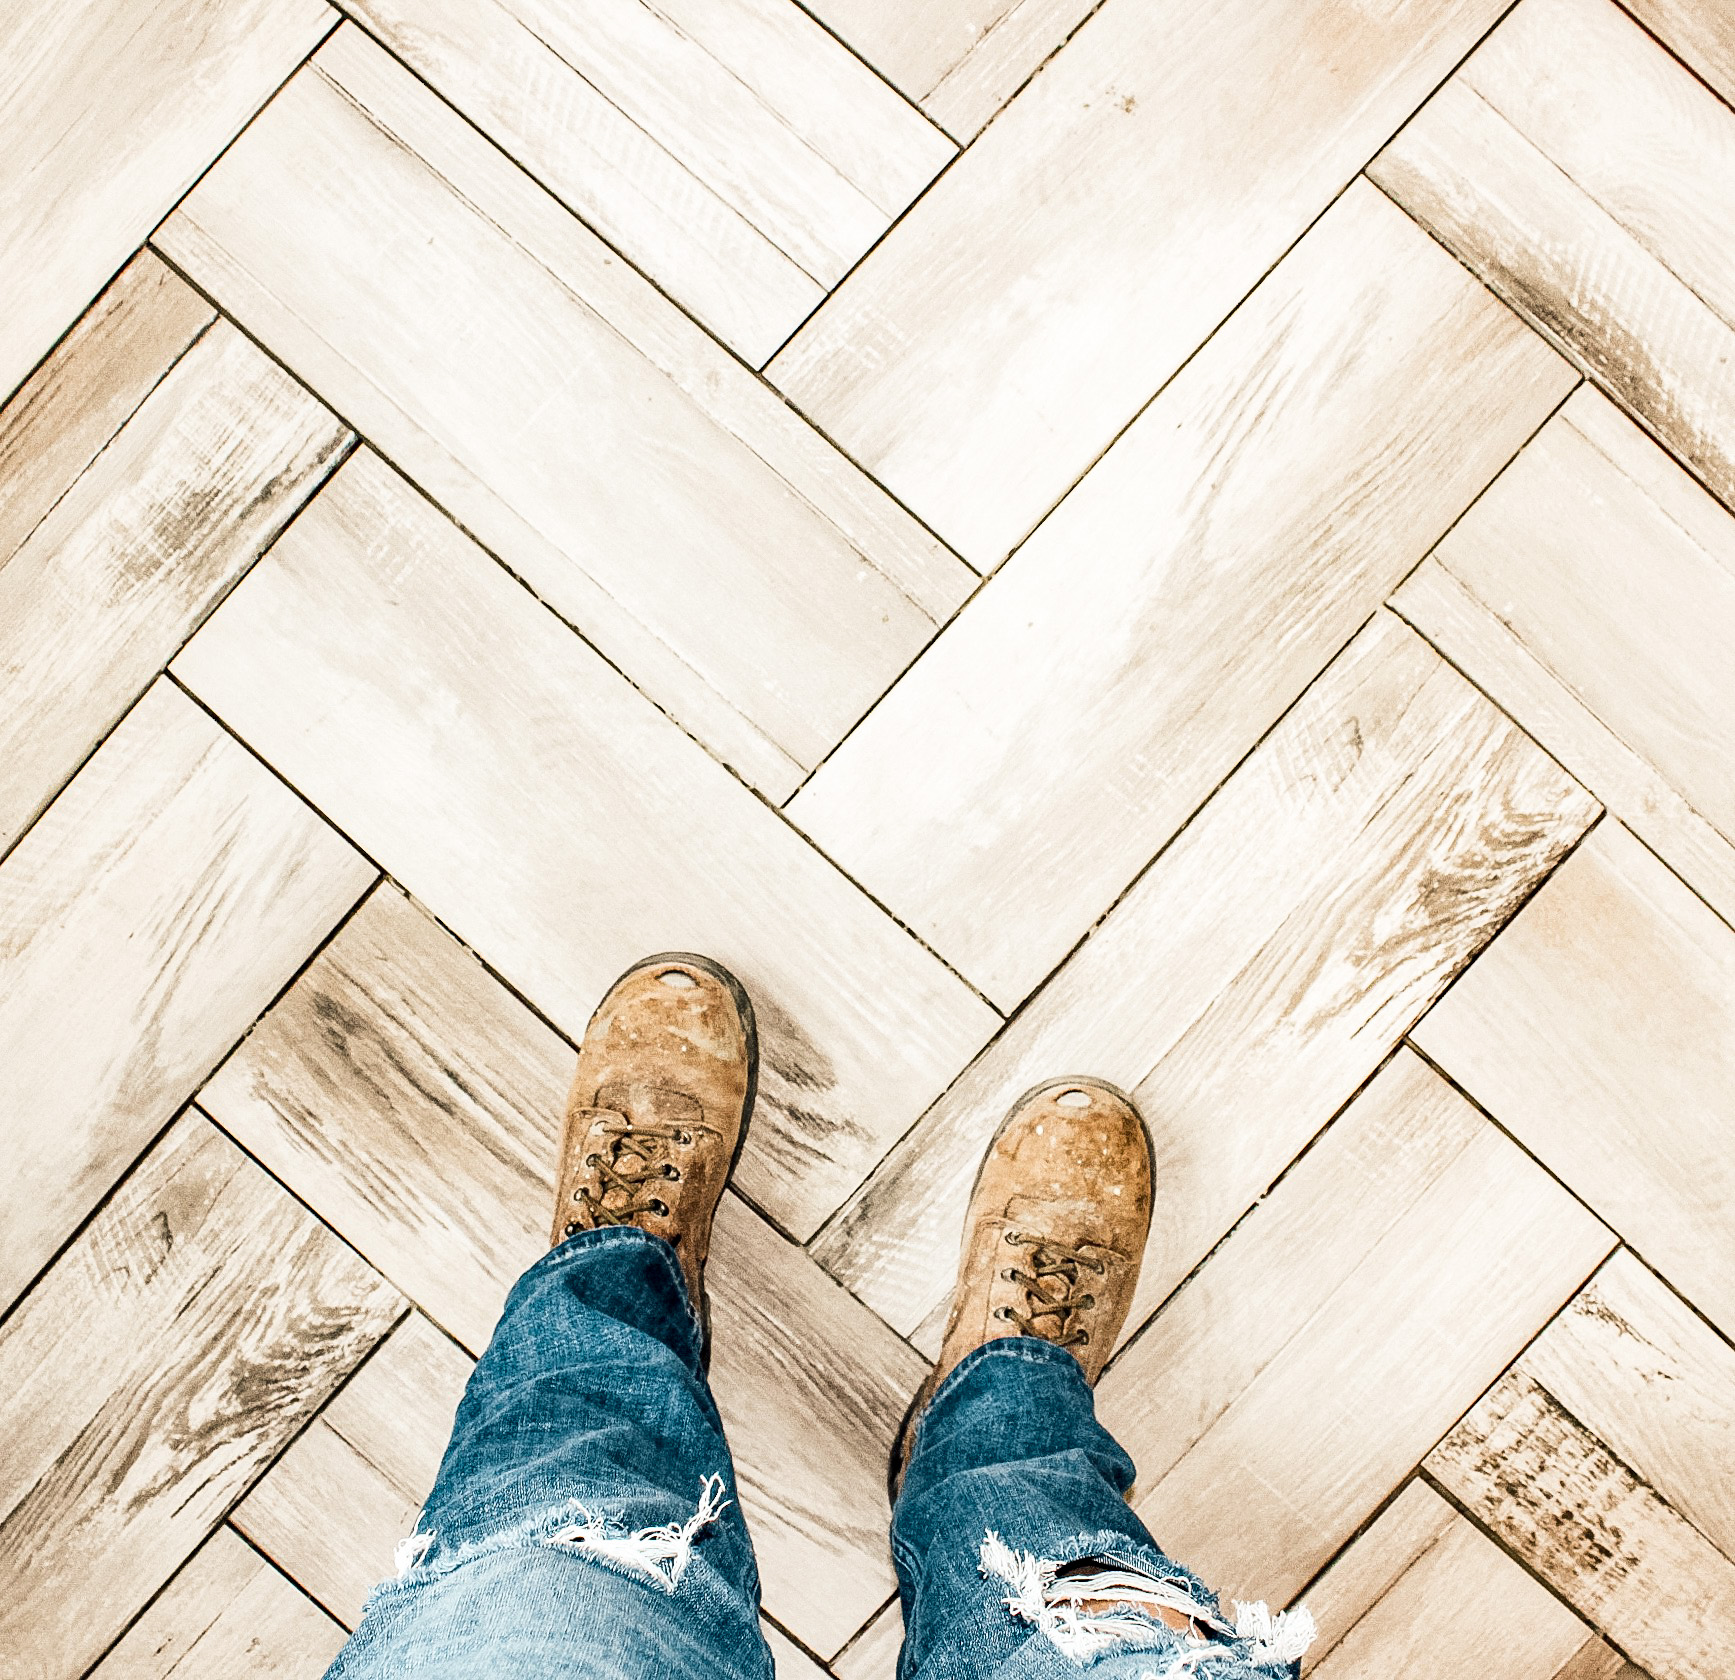
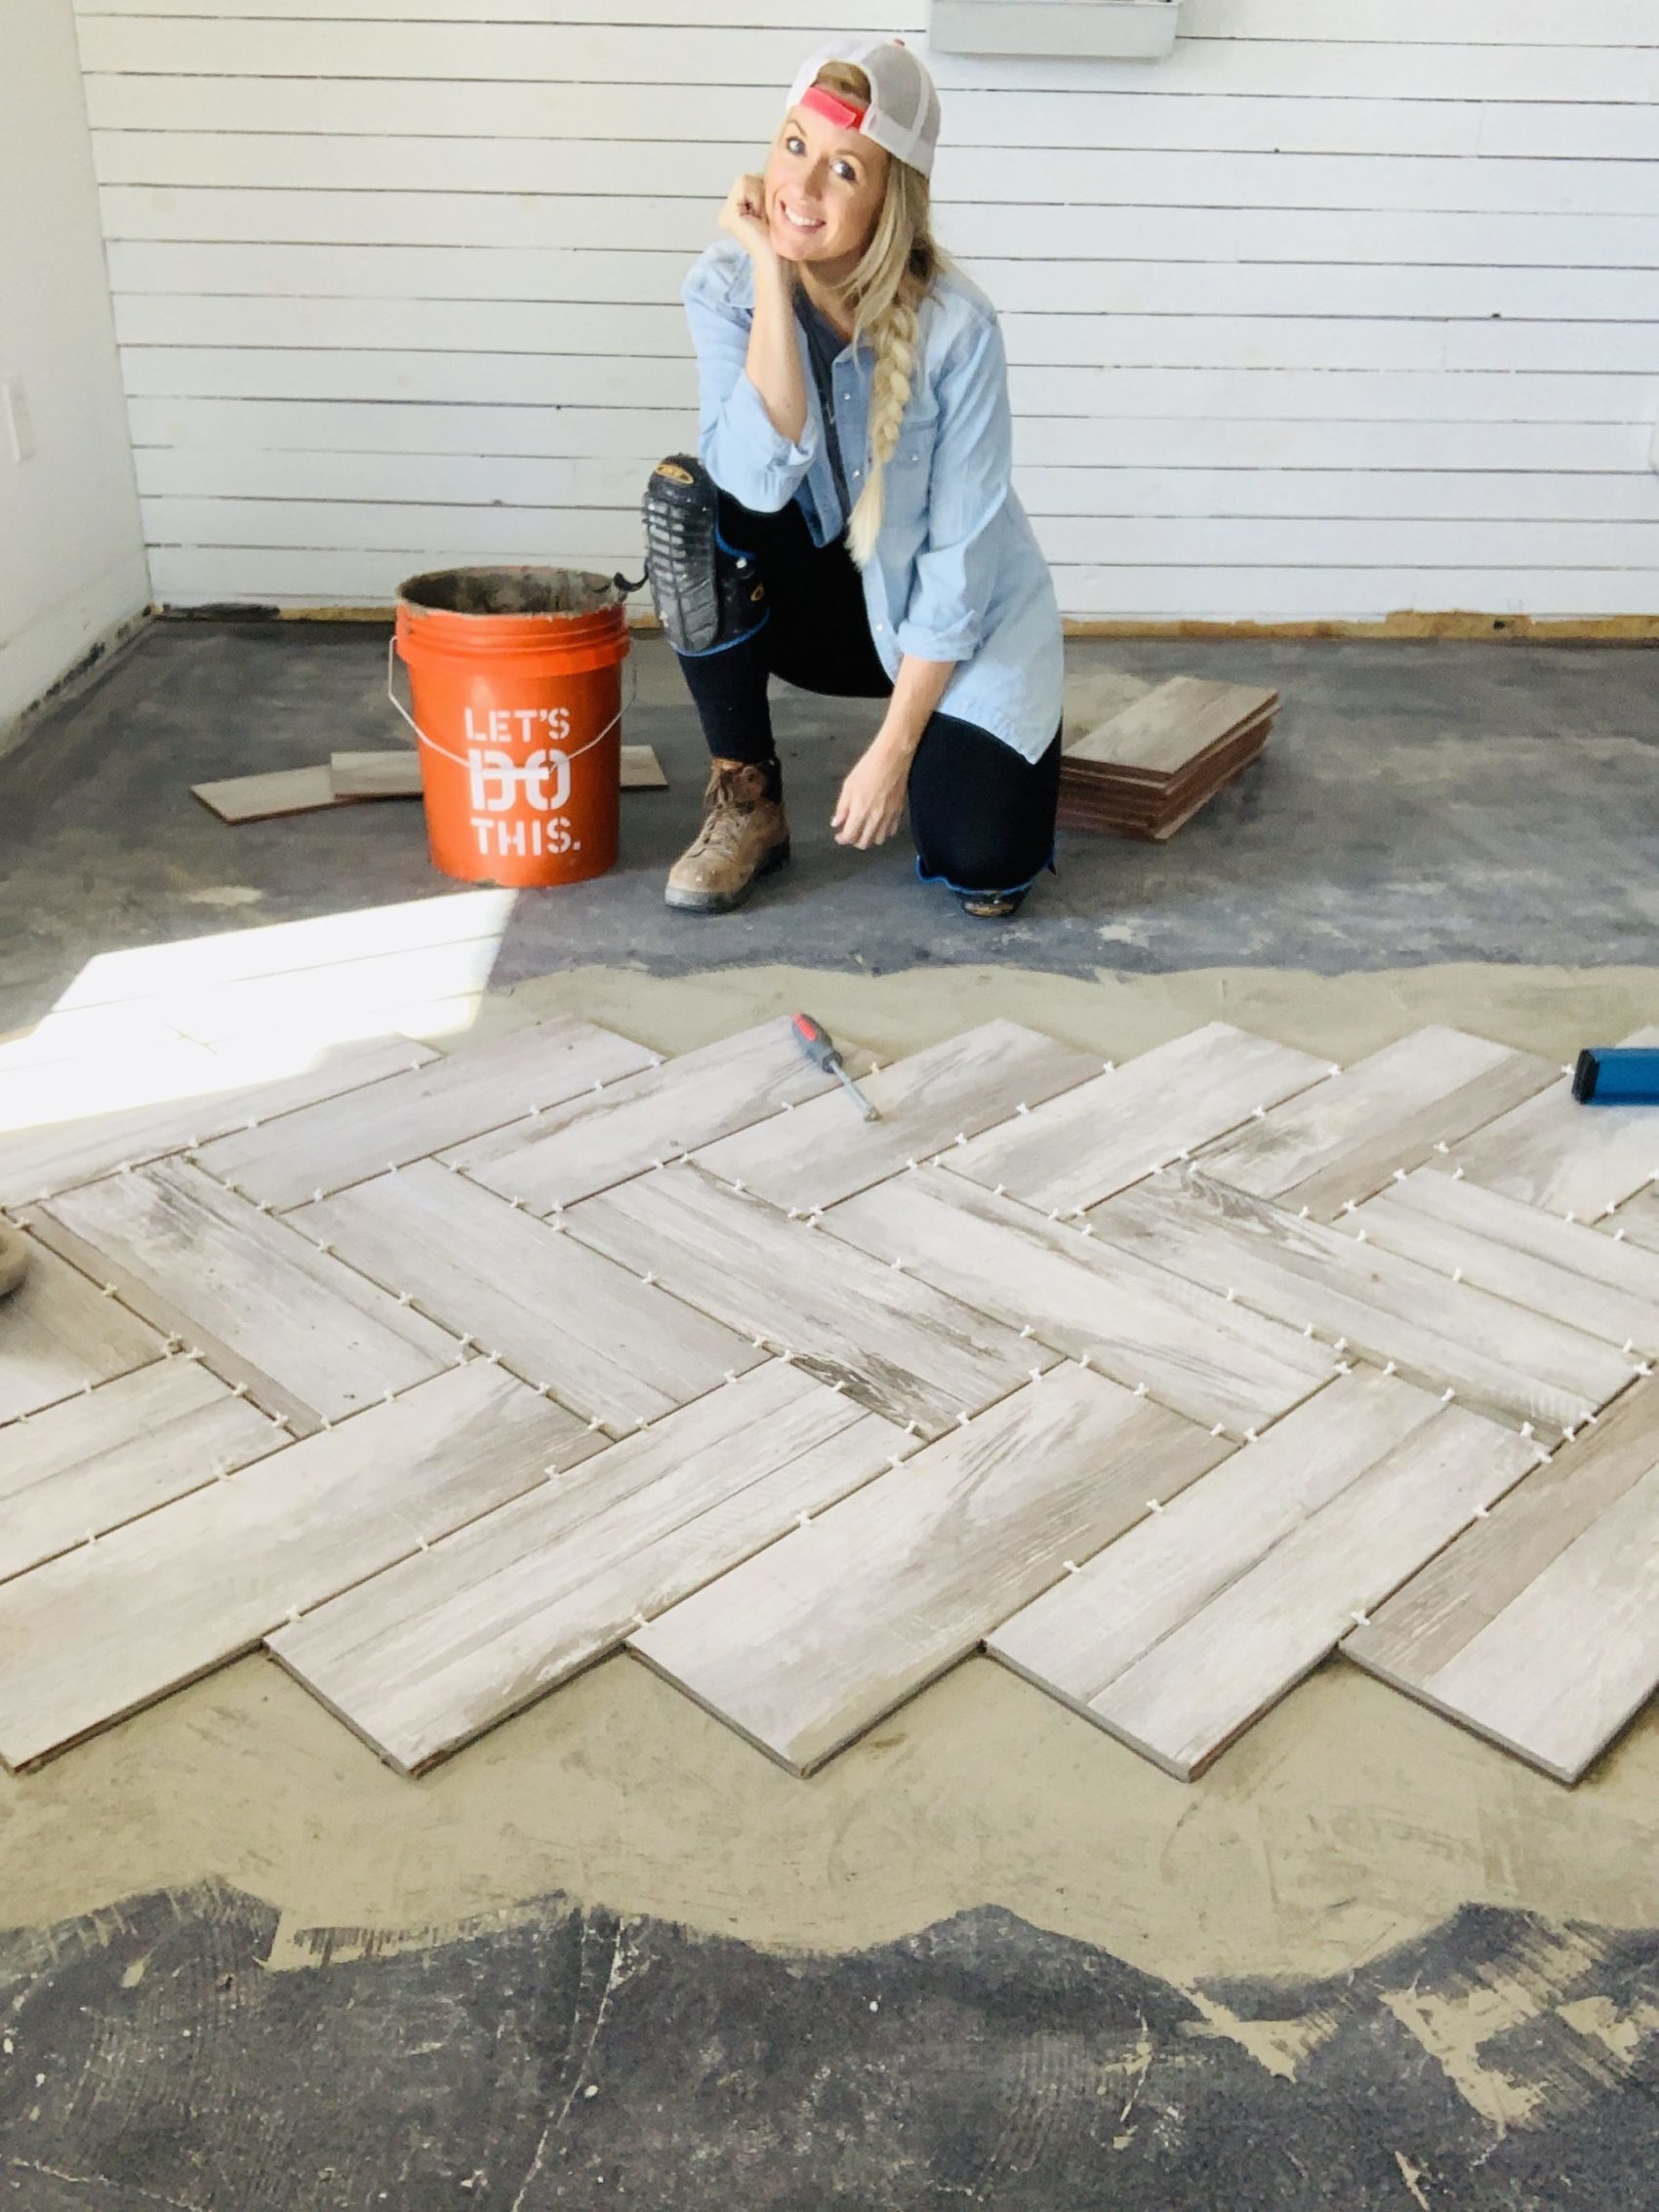
DIY Herringbone Tile Flooring Fletcher Creek Cottage
Is Laying Tile Difficult? Hereu0027s What to Know
/how-hard-is-it-to-lay-tile-1822606-hero-f968495a39804d2f82df3e00d9f2b6f6.jpg)
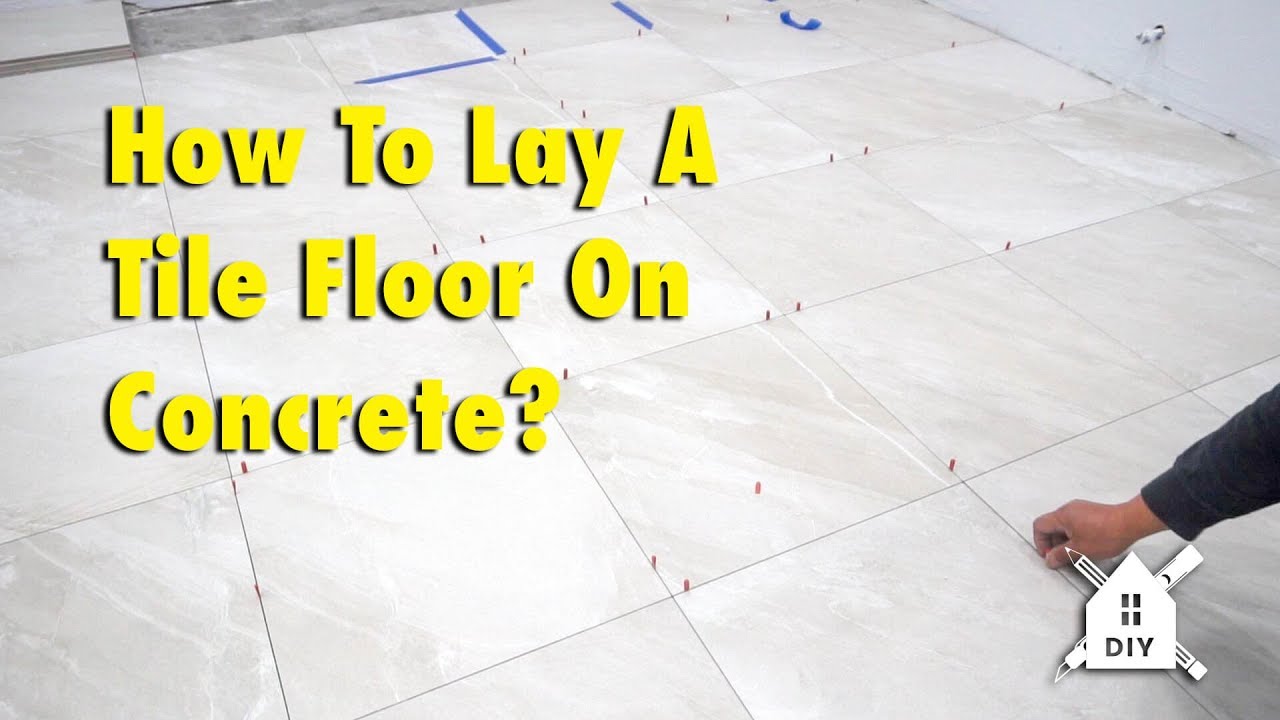
How To Lay A Tile Floor On Concrete #DIY #Homeimprovement
DIY Guide: How to Install Tile Flooring u2013 The Good Guys
DIY Herringbone Tile Flooring Fletcher Creek Cottage
Related articles:
- Vintage Bathroom Floor Tile Patterns
- Bathroom Floor Tile DIY
- Limestone Bathroom Floor Tiles
- Bathroom Floor Porcelain Tile
- Concrete Bathroom Floor Ideas
- White Bathroom Ceramic Tiles
- Bathroom Floor Baseboard
- Rustic Bathroom Flooring Ideas
- Bathroom Flooring Options
- Bamboo Bathroom Flooring Ideas
Do It Yourself Tile Flooring: A Comprehensive Guide to Transforming Your Space
Introduction:
Tile flooring is a versatile and durable option that can instantly elevate the appearance of any room in your home. With its wide range of design possibilities and long-lasting nature, tile flooring is a popular choice among homeowners. While hiring a professional to install tile flooring can be costly, many individuals are opting to take on the task themselves. This article will provide a detailed guide on how to successfully install tile flooring as a do-it-yourself project, covering everything from preparation and material selection to installation techniques and maintenance tips.
I. Preparing for the Project:
Before diving into the installation process, proper preparation is key to ensuring a successful outcome. This section will outline the essential steps involved in preparing your space for tile flooring.
1. Measure and Calculate:
Accurate measurements are crucial when determining the amount of tile needed for your project. Measure the length and width of the area you plan to tile, accounting for any irregularities or additional spaces where tiles may need to be cut. Use these measurements to calculate the square footage and determine how many tiles you will require.
FAQ:
Q: How much extra tile should I purchase?
A: It’s recommended to purchase an additional 10% of tile to account for cuts, breakage, and future replacement needs.
2. Choose the Right Tiles:
The market offers an extensive array of tile options, including ceramic, porcelain, natural stone, and more. Consider factors such as durability, style, and maintenance requirements when selecting your tiles. It’s also essential to ensure that the chosen tiles are suitable for floor installation.
FAQ:
Q: Which type of tile works best in high-traffic areas?
A: Porcelain tiles are known for their exceptional durability and resistance to wear, making them an ideal choice for high-traffic areas.
3. Prepare the Subfloor:
The subfloor serves as the foundation for your tile installation. It must be clean, dry, and level to ensure proper tile adhesion and prevent future issues. Remove any existing flooring materials and repair any cracks or unevenness in the subfloor.
FAQ:
Q: How do I level an uneven subfloor?
A: Depending on the severity of the unevenness, you can use a self-leveling compound or add additional underlayment to achieve a level surface.
II. Tools and Materials Needed:
To execute your DIY tile flooring project efficiently, it’s essential to have the right tools and materials on hand. This section will outline the key items required for successful installation.
1. Tools:
– Tape measure
– Chalk line
– Tile cutter or wet saw
– Notched trowel
– Grout float
– Rubber mallet
– Level
– Grout sponge
2. Materials:
– Tiles of your choice
– Tile adhesive or mortar
– Grout (pre-mixed or powdered)
– Spacers
– Tile sealer (if using natural stone tiles)
– Caulk (for expansion joints)
FAQ:
Q: Can I use regular glue instead of tile adhesive?
A: No, regular glue is not suitable for tile installation. Tile adhesive is specifically formulated to provide strong adhesion between the tiles and the subfloor.
III. Installation Techniques:
With the necessary preparations complete, it’s time to move on to the actual installation process. This section will guide you through each step involved in installing tile flooring.
1. Layout Planning:
Before applying adhesive, plan out The layout of your tiles. Start from the center of the room and work your way outwards. Use a chalk line to create guidelines for your tile placement.
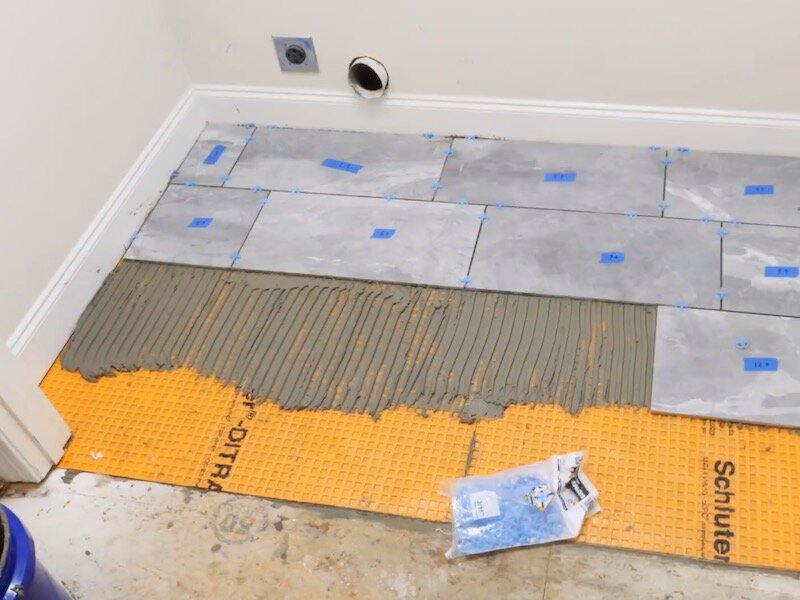
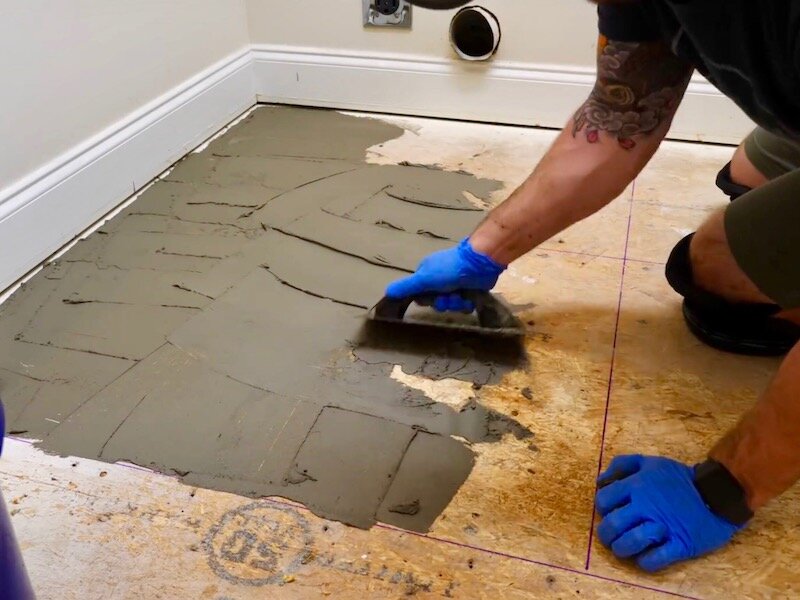
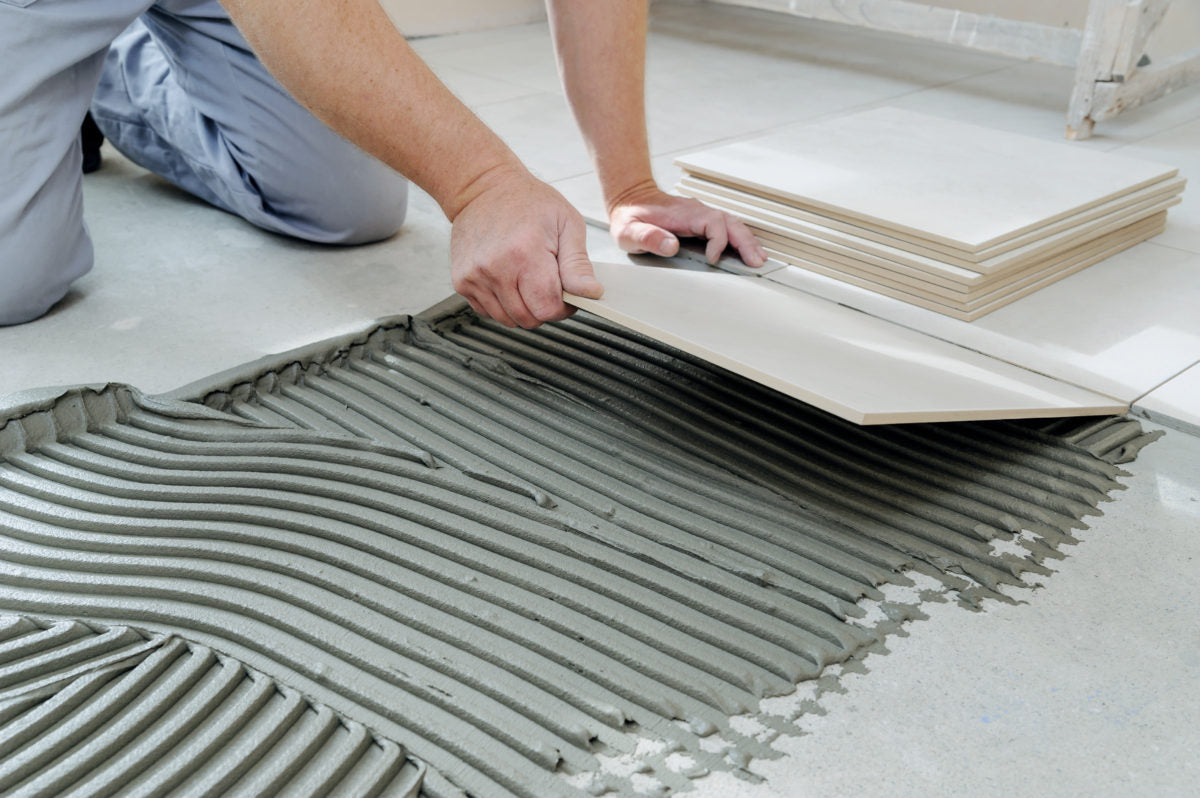
2. Applying Adhesive:
Using a notched trowel, spread tile adhesive on a small section of the subfloor. Make sure to follow the manufacturer’s instructions for proper application. Press each tile firmly into the adhesive, using spacers to maintain consistent spacing between tiles.
3. Cutting Tiles:
Measure and mark any tiles that need to be cut to fit around edges or obstacles. Use a tile cutter or wet saw to make precise cuts. Always wear safety goggles when cutting tiles.
4. Grouting:
Once the adhesive has dried, remove the spacers and mix your grout according to the manufacturer’s instructions. Use a grout float to spread the grout over the tiles, making sure to fill all the gaps. Remove excess grout with a damp sponge.
5. Sealing (if necessary):
If you are using natural stone tiles, it is recommended to apply a sealer after the grout has dried. This will help protect the stone from stains and damage.
6. Finishing Touches:
After the grout has fully dried, use caulk to fill any expansion joints or gaps between the tiles and walls or other surfaces.
FAQ:
Q: How long should I wait before walking on my newly installed tile floor?
A: It is recommended to wait at least 24 hours before walking on the floor and 48-72 hours before moving heavy furniture or allowing heavy foot traffic on the tiles.
Remember, proper installation is crucial for a successful tile flooring project. If you are unsure or uncomfortable with any step of the process, it is always best to consult a professional. They will have the expertise and experience to ensure that your tile flooring is installed correctly and will last for years to come. Additionally, hiring a professional can save you time and potential headaches in the long run. They will be able to handle any challenges that may arise during the installation process and can provide guidance on the best materials and techniques to use. It’s also worth noting that improper installation can void warranties on both the tiles and the adhesive, so it’s important to get it right the first time. By following these steps and seeking professional help when needed, you can achieve a beautiful and durable tile floor that will enhance the overall look and value of your space.