There are a few ways to deal with cleaning concrete floor, depending on its appearance, whether it centrally located within or outside, whether or not the concrete have been sealed and the current state of its of cleanliness. Polished concrete floors these days has been essentially the most popular options in most home and business constructions.
Here are Images about DIY Concrete Floors In House
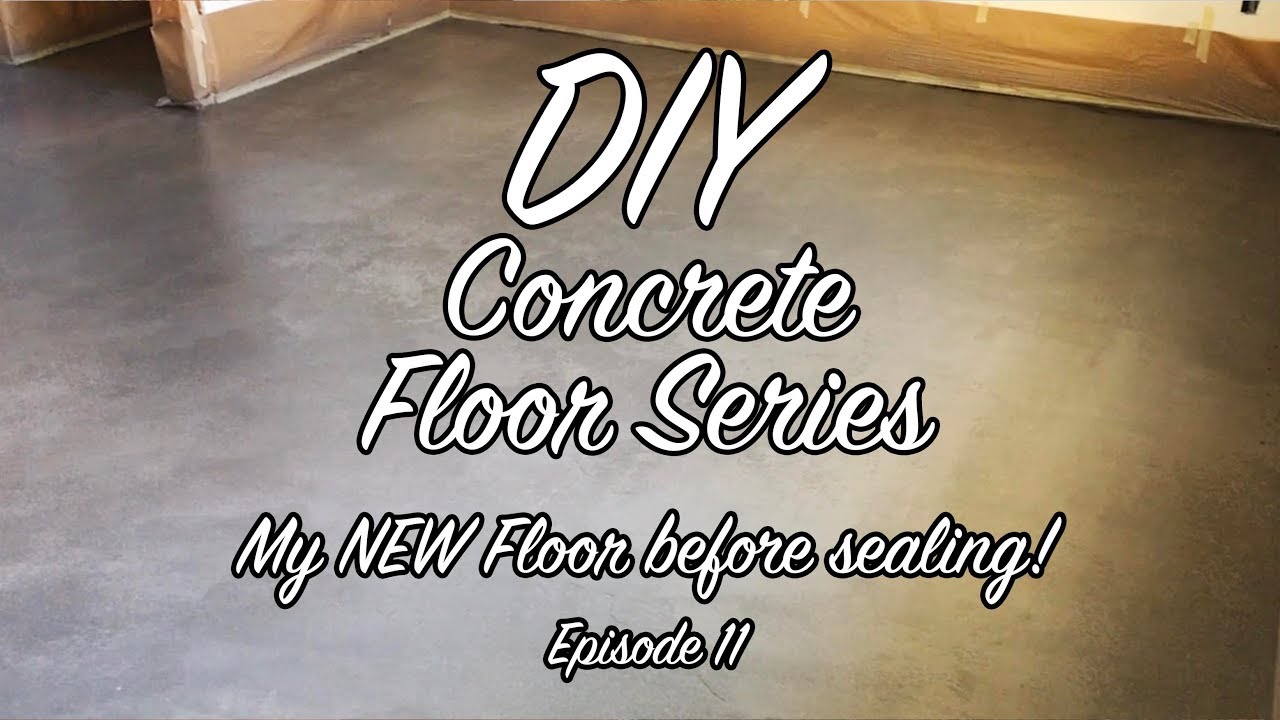
DIY Concrete Floors In House
The latest advances in the capacity to seal and stain concrete have raised the visual appeal of its, allowing it to play with some other stone flooring such as marble, granite and slate – at a portion of the price. Be an intelligent person and embrace concrete as flooring that is not just safe for you but also to the environment.
How to Pour a Concrete Floor Homebuilding
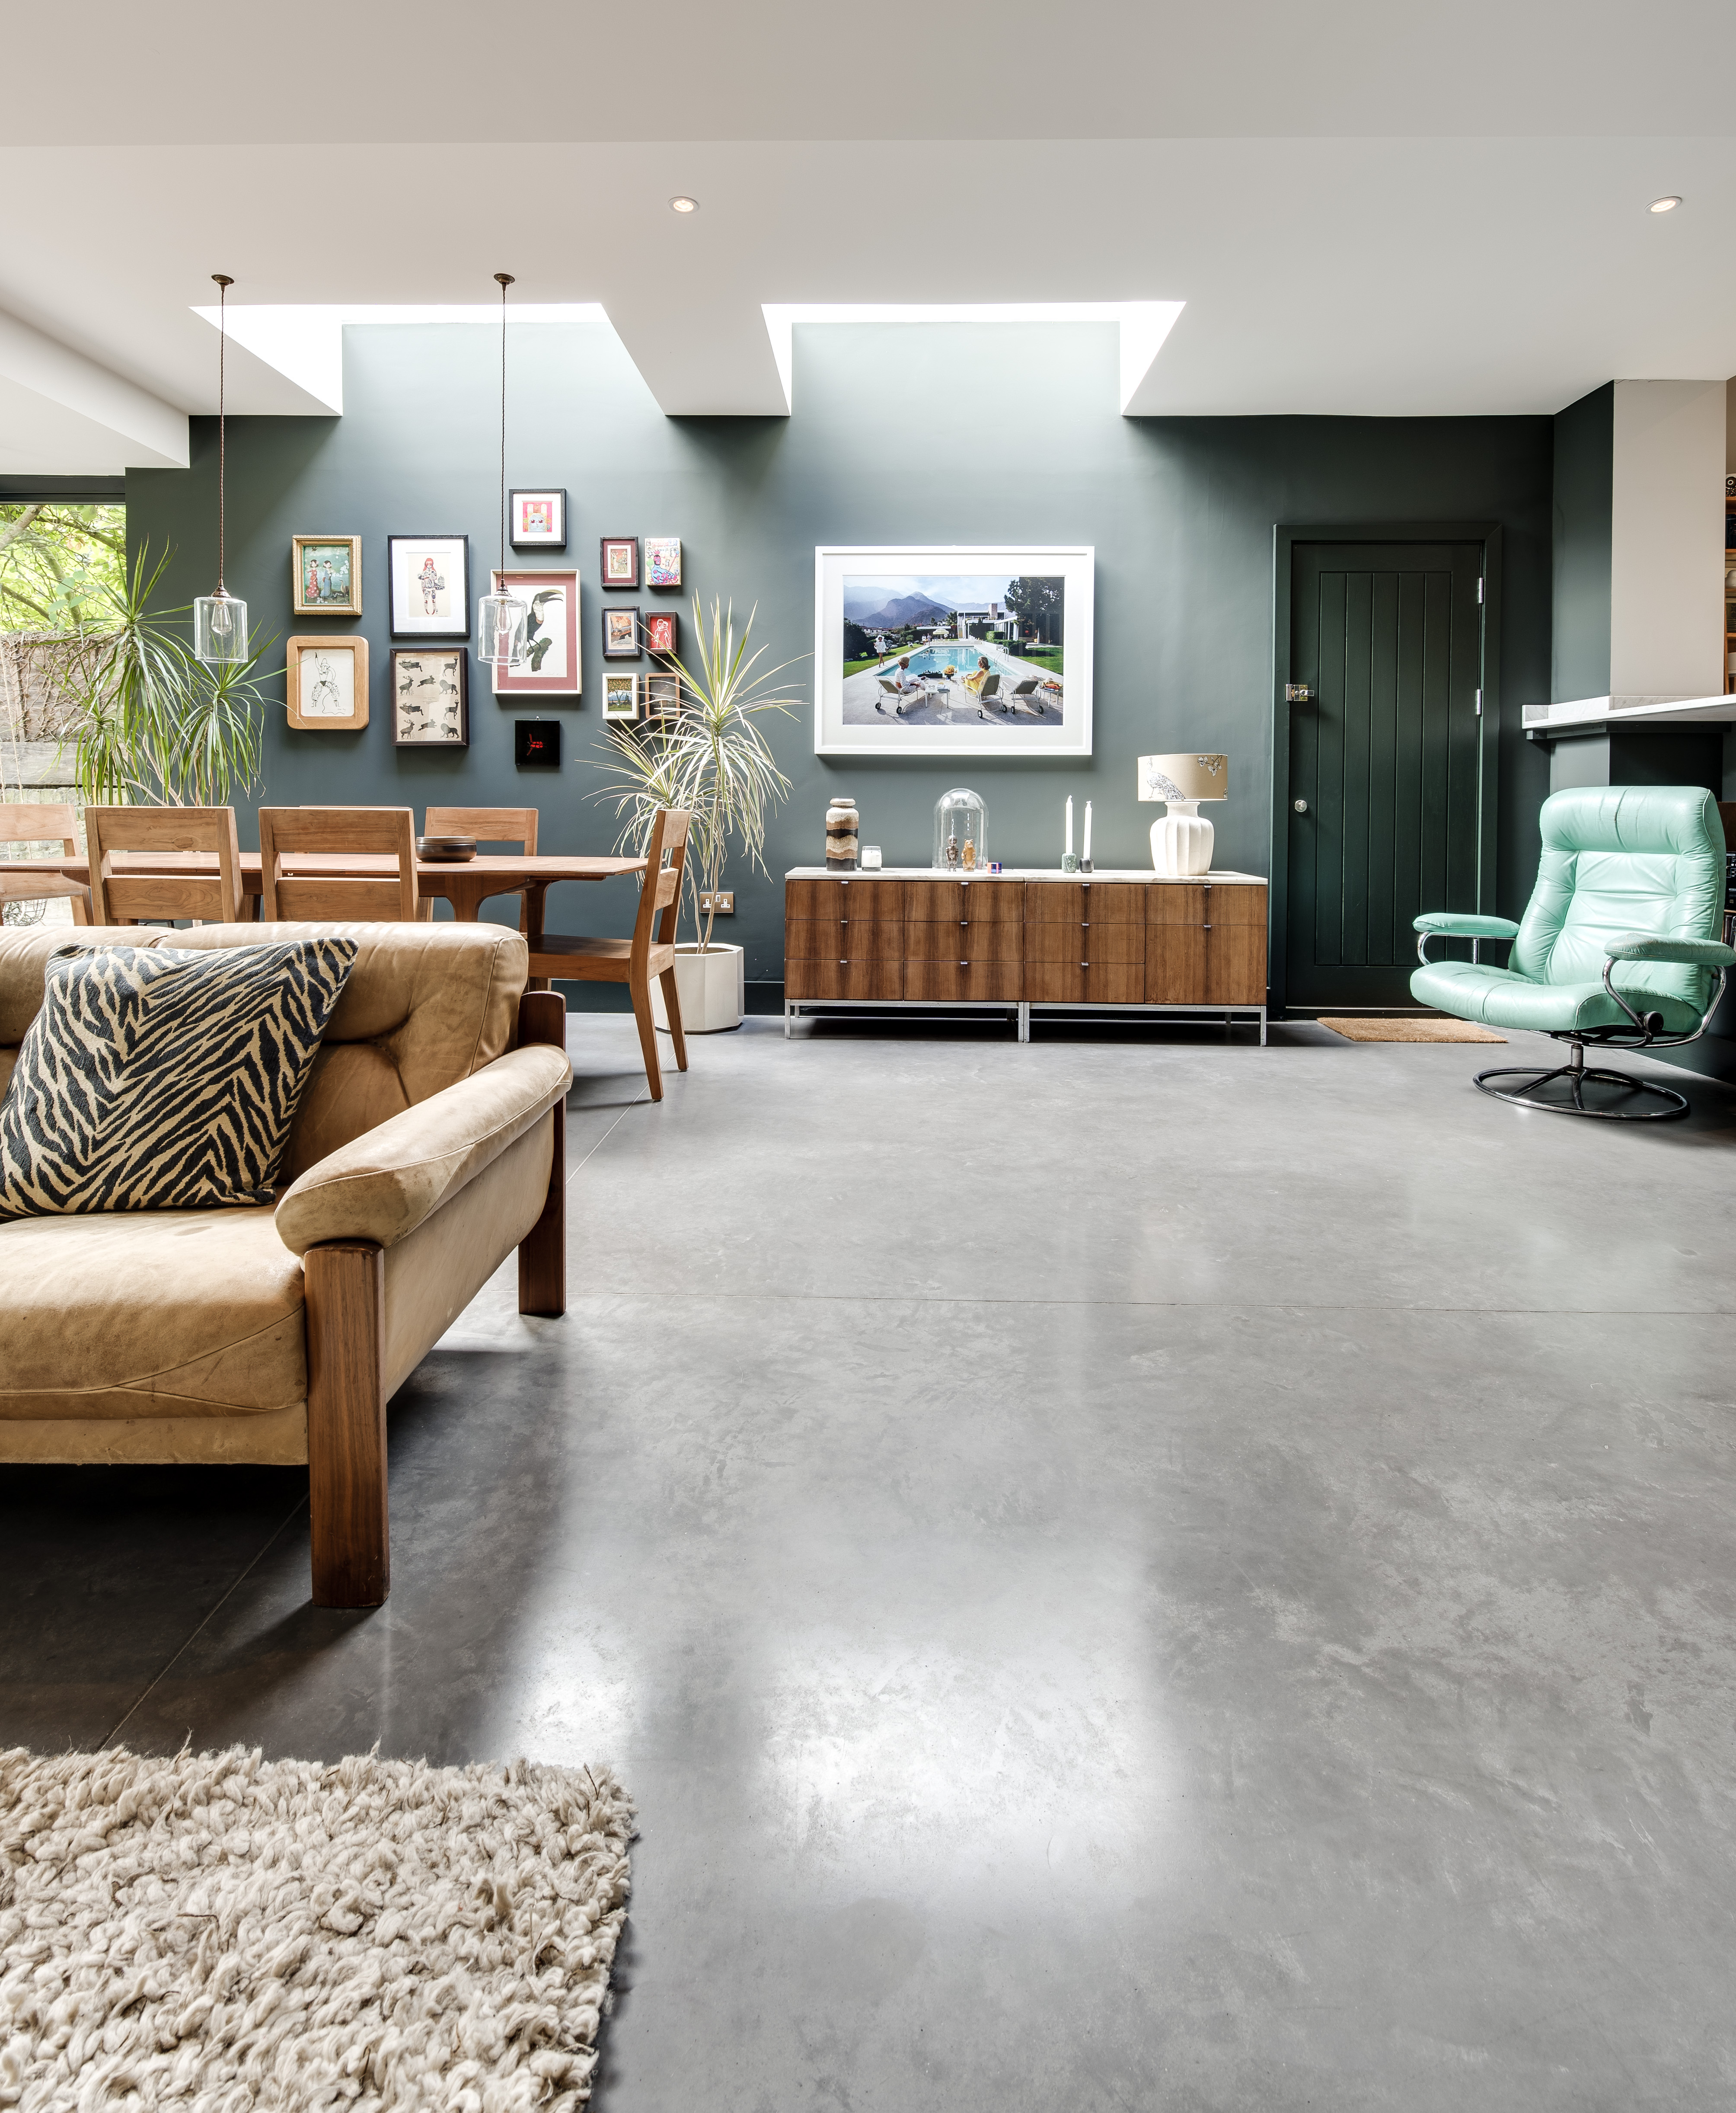
Designing with concrete countertops outdoors can also be attractive because of the easy maintenance of theirs and vast design flexibility. Concrete polishing is the finish of preference for most owners of new and present concrete floors. Polished concrete is actually seamless, leaving no place for dust mites to gather as well as expose the bacteria that may be trapped between floorboards and tiles.
Images Related to DIY Concrete Floors In House
How to Make Cement Floors More Appealing DIY Projects Craft Ideas
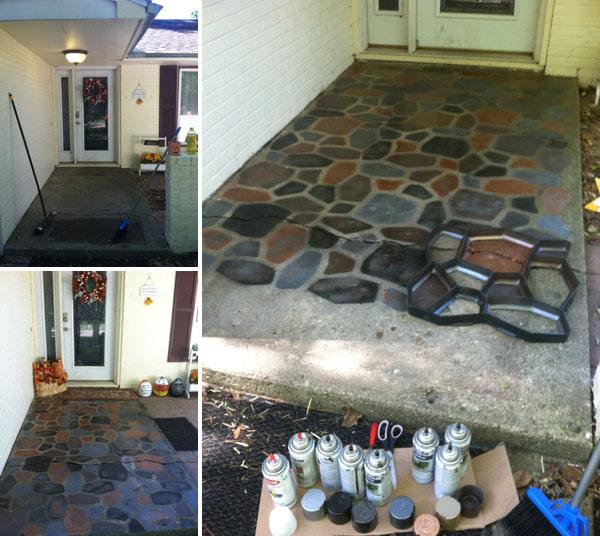
The Beginneru0027s Guide to DIY Stained Concrete, A Step by Step Tutorial

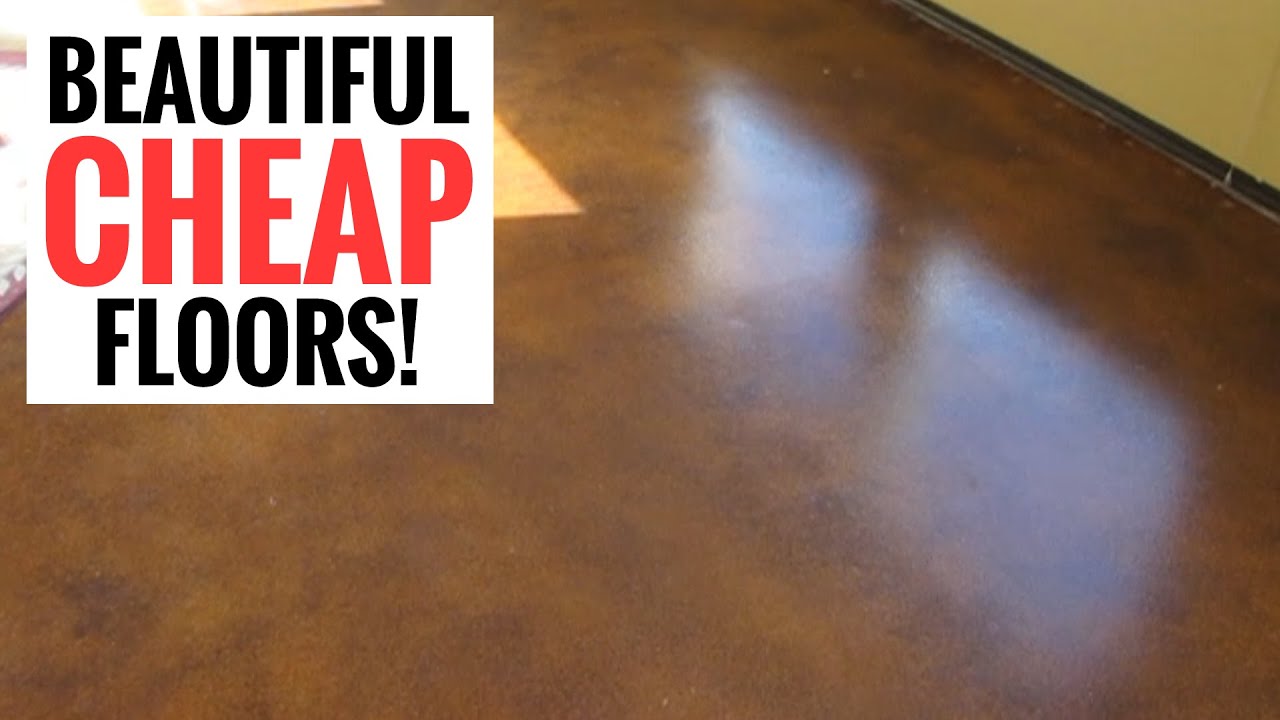
DIY Concrete Floor Cheap Home DIYs Design Mom
Amazingly cheap and stunningly beautiful floors – Easy DIY Stained Concrete
The Beginneru0027s Guide to DIY Stained Concrete, A Step by Step Tutorial

DIY Concrete Floor Cheap Home DIYs Design Mom
Remodeling 101: Polished Concrete Floors – Remodelista

DIY Concrete Stained flooring – A Thrifty Mom – Recipes, Crafts
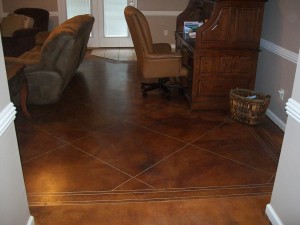
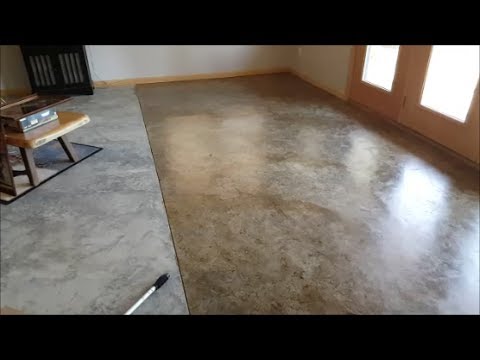
DIY Concrete Flooring Makeover – Amazing DIY, Interior u0026 Home Design
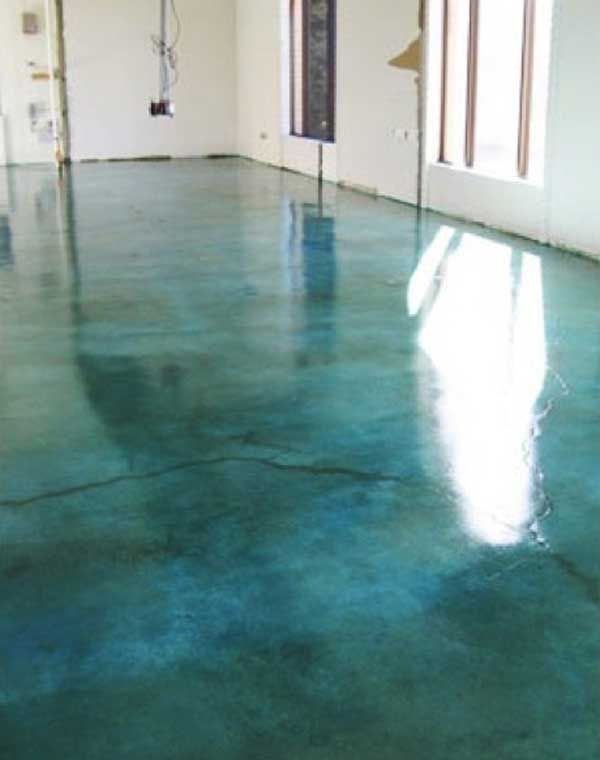
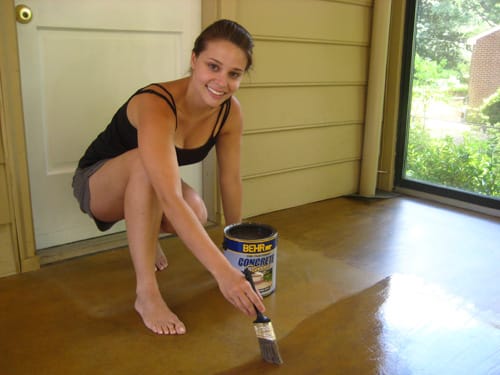
Staining A Concrete Floor Is Easy, Just Follow Our Step By Step
DIY Concrete Flooring Makeover – Amazing DIY, Interior u0026 Home Design
DIY Basement Floor Stain and finish, 2 colors, Without Etching!
Related articles:
- Stained Concrete Floors Design
- Decorative Concrete Floors
- Acid Stained Concrete Floors
- Polished Concrete Floor In Bathroom
- Concrete Floor Stain And Polish
- White Mold On Concrete Floor
- Polished Concrete Floor
- Polished Concrete Floor Cleaning
- Staining Concrete Floors Indoors Yourself
- Flooring Options For Concrete Floors
DIY Concrete Floors In House: A Comprehensive Guide
Introduction:
Concrete floors have gained immense popularity in recent years for their durability, versatility, and minimalist appeal. Whether you’re looking to revamp your living space or embark on a new home improvement project, installing DIY concrete floors can be an excellent option. In this comprehensive guide, we will walk you through the entire process of creating stunning concrete floors in your house. From preparation to finishing touches, we will cover everything you need to know to achieve professional-looking results.
I. Preparing for DIY Concrete Floors:
Before diving into the concrete pouring process, it’s crucial to prepare your space adequately. This section will guide you through the necessary steps to get your house ready for the transformation.
a) Clearing and Cleaning the Area:
Start by clearing out the room completely, removing any furniture, rugs, or obstructions. Sweep the floor thoroughly and remove any debris or loose materials that may interfere with the concrete application.
b) Assessing Subfloor Condition:
Next, assess the condition of your subfloor. It needs to be structurally sound and free from cracks or other damages. If there are any issues, make sure to address them before proceeding with the concrete installation.
c) Moisture Testing:
Perform a moisture test on your subfloor to ensure it is dry enough for concrete installation. High levels of moisture can lead to future problems such as mold or floor adhesion issues. Use a moisture meter or conduct a plastic sheet test to determine if there is excess moisture present.
d) Repairing Cracks and Damages:
Repair any cracks or damages in the subfloor using appropriate filler materials or epoxy compounds. It’s essential to create a smooth and level surface before applying concrete.
FAQs:
1. Can concrete be poured directly over an existing floor?
Answer: No, it is not recommended to pour concrete directly over an existing floor. The existing floor should be removed or covered with a suitable underlayment before pouring concrete.
2. How long does the moisture test take?
Answer: The moisture test typically takes around 24-48 hours, depending on the method used. Make sure to follow the specific instructions provided with your moisture meter or plastic sheet test kit.
II. Choosing the Right Concrete Mix:
Selecting the appropriate concrete mix is crucial for achieving durable and visually pleasing results. Here, we will discuss the different types of concrete mixes available and their suitability for various applications.
a) Traditional Concrete Mix:
Traditional concrete mixes consist of cement, sand, gravel, and water. They are versatile and can be used for a wide range of indoor flooring projects. However, they require proper reinforcement to prevent cracking and may take longer to cure.
b) Self-Leveling Concrete Mix:
Self-leveling concrete is an excellent choice if you want to achieve a smooth and even surface effortlessly. It is designed to flow and level itself without the need for excessive troweling or manual leveling. Self-leveling concrete is ideal for areas with minor imperfections or unevenness in the subfloor.
c) Stamped Concrete Mix:
If you desire decorative patterns or textures on your concrete floors, stamped concrete mix offers various design possibilities. This mix contains additives that allow it to be imprinted with patterns resembling natural materials like stone or brick.
FAQs:
1. Is self-leveling concrete only suitable for leveling floors?
Answer: While self-leveling concrete is primarily used for floor leveling, it can also be applied as a thin overlay to enhance existing Concrete surfaces or create a smooth finish on countertops or other vertical surfaces.
2. Can traditional concrete be used for outdoor projects?
Answer: Yes, traditional concrete mixes are suitable for outdoor projects such as driveways, patios, and walkways. However, it is important to use the appropriate mix design and consider factors like freeze-thaw resistance and durability for long-term performance.
III. Preparing the Subfloor:
Before pouring the concrete, it is crucial to properly prepare the subfloor to ensure a stable and long-lasting installation. Here are the steps involved in preparing the subfloor:
a) Clean the Subfloor:
Remove any debris, dust, or loose materials from the subfloor using a broom or vacuum cleaner. Cleaning the surface thoroughly will ensure proper adhesion of the concrete.
b) Apply Primer:
Depending on the type of subfloor and adhesive used, applying a primer may be necessary. The primer helps improve adhesion between the subfloor and concrete, ensuring a strong bond.
c) Install Vapor Barrier:
If moisture is a concern, especially in basement areas or on concrete slabs, installing a vapor barrier is essential. This barrier prevents moisture from seeping into the concrete and causing damage over time.
d) Leveling Compound:
If there are any uneven areas or low spots on the subfloor, leveling compound can be applied to create a flat surface. Follow manufacturer instructions for mixing and applying the leveling compound correctly.
FAQs:
1. Do I need to remove old adhesive before applying a leveling compound?
Answer: It is recommended to remove any old adhesive or residue before applying a leveling compound. This ensures proper adhesion and prevents any issues with the new concrete installation.
2. Can I skip applying a primer if my subfloor is clean?
Answer: While a clean subfloor is important, using a primer can significantly improve adhesion and ensure a strong bond between the subfloor and concrete. It is generally recommended to apply a primer for best results.
IV. Pouring and Finishing the Concrete:
Once the subfloor is properly prepared, it is time to pour and finish the concrete. Follow these steps for successful concrete installation:
a) Mixing the Concrete:
Follow the manufacturer’s instructions for mixing the chosen concrete mix. Use a concrete mixer or mix by hand until a smooth and consistent mixture is achieved.
b) Pouring the Concrete:
Start pouring the mixed concrete onto the subfloor in sections. Use a screed board or straightedge to spread and level the concrete evenly. Work your way across the area, ensuring a consistent thickness.
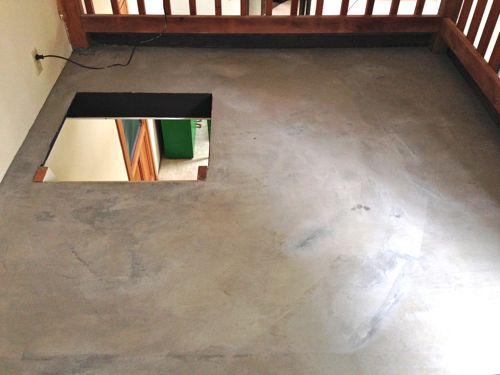
c) Smoothing and Finishing:
After pouring, use a bull float or trowel to smooth and level the surface of the concrete. Remove any excess material and fill in any low spots or holes. Consider adding decorative finishes or textures if desired.
d) Curing and Drying:
Allow the concrete to cure according to manufacturer recommendations. This typically involves covering it with plastic sheeting or using curing compounds to prevent moisture loss. Avoid walking on or placing heavy objects on the newly poured concrete until it has fully dried.
FAQs:
1. How long does it take for concrete to dry?
Answer: The drying time for concrete can vary depending on factors like temperature, humidity, and mix design. Generally, it takes about 24-48 hours for the concrete to dry before light foot traffic is allowed. However, it may take several weeks for the concrete to fully cure and reach its maximum strength.