When we think of concrete floors, we sometimes think of the boring basement floors a dull gray-ish color without any pattern or even design. This will wind up saving you hours in labour and cleaning costs. So, when you are in the industry for flooring, recall concrete flooring is not only superior to down in health benefits as well as temperature regulation, but also eco-friendly and highest in customer happiness.
Here are Images about DIY Concrete Floor Etching
DIY Concrete Floor Etching
It is important to have flooring that is not merely comfortable, but helps you lead a quality way of life. Synthetic staining is able to develop can tell is in patents on the concrete floor of yours and can be used in new or even old concrete slabs. Polished concrete floors are the best flooring options for homeowners and designers due to the versatility of theirs, gorgeous looks and long lasting features.
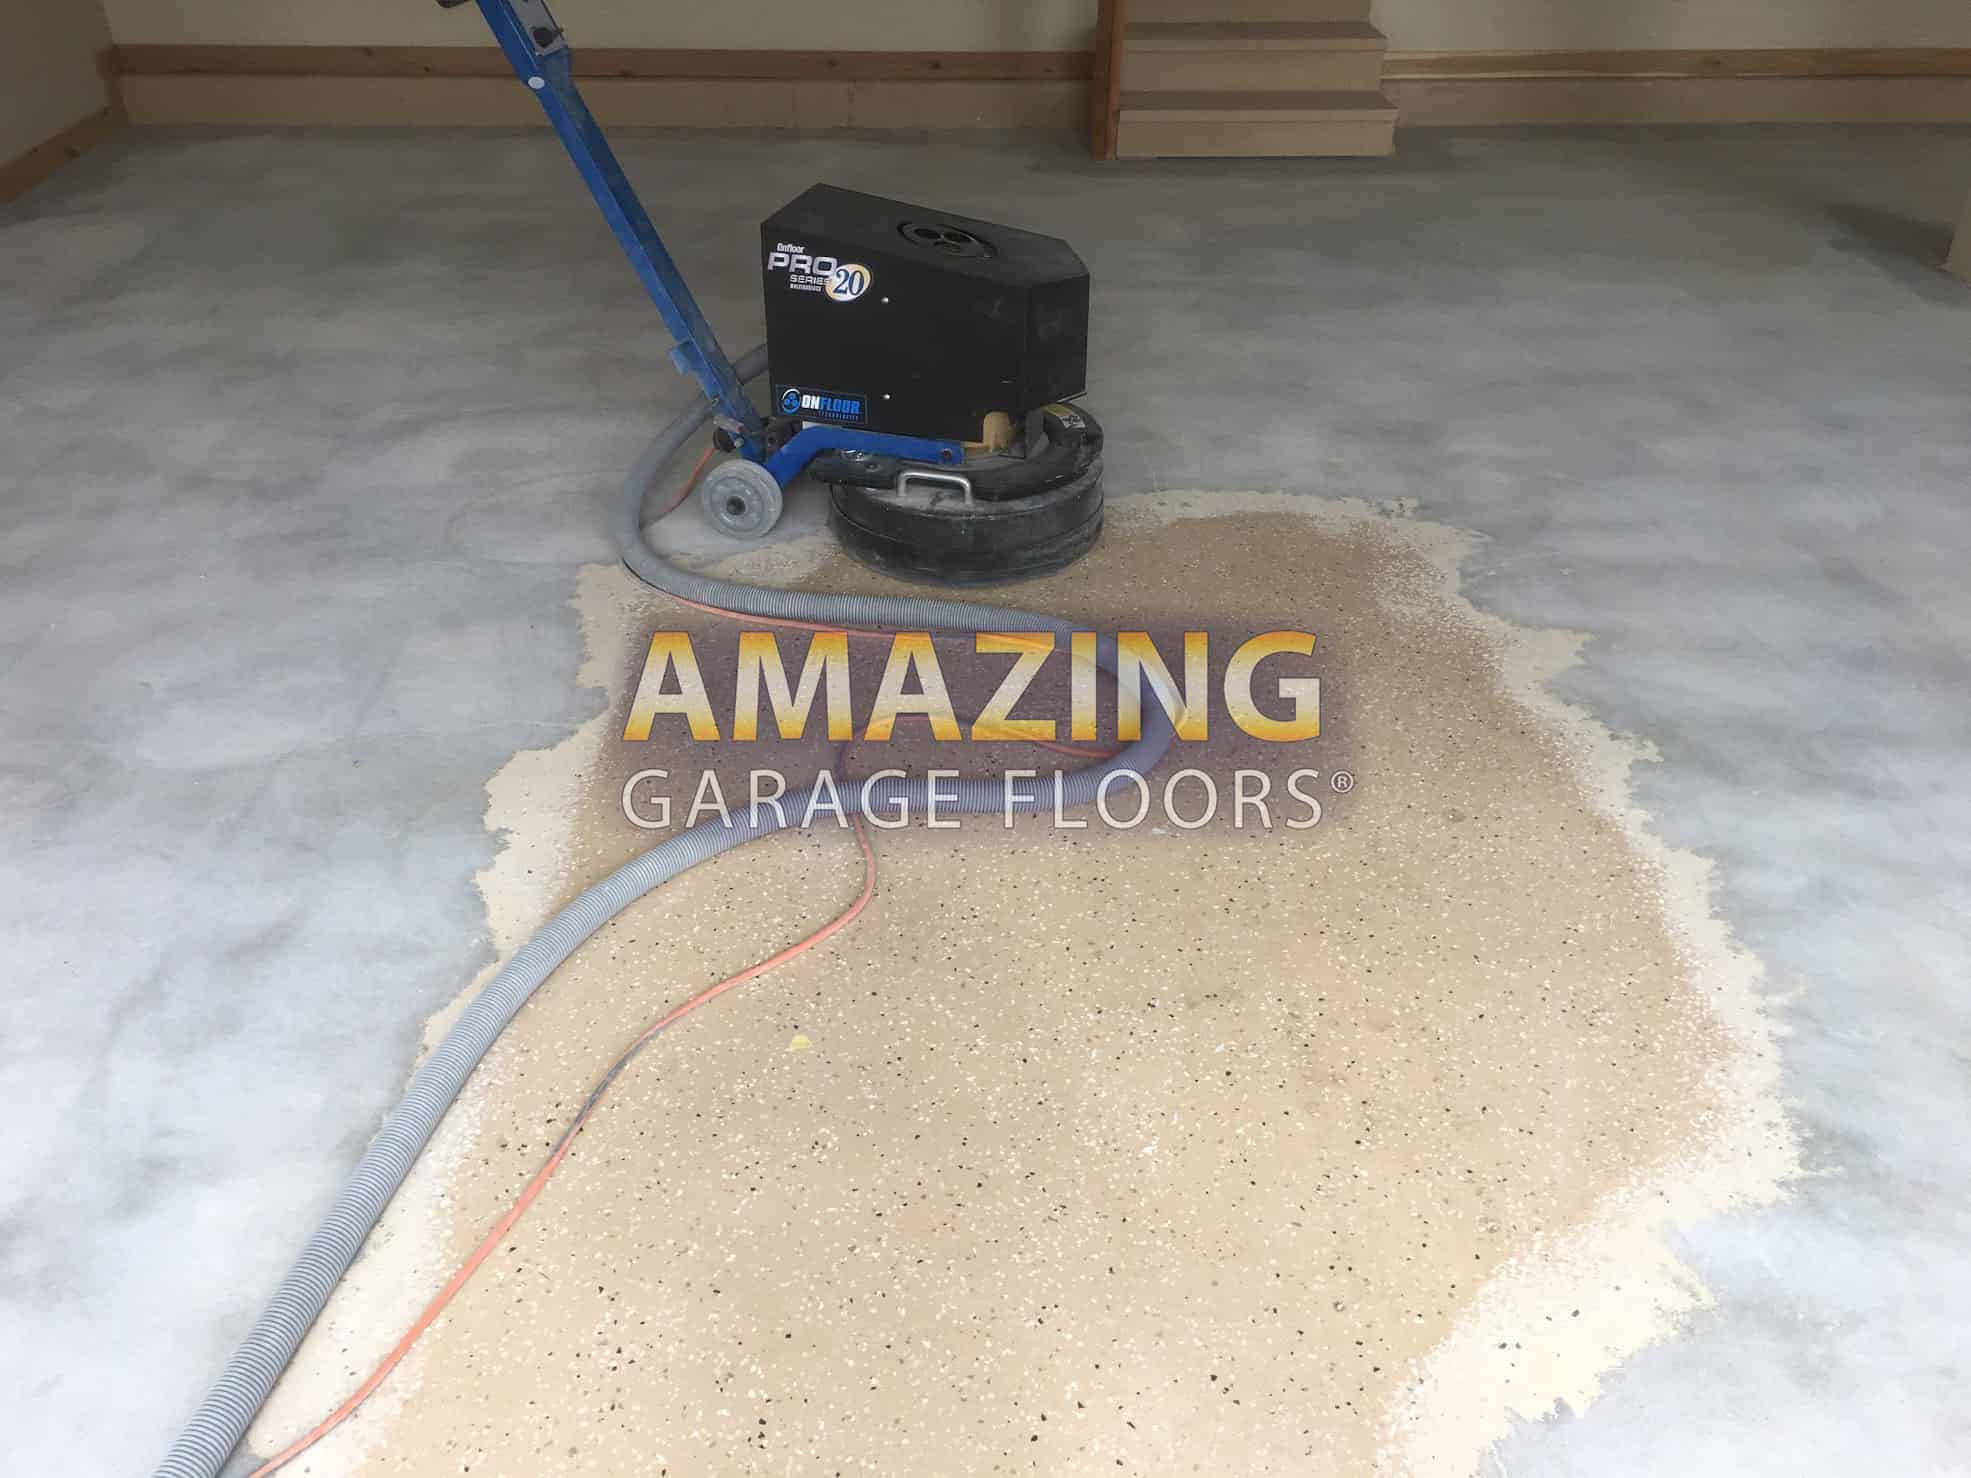
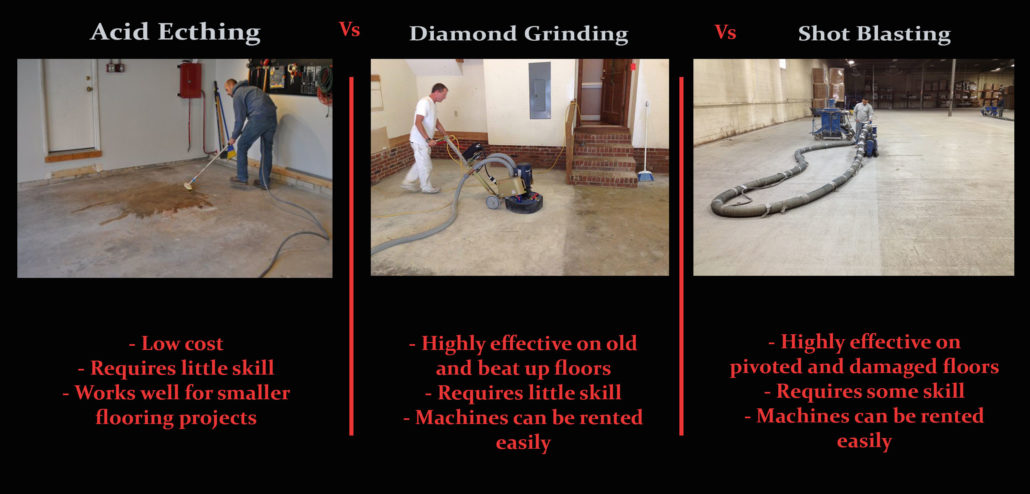
Diamond Grinding vs. Acid Etching Your Garage Floor – Amazing
With concrete flooring, after the floors are laid, they’re polished to a steep gloss and left on display. Those the majority of enthusiastic about building eco alternative houses have been among the first to embrace polished concrete floors, and with good reason. Warehouses and basements are actually the ideal purposes for polished concrete floors.
Images Related to DIY Concrete Floor Etching
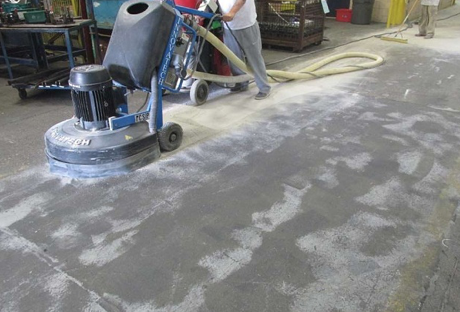
Grinding vs Acid Etching Concrete Flooring – ArmorPoxy
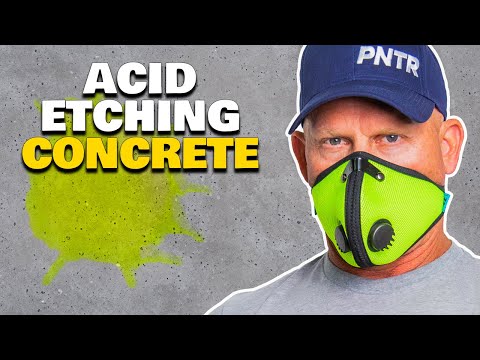
Instructions u0026 Tutorials Preparing Concrete For Epoxy. Acid Etching Hacks.
Concrete Stenciling with Acid-Etching Gel

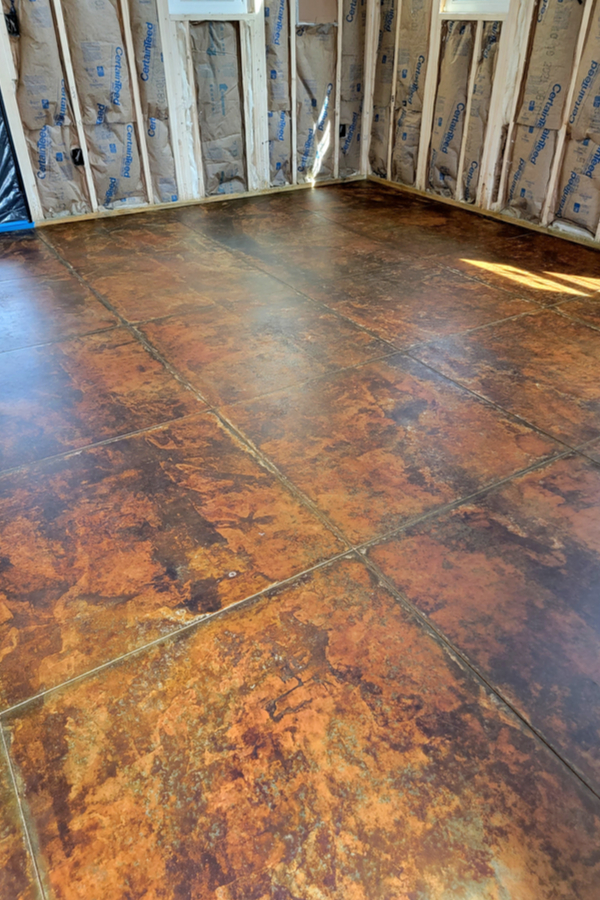
How to Acid Stain a Concrete Floor – Plank and Pillow

DIY Surface Preparation Guide – Concrete Floors

DIY Concrete Stain Floors u2013 Waters Edge Encampment

Grinding Versus Acid Etching Garage Floors All Garage Floors
How to Prep Your Floor for an Epoxy Coating
Unleash Your Inner Artist with Easy-to-Use Concrete Acid Stain
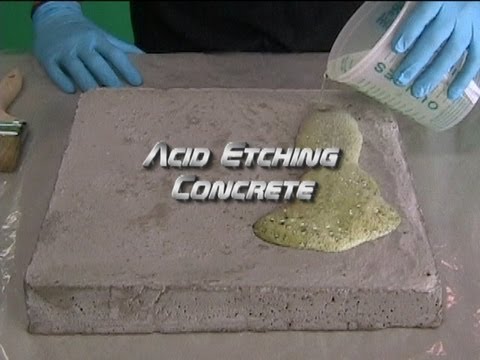
Acid Etching Concrete
Concrete Etching – How to Acid Wash Concrete Surfaces Yourself
How to Prepare Concrete for Painting or Staining Brad the Painter

Related articles:
- Stained Concrete Floors Design
- Decorative Concrete Floors
- Acid Stained Concrete Floors
- Polished Concrete Floor In Bathroom
- Concrete Floor Stain And Polish
- White Mold On Concrete Floor
- Polished Concrete Floor
- Polished Concrete Floor Cleaning
- Staining Concrete Floors Indoors Yourself
- Flooring Options For Concrete Floors
DIY Concrete Floor Etching: Enhancing the Beauty of Your Space
Introduction:
Concrete floors have become increasingly popular in both residential and commercial spaces. They offer durability, versatility, and a modern aesthetic that is hard to beat. However, achieving a truly unique and visually appealing concrete floor requires more than just a simple pour and polish. This is where DIY concrete floor etching comes into play. In this article, we will explore the process of etching concrete floors, providing you with detailed instructions, tips, and FAQs to ensure your project is a success.
Section 1: Understanding Concrete Floor Etching
1.1 What is Concrete Floor Etching?
Concrete floor etching is a technique used to create decorative patterns or textures on the surface of a concrete floor. It involves the use of chemical solutions to remove a thin layer of the concrete’s top surface, exposing the aggregate beneath. This process not only enhances the appearance of the floor but also improves its slip resistance and durability.
1.2 Why Should You Consider Etching Your Concrete Floor?
Etched concrete floors offer numerous benefits that make them an attractive option for homeowners and business owners alike. Some of these advantages include:
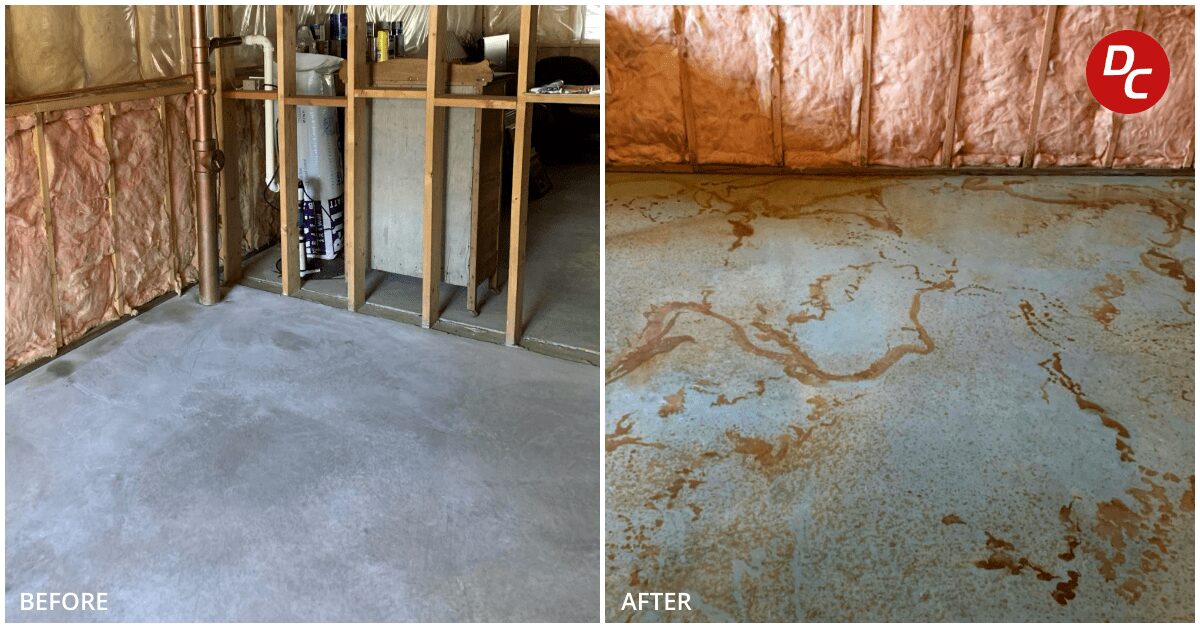
– Enhanced aesthetics: Concrete floor etching allows you to create unique patterns, designs, or even mimic natural stone or tile surfaces. This adds visual interest and personality to your space.
– Improved slip resistance: By etching the surface of the concrete, you can increase its texture and grip, reducing the risk of slips and falls.
– Durability: The removal of a thin layer of concrete during etching exposes fresh material that is stronger and less prone to wear and tear.
– Cost-effectiveness: Compared to other flooring options such as hardwood or tile, etched concrete floors are relatively affordable while still providing a high-end look.
Section 2: DIY Concrete Floor Etching Process
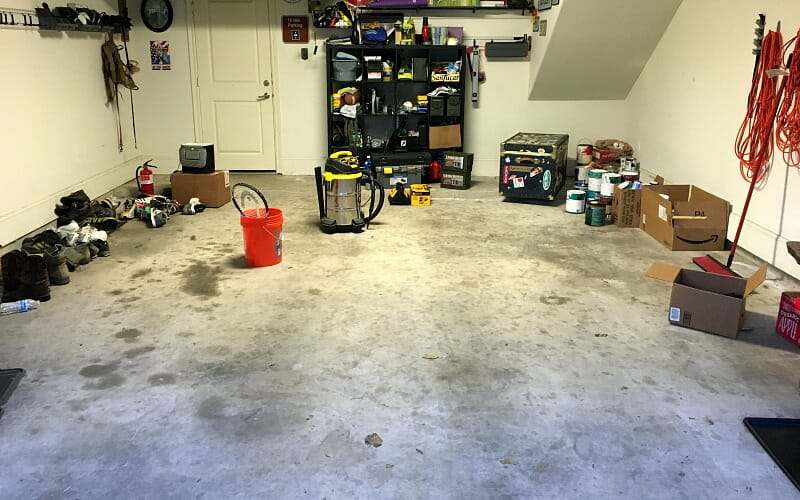
2.1 Preparing Your Concrete Surface
Before diving into the etching process, it is crucial to prepare your concrete surface properly. Follow these steps:
Step 1: Clean the surface – Remove any dirt, dust, or debris from the concrete using a broom or vacuum cleaner. Stubborn stains can be removed with a mild detergent and water solution.
Step 2: Repair any cracks or imperfections – Fill in any cracks or holes using a concrete patching compound. Smooth out the surface with a trowel and allow it to dry completely.
Step 3: Test for moisture – Moisture can interfere with the etching process, so it is essential to test your concrete for moisture content. Tape a plastic sheet tightly over a small section of the floor and leave it for 24 hours. If you notice condensation or darkening of the concrete beneath, you may need to address moisture issues before proceeding.
2.2 Choosing the Right Etching Solution
The choice of etching solution depends on the desired effect and the condition of your concrete floor. There are two main types of etching solutions:
– Acid-based solutions: These solutions contain mild acids such as muriatic acid or phosphoric acid. They are highly effective at etching concrete but require careful handling due to their corrosive nature. Acid-based solutions are best suited for older or heavily soiled surfaces.
– Water-based solutions: These solutions are less corrosive than acid-based ones and are safer to handle. They are suitable for newer or less stained concrete floors.
It is important to read and follow the manufacturer’s instructions when using any Etching solution, as different products may have specific application techniques and safety precautions. Section 3: Applying the Etching Solution
3.1 Gather the necessary tools and materials – Before applying the etching solution, make sure you have the following items:
– Protective gear: Wear gloves, goggles, and a face mask to protect yourself from the corrosive nature of the etching solution.
– Sprayer or brush: Depending on the type of etching solution you choose, you may need a sprayer or a brush to apply it evenly.
– Neutralizer: Have a neutralizer on hand in case you need to stop the etching process or neutralize any excess acid.
– Water and bucket: You will need water to rinse off the etching solution after it has been applied.
3.2 Apply the etching solution – Follow these steps to apply the etching solution properly:
Step 1: Dilute the solution if necessary – Some etching solutions may need to be diluted with water according to the manufacturer’s instructions. Make sure to mix them properly before application.
Step 2: Start in a small area – Begin applying the etching solution in a small, inconspicuous area to test its effectiveness and ensure that it does not cause any unwanted damage or discoloration.
Step 3: Work in sections – Divide your floor into manageable sections and apply the etching solution one section at a time. This will help ensure even coverage and prevent the solution from drying out too quickly.
Step 4: Apply evenly – Use a sprayer or brush to apply the etching solution evenly across each section. Make sure to follow any specific application techniques recommended by the manufacturer.
Step 5: Allow dwell time – The dwell time refers to the amount of time that the etching solution needs to sit on the concrete surface before it is rinsed off. Follow the manufacturer’s instructions for proper dwell time, as leaving it on for too long can damage the concrete.
3.3 Rinse off the solution – Once the dwell time is complete, it’s time to rinse off the etching solution. Follow these steps:
Step 1: Use a hose or bucket of clean water to thoroughly rinse the entire surface, ensuring that all traces of the etching solution are removed.
Step 2: Scrub the surface if necessary – If there are any stubborn stains or residue left behind, use a scrub brush or mop to gently scrub the surface while rinsing.
Step 3: Neutralize if using an acid-based solution – If you used an acid-based etching solution, it is essential to neutralize the surface to prevent any further damage. Follow the manufacturer’s instructions for proper neutralization.
Section 4: Sealing and Finishing
4.1 Allow the concrete to dry – After rinsing off the etching solution, allow the concrete surface to dry completely. This typically takes at least 24 hours, but it may vary depending on factors such as humidity and temperature.
4.2 Apply a sealer – To protect your newly etched concrete floor and enhance its durability, apply a high-quality concrete sealer. Make sure to choose a sealer that is compatible with etched surfaces and follow the manufacturer’s instructions for application.
4.3 Optional: Add additional finishes – If desired, you can further enhance your etched concrete floor by adding additional finishes such as stain or paint. These finishes can add color and depth to your floor, giving it a more personalized touch.
In conclusion, concrete floor etching is a cost-effective way to improve aesthetics, slip resistance, and durability in commercial or residential spaces. By following the DIY process outlined above and using the right tools and materials, you can achieve professional-looking results while saving money compared to other flooring options.