I have a small condo in Miami, FL, and like most Floridians, I wanted a waterfront view. However, finding a condo with a desirable view in Miami can be quite challenging. Unfortunately, my condo overlooks a parking lot, which is not an ideal view. To make the condo more attractive to potential buyers in the future, I decided to refinish the wood floors. Throughout the process, I learned a few important things:
- It’s a very time-consuming process. Refinishing just one room can take up to two days.
- The process generates a lot of noise. If you have neighbors below, providing them with earphones or informing them in advance is considerate.
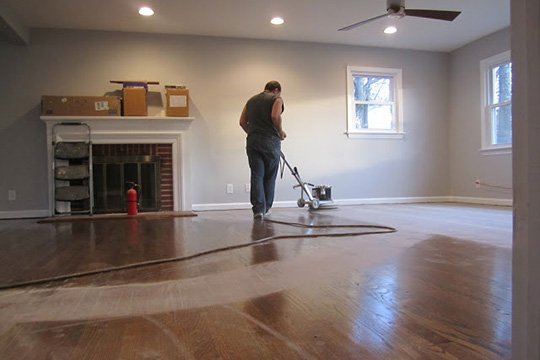
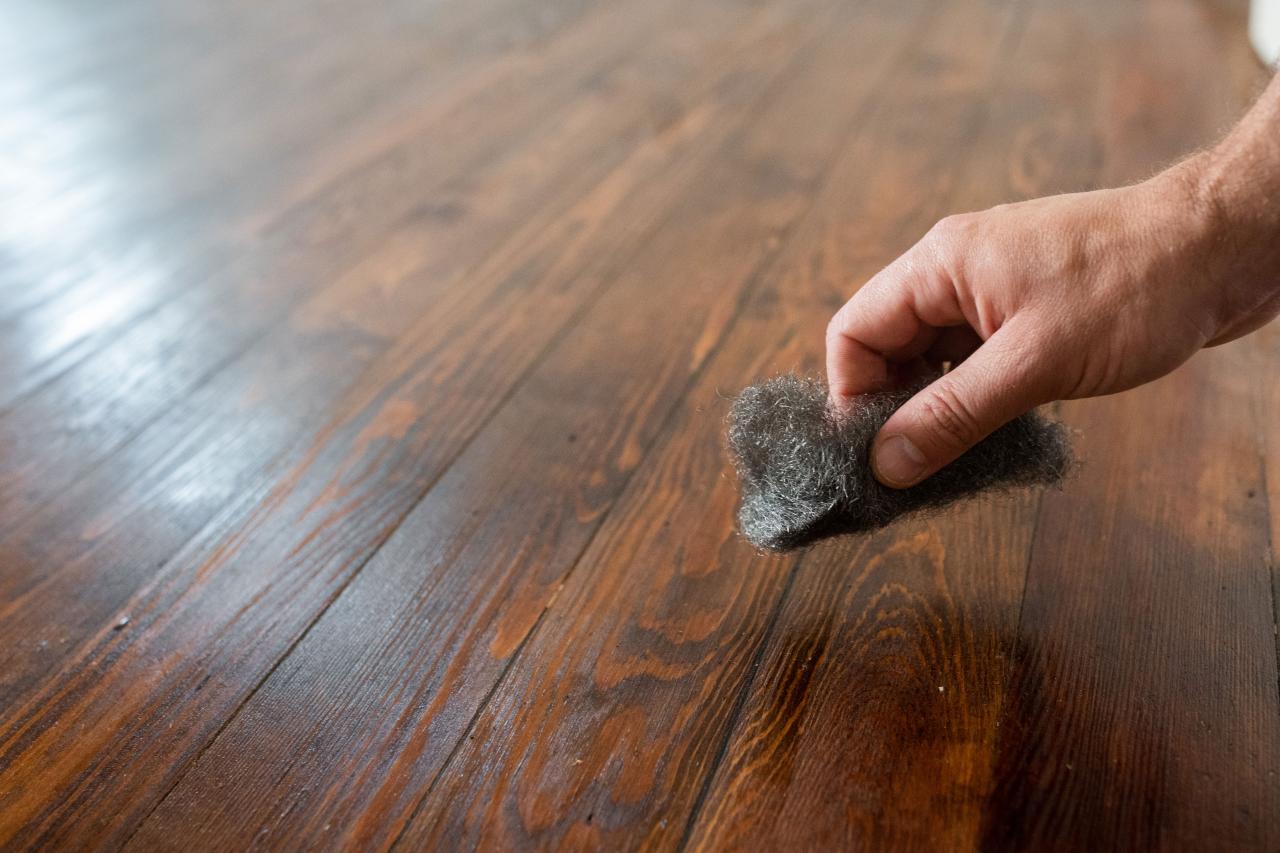
- After refinishing, you’ll need to buff the floor to achieve a spectacular finish. Investing in a buffer from a store like Home Depot may seem expensive, but it’s worth the money.
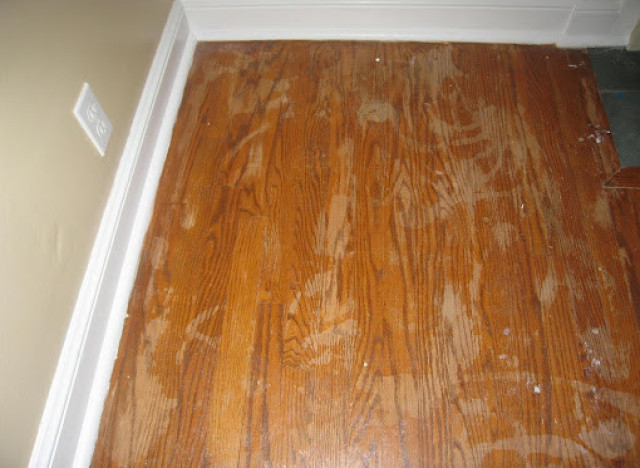
- Preparation is key. Take the time to properly prepare the floor before starting the refinishing process.
- Sanding is a significant part of the refinishing process. Renting a floor sander from Home Depot can make the job easier.
- Be prepared to purchase a variety of sandpaper grits, as they are essential for achieving the desired smoothness and finish.
- Selecting the right stain is crucial. Numerous stain options are available, and it’s important to choose a color that closely matches the current stain for a consistent look.
- Applying a sealer is necessary to protect the wood floor. Remember that the sealer is different from the stain.
- You’ll need a tool to remove the stain from the cracks in the floor. A screwdriver can be useful for this task.
- Have an ample supply of paper towels, as they will be necessary throughout the refinishing process.
- Paint brushes are essential for applying the stain and sealer. Make sure you have enough brushes to complete the job.
- Protecting your surroundings is crucial. Covering the areas you don’t want the stain or sealer to touch with plastic sheets is important.
- Drop cloths are also necessary to protect your surroundings from spills or splatters during refinishing.
- When selecting a stain, match the color as closely as possible to the original floor. This will help maintain a consistent appearance.
- Be prepared to invest a significant amount of time into the project. Refinishing wood floors is hard work and requires patience, especially when waiting for the stain and sealer to dry.
- Working in small areas at a time will help ensure a consistent and even finish. Avoid having to redo sections by taking your time and working carefully.
Refinishing wood floors is a detailed and time-consuming process. However, you can achieve beautiful results with the right tools, materials, and patience. Consider the necessary preparations, gather the required supplies, and work systematically through the project. Refinishing your wood floors can be a rewarding endeavor that enhances your home’s overall appearance and value.
Wood Floor Refinishing DIY

We Hit A Snag And Had to Refinish Our Floors Twice – DIY Fail
How To Sand u0026 Refinish Hardwood Floors
How To Refinish Hardwood Floors
How To Refinish Hardwood Floors – DIY Home Improvement HGTV
Refinish Hardwood Floors – Should You DIY? BuildDirectLearning

DIY Floor Refinishing – Hardwood Floor Refinishing

DIY Ideas: Tips For Refinishing Wood Floors HuffPost Life
Refinishing Hardwood Floors DIY Wood Floor Refinishing Tips
How To Refinish Hardwood Floors – DIY Home Improvement HGTV
Related articles:
- Solid Wood Flooring White
- Bona Wood Floor Polish Gloss
- How Much Does Wood Flooring Cost To Install
- Wood Flooring For Outdoor Patio
- Wood Floor Texture Bump
- Rustic Gray Wood Flooring
- Wood Floor Queens
- Wood Floor Sleepers
- Cedar Wood Flooring Planks
- Teak Wood Flooring For Boats
Wood Floor Refinishing DIY: An Ultimate Guide
Do you want to give your wood floors a new life? Refinishing them yourself is a great way to save money and have fun with DIY projects. Refinishing wood floors can seem like an intimidating task, but with the right tools and a little bit of know-how, you can give your floors a fresh look in no time. Here’s everything you need to know about refinishing your wood floors on your own.
What Is Wood Floor Refinishing?
Wood floor refinishing is the process of restoring the original beauty of your hardwood flooring. This can include sanding down the existing finish, applying a new stain color, or putting on a protective finish. The type of refinishing you’ll need will depend on the condition of your existing floor and what kind of look you’re going for.
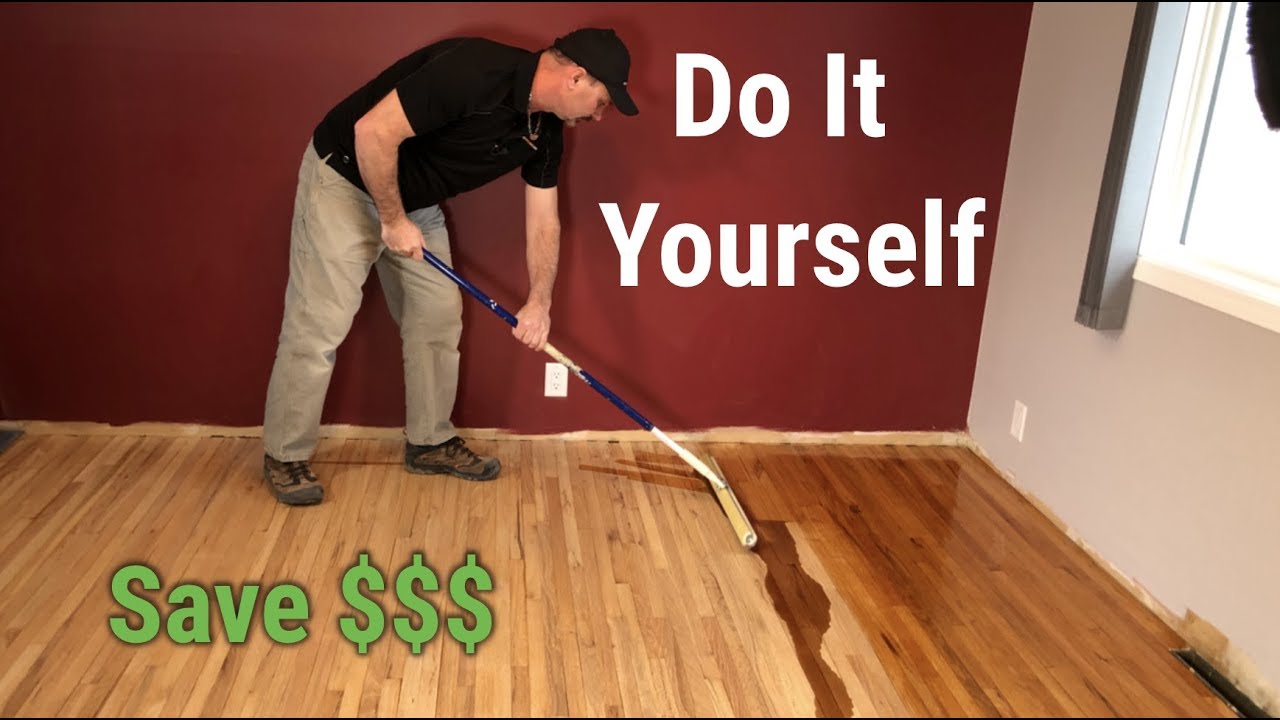
What Are the Benefits of DIY Refinishing?
Refinishing your wood floors yourself can be a great way to save money and add value to your home. It’s also an enjoyable way to get creative and explore different types of finishes. Plus, it’s an easy way to give your floors a makeover without having to start from scratch.
What Tools Do I Need for Refinishing?
The exact tools you’ll need will depend on the condition of your existing floor and the type of refinishing project you’re undertaking. Generally, you’ll need sanders, abrasives, sealers, stains, and protective finishes. You’ll also need safety gear such as dust masks, safety glasses, and ear protection.
How Do I Prepare My Floors for Refinishing?
The first step in any floor refinishing project is preparation. You’ll need to remove any furniture from the area and make sure that the room is well-ventilated. You should also repair any damaged boards or loose nails before beginning the sanding process. Finally, it’s important to clean the floor thoroughly before applying any new finishes.
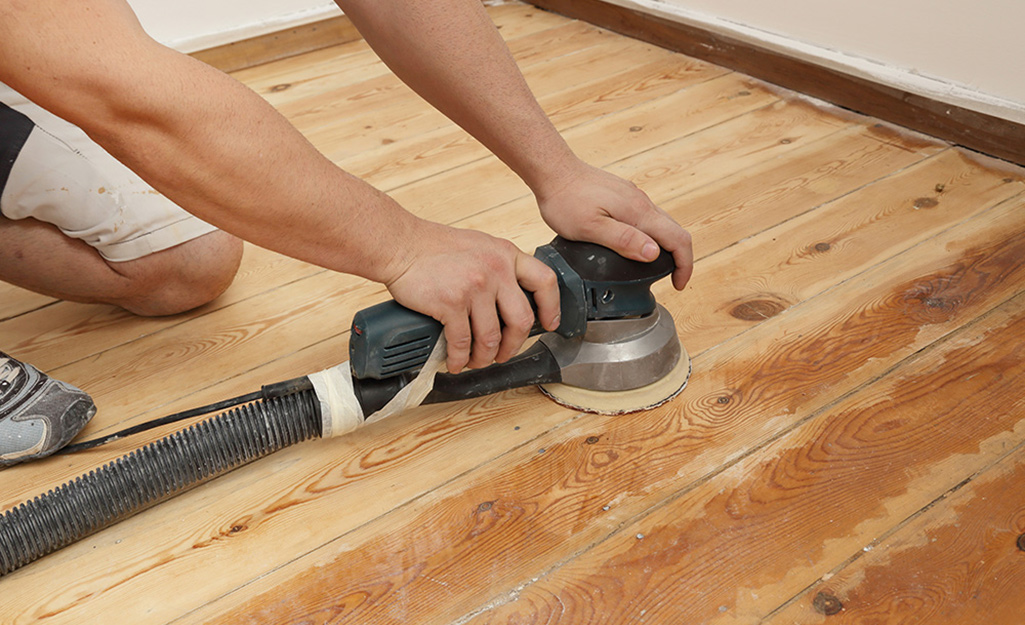
How Do I Sand My Floors?
Once you’ve prepped the area, it’s time to start sanding. Depending on the condition of your floor, you may need a belt sander or orbital sander. Start sanding with coarse grit paper and then move up to finer grits as necessary. Be sure to wear proper safety gear while sanding and use a vacuum cleaner or dust cloths to collect debris as you go along.
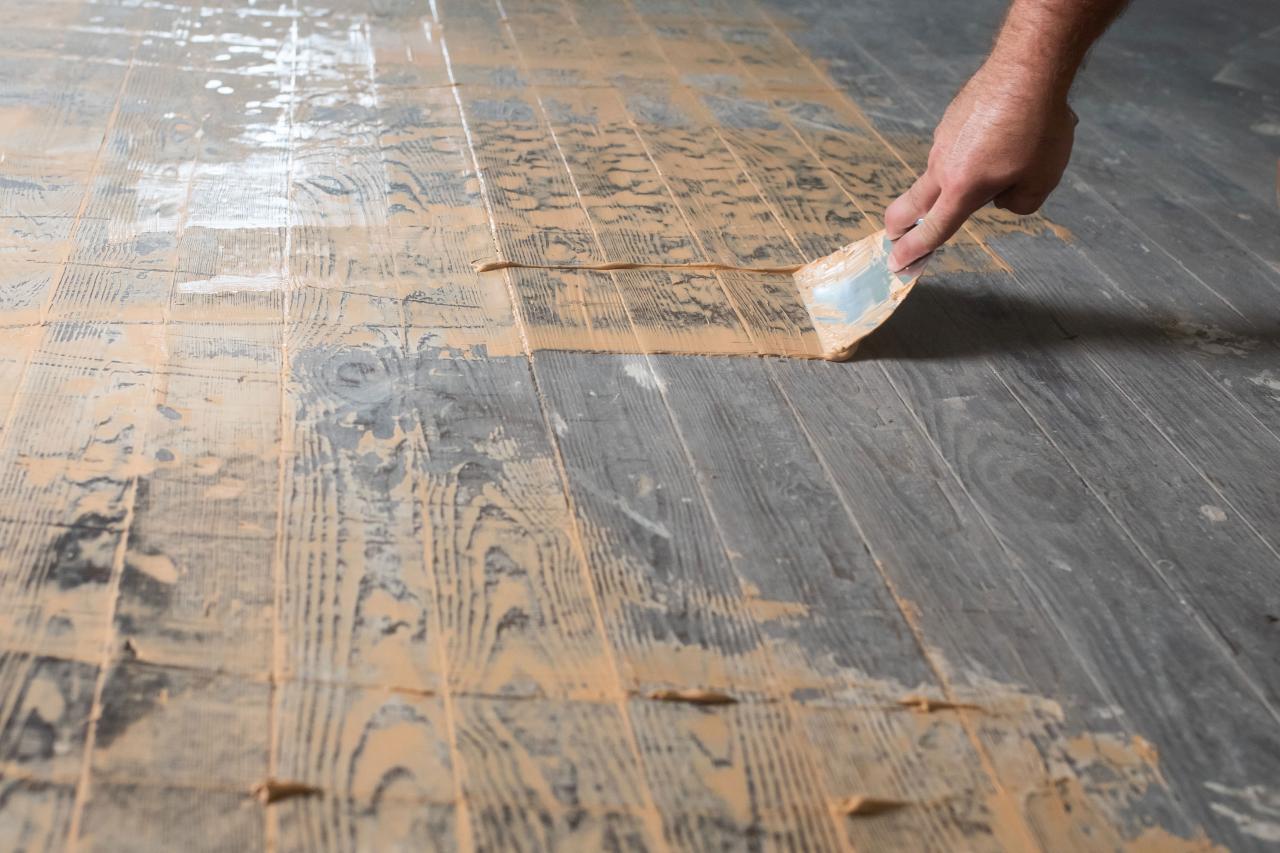
How Do I Apply Stain or Protective Finish?
Once you’ve finished sanding, it’s time to apply a new stain or protective finish. Depending on your project, you may want to use oil-based stains or water-based finishes. Be sure to read the directions carefully before applying any products and be sure to wear gloves and use proper ventilation when working with potentially hazardous chemicals. After applying the stain or finish, allow it to dry completely before moving onto the next step.
Conclusion
DIY refinishing is an excellent way to save money and enjoy working on DIY projects around the home. With the right tools and a little bit of know-how, you can have beautiful new floors in no time. Just remember to take all safety precautions when working with potentially hazardous chemicals and always wear proper protective gear when sanding or refinishing your floors.