These woods frequently give superior qualities from wood that grew slowly and is normally much more dense than faster developed wood. We have talked about that solid floors are generally the very best, with laminate floors following, as well as engineered wood floors last (with regards to quality. What this means is very little material ends up as waste in landfills, and that which does remains eco-friendly.
Images Related to Wood Floor Look Ceramic Tile
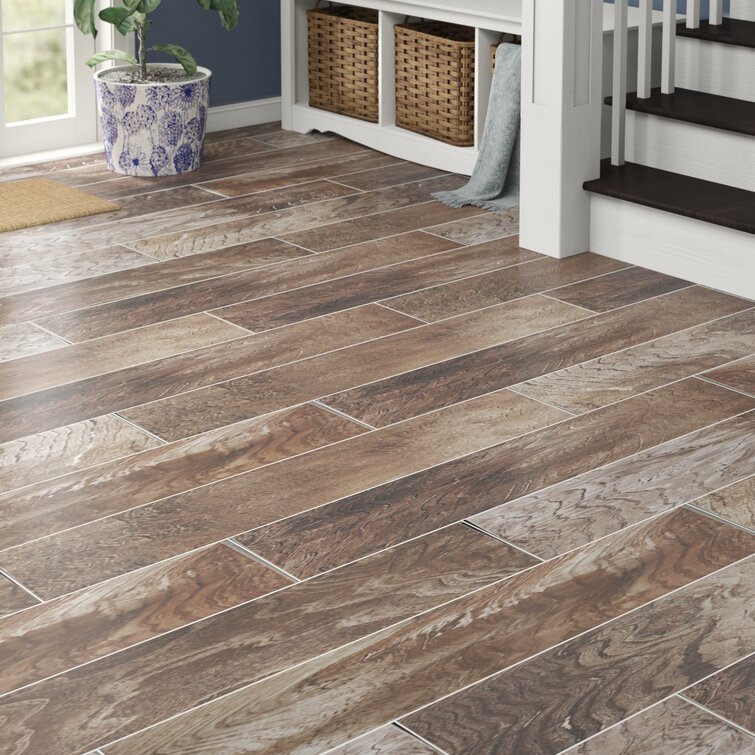
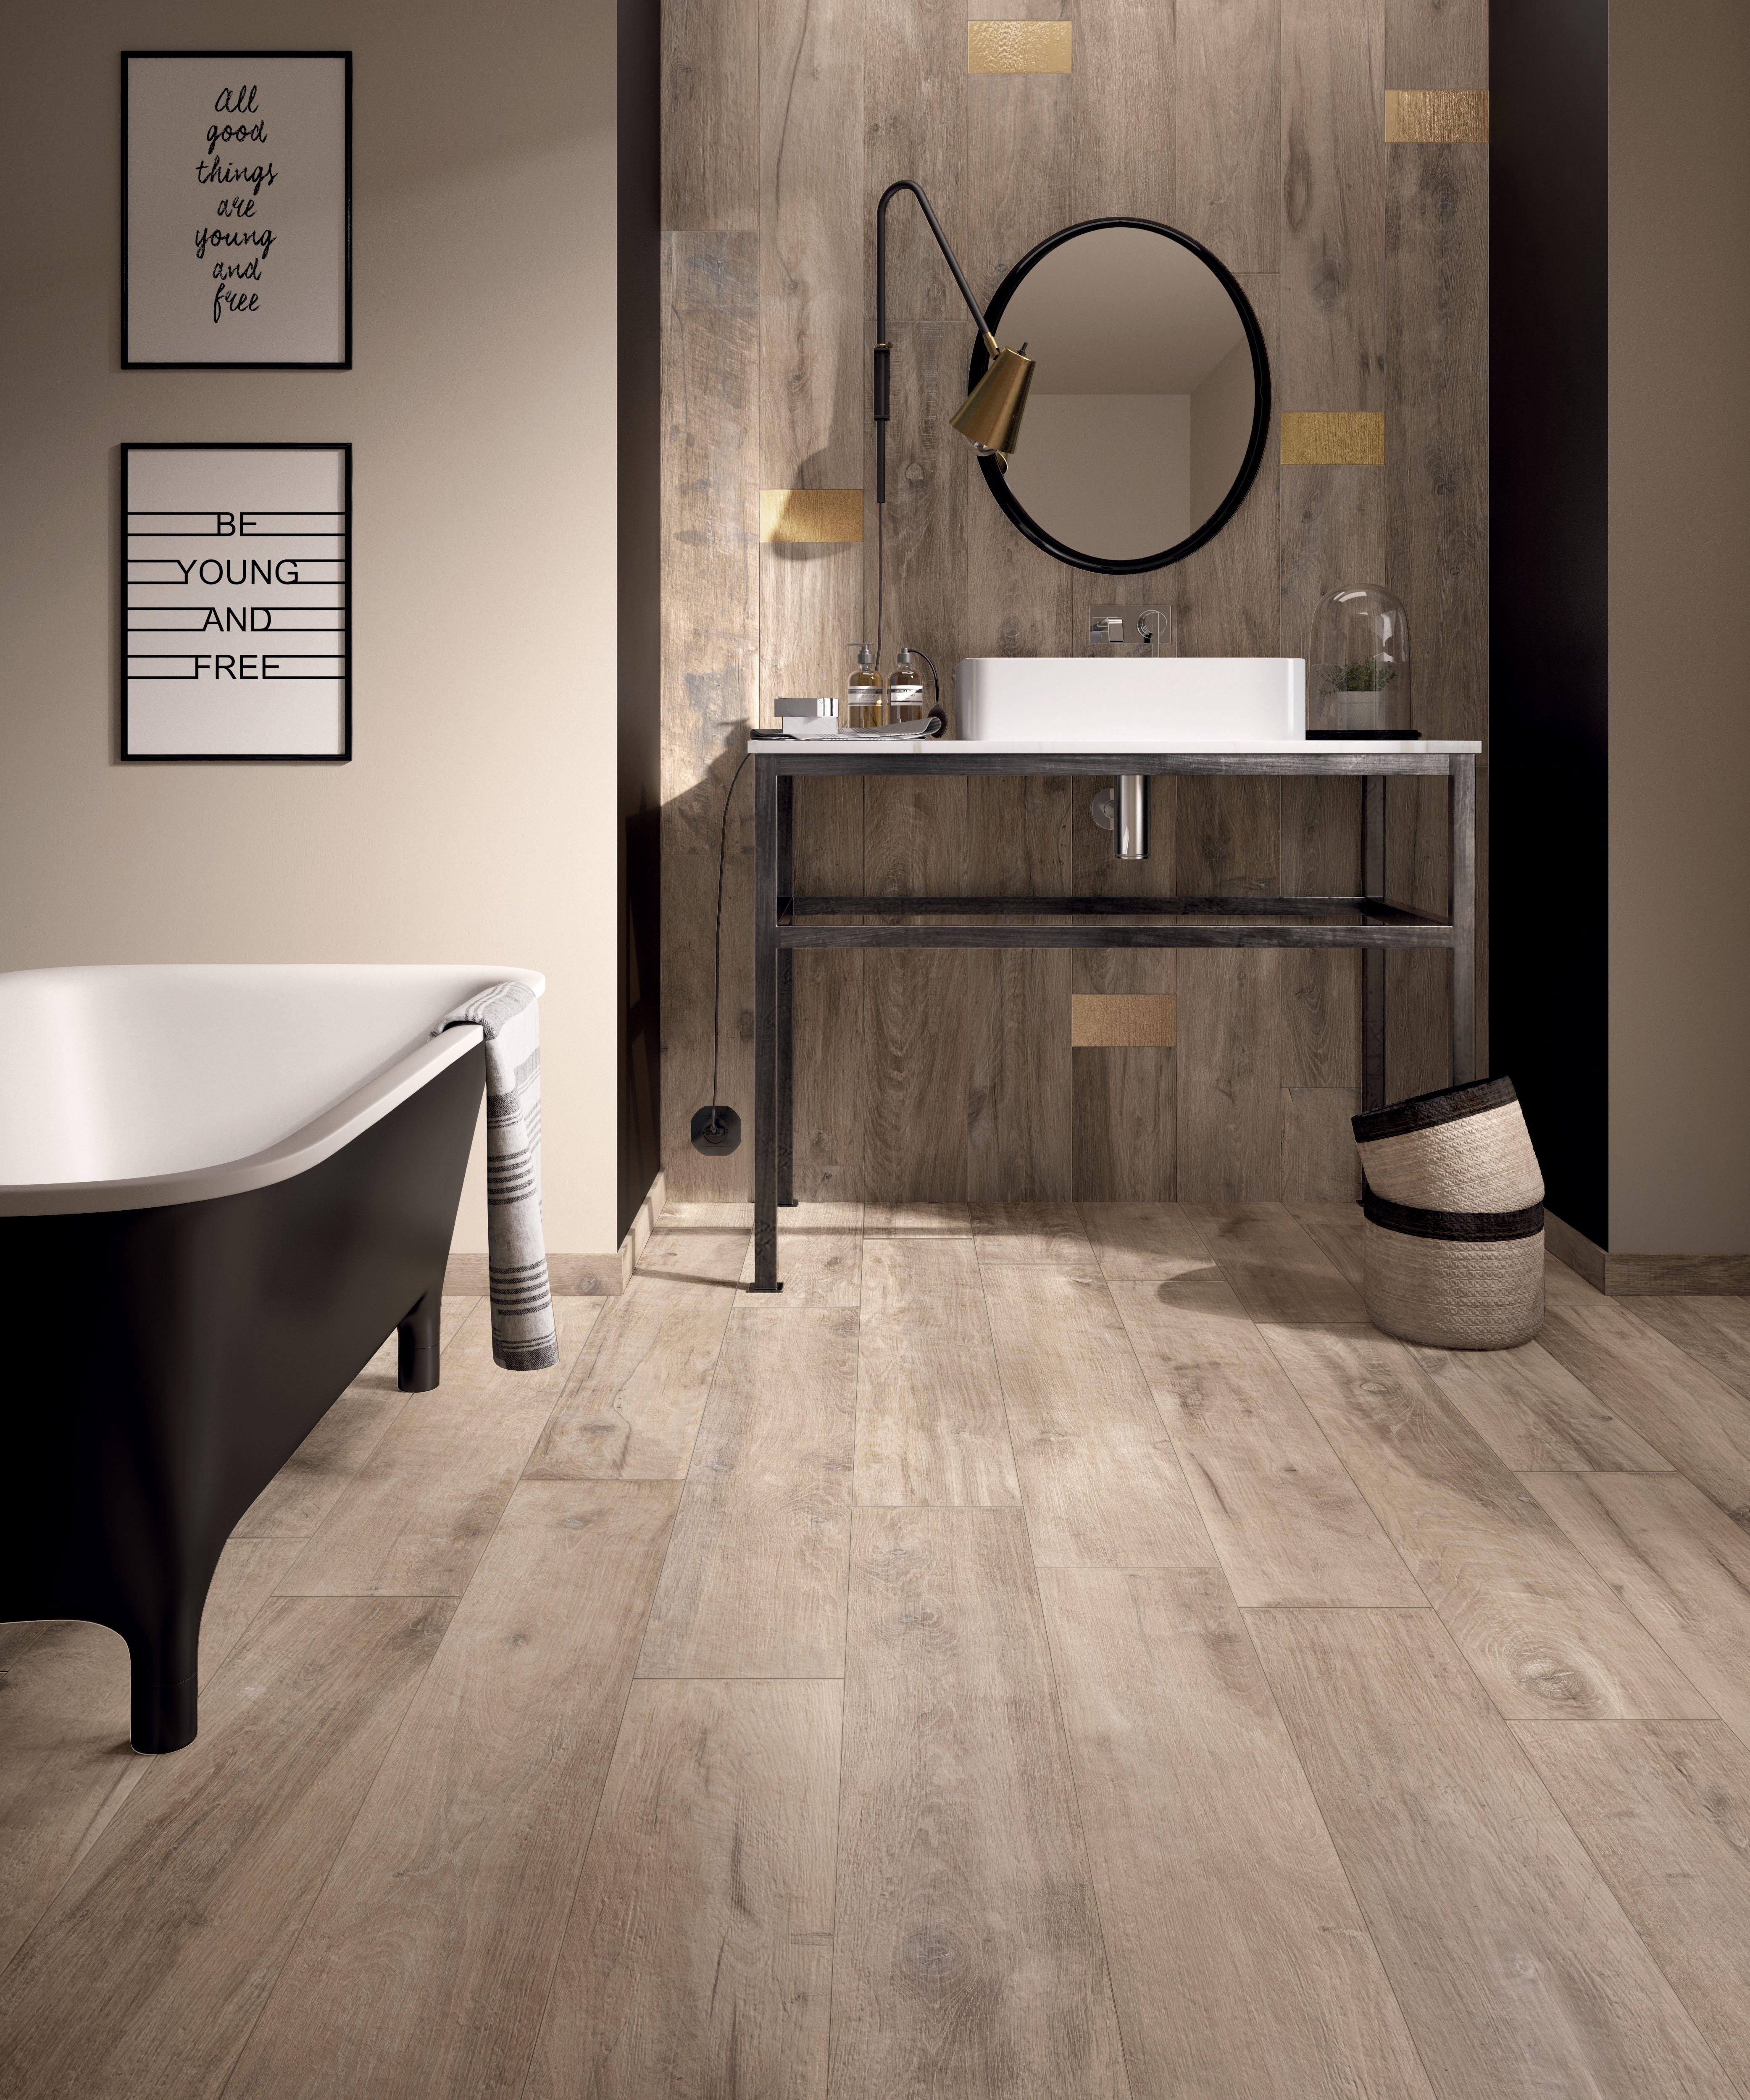
Wood Floor Look Ceramic Tile

The solid wood is simply described as such – an excellent piece of timber. Hardwoods are porous and is likely to take in a stain as an ink blotter if it isn't cleaned up immediately, even with a good finish on the wood you've to be cautious not to make it possible for a thing as blueberries or wine simply sit, they need to be wiped up fast to counteract staining.
Why are Homeowners Choosing Porcelain Wood Look Tile? – Conestoga Tile

The wood flooring treatment professional will evaluate your floors to figure out exactly what's required after that completely clean and wax the floors restoring them to the beauty, shine and all-natural warmth regarding wood floors. This collaboration gives us a sturdy floor material which is fortunate to withstand particularly heavy human traffic. To start with you have to choose which method you would like.
Shine 8″ x 48″ Porcelain Wood Look Wall u0026 Floor Tile
Beige Habitat Wood Look Ceramic Tile – 99cent Floor Store

Wood Look Tile Floor u0026 Decor
Wood Look – Tile – Flooring – The Home Depot
Wood Look Tile u2013 The Tile Shop

Why are Homeowners Choosing Porcelain Wood Look Tile? – Conestoga Tile

Tile Wood-look Flooring Ideas
The Word on Wood-look Tile
Wood Look Tile u2013 The Tile Shop
Antoni 6″ x 36″ Porcelain Wood look Wall u0026 Floor Tile
Wood Look Ceramic Tiles – WOOD – European Tiles – Encore Gallery

Wood Look Tile: Pros and Cons, Cost, Best Brands (2021 Review)

Related articles:
- Black Walnut Wood Flooring
- Wood Flooring Designs
- Wood Flooring Options For Kitchens
- Contemporary Wood Flooring Ideas
- Dark Wood Floor Bedroom Ideas
- Real Wood Flooring For Kitchens
- Natural Wood Floor Stain
- Oak Wood Flooring
- Birch Wood Flooring Reviews
- Wood Floor Damage Repair
Wood Floor Look Ceramic Tile: The Perfect Blend of Elegance and Durability
Introduction:
When it comes to flooring options, wood floors have always been a timeless choice. The warmth, beauty, and natural appeal of wood create a cozy and inviting atmosphere in any space. However, wood floors require regular maintenance and can be vulnerable to scratches, water damage, and wear over time. If you desire the stunning aesthetics of wood flooring without the high maintenance, wood floor look ceramic tiles are the perfect solution. In this article, we will explore the world of wood floor look ceramic tiles in detail, covering their benefits, installation process, maintenance tips, frequently asked questions, and more.
Benefits of Wood Floor Look Ceramic Tiles:
1. Durability:
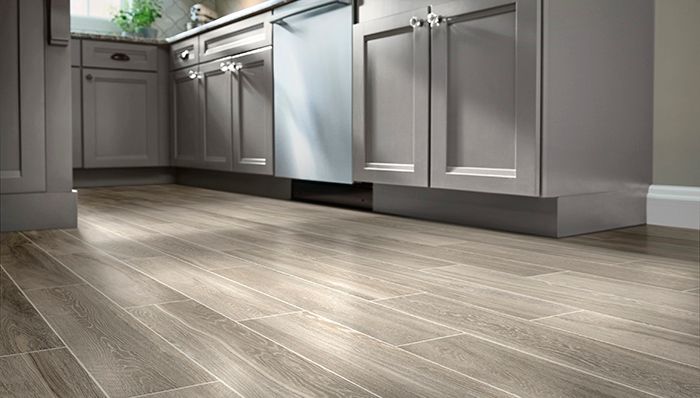
One of the primary advantages of wood floor look ceramic tiles is their exceptional durability. Unlike natural wood flooring, ceramic tiles are highly resistant to scratches, stains, fading, and wear. This makes them an excellent choice for high-traffic areas such as kitchens, hallways, and living rooms. Additionally, ceramic tiles are less prone to moisture damage compared to traditional hardwood floors.
FAQ: Are wood floor look ceramic tiles suitable for bathrooms?
Answer: Yes! Wood floor look ceramic tiles are an ideal option for bathrooms as they are moisture-resistant and can withstand humid environments without warping or swelling.
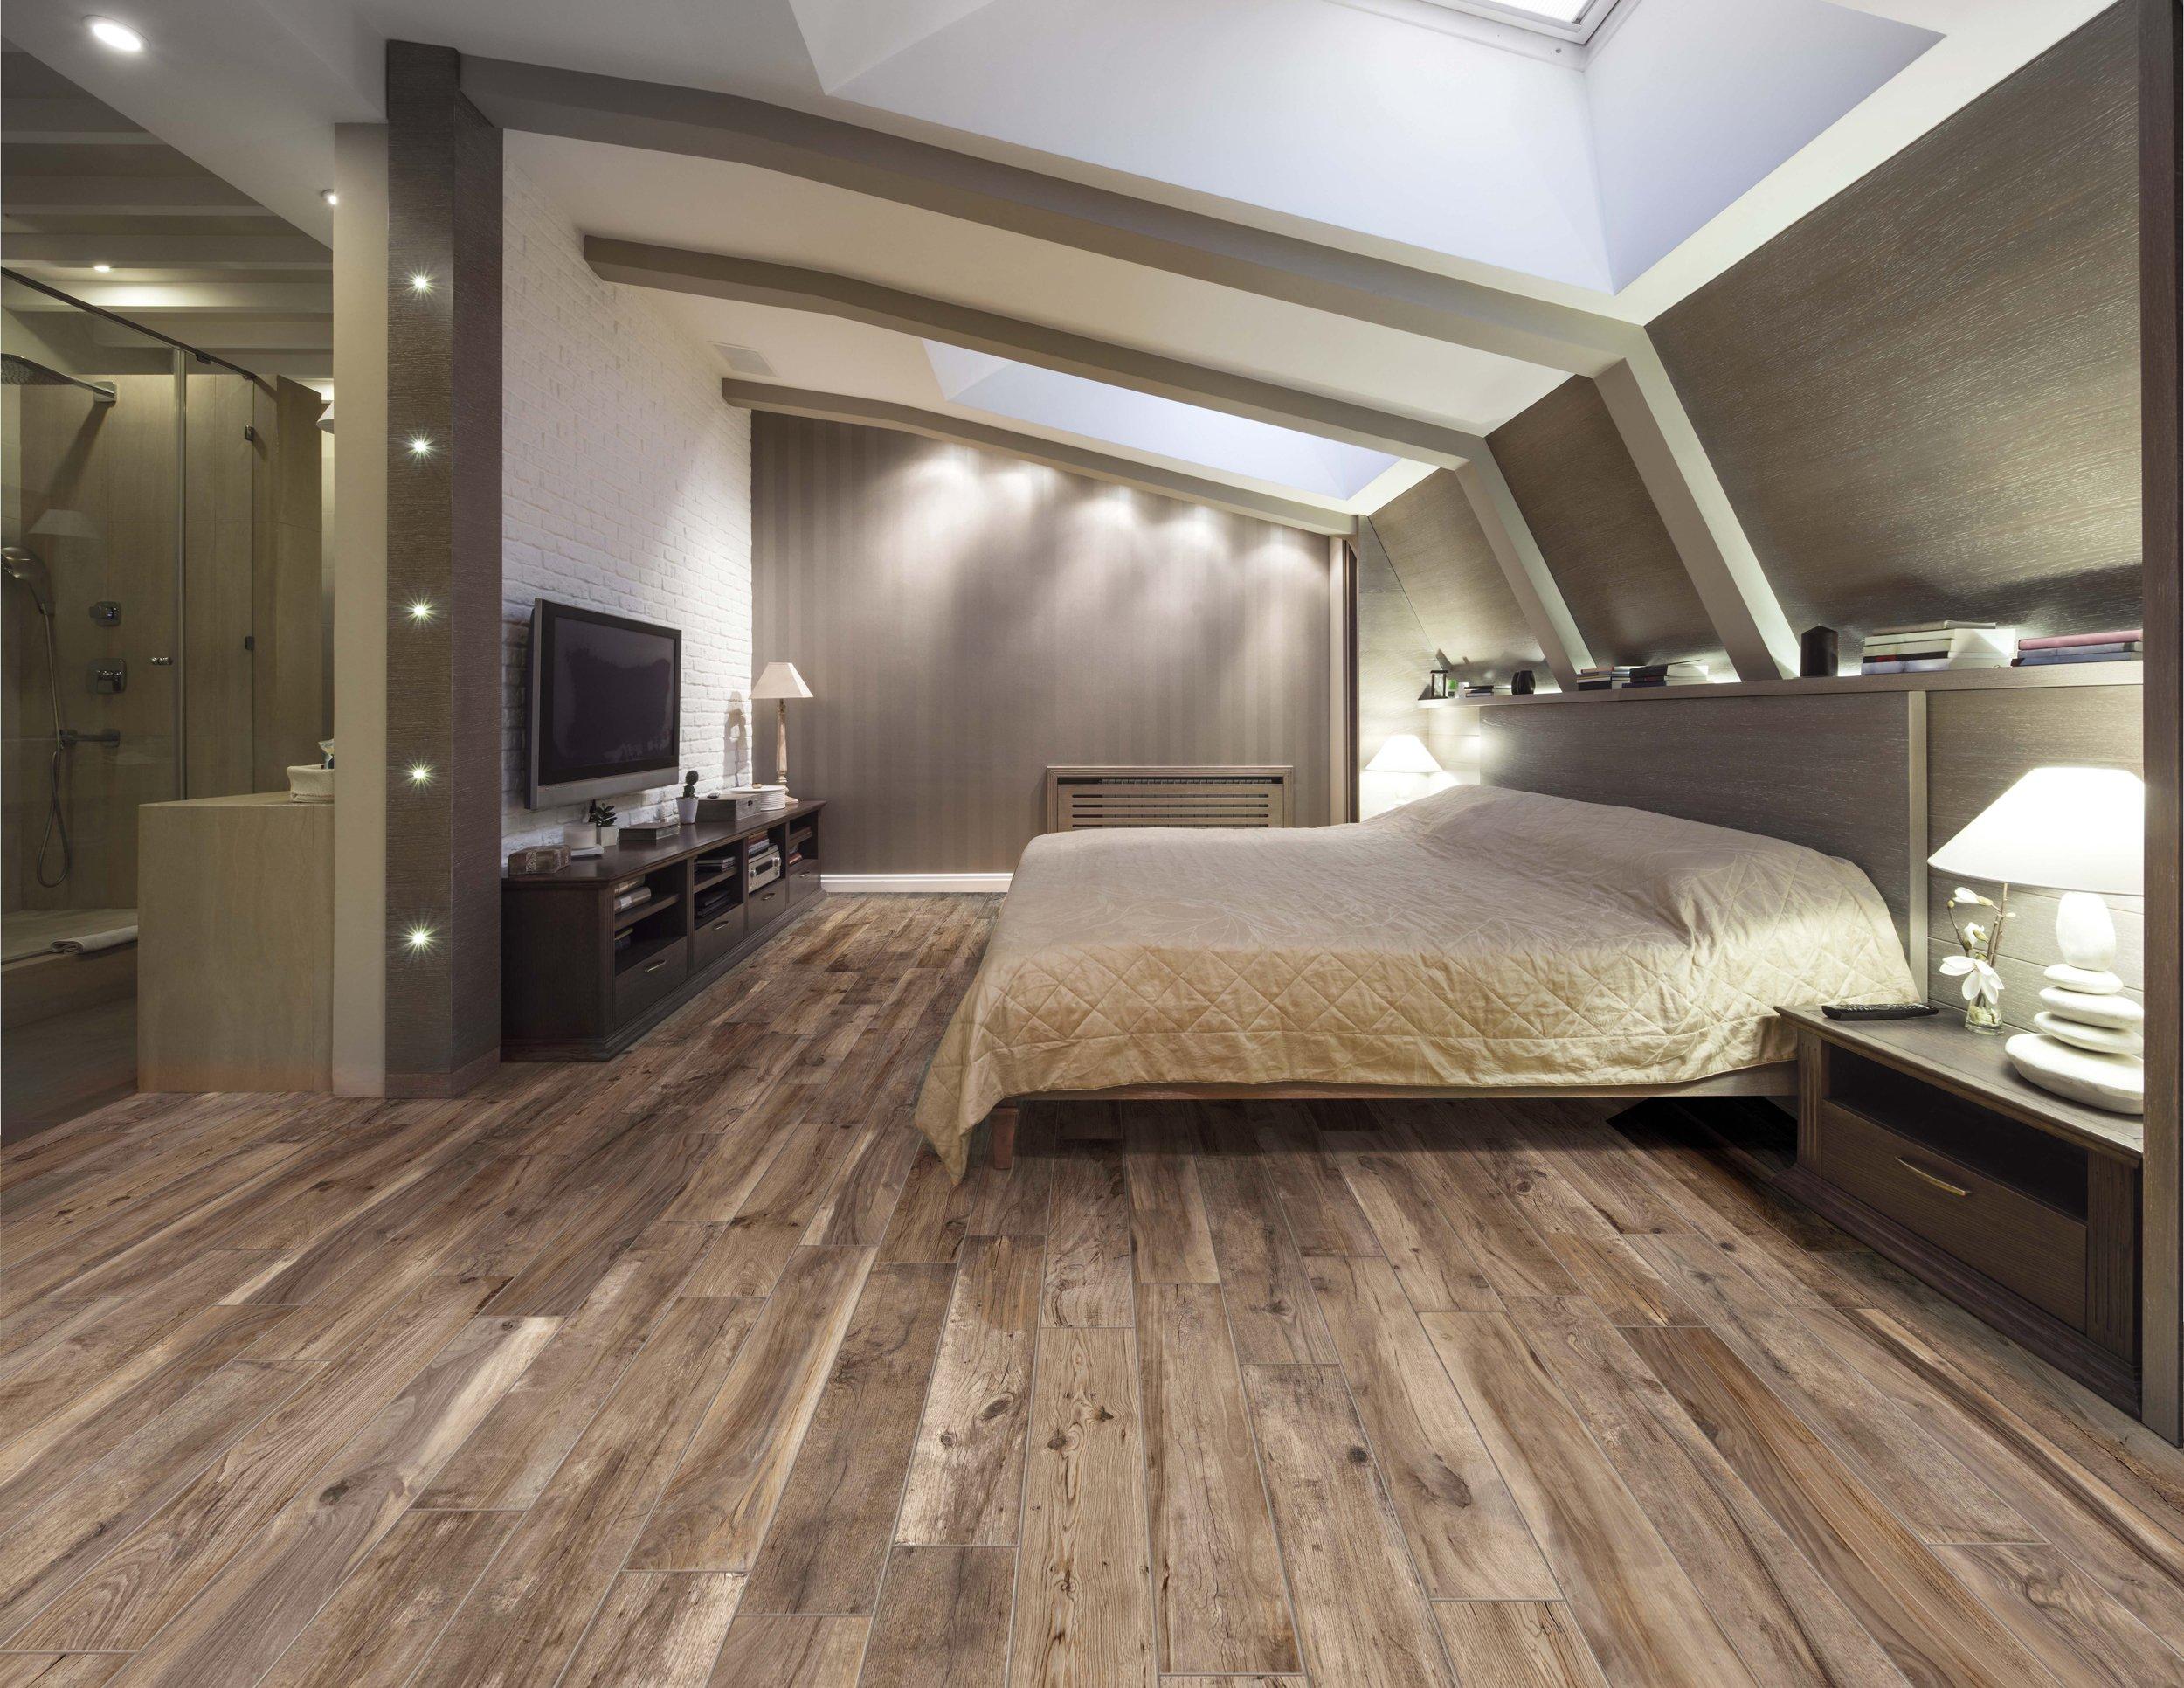
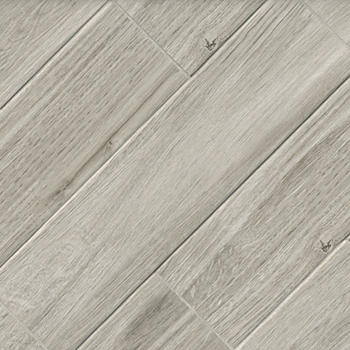
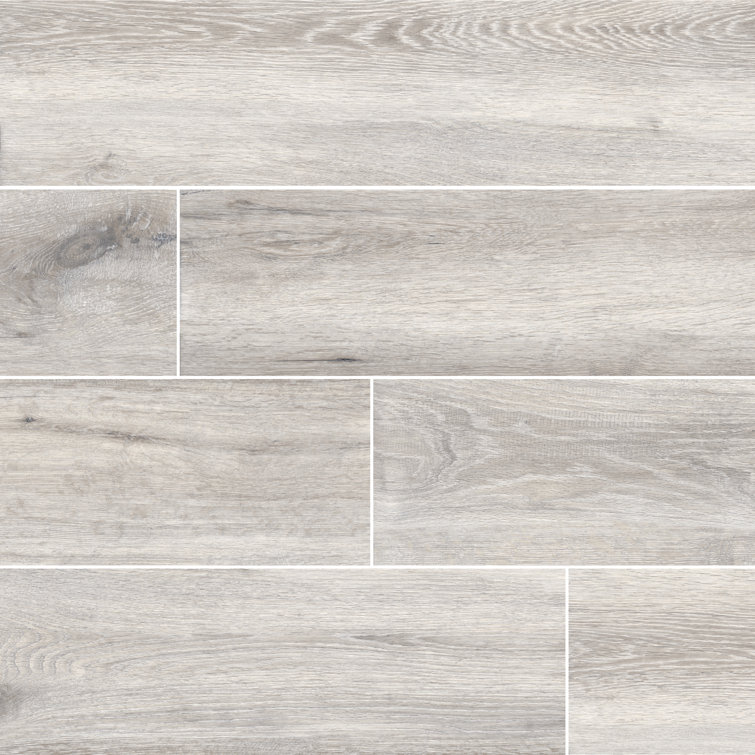
2. Authentic Appearance:
Manufacturers have made significant advancements in replicating the appearance of natural hardwood with ceramic tiles. The latest technology enables them to mimic the grain patterns, textures, and even knots found in real wood flooring. With a wide range of color options available – from light oak to dark mahogany – you can easily find a wood floor look ceramic tile that matches your desired aesthetic.
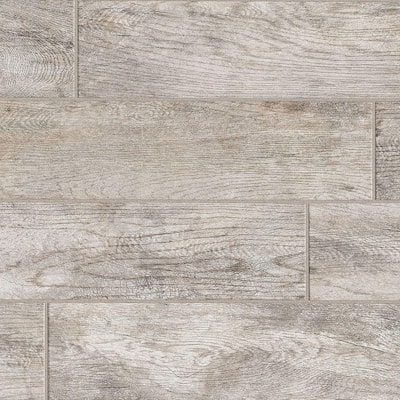
FAQ: Can you tell the difference between wood floor look ceramic tiles and real hardwood?
Answer: Thanks to advancements in technology, it has become incredibly challenging to distinguish between wood floor look ceramic tiles and real hardwood. The intricate details, such as grain patterns and textures, are so well-replicated that even experts may have difficulty telling them apart.
3. Easy Maintenance:
Maintaining wood floor look ceramic tiles is a breeze compared to natural wood floors. Unlike wood, they do not require regular refinishing or sealing. Simply sweeping or vacuuming the tiles regularly, followed by mopping with a mild detergent solution, is sufficient to keep them clean and looking their best. Ceramic tiles are also more resistant to spills and stains, making them an excellent choice for households with children or pets.
FAQ: How often should wood floor look ceramic tiles be cleaned?
Answer: Regular cleaning of wood floor look ceramic tiles is recommended to maintain their appearance. Sweeping or vacuuming once or twice a week, followed by mopping with a damp mop and mild detergent solution every two weeks, should suffice for most households.
4. Cost-Effective:
Wood floor look ceramic tiles offer a cost-effective alternative to real hardwood flooring. While the upfront cost of ceramic tiles may be slightly higher than traditional laminate flooring, their long-term durability eliminates the need for expensive maintenance and replacement. Moreover, ceramic tiles can increase the value of your home due to their high-quality appearance and longevity.
FAQ: Are wood floor look ceramic tiles more expensive than traditional laminate flooring?
Answer: The initial cost of wood floor look ceramic tiles may be slightly higher than traditional laminate flooring. However, considering their durability and lower maintenance requirements, they prove to be a more cost-effective option in the long run.
Installation Process:
Installing wood Floor look ceramic tiles is similar to installing regular ceramic tiles. Here are the general steps involved in the installation process:
1. Preparation: Start by preparing the subfloor. It should be clean, dry, and level. Remove any existing flooring and repair any cracks or uneven areas.
2. Layout: Plan the layout of the tiles. Measure the room and mark guidelines on the subfloor to ensure straight and even tile placement.
3. Cutting Tiles: Use a tile cutter or wet saw to cut the tiles to fit around edges, corners, and obstacles in the room.
4. Adhesive Application: Apply a thin layer of tile adhesive on the subfloor using a trowel. Work in small sections to prevent the adhesive from drying out before placing the tiles.
5. Tile Installation: Place each tile firmly into the adhesive, pressing it down to ensure good adhesion. Use spacers between tiles for consistent spacing.
6. Grouting: After allowing the adhesive to dry according to manufacturer instructions, remove the spacers and apply grout between the tiles using a grout float. Wipe off excess grout with a damp sponge.
7. Sealing: Depending on the type of ceramic tile used, you may need to apply a sealant to protect the surface and enhance its durability.
It is recommended to consult professional installers or follow specific manufacturer guidelines for more detailed instructions on installing wood floor look ceramic tiles. Installing wood floor look ceramic tiles involves several steps to ensure a successful installation. Here is a general overview of the installation process:
1. Preparation: Start by preparing the subfloor. Remove any existing flooring and repair any cracks or uneven areas. The subfloor should be clean, dry, and level.
2. Layout: Plan the layout of the tiles by measuring the room and marking guidelines on the subfloor. This will help ensure straight and even tile placement.
3. Cutting Tiles: Use a tile cutter or wet saw to cut the tiles to fit around edges, corners, and obstacles in the room. This will ensure a seamless and professional-looking installation.
4. Adhesive Application: Apply a thin layer of tile adhesive on the subfloor using a trowel. It is important to work in small sections to prevent the adhesive from drying out before placing the tiles.
5. Tile Installation: Place each tile firmly into the adhesive, pressing it down to ensure good adhesion. Use spacers between tiles for consistent spacing and alignment.
6. Grouting: After allowing the adhesive to dry according to manufacturer instructions, remove the spacers and apply grout between the tiles using a grout float. Wipe off excess grout with a damp sponge for a clean finish.
7. Sealing: Depending on the type of ceramic tile used, you may need to apply a sealant to protect the surface and enhance its durability. Follow manufacturer guidelines for specific sealing instructions.
It is always recommended to consult professional installers or follow specific manufacturer guidelines for more detailed instructions on installing wood floor look ceramic tiles. Proper installation is crucial for achieving a long-lasting and visually appealing result. Installing wood floor look ceramic tiles involves several steps to ensure a successful installation. Here is a general overview of the installation process:
1. Preparation: Start by preparing the subfloor. Remove any existing flooring and repair any cracks or uneven areas. The subfloor should be clean, dry, and level.
2. Layout: Plan the layout of the tiles by measuring the room and marking guidelines on the subfloor. This will help ensure straight and even tile placement.
3. Cutting Tiles: Use a tile cutter or wet saw to cut the tiles to fit around edges, corners, and obstacles in the room. This will ensure a seamless and professional-looking installation.
4. Adhesive Application: Apply a thin layer of tile adhesive on the subfloor using a trowel. Work in small sections to prevent the adhesive from drying out before placing the tiles.
5. Tile Installation: Place each tile firmly into the adhesive, pressing it down to ensure good adhesion. Use spacers between tiles for consistent spacing and alignment.
6. Grouting: After allowing the adhesive to dry according to manufacturer instructions, remove the spacers and apply grout between the tiles using a grout float. Wipe off excess grout with a damp sponge for a clean finish.
7. Sealing: Depending on the type of ceramic tile used, you may need to apply a sealant to protect the surface and enhance its durability. Follow manufacturer guidelines for specific sealing instructions.
It is always recommended to consult professional installers or follow specific manufacturer guidelines for more detailed instructions on installing wood floor look ceramic tiles. Proper installation is crucial for achieving a long-lasting and visually appealing result.