The benefits of having your wood floor oiled is that it will keep for longer and will also delay the aging process so you are free to maintain the colour you originally purchased. Engineered wood flooring is designed to be stable, and solid wood floors could just not compete in this particular arena. Another advantage is that the factory finishes are generally much tougher than the polyurethane used in the field.
Images Related to White Wood Floor Background
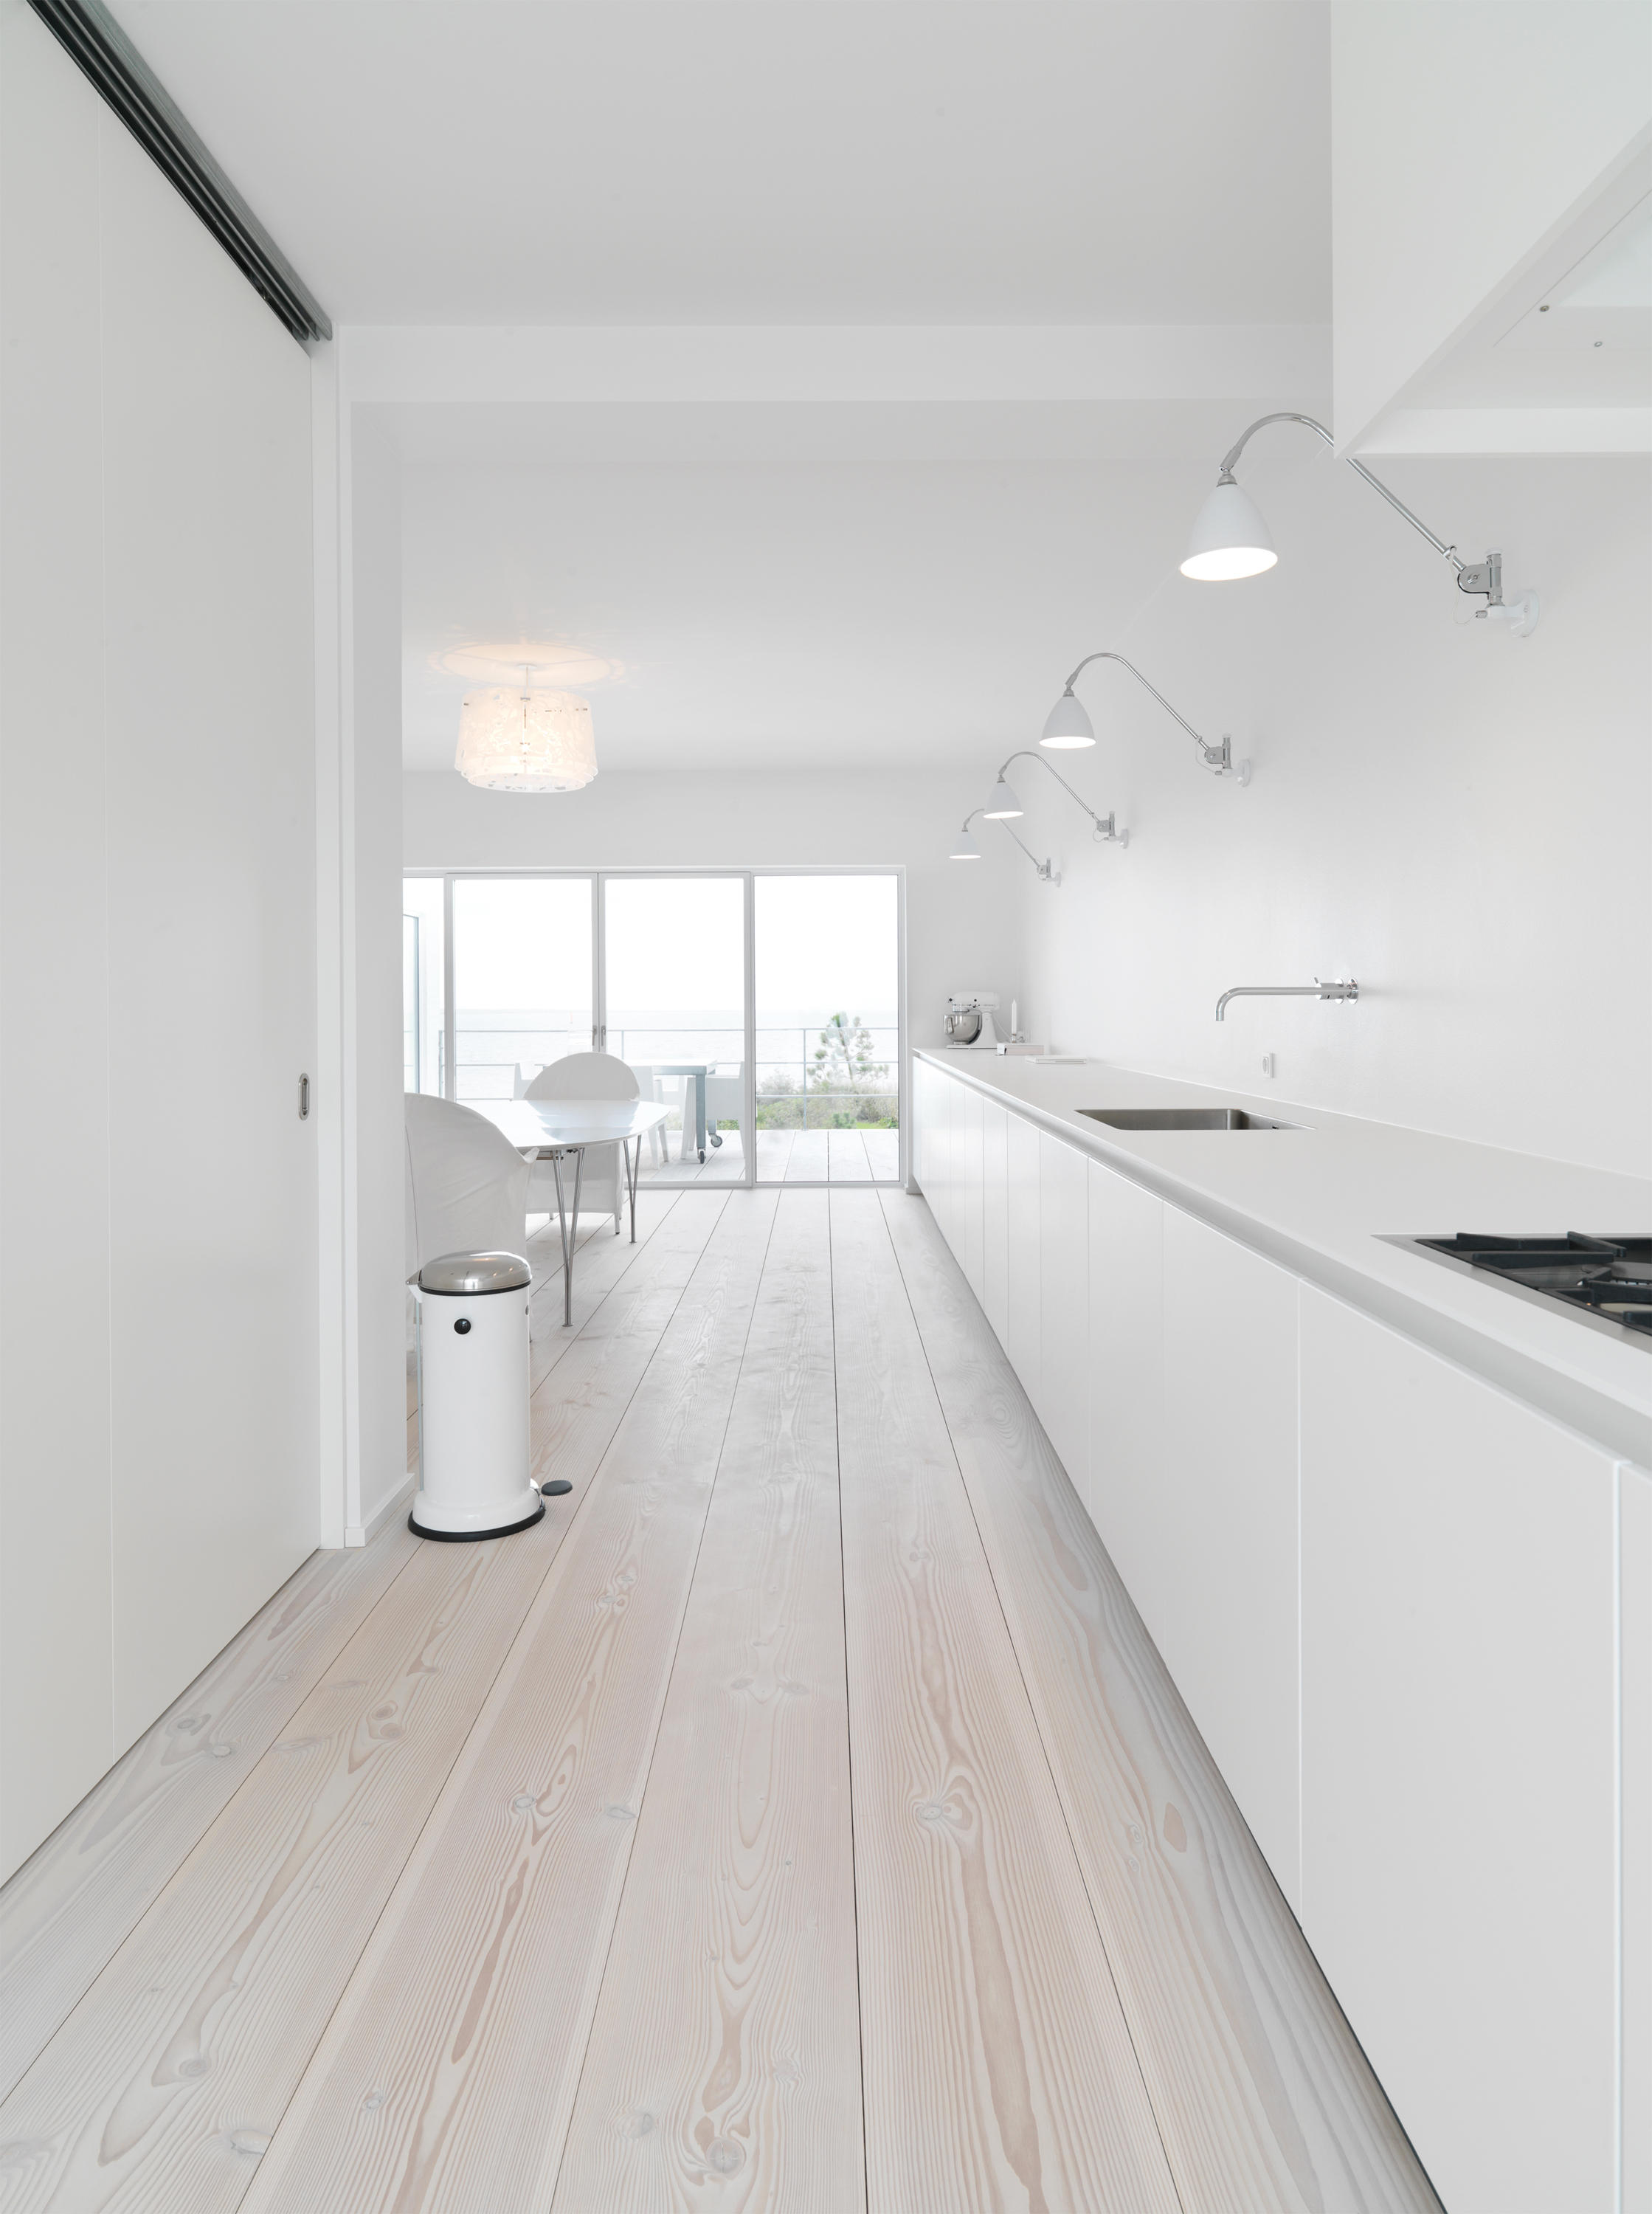
White Wood Floor Background
You likewise have to make sure that you clean your sub floor completely to remove tiny particles and any dirt which could cause problem each time you come to place the wood flooring. Lots of customers do not understand that wood flooring has several special characteristics that make it not the most perfect method for everyone. They’re also eco-friendly, affordable and also the best part is, there’s a great deal of variety available.
Yeele 7x5ft Vintage Wood Backdrop Retro Rustic White and Gray Wooden Floor Background for Photography Kids Adult Photo Booth Video Shoot Vinyl Studio

Hiring an expert to tackle the job will leave you with the right finish and might end up saving you money, after all it will be a great deal more expensive to try the work yourself, hire the devices, purchase the sand paper as well as finishing components, only to in that case have to work with in the professionals to upgrade the work after that as you’re unhappy with the finish.
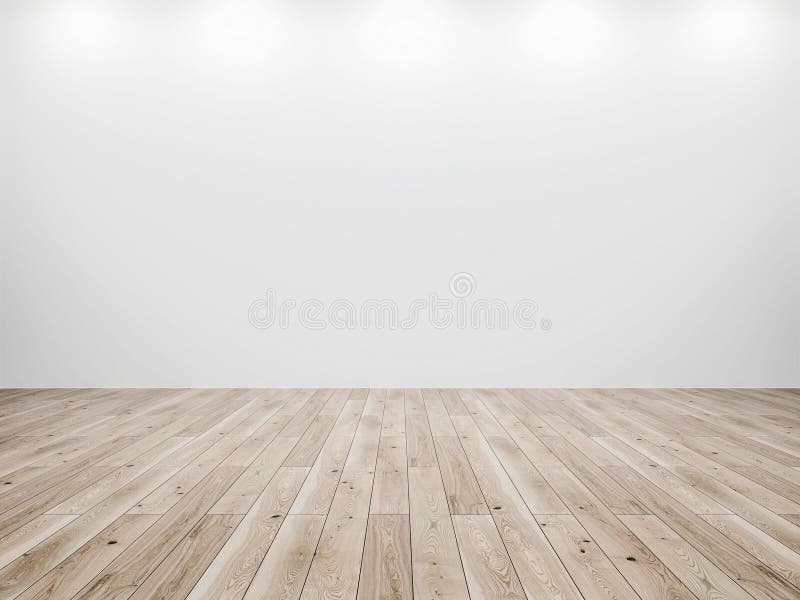
Room interior with white wood wall and wood floor background

White Wood Floor Texture Isolated On White Stock Photo – Download

White Wood Floor Texture And Background. Stock Photo, Picture And

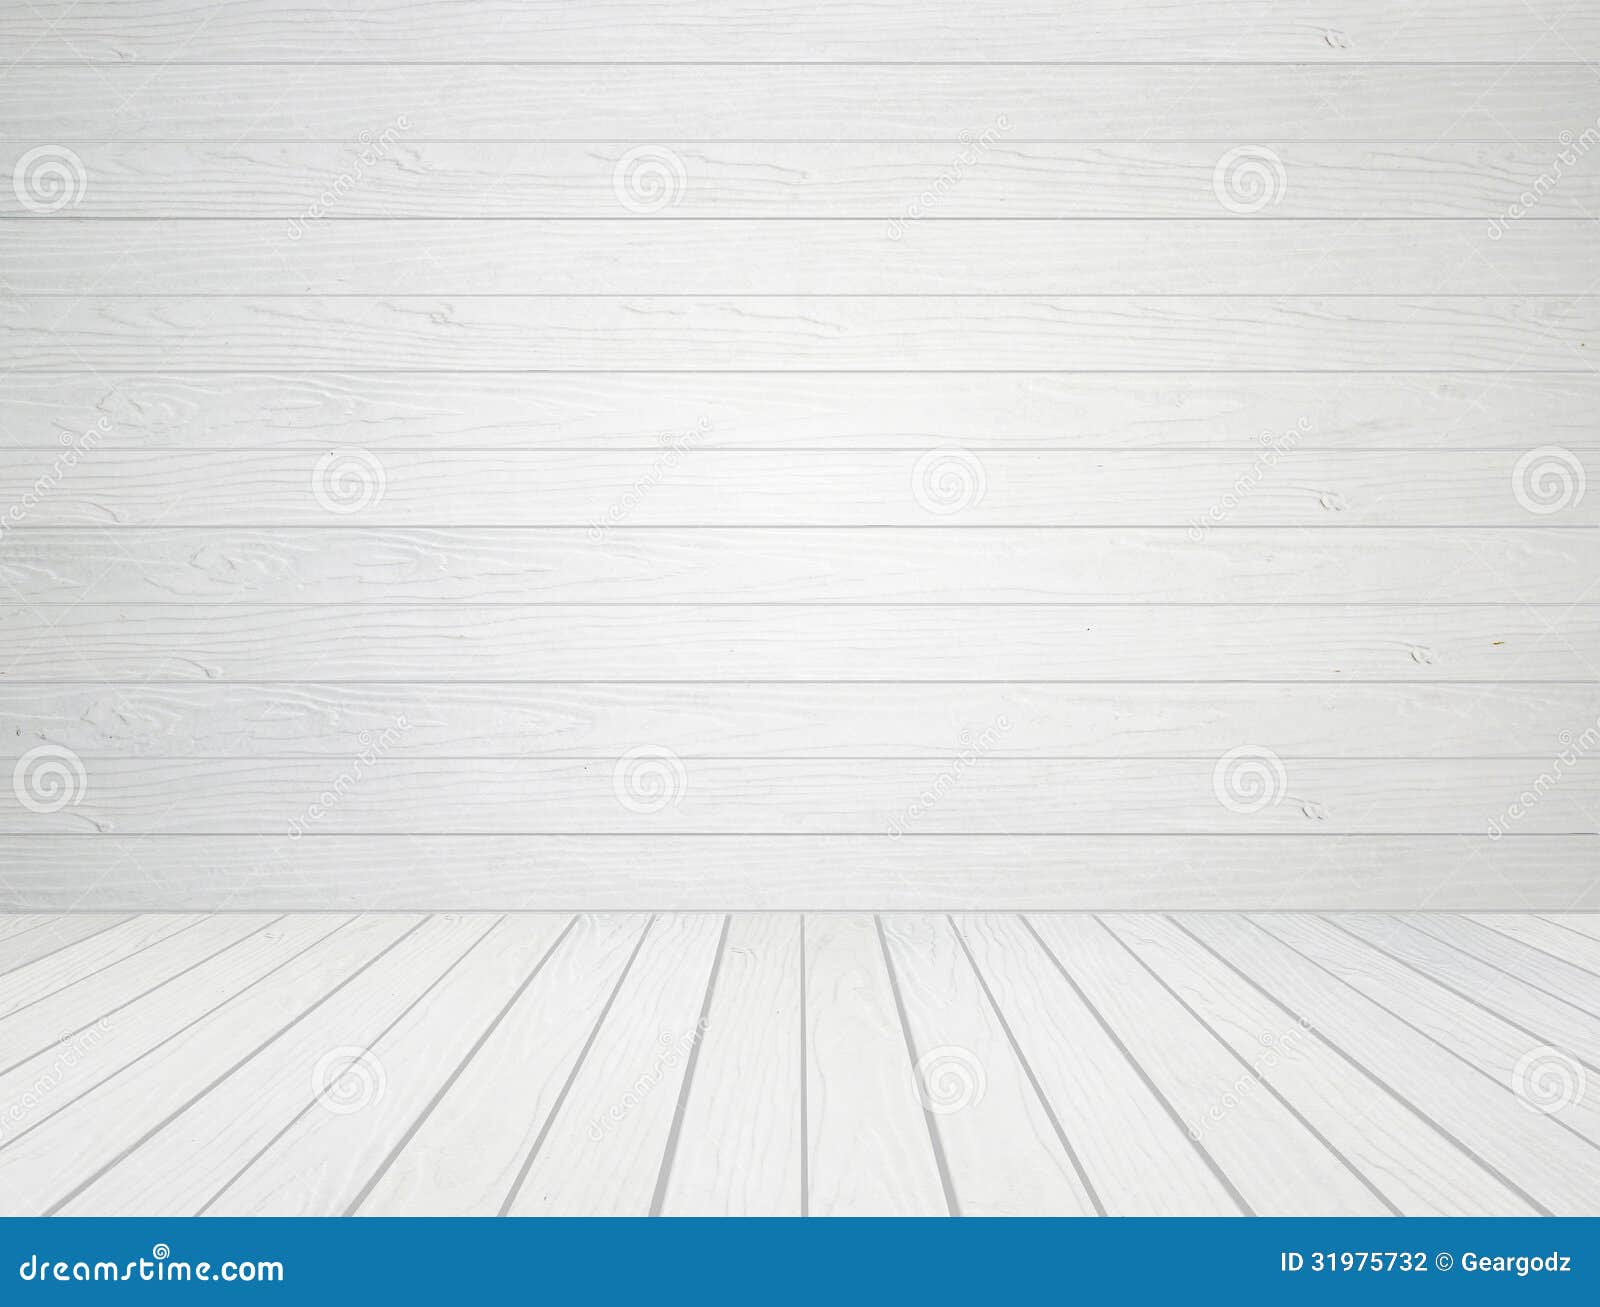
Wood Texture Background. White Wood Wall And Floor Stock Photo

White wood floor on white background. White wood floor isolated on

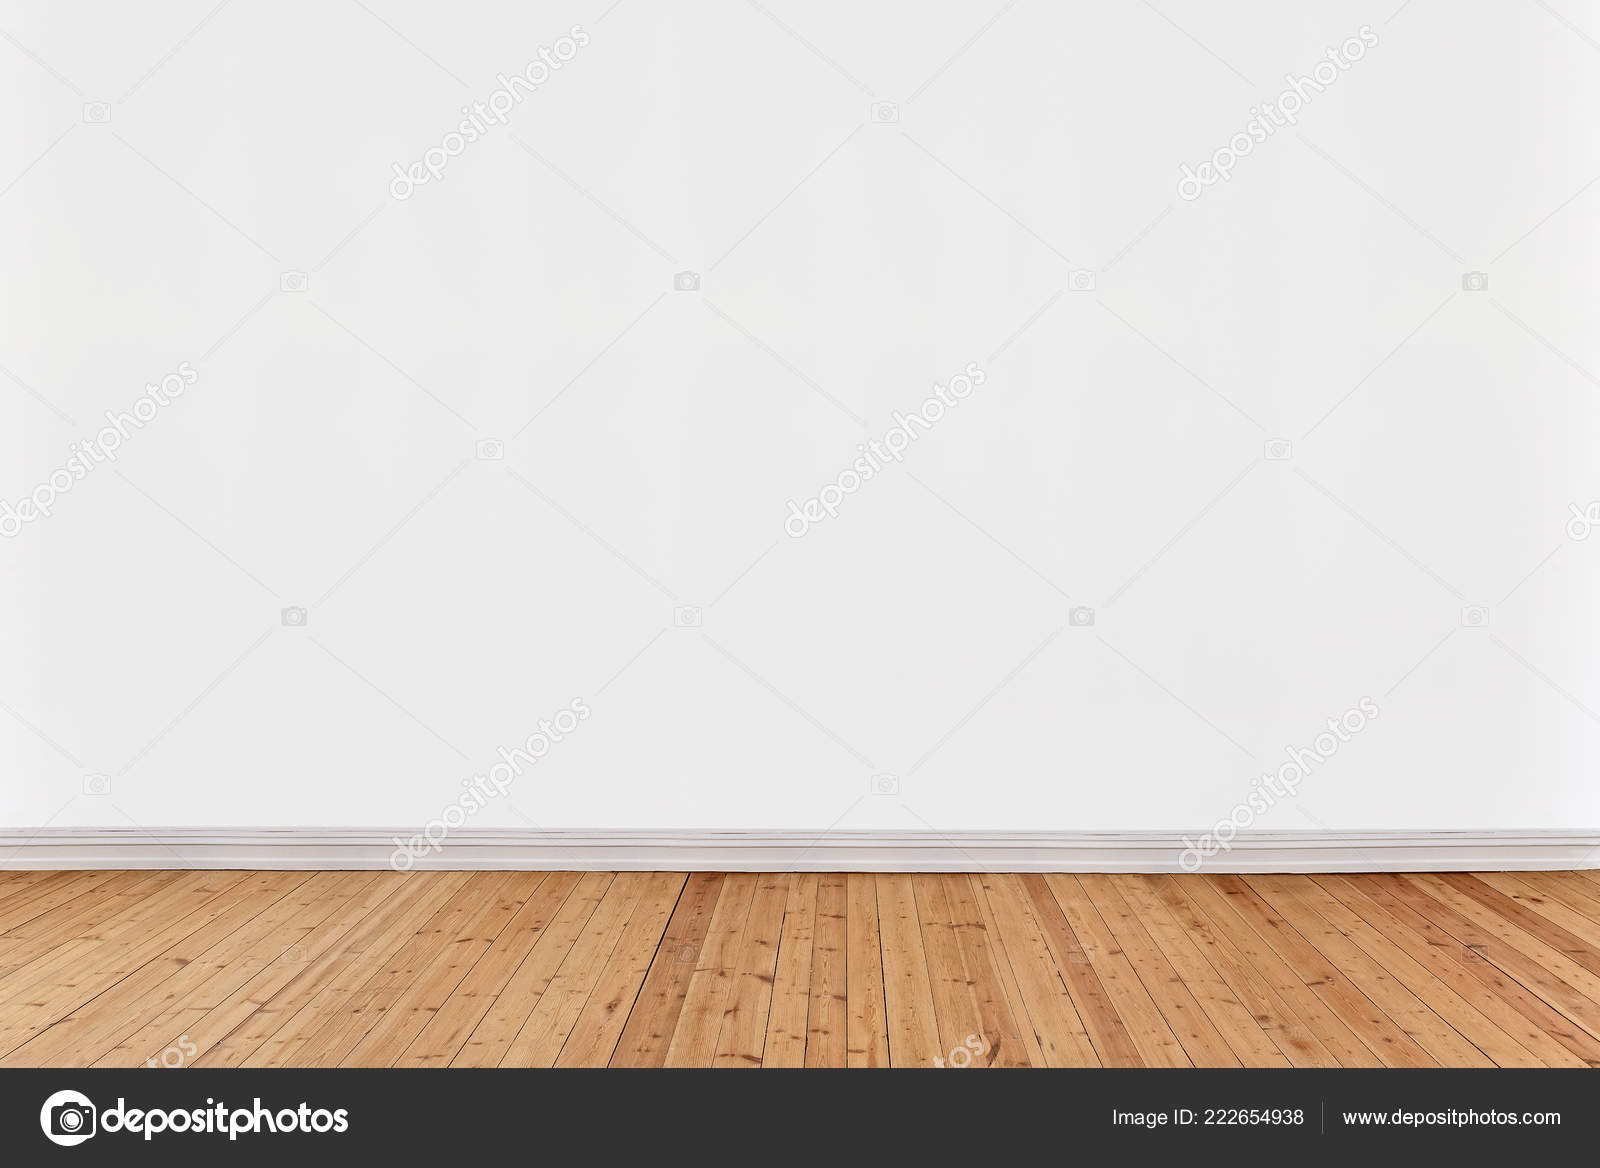
White Wall Background Wooden Floor Stock Photo by ©limpido 222654938
654,585 Wood Floor Photos – Free u0026 Royalty-Free Stock Photos from
Wood Floors Photography Backdrops White Wash Wood Background Photo

White Wooden Floor And Wall Wood Texture Background Stock Photo

Wood floor on white background 1429909 Stock Photo at Vecteezy

White Wood Wall and Wood Floor Background Stock Photo – Image of
Amazon.com : Muzi Vintage Wooden Floor Photography Backdrop White

Related articles:
- Black Walnut Wood Flooring
- Wood Flooring Designs
- Wood Flooring Options For Kitchens
- Contemporary Wood Flooring Ideas
- Dark Wood Floor Bedroom Ideas
- Real Wood Flooring For Kitchens
- Natural Wood Floor Stain
- Oak Wood Flooring
- Birch Wood Flooring Reviews
- Wood Floor Damage Repair
White Wood Floor Background: A Timeless and Versatile Choice
Introduction
When it comes to flooring options, the white wood floor background stands out as a timeless and versatile choice. It combines the natural beauty of wood with a clean, bright aesthetic that can enhance any space. Whether you prefer a rustic farmhouse look or a modern minimalist vibe, white wood floors offer endless possibilities for creating a stylish and inviting atmosphere. In this article, we will delve into the various aspects of white wood floors, including their benefits, installation process, maintenance tips, and frequently asked questions.
Benefits of White Wood Floors
1. Enhances Natural Light: One of the significant advantages of white wood floors is their ability to reflect natural light. The light-colored surface acts as a canvas, bouncing off sunlight and making your space appear brighter and more spacious. This effect is particularly useful in rooms with limited windows or low ceilings.
FAQ: Will white wood floors make my room look too bright or stark?
Answer: While white wood floors do bring brightness to a room, it doesn’t necessarily mean the space will feel overwhelming or stark. By incorporating elements of color through furniture, rugs, and decor, you can create a balanced and inviting ambiance.
2. Versatility in Design: White wood floors serve as a blank canvas for interior design enthusiasts. They seamlessly adapt to various styles, including Scandinavian, coastal, traditional, or contemporary aesthetics. Whether you’re aiming for a cozy farmhouse feel with distressed white planks or a sleek modern look with glossy finishes, white wood floors can effortlessly accommodate your vision.
FAQ: Are there different shades of white available for wood floors?
Answer: Absolutely! White wood floors are available in various shades ranging from pure white to off-white hues. You can choose a shade that complements your overall design scheme and desired ambiance.
3. Creates an Airy Atmosphere: If you’re looking to infuse your space with an airy and fresh feel, white wood floors are an excellent choice. The light tones create a sense of openness, making even the smallest rooms appear more spacious. This makes them particularly advantageous for apartments or homes with limited square footage.
FAQ: Can white wood floors be used in rooms with high foot traffic?
Answer: Yes, white wood floors can withstand high foot traffic if properly maintained. Opting for durable wood species like oak or maple and applying protective coatings can help ensure the longevity and durability of your white wood floors.
Installation Process
Installing white wood floors requires careful planning and precision to achieve a flawless result. Here is a step-by-step guide to help you navigate through the installation process:
1. Prepare the Subfloor: Before installing your white wood floors, it’s crucial to prepare the subfloor properly. Remove any existing flooring material and ensure that the subfloor is clean, dry, level, and free of any debris.
2. Acclimate the Wood: Allow the wood planks to acclimate to the room’s temperature and humidity for at least 48 hours before installation. This step ensures that the planks adjust to the environment, minimizing potential issues such as warping or buckling in the future.
3. Lay Out the Planks: Start by measuring the dimensions of your room to determine how many planks you will need. Begin laying out the planks from one corner of the room, staggering them to create a visually appealing pattern. Leave an expansion gap around the perimeter of the room to allow for natural expansion and contraction of the wood.
4. Nail or Glue the Planks: Depending on the type of white wood flooring you choose, you will either nail or glue the planks to the subfloor. Follow the manufacturer’s instructions and use the appropriate tools and materials for installation. Make sure to apply even pressure when securing the planks to ensure a tight and secure fit.
5. Finish and Seal the Floors: After all the planks are installed, it’s time to finish and seal your white wood floors. Apply a protective finish, such as polyurethane, to enhance durability and prevent damage from spills or scratches. Follow the manufacturer’s instructions for application and drying times.
Maintenance Tips
To keep your white wood floors looking pristine, follow these maintenance tips:
1. Regular Cleaning: Sweep or vacuum your white wood floors regularly to remove dirt and debris that can scratch the surface.
2. Avoid Excessive Moisture: While white wood floors can handle some moisture, it’s important to clean up spills immediately and avoid excessive water exposure as it can cause warping or staining.
3. Use Protective Pads: Place felt pads under furniture legs to prevent scratches and dents when moving or rearranging furniture.
4. Refinish When Needed: Over time, white wood floors may show signs of wear. If necessary, you can refinish them by sanding down the surface and applying a new coat of finish.
By following these installation and maintenance tips, you can enjoy the beauty and durability of white wood floors in your home or space. Whether you’re aiming for a bright and airy atmosphere or wanting to create a versatile backdrop for your interior design, white wood floors offer endless possibilities. They can complement a variety of decor styles and add a touch of elegance to any room. With proper installation and maintenance, your white wood floors can last for years to come. 1. Allow the planks to acclimate: Before installation, it is important to let the planks adjust to the environment for at least 48 hours. This helps prevent issues like warping or buckling in the future.
2. Prepare the subfloor: Ensure that the subfloor is clean, dry, and level before installing the white wood flooring. Remove any existing flooring and repair any damage or imperfections in the subfloor.
3. Lay out the planks: Start from one corner of the room and lay out the planks in a staggered pattern for a visually appealing look. Leave an expansion gap around the perimeter of the room to allow for natural expansion and contraction of the wood.
4. Nail or glue the planks: Depending on the type of white wood flooring chosen, you will either nail or glue the planks to the subfloor. Follow the manufacturer’s instructions and use appropriate tools and materials for installation. Apply even pressure when securing the planks to ensure a tight fit.
5. Finish and seal the floors: After all the planks are installed, apply a protective finish, such as polyurethane, to enhance durability and prevent damage from spills or scratches. Follow manufacturer’s instructions for application and drying times.
Maintenance tips:
1. Regular cleaning: Sweep or vacuum your white wood floors regularly to remove dirt and debris that can scratch the surface.
2. Avoid excessive moisture: Clean up spills immediately and avoid excessive water exposure as it can cause warping or staining.
3. Use protective pads: Place felt pads under furniture legs to prevent scratches and dents when moving or rearranging furniture.
4. Refinish when needed: Over time, white wood floors may show signs of wear. If necessary, sand down the surface and apply a new coat of finish.
By following these installation and maintenance tips, you can enjoy beautiful white wood floors that can complement various decor styles and add elegance to any room.