As mentioned, you can usually find a big choice of tile flooring choices close to home. Now and then, a gentle detergent remedy can be used with your tiled flooring – and a little bit of scrubbing should help take out the random stain. However, you can now buy specially formed and sanded stones to avoid such problems.
Images Related to Vinyl Tile Flooring For Kitchen
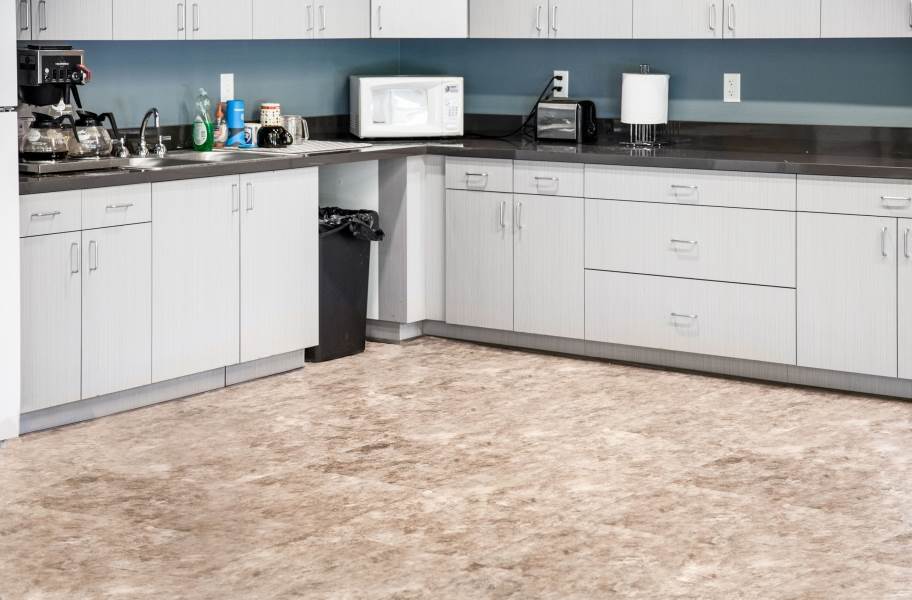
Vinyl Tile Flooring For Kitchen
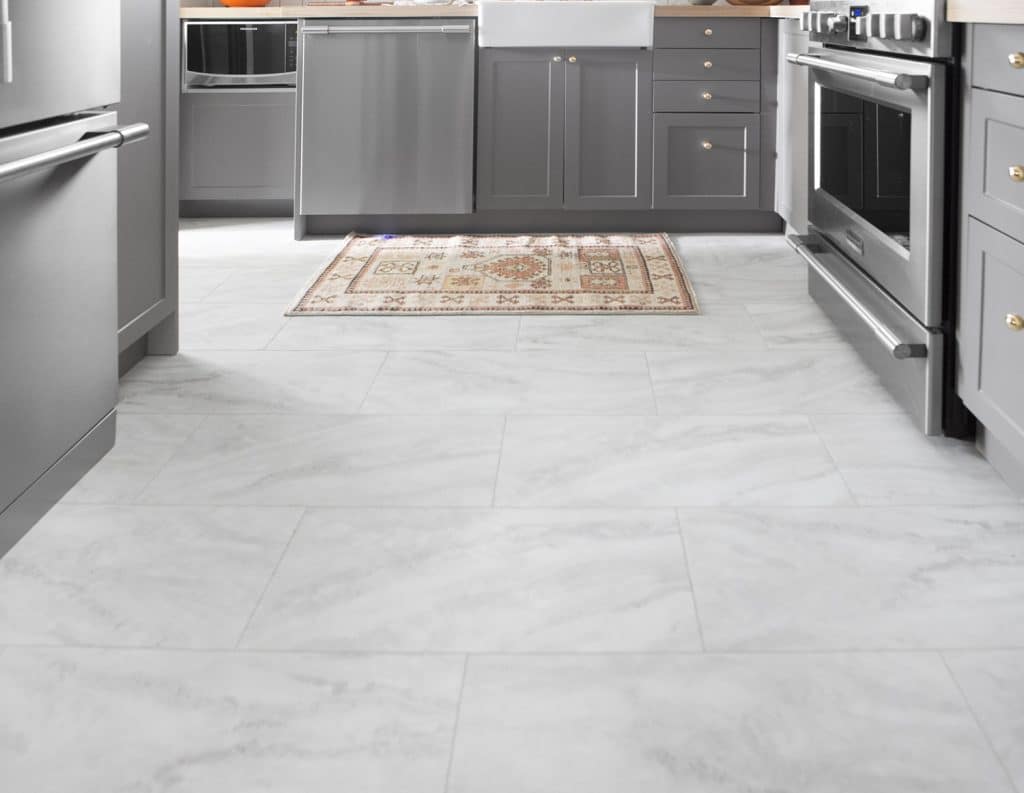
As you likely know, tile floors are extremely durable no matter the material. There are numerous sorts of tile flooring but the most often tile used in Denver and Colorado Springs are stone, porcelain, mosaic, ceramic, granite, travertine, slate and Saltillo. Doing the assembly of ceramic tile on the house floors of yours would possibly be the very best decision you ever made.
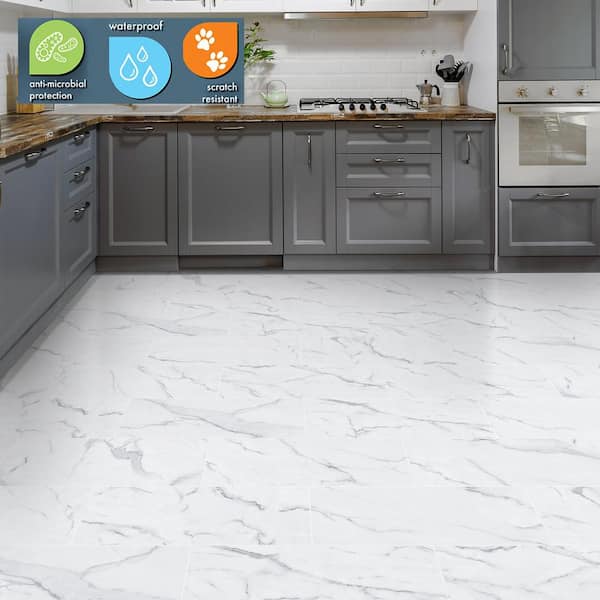
Lifeproof Salt Throne Marble 12 in. W x 23.82 in. L Luxury Vinyl
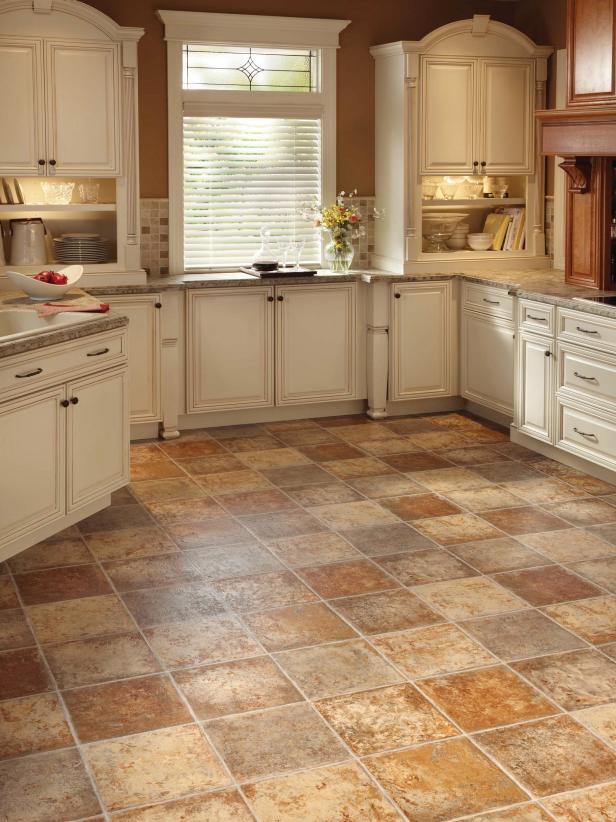
It is not surprising that contractors are installing tile anywhere in houses. To utilize a marble floor tile at home creates some of the distinctive visual elegance as well as practical use to commercial and residential projects, in addition to giving a heightened value to attributes when the time comes to resell their homes. Aside from this, you should additionally avoid soap as it is able to leave a film.
10 Kitchens With Vinyl Plank

The 7 Best Vinyl Tiles of 2022
/656380673466_08020463-5a83229ad8fdd500378b36e8.jpg)
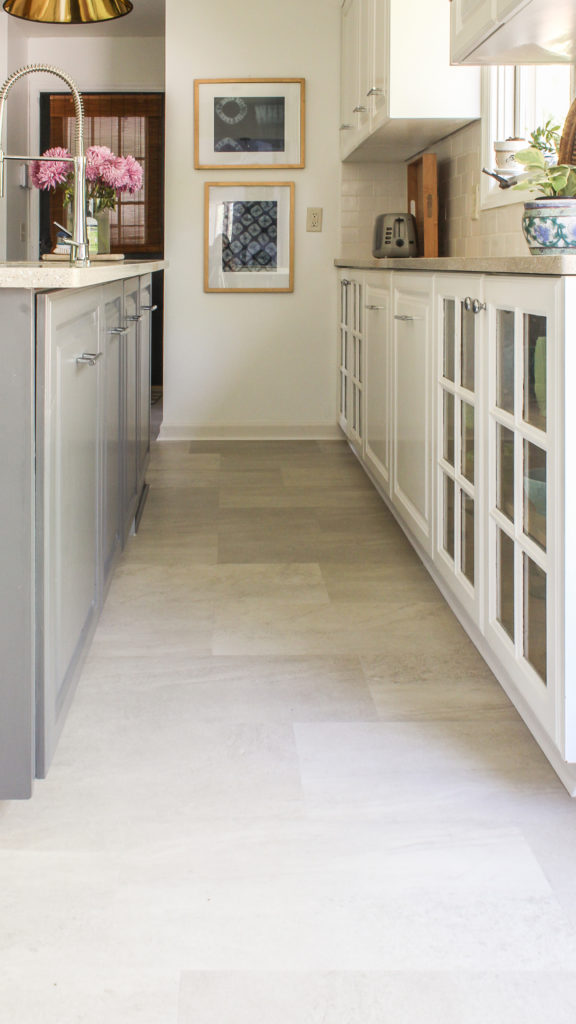
Tips For Installing A Kitchen Vinyl Tile Floor merrypad

LVT Flooring Over Existing Tile the Easy Way – Vinyl Floor
How to Use Peel and Stick Vinyl Tile to Transform Your Floors

Did you know that you can create herringbone, ladder and

Vinyl Flooring – The Home Depot

Vinyl Flooring in the Kitchen HGTV
Stone Flex Tiles – Classic Collection
Choosing vinyl flooring for your kitchen- Tarkett Tarkett
Vinyl Flooring in the Kitchen HGTV
DIY Flooring: How We Changed our Kitchen in 3 days for Less than
Related articles:
- Vintage Bathroom Floor Tile Patterns
- Bathroom Floor Tile DIY
- Limestone Bathroom Floor Tiles
- Bathroom Floor Porcelain Tile
- Concrete Bathroom Floor Ideas
- White Bathroom Ceramic Tiles
- Bathroom Floor Baseboard
- Rustic Bathroom Flooring Ideas
- Bathroom Flooring Options
- Bamboo Bathroom Flooring Ideas
Vinyl Tile Flooring For Kitchen: A Durable and Stylish Choice
Introduction:
The kitchen is often considered the heart of the home, a place where family and friends gather to cook, eat, and socialize. As such, it’s crucial to choose flooring that is not only aesthetically pleasing but also durable and easy to maintain. Vinyl tile flooring has emerged as a popular choice for kitchens due to its versatility, affordability, and wide range of design options. In this article, we will delve into the various aspects of vinyl tile flooring for kitchens, including its benefits, installation process, maintenance tips, and frequently asked questions.
Benefits of Vinyl Tile Flooring:
1. Durability:
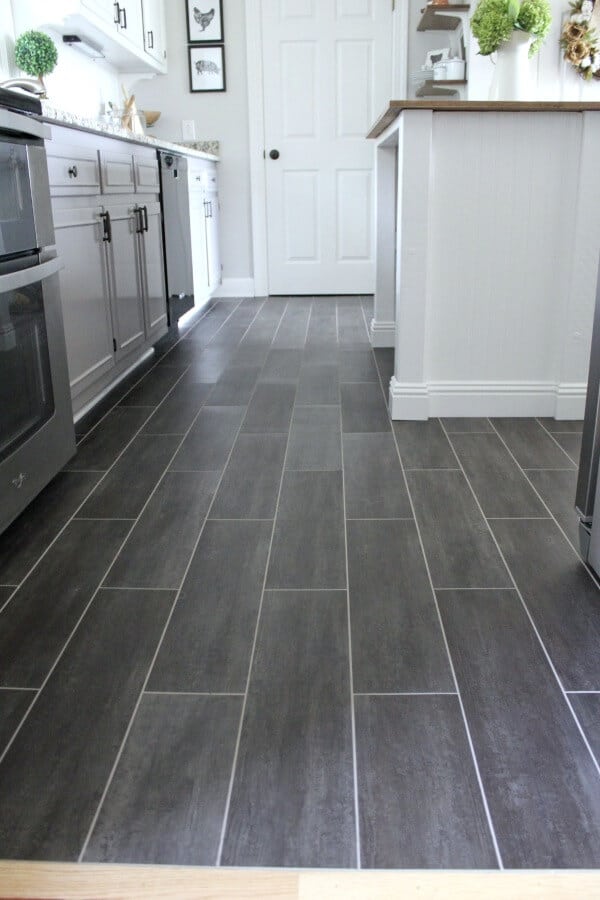
Vinyl tile flooring is renowned for its exceptional durability. It can withstand heavy foot traffic, spills, and impacts without showing signs of wear and tear. This makes it an ideal choice for high-traffic areas like the kitchen. The thick wear layer on vinyl tiles provides extra protection against scratches and stains, ensuring that your kitchen floor maintains its pristine appearance for years to come.
2. Water Resistance:
One of the primary concerns when choosing kitchen flooring is its ability to withstand water exposure. Vinyl tile flooring excels in this aspect as it is highly water-resistant. Unlike hardwood or laminate floors that can warp or swell when exposed to moisture, vinyl tiles remain unaffected. This feature makes vinyl tile flooring an excellent choice for kitchens where spills and splashes are inevitable.
3. Easy Maintenance:
Maintaining vinyl tile flooring in your kitchen is a breeze. Regular sweeping or vacuuming followed by mopping with a mild detergent solution is all that’s needed to keep it clean and hygienic. The non-porous surface of vinyl tiles prevents dirt and grime from penetrating the material, making it resistant to stains and odors. Additionally, vinyl tile flooring doesn’t require any special cleaning products or treatments, saving you time and money in the long run.
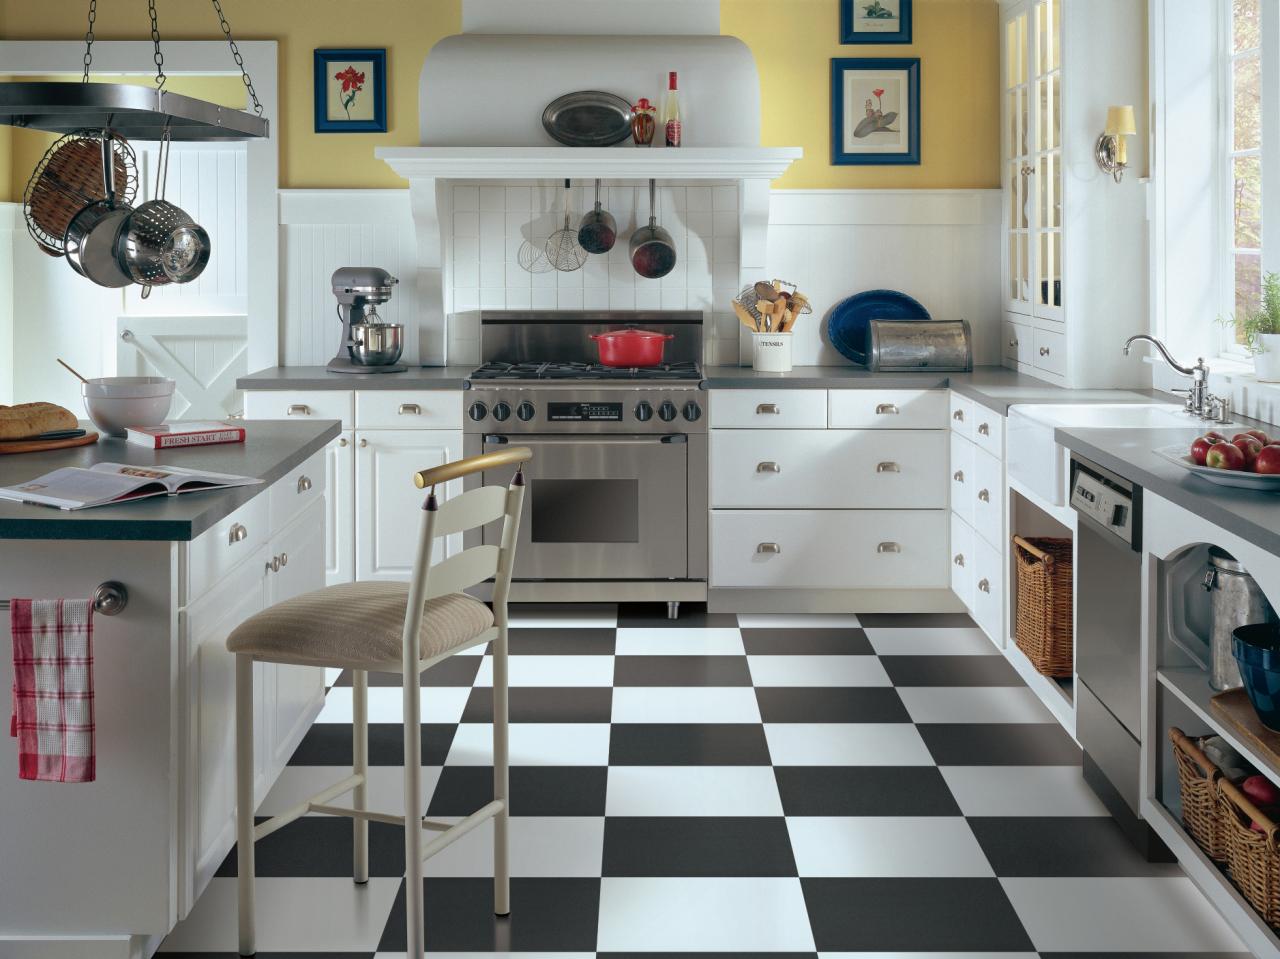
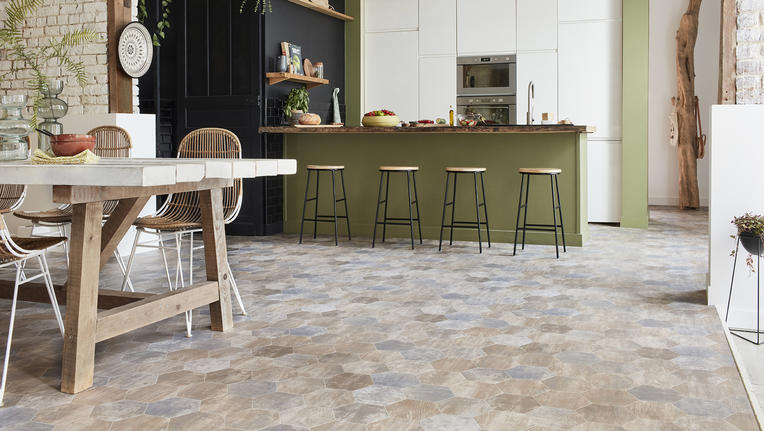
4. Wide Range of Design Options:
Vinyl tile flooring offers an extensive array of design options, allowing you to create a kitchen that reflects your personal style. From realistic wood and stone patterns to vibrant colors and geometric designs, there is a vinyl tile for every taste. The advent of advanced printing technologies has made it possible to achieve incredibly realistic textures and finishes, giving your kitchen floor the look of luxury without the hefty price tag.
Installation Process:
Installing vinyl tile flooring in your kitchen can be a DIY project or entrusted to a professional installer. Here’s a step-by-step guide for both options:
DIY Installation:
1. Prepare the Subfloor: Ensure that the subfloor is clean, level, and free from any imperfections. Remove any existing flooring and repair any damaged areas.
2. Acclimate the Tiles: Let the vinyl tiles acclimate to the room temperature for at least 24 hours before installation. This will prevent any expansion or contraction issues later on.
3. Plan the Layout: Determine the layout of the tiles by measuring and marking guidelines on the subfloor. Start from the center of the room for a balanced look.
4. Apply Adhesive: Apply adhesive recommended by the manufacturer using a notched trowel onto the subfloor within one section at a time.
5. Install Tiles: Begin installing tiles along the guidelines, pressing them firmly into place and ensuring proper alignment. Trim tiles if necessary to fit around obstacles or edges using a utility knife or tile cutter.
6. Allow for Expansion Gaps: Leave a small gap around the Edges of the room to allow for expansion of the vinyl tiles. This can be covered with baseboards or molding later on.
7. Clean and Finish: Once all the tiles are installed, clean off any adhesive residue and allow the flooring to dry completely. You can then apply a vinyl floor finish to enhance its durability and shine.
Professional Installation:
1. Hire a Professional: Contact a professional flooring installer who specializes in vinyl tile flooring installation.
2. Prepare the Subfloor: Ensure that the subfloor is clean, level, and free from any imperfections. The installer will handle any necessary repairs or preparations.
3. Acclimate the Tiles: Let the vinyl tiles acclimate to the room temperature for at least 24 hours before installation.
4. Install Tiles: The professional installer will use their expertise and specialized tools to install the vinyl tiles according to your desired layout.
5. Clean and Finish: Once all the tiles are installed, the installer will clean off any adhesive residue and ensure that the flooring is dry. They may also apply a vinyl floor finish for added protection.
It’s important to note that while DIY installation may save you money, professional installation ensures proper alignment, durability, and warranty coverage. Consider your skill level and available time before deciding which option is best for you. Additionally, professional installation may be required for certain warranty coverage. DIY Installation:
1. Prepare the Subfloor: Make sure the subfloor is clean, level, and free from any imperfections. Remove any existing flooring and repair any damaged areas.
2. Acclimate the Tiles: Let the vinyl tiles acclimate to the room temperature for at least 24 hours before installation. This will prevent any expansion or contraction issues later on.
3. Plan the Layout: Measure and mark guidelines on the subfloor to determine the layout of the tiles. Starting from the center of the room will create a balanced look.
4. Apply Adhesive: Use a notched trowel to apply adhesive recommended by the manufacturer onto the subfloor, working within one section at a time.
5. Install Tiles: Begin installing tiles along the guidelines, pressing them firmly into place and ensuring proper alignment. Trim tiles if needed to fit around obstacles or edges using a utility knife or tile cutter.
6. Allow for Expansion Gaps: Leave a small gap around the edges of the room to allow for expansion of the vinyl tiles. This can be covered with baseboards or molding later on.
7. Clean and Finish: Once all the tiles are installed, clean off any adhesive residue and allow the flooring to dry completely. You can then apply a vinyl floor finish to enhance its durability and shine.
Professional Installation:
1. Hire a Professional: Contact a professional flooring installer who specializes in vinyl tile flooring installation.
2. Prepare the Subfloor: Ensure that the subfloor is clean, level, and free from any imperfections. The installer will handle any necessary repairs or preparations.
3. Acclimate the Tiles: Let the vinyl tiles acclimate to the room temperature for at least 24 hours before installation.
4. Install Tiles: The professional installer will use their expertise and specialized tools to install the vinyl tiles according to your desired layout.
5. Clean and Finish: Once all the tiles are installed, the installer will clean off any adhesive residue and ensure that the flooring is dry. They may also apply a vinyl floor finish for added protection.
It’s important to consider your skill level and available time before deciding whether to tackle the installation yourself or hire a professional. While DIY installation may save you money, professional installation ensures proper alignment, durability, and warranty coverage. Additionally, professional installation may be required for certain warranty coverage.