Stone, tile, wood, linoleum, brick and also marble are simply some of the options available. Use tiles if you would like more designs and it is likewise easy to install on ones own. This specific flooring type is ideal for laying in kitchens, bathrooms, youngster's playrooms together with entrances to your house or even in your conservatories (sun rooms). Hence, the tiles aren't suitable for temporary flooring.
Images Related to Vinyl Flooring Installation Bathroom
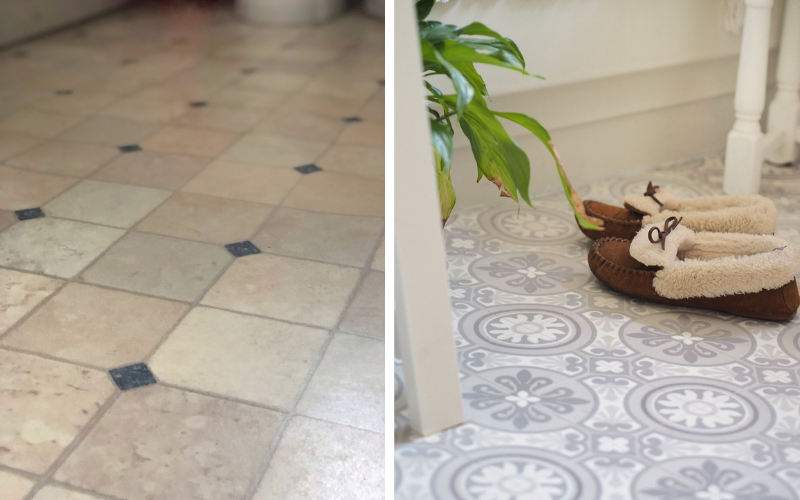
Vinyl Flooring Installation Bathroom
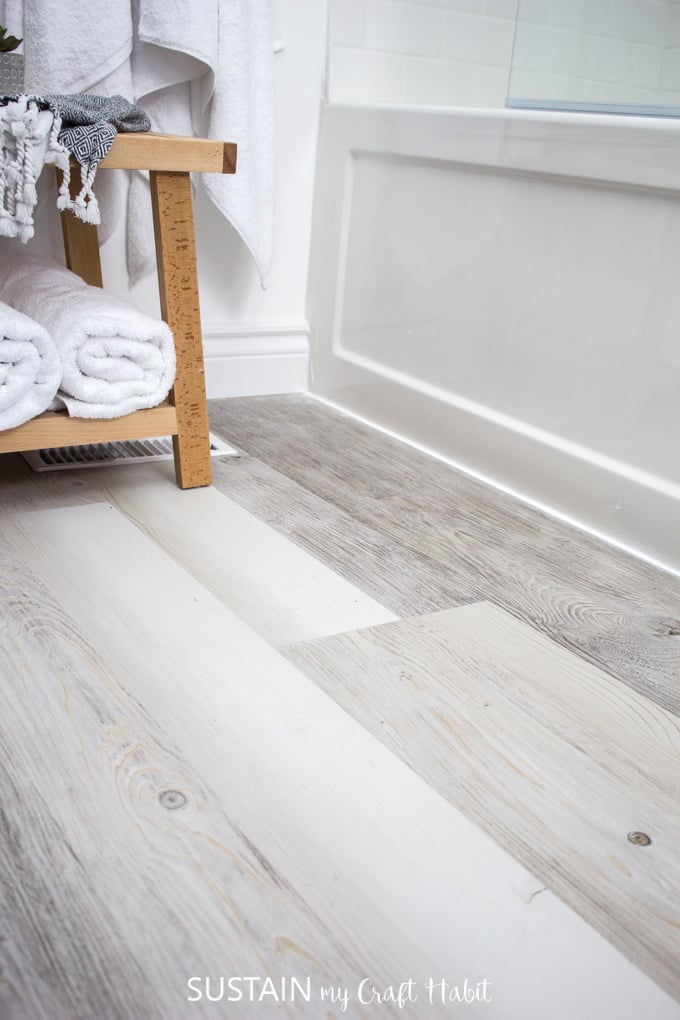
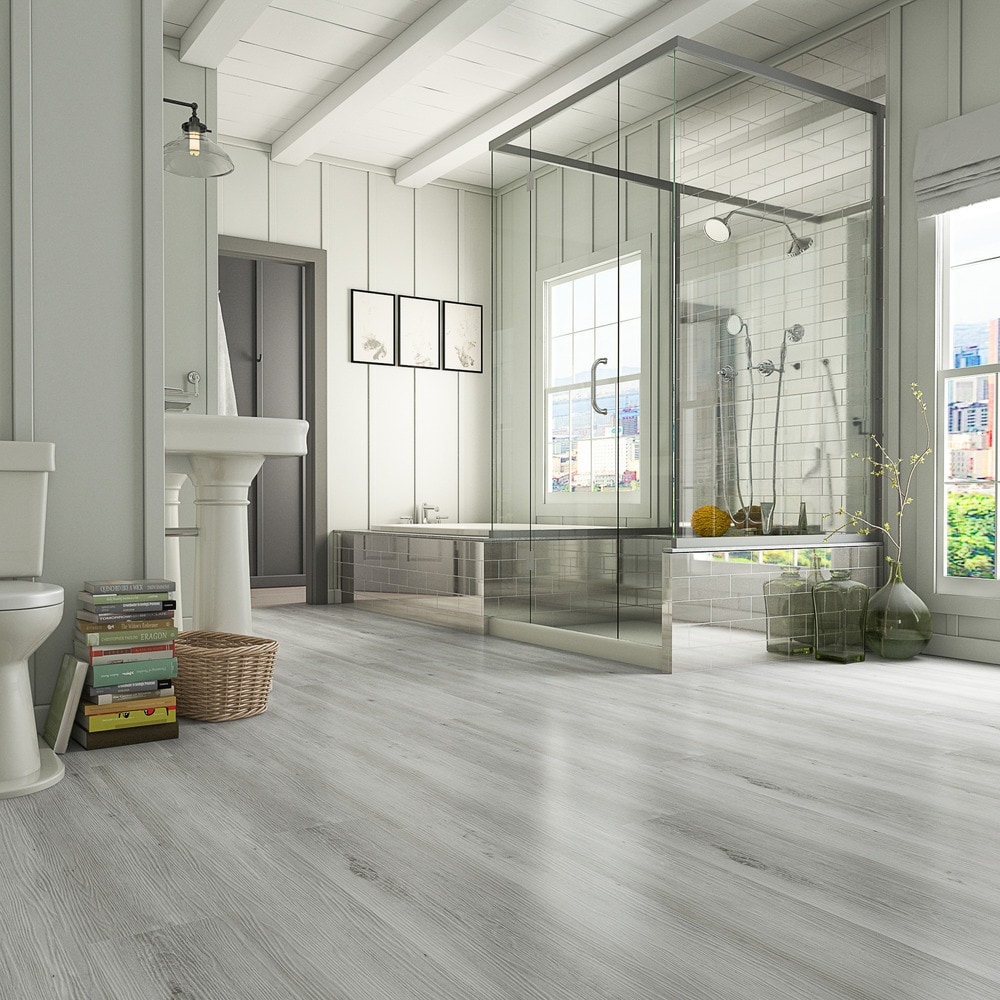
Vinyl flooring can be made to mimic all natural stone which is very well known in luxury models. The wear layer is created also from vinyl and helps to protect the floor from damage. Vinyl is considered first rate flooring material on all the counts that matter. Its resistance to dents and gouging is dependent on the thickness on the layer. No demand for harsh chemicals or even cleaning agents.
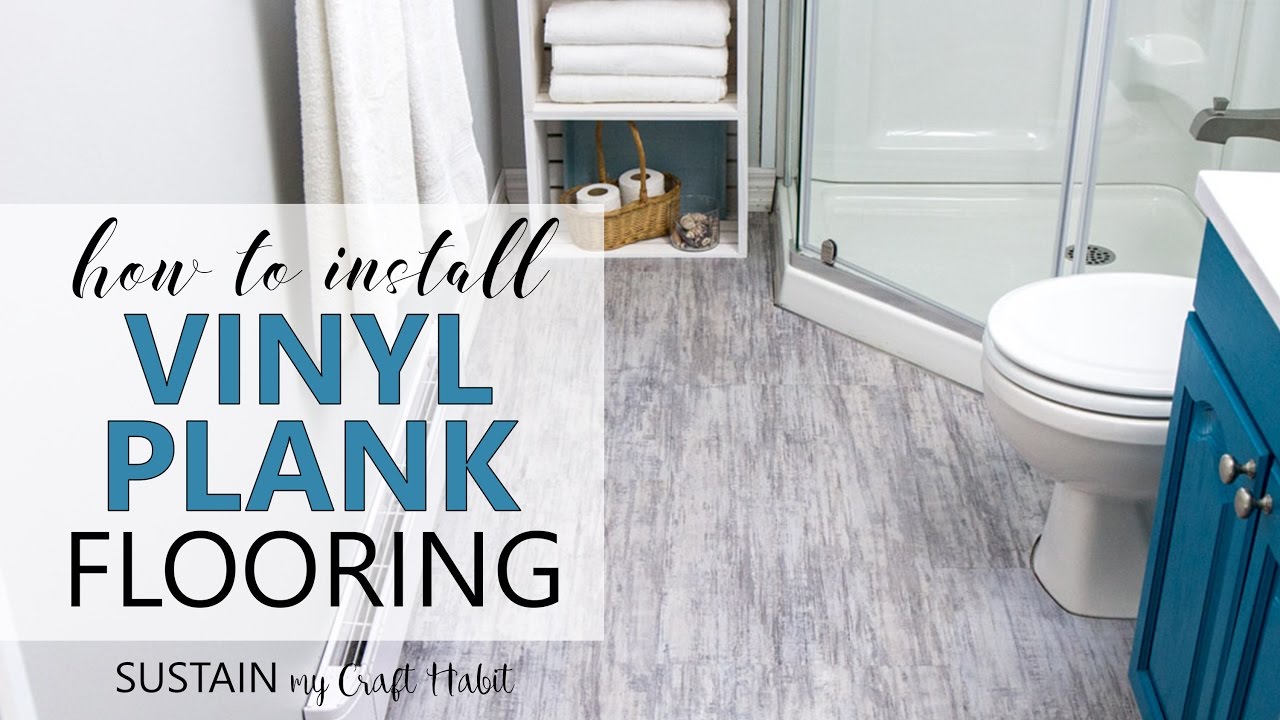
How to Install Vinyl Plank Flooring // Allure ISOCORE Vinyl Tile Installation Tutorial
Vinyl floor tiles do not need waxing. Rather than wasting your hard earned dollars on cheap, DIY vinyl that is going to end up easily destroyed, have an experienced install sheet vinyl for your flooring. The moisture could cause the floor to discolor or swell. Not only is it going to help out with that spending budget, it'll still maintain the amazing look of a properly chosen floor. It's easy to install, and also to clean and keep.
Best Vinyl Flooring for Bathrooms – This Old House
/cdn.vox-cdn.com/uploads/chorus_image/image/68500171/CLX_Coastal_Riviera_Linen_10048776_H.0.0.jpg)
How to Install Vinyl Plank Flooring in a BATHROOM 🚽

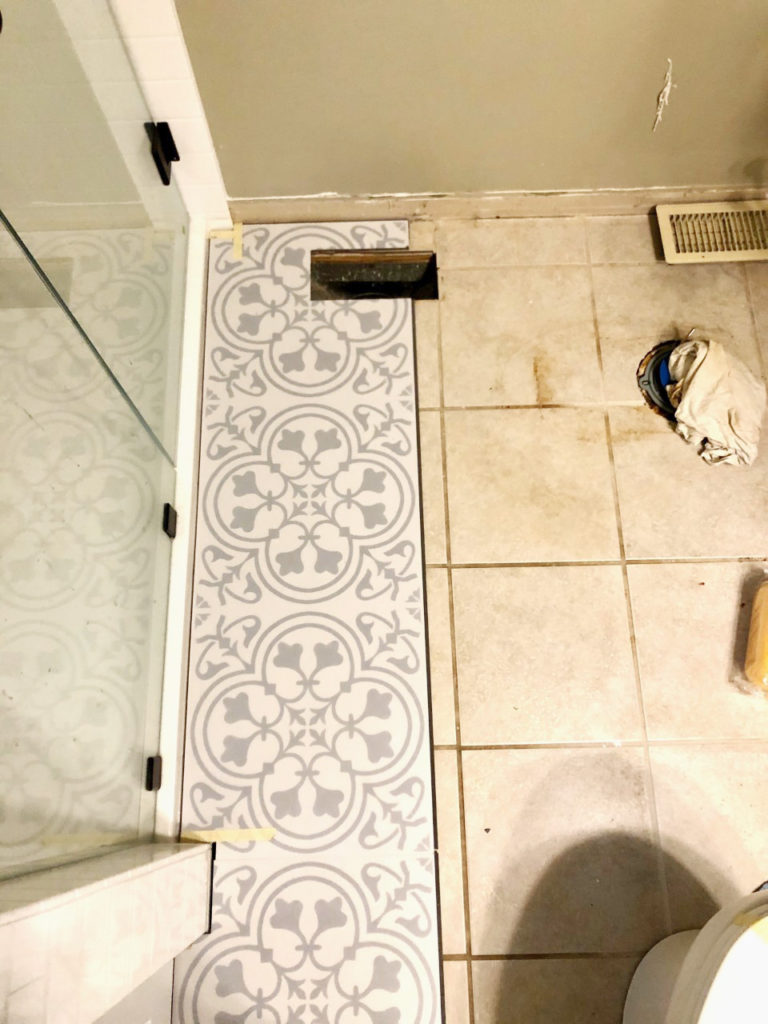
LVT Flooring Over Existing Tile the Easy Way – Vinyl Floor
LVT Flooring Over Existing Tile the Easy Way – Vinyl Floor
Installing Vinyl Plank Flooring: Lifeproof Waterproof Rigid Core
DOs and DONu0027Ts for Installing Vinyl Plank Floors in the Bathroom
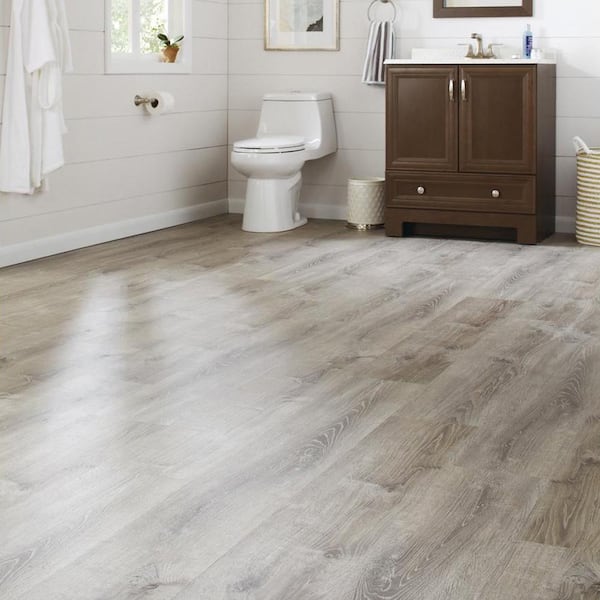
Lifeproof Sterling Oak 8.7 in. W x 47.6 in. L Luxury Vinyl Plank
LVT Flooring Over Existing Tile the Easy Way – Vinyl Floor
How to lay vinyl floor in a bathroom Dove Cottage
Luxury Vinyl Flooring and Other Vinyl Options for Your Bathroom
How to Install Vinyl Plank Flooring [Video Tutorial] u2013 Sustain My

Vinyl vs. Ceramic Tile: Whatu0027s the Difference?
/bathroom-ceramic-tile-vs-vinyl-plank-1822815_hero_0494-f226f2c0d91f42c4b359ac587c0ce9f9-5356cb6e8e2e483da7d99bfd9a491938.jpg)
Related articles:
- Vinyl Flooring Bathroom Tile
- Modern Vinyl Flooring
- Funky Vinyl Flooring
- Vinyl Flooring For Kitchen
- Vintage Look Vinyl Flooring
- Kitchen Vinyl Floor Tiles Ideas
- Vinyl Flooring With Wood Look
- Waterproof Vinyl Flooring
- Vinyl Flooring For Cheap
- How To Remove Vinyl Flooring
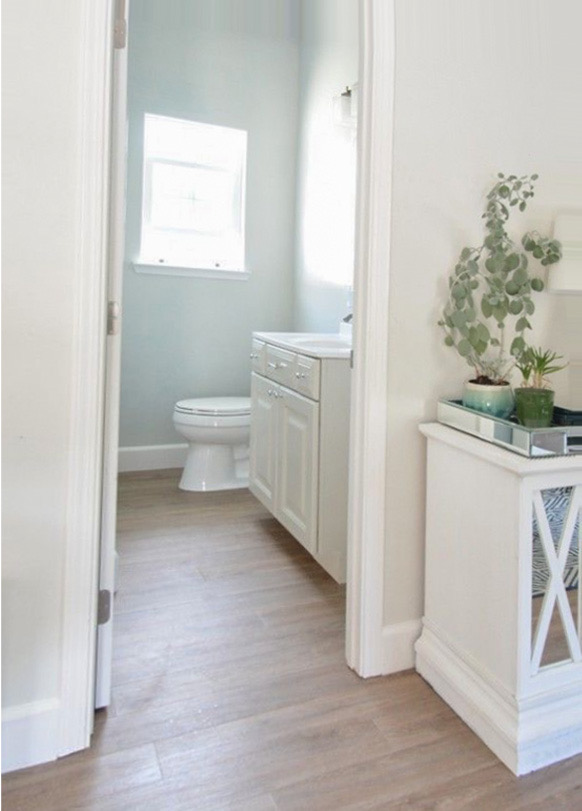
Are you looking for an easy-to-maintain, cost-effective flooring option for your bathroom? Vinyl flooring is one of the best choices for bathrooms due to its durability and water-resistance. Installing vinyl flooring in your bathroom is a great way to upgrade your space without breaking the bank. Read on to learn more about how to install vinyl flooring in your bathroom.
Benefits of Vinyl Flooring in Your Bathroom
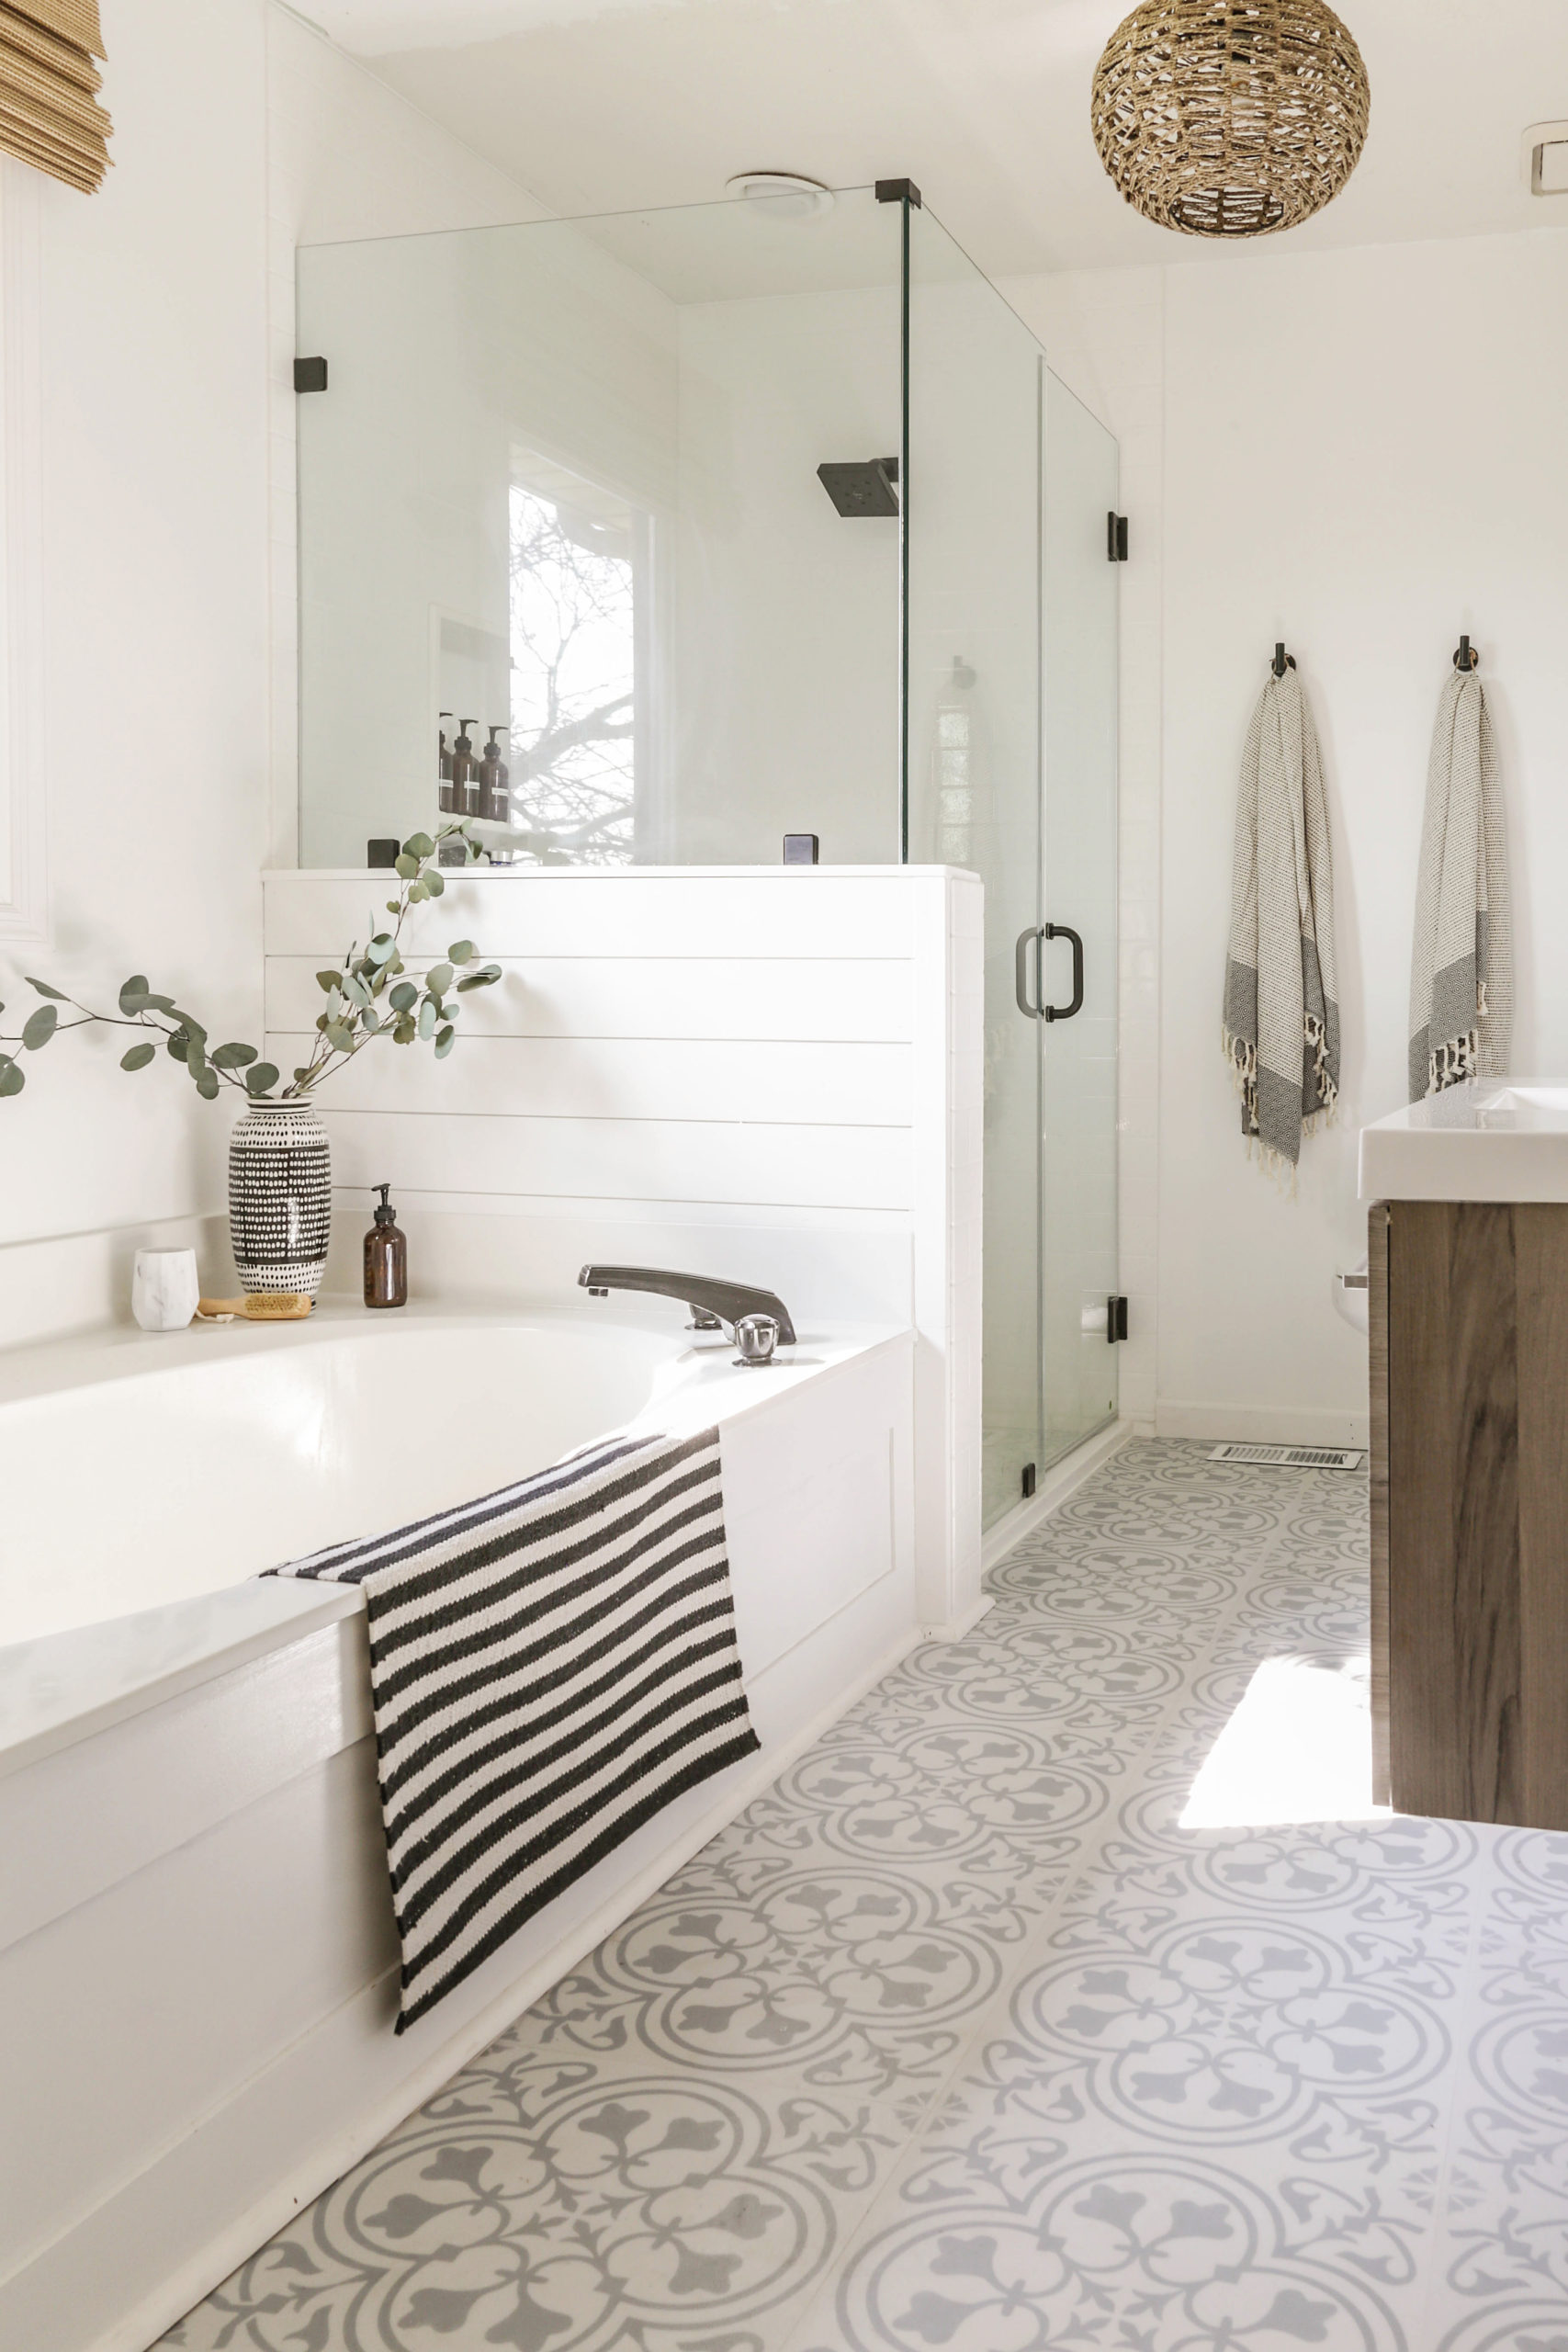
Vinyl flooring is a popular choice for many homeowners due to its versatility, affordability, and durability. It is resistant to water damage and can be easily cleaned with a mop or vacuum. Vinyl flooring also comes in a variety of colors and patterns, allowing you to customize your bathroom’s look to fit your personal style.
How to Prepare For Installation
Before installation, you will need to take measurements of your bathroom floor and purchase enough vinyl flooring to cover the entire area. You will also need to make sure the subfloor is properly prepared. This may include removing existing flooring, smoothing out any bumps or dents, and cleaning the surface of any debris or dust.
Tools Needed for Installation
Installing vinyl flooring requires some basic tools such as a utility knife, tape measure, hammer, chisel, and masonry drill bit. You will also need a roller or heavy object to press down the edges of the vinyl. If you are using adhesive-backed vinyl, you will need an adhesive trowel and roller.
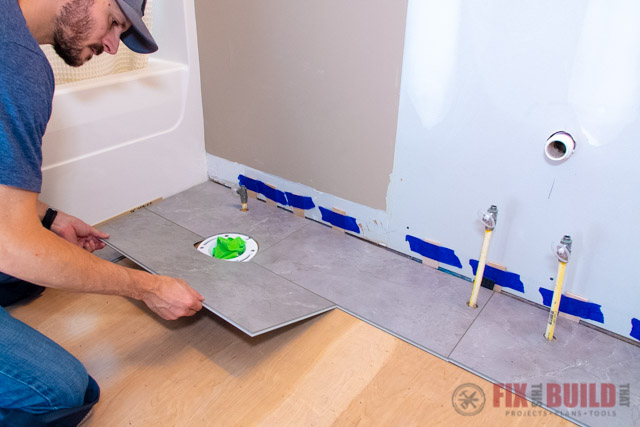
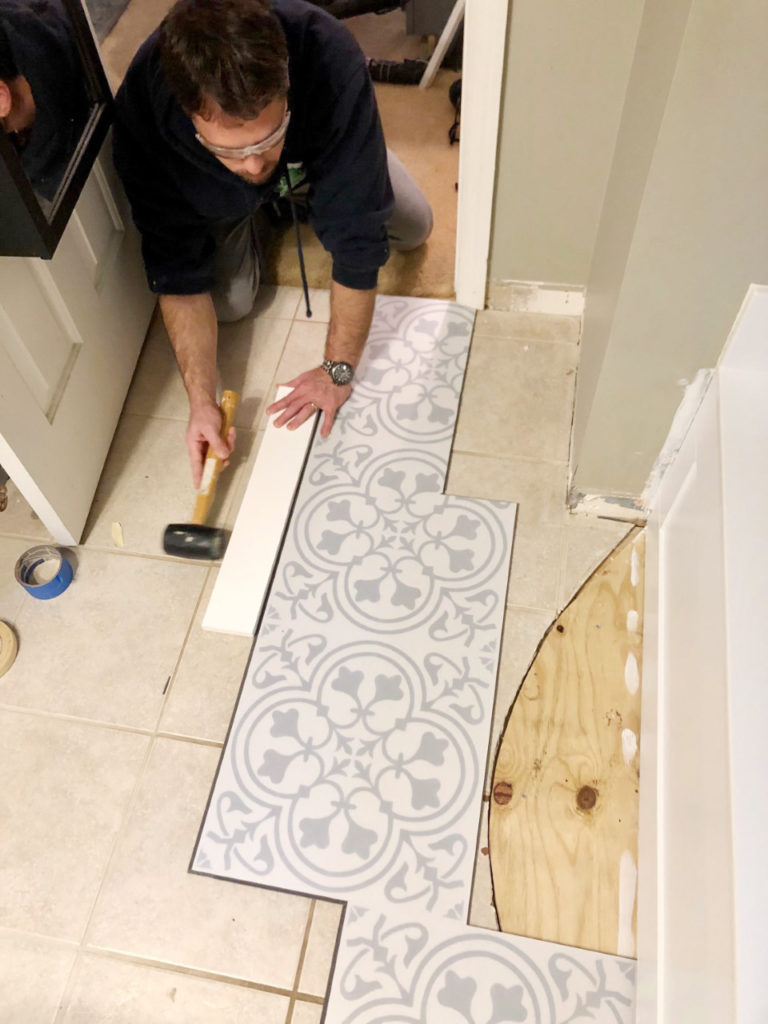
Steps for Installing Vinyl Flooring in Your Bathroom
1. Begin by laying out the vinyl pieces in the desired pattern on the floor. Make sure to leave at least an inch of space between each piece to allow for expansion.
2. If using adhesive-backed vinyl, apply adhesive to the back of each piece using an adhesive trowel.
3. Lay each piece into place and press down firmly with a roller or heavy object.
4. Trim off any excess material around the edges with a utility knife.
5. Use a hammer and chisel to secure any loose edges that may have come up during installation.
6. Use a masonry drill bit to create holes for any fixtures that may need to be installed such as toilet flanges or drain pipes.
7. Once all pieces are installed, use a damp cloth or vacuum cleaner to clean up any excess adhesive or dust from installation.
8. Apply caulk around all seams and fixtures as needed for extra protection against water damage.
9. Allow 24 hours for the adhesive to dry completely before walking on the new flooring or reinstalling fixtures such as toilets or bathtubs.
FAQs About Installing Vinyl Flooring in Your Bathroom
Q: How long does it take to install vinyl flooring in my bathroom?
A: The time required for installation will vary depending on the size of your bathroom and type of vinyl used. On average, it should take around 3-4 hours for an average-sized bathroom when using adhesive-backed vinyl tiles or planks.
Q: How much does it cost to install vinyl flooring in my bathroom?
A: The cost of installation will vary depending on the type of material used and size of your bathroom floor area. On average, it should cost around $1-$5 per square foot for materials plus labor costs depending on where you live and who you hire for installation.
Q: Is installing vinyl flooring difficult?
A: Installing vinyl flooring is relatively straightforward if you have basic DIY skills but it can be tricky if you are inexperienced with home improvement projects. If you are unsure about how to install it yourself, it is best to hire a professional installer who can ensure that your new floor looks great and lasts for many years!