Or say, the number of times have children neglected to fill their inline skates off before entering the kitchen and also have gouged the floor with their skates? These are simply some of the many explanations as to why individuals prefer Vinyl Kitchen flooring. Vinyl is fairly affordable. For all the modifications and developments made to vinyl style flooring, it is tough to not provide it with a second look.
Images Related to Vinyl Floor And Adhesive Remover
Vinyl Floor And Adhesive Remover
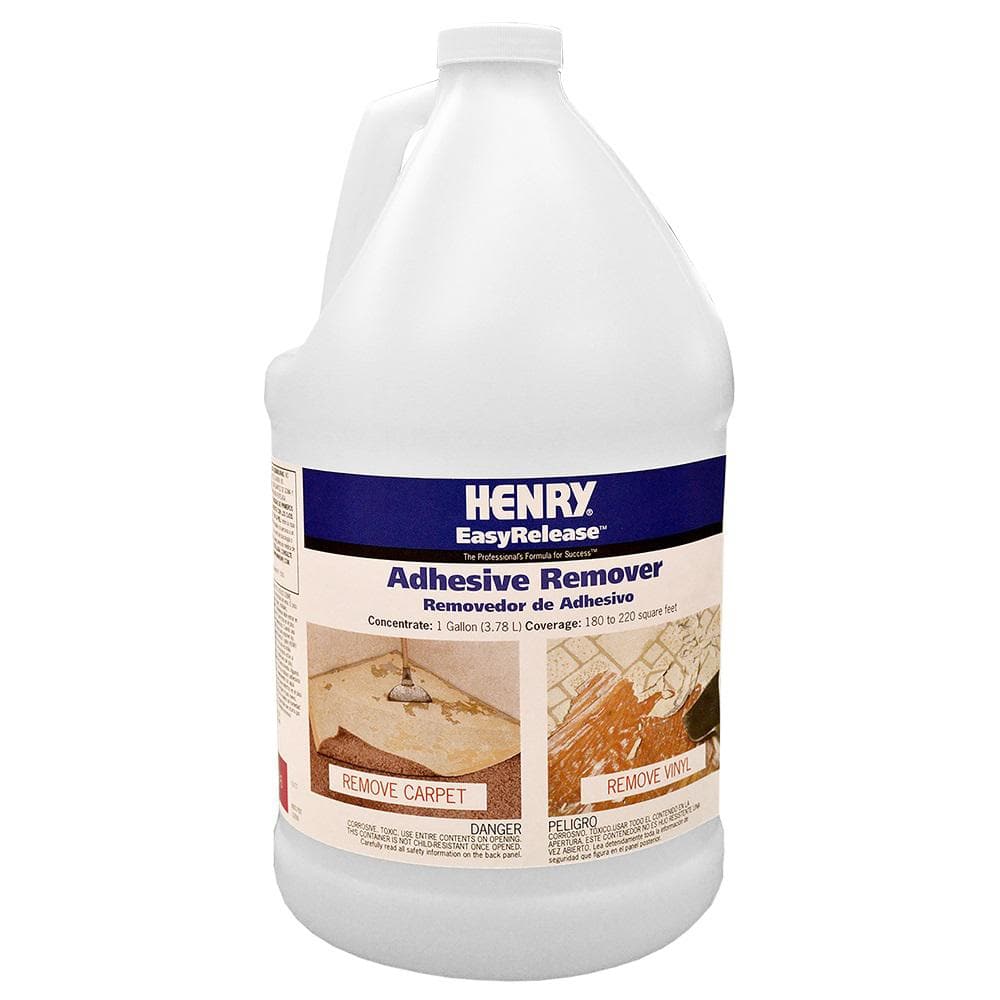
Resilient vinyl flooring is very versatile as it is currently made to simulate the look of numerous natural substrates. With a small amount of tender wanting care, the sleek new floor of yours is going to be in mint condition for decades to come. Your arms and hands will be very grateful you did. In this article we will discuss several of these items to assist you determine whether they're the best choice for your house.
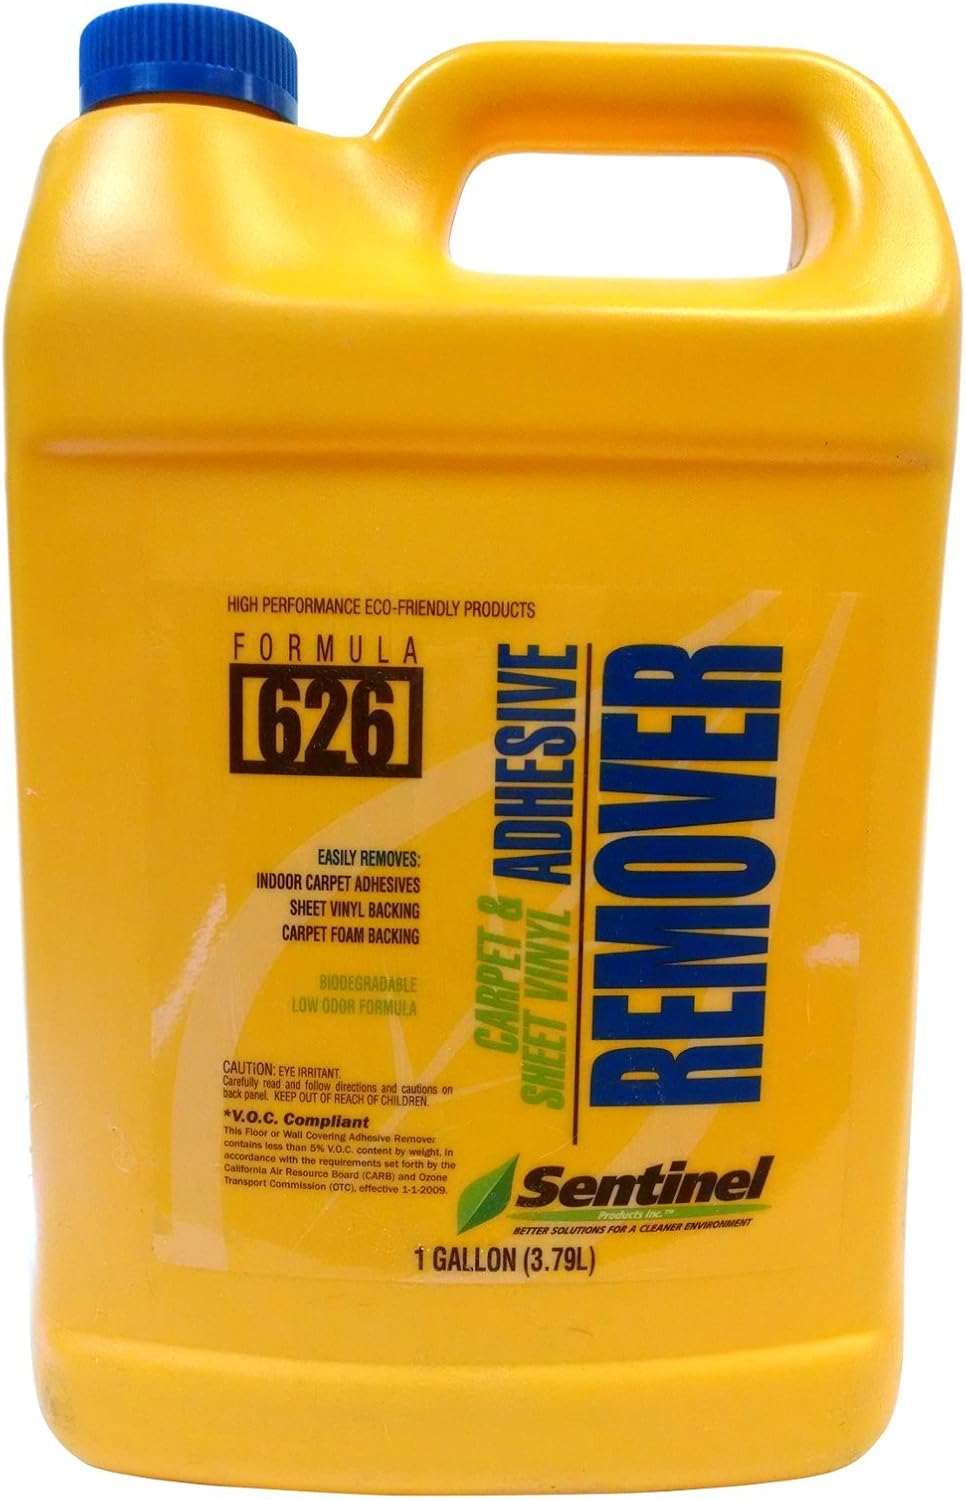
Sentinel Formula 626 Plus Floor Adhesive Remover – 1 gallon at

Vinyl flooring comes in make which is various, design and size. In fact the methods utilized to generate this specific flooring allow it to be very difficult for somebody to distinguish it from the real thing and once again has got the CleanSweep Plus surface along with lightweight aluminum oxide and polycarbonate. The tiles are even neutral to common reagents including alkalis, the like, aliphatic hydrocarbons and acids.
626 Carpet Adhesive Remover
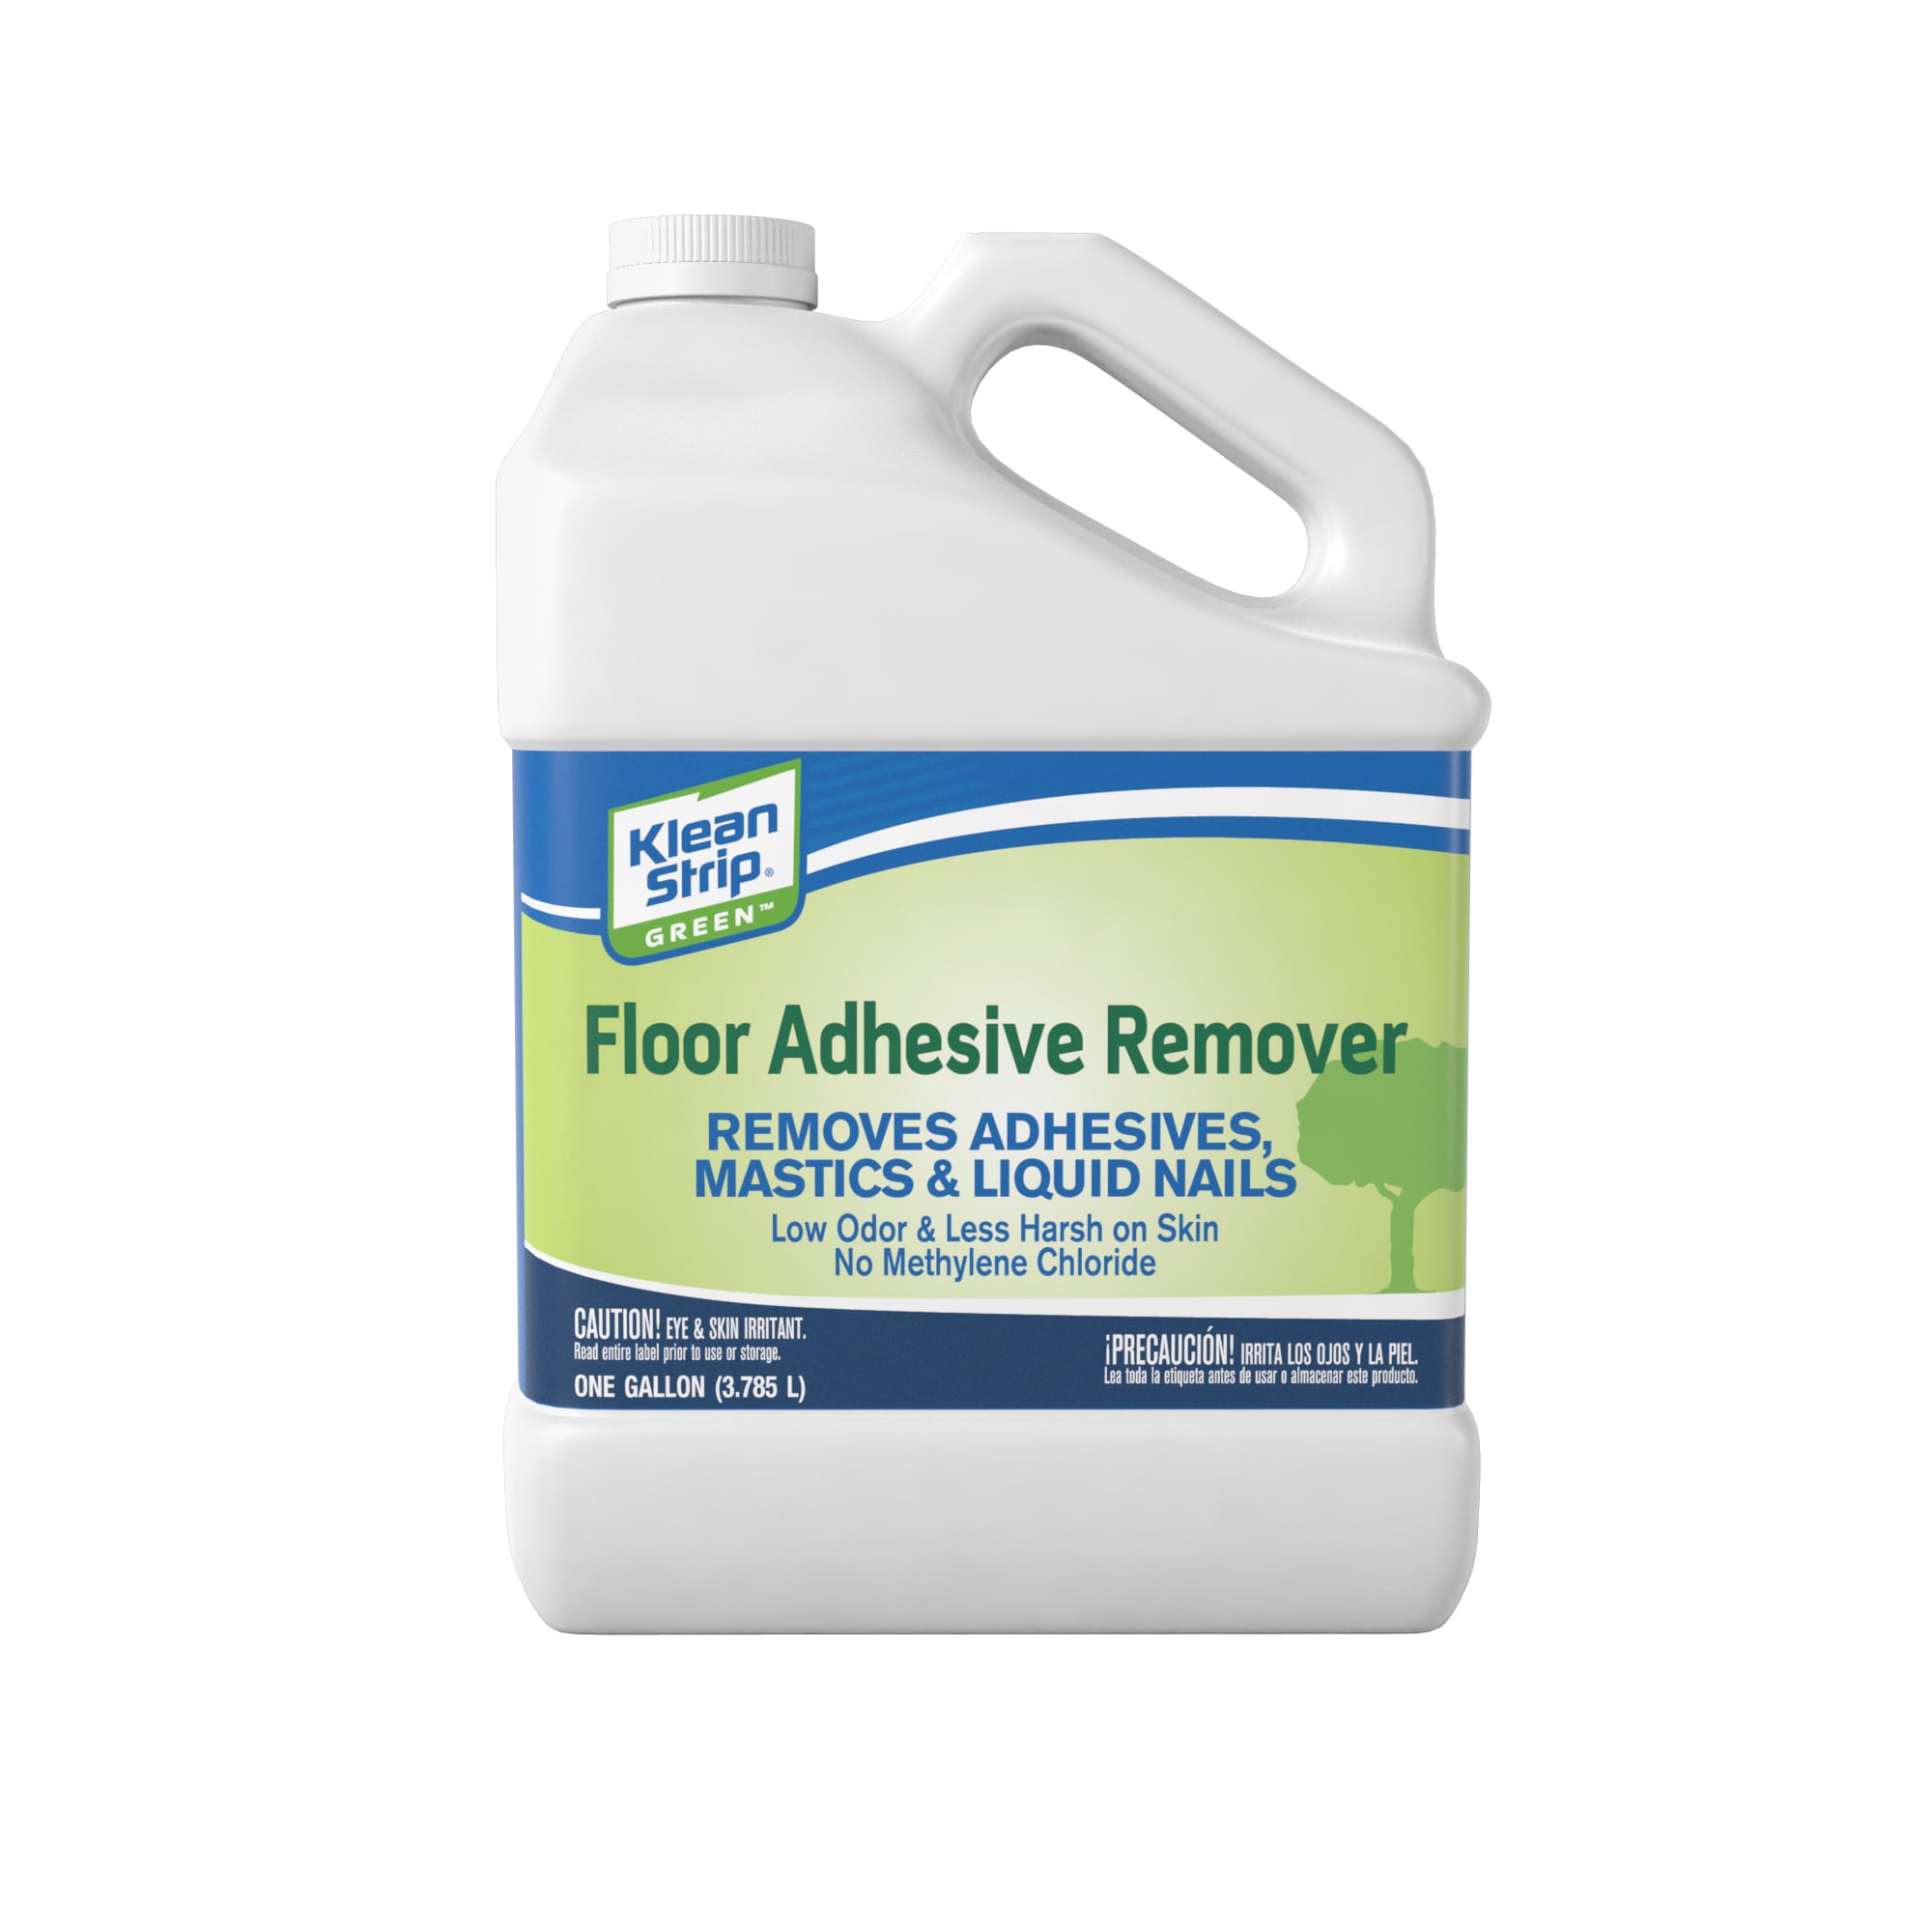
Klean Strip Green 1 128 -fl oz Adhesive Remover in the Adhesive
Flooring Adhesive Remover – Roberts Consolidated

Sentinel Formula 747 Plus Floor Adhesive Remover – 1 quart at Menards®

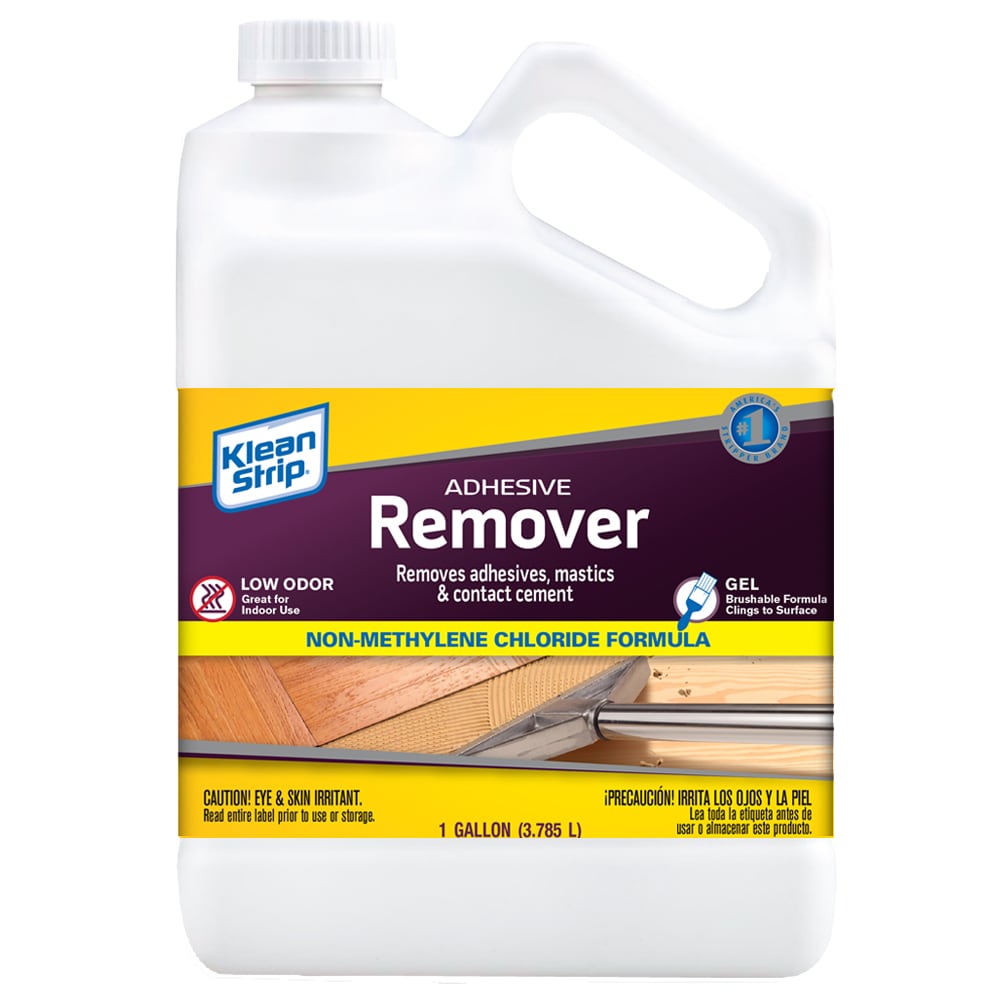
Klean Strip 1 128 -fl oz Adhesive Remover in the Adhesive Removers
Sentinel 747 Plus Adhesive Remover, Gallon

How To Remove Glue From Vinyl Flooring

KRUD KUTTER AR32 Adhesive Remover, 32-Ounce

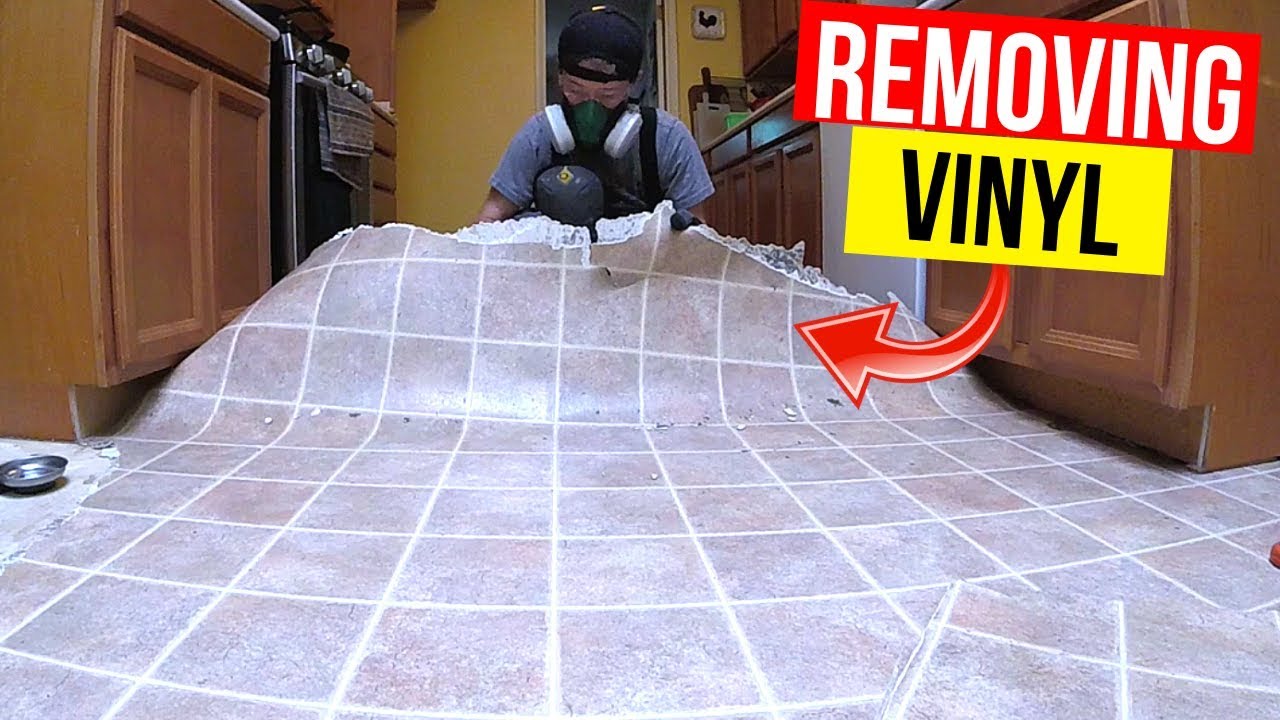
How to Remove Vinyl Flooring

Carpet Adhesive Remover Remove Carpet Glue from Concrete
How To Remove Vinyl or Linoleum Flooring -Jonny DIY
How to Remove Vinyl Tiles u0026 Adhesive From Wood Flooring : Flooring Help

Related articles:
- Vinyl Flooring Bathroom Tile
- Modern Vinyl Flooring
- Funky Vinyl Flooring
- Vinyl Flooring For Kitchen
- Vintage Look Vinyl Flooring
- Kitchen Vinyl Floor Tiles Ideas
- Vinyl Flooring With Wood Look
- Waterproof Vinyl Flooring
- Vinyl Flooring For Cheap
- How To Remove Vinyl Flooring
Vinyl Floor and Adhesive Remover: The Ultimate Solution for a Clean and Smooth Surface
Introduction:
Vinyl flooring has become increasingly popular in recent years, due to its durability, affordability, and easy maintenance. However, there comes a time when you may need to remove your vinyl floor, either to replace it with a new one or to install a different type of flooring altogether. When faced with this task, a vinyl floor and adhesive remover is your go-to solution.
In this article, we will delve into the world of vinyl floor and adhesive removers, exploring their benefits, how to use them effectively, and answering some frequently asked questions about this essential product.
I. What is a Vinyl Floor and Adhesive Remover?
A. Definition and Composition:
A vinyl floor and adhesive remover is a specialized cleaning product designed to dissolve the adhesive used to install vinyl flooring. It typically consists of powerful solvents that break down the bond between the adhesive and the subfloor, allowing for easy removal of the vinyl tiles or sheets.
B. Types of Vinyl Floor and Adhesive Removers:
1. Solvent-Based Removers:
Solvent-based removers are the most common type used for removing vinyl floors and adhesives. They contain strong chemicals such as methylene chloride or acetone that effectively dissolve the adhesive. These removers are known for their quick action and ability to remove even stubborn adhesives.
2. Water-Based Removers:
Water-based removers are an alternative option for those who prefer a less toxic solution. These removers use water as their base instead of harsh chemicals, making them safer for both users and the environment. While they may take longer to work compared to solvent-based removers, they still provide effective results.
II. Benefits of Using a Vinyl Floor and Adhesive Remover:
A. Easy Removal:
One of the primary benefits of using a vinyl floor and adhesive remover is its ability to simplify the removal process. Without it, removing vinyl flooring can be a daunting task, often resulting in damage to the subfloor or leaving behind sticky residue. The remover breaks down the adhesive, making it easier to lift and remove the vinyl tiles or sheets without causing any harm.
B. Time and Effort Saving:
By using a specialized remover, you can significantly reduce the time and effort required to remove vinyl flooring. The solvents or water-based formula efficiently dissolve the adhesive, allowing for quick and easy removal. This is particularly helpful when dealing with large areas of flooring or commercial spaces where time is of the essence.
C. Versatile Application:
Vinyl floor and adhesive removers are not limited to just removing vinyl flooring. They can also be used to eliminate adhesives from other types of flooring, such as linoleum, carpet tiles, or even glue residue left behind by stickers or decals. This versatility makes them a valuable tool for various home improvement projects.
D. Protects Subfloor Integrity:
When removing vinyl flooring without a proper remover, there is a risk of damaging the underlying subfloor. Scraping or prying up tiles or sheets forcefully can result in scratches, dents, or even gouges on the surface. By using a vinyl floor and adhesive remover, you minimize this risk as the adhesive dissolves smoothly, allowing for gentle removal without compromising the integrity of the subfloor.
III. How to Use a Vinyl Floor and Adhesive Remover:
A. Preparing the Area:
1. Clear the space:
Before starting the Removal process, clear the area of any furniture or obstacles that may hinder your work.
2. Ventilate the space: Open windows or doors to ensure proper ventilation while using the remover, as some removers may release strong fumes.
B. Applying the Remover:
1. Read the instructions: Before using the remover, carefully read and follow the instructions provided by the manufacturer.
2. Test a small area: It’s recommended to test the remover on a small, inconspicuous area first to ensure compatibility and to check for any adverse reactions.
3. Apply the remover: Using a brush or roller, apply a generous amount of remover onto the vinyl floor or adhesive. Make sure to cover the entire surface evenly.
4. Let it sit: Allow the remover to sit on the floor for the specified amount of time mentioned in the instructions. This will give it enough time to penetrate and dissolve the adhesive.
C. Removing the Vinyl Floor or Adhesive:
1. Start at an edge: Begin by lifting an edge of the vinyl flooring or adhesive using a putty knife or scraper tool.
2. Work in sections: Divide the floor into manageable sections and focus on removing one section at a time. This will make the process easier and prevent damage to surrounding areas.
3. Lift and remove: Once an edge is lifted, gently pull or scrape away the vinyl flooring or adhesive. If there are stubborn areas, reapply more remover and wait for it to work before attempting removal again.
4. Repeat as necessary: Depending on the thickness of the adhesive or multiple layers of flooring, you may need to repeat steps 3 and 4 until all vinyl flooring and adhesive are removed.
D. Cleaning up:
1. Dispose of waste properly: Collect all removed vinyl flooring and adhesive and dispose of them according to local regulations.
2. Clean the subfloor: After removing all vinyl flooring and adhesive, thoroughly clean the subfloor using a mop, sponge, or cleaning solution to remove any residue.
3. Allow the subfloor to dry: Ensure the subfloor is completely dry before proceeding with any further flooring installation or other projects.
Note: It is recommended to wear protective gloves, goggles, and a mask while working with vinyl floor and adhesive removers to protect yourself from any potential hazards. Additionally, make sure to work in a well-ventilated area and avoid breathing in the fumes. If you experience any adverse reactions or discomfort while using the adhesive remover, stop immediately and seek medical attention if necessary.
It’s also important to follow any safety precautions mentioned by the manufacturer, such as avoiding contact with skin or eyes and keeping the remover away from children and pets.
Once you have completed the removal process, you can proceed with your desired flooring installation or any other projects. Remember to dispose of the waste properly according to local regulations and clean the subfloor thoroughly before moving forward.
By following these steps and taking the necessary safety precautions, you can effectively remove vinyl flooring or adhesive using an adhesive remover. Removing vinyl flooring or adhesive can be a challenging task, but by following these steps and taking the necessary safety precautions, you can successfully complete the process using an adhesive remover.
A. Preparation:
1. Gather materials: Before starting, make sure you have all the necessary materials, including adhesive remover, putty knife or scraper tool, mop or sponge, cleaning solution, and protective gear (gloves, goggles, mask).
2. Prepare the area: Clear the room of any furniture or obstacles and ensure there is proper ventilation in the area you will be working in.
B. Applying the Adhesive Remover:
1. Read the instructions: Carefully read and follow the instructions provided with the adhesive remover product.
2. Test a small area: Before applying the remover to the entire floor, test it on a small inconspicuous area to ensure it does not damage or discolor the surface.
3. Apply the remover: Apply a generous amount of adhesive remover to the vinyl floor or adhesive. Make sure to cover the entire surface evenly.
4. Let it sit: Allow the remover to sit on the floor for the specified amount of time mentioned in the instructions. This will give it enough time to penetrate and dissolve the adhesive.
C. Removing the Vinyl Floor or Adhesive:
1. Start at an edge: Begin by lifting an edge of the vinyl flooring or adhesive using a putty knife or scraper tool.
2. Work in sections: Divide the floor into manageable sections and focus on removing one section at a time. This will make the process easier and prevent damage to surrounding areas.
3. Lift and remove: Once an edge is lifted, gently pull or scrape away the vinyl flooring or adhesive. If there are stubborn areas, reapply more remover and wait for it to work before attempting removal again.
4. Repeat as necessary: Depending on the thickness of the adhesive or multiple layers of flooring, you may need to repeat steps 3 and 4 until all vinyl flooring and adhesive are removed.
D. Cleaning up:
1. Dispose of waste properly: Collect all removed vinyl flooring and adhesive and dispose of them according to local regulations.
2. Clean the subfloor: After removing all vinyl flooring and adhesive, thoroughly clean the subfloor using a mop, sponge, or cleaning solution to remove any residue.
3. Allow the subfloor to dry: Ensure the subfloor is completely dry before proceeding with any further flooring installation or other projects.
Note: It is important to wear protective gloves, goggles, and a mask while working with vinyl floor and adhesive removers to protect yourself from potential hazards. Work in a well-ventilated area and avoid breathing in fumes. If you experience adverse reactions or discomfort, stop immediately and seek medical attention if necessary. Follow any additional safety precautions provided by the manufacturer.
Once the removal process is complete, you can proceed with your desired flooring installation or other projects. Dispose of waste properly according to local regulations and clean the subfloor thoroughly before moving forward.