It's also the base of the members along with the residence of your family will not certainly wish to devote time in a basement that includes a harmful flooring. You will find user-friendly things you can do starting the original basement floor waterproofing procedure.
Here are Images about Vapor Barrier Under Basement Floor
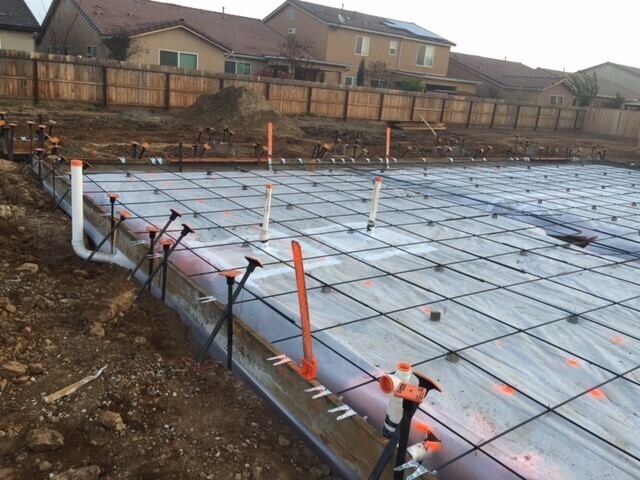
Vapor Barrier Under Basement Floor

With the correct floor, the basement of yours might be the 1st space in your home you think of instead of one of the previous. Upgrading this ugly concrete not merely makes the room much more inviting for you and your family, it also can increase the resale value of your home significantly. Even though some floors are ideal for underneath grade installation, others aren't.
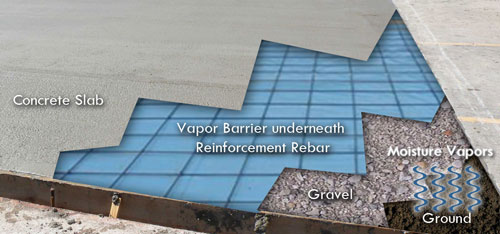
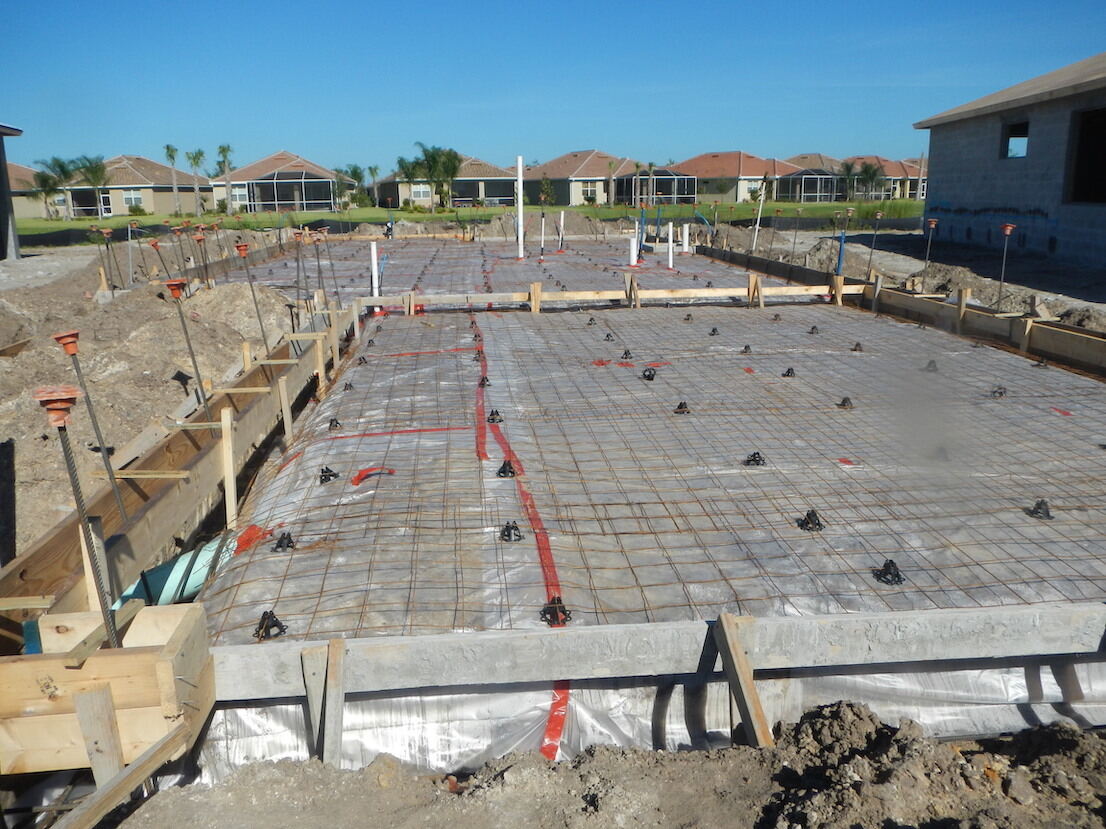
How to Install an Under-Slab Vapor Barrier Pro Builder

Polyurea is well longer lasting compared to an epoxy floors covering (about four times stronger), and is versatile, that makes it much more organic and comfy. Choosing basement flooring for your home can be confusing as you negotiate about factors as moisture issues and a lot of different flooring choices. A bleed dry will rid you of any additional water and will aid to protect against flooding.
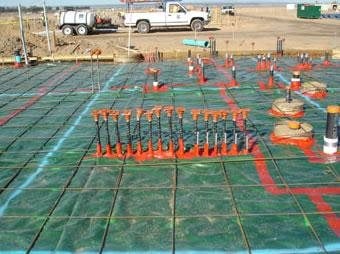
Images Related to Vapor Barrier Under Basement Floor
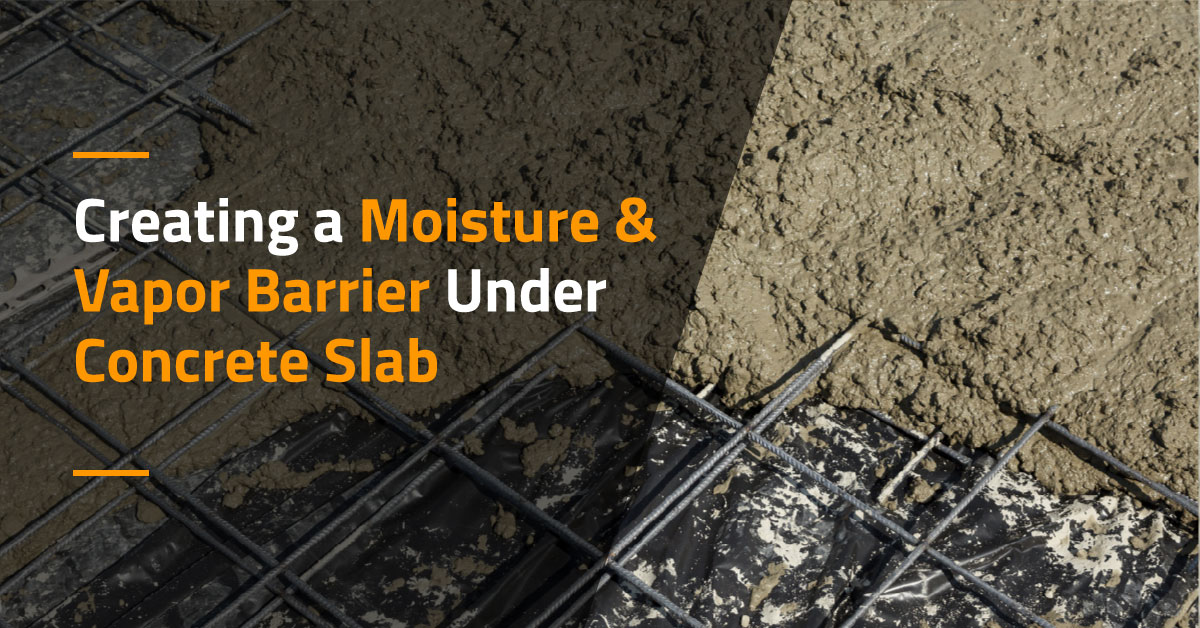
Creating a Moisture u0026 Vapor Barrier Under Concrete Slab Americover
Polyethylene Under Concrete Slabs – GreenBuildingAdvisor

Are Vapor Retarders Necessary for Basements and Garages?
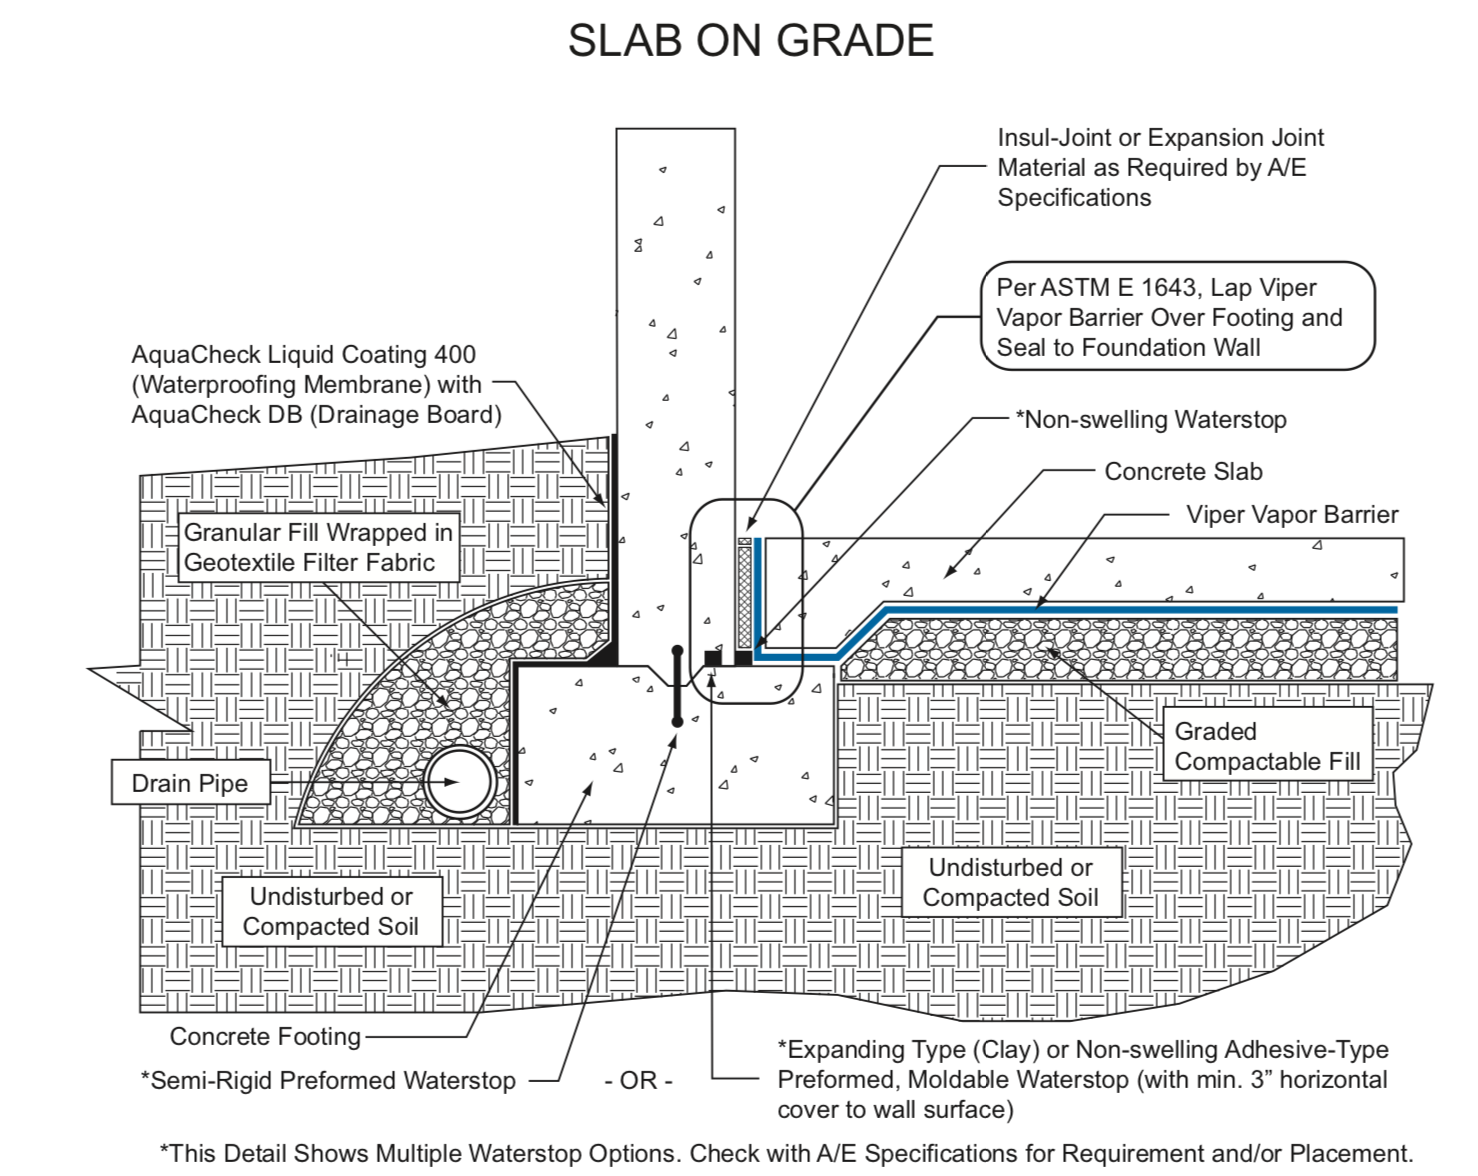
Looking for Vapor Barriers? VIper II Under-Slab Vapor Barriers Are
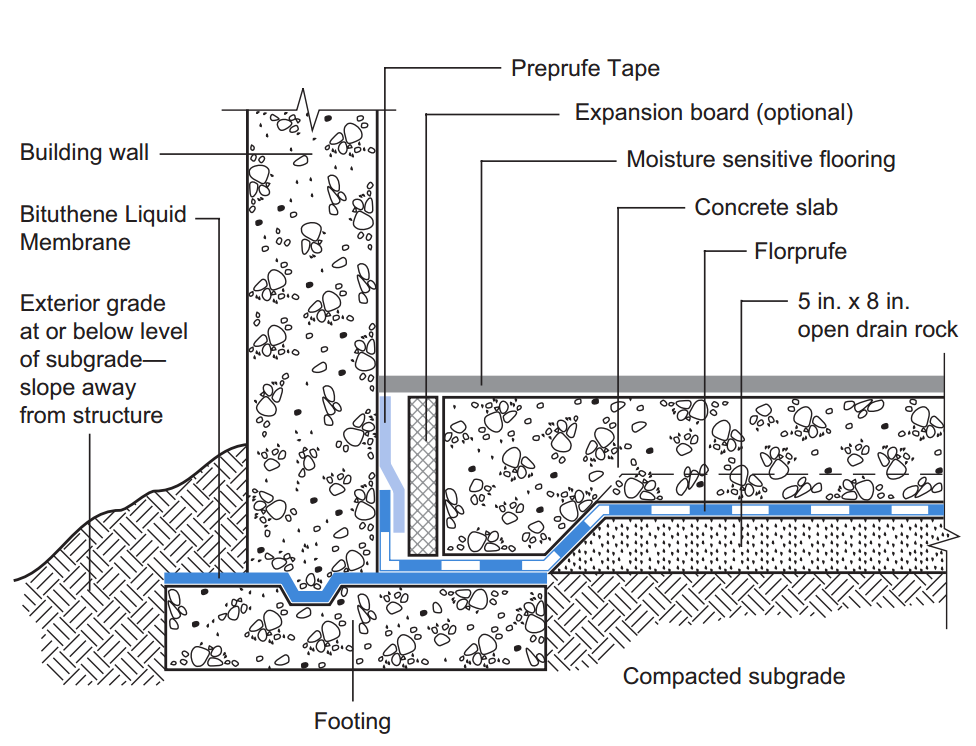
FLORPRUFE® 120 Resource GCP Applied Technologies
Vapor Barriers, Radon, Basement Slabs, and VOCs u2014 How to Stop the

What is a Vapour Barrier Under A Concrete Slab – The Structural

How to Install an Under-Slab Vapor Barrier Pro Builder
Dropping the Level of a Basement Floor JLC Online

Concrete Vapor Barriers for Under Slabs – Concrete Network
How to Install an Under-Slab Vapor Barrier Pro Builder
E1409CL Moisture Vapor Barrier Epoxy Sealer Primer For Concrete ASTM F3010
Related articles:
- Stained Concrete Basement Floor
- Finishing Basement Floor
- Refinish Concrete Basement Floor
- Best Flooring For Basement
- Basement Gym Flooring Ideas
- Laminate Flooring In Basement
- Basement Concrete Floor Sweating
- Basement Floor Finishing Ideas
- Painting Unfinished Basement Floor
- Unique Basement Flooring
Vapor Barrier Under Basement Floor: A Comprehensive Guide
Introduction:
A basement is an essential part of any house, providing valuable space for various purposes. However, basements are prone to moisture-related issues, such as dampness, mold growth, and musty odors. To combat these problems, a vapor barrier under the basement floor can be an effective solution. In this comprehensive guide, we will delve into the importance of a vapor barrier, its installation process, frequently asked questions, and more.
I. Understanding the Importance of a Vapor Barrier:
A. What is a vapor barrier?
A vapor barrier is a material that prevents moisture from seeping through the foundation into the basement. It acts as a barrier against water vapor transmission, ensuring a dry and healthy living environment.
B. Why is a vapor barrier necessary under the basement floor?
1. Moisture prevention: A basement is naturally susceptible to moisture intrusion due to its underground location. A vapor barrier helps to prevent moisture from penetrating through the concrete slab and reaching the interior space.
2. Protection against mold and mildew: Excessive moisture in basements creates an ideal breeding ground for mold and mildew. These fungi can not only damage your property but also pose health risks to occupants. By installing a vapor barrier under the basement floor, you can significantly reduce the likelihood of mold growth.
3. Enhanced energy efficiency: Moisture infiltration increases humidity levels in basements, leading to condensation on surfaces such as walls and floors. This condensation can cause temperature imbalances and result in energy loss as heating or cooling systems work harder to maintain desired conditions. A vapor barrier helps maintain optimal temperature levels and reduces energy consumption.
C. Types of vapor barriers:
There are two main types of vapor barriers commonly used under basement floors:
1. Polyethylene sheets: These are thick plastic sheets that act as a barrier against moisture. They are typically installed by overlaying multiple sheets and sealing the seams with adhesive tape.
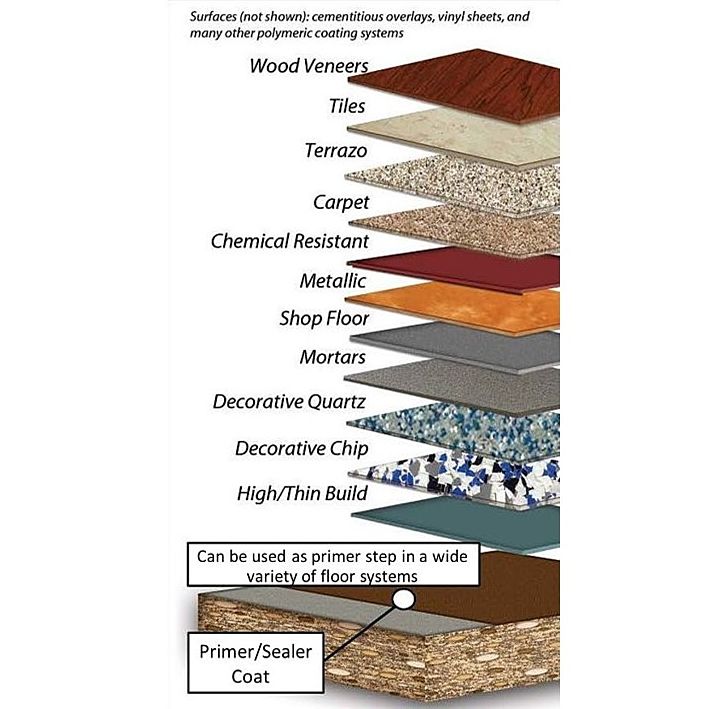
2. Epoxy coatings: Epoxy coatings are applied directly to the concrete slab to create a moisture-resistant surface. This type of vapor barrier offers a seamless and durable solution.
II. Installation Process:
A. Preparing the basement floor:
1. Clean the surface: Before installing a vapor barrier, it is crucial to ensure that the basement floor is clean and free from debris, oil stains, or any other contaminants. Use a broom, vacuum, or pressure washer to thoroughly clean the surface.
2. Repair cracks and imperfections: Inspect the basement floor for any cracks or imperfections. These should be repaired before installing the vapor barrier to ensure optimal performance and longevity.
B. Installing a polyethylene sheet vapor barrier:
1. Measure and cut: Measure the dimensions of your basement floor and cut the polyethylene sheets accordingly, leaving an additional few inches on each side for overlapping and sealing purposes.
2. Lay the first layer: Start by laying the first sheet of polyethylene over the entire basement floor, ensuring it covers all corners and edges tightly.
3. Overlap subsequent layers: Overlay subsequent sheets of polyethylene, ensuring they overlap by at least six inches, both lengthwise and widthwise. Seal the seams using adhesive tape specifically designed for vapor barriers.
4. Secure edges: Attach the edges of the polyethylene sheets to The walls of the basement using fasteners or adhesive. This will ensure a tight seal and prevent any moisture from seeping through.
C. Installing an epoxy coating vapor barrier:
1. Prepare the epoxy coating: Mix the epoxy coating according to the manufacturer’s instructions. Be sure to wear protective gear such as gloves and goggles while handling the epoxy.
2. Apply the first coat: Use a roller or brush to apply the first coat of epoxy onto the clean and prepared basement floor. Make sure to cover all areas evenly and smoothly.
3. Allow for drying time: Follow the manufacturer’s instructions on drying time for the epoxy coating. It is essential to allow sufficient time for the first coat to dry completely before applying subsequent coats.
4. Apply additional coats (optional): Depending on the level of moisture protection required, you may choose to apply additional coats of epoxy. Each coat should be applied in the same manner as the first, ensuring even coverage.
5. Allow for curing time: After applying all desired coats of epoxy, allow sufficient time for the coating to cure fully. This typically takes several days, but it is essential to follow the manufacturer’s instructions for accurate curing times.
III. Maintenance and Care:
A. Regular inspections: Periodically inspect your basement floor and vapor barrier for any signs of damage or wear. Look out for cracks, tears, or areas where the barrier may have come loose from the walls.
B. Repair any damage: If you notice any damage to your vapor barrier, it is crucial to repair it promptly. Cracks or tears can compromise the effectiveness of the barrier and allow moisture to seep through.
C. Keep the basement dry: In addition to the vapor barrier, it is essential to maintain a dry basement environment. Use dehumidifiers if necessary to reduce humidity levels and prevent moisture buildup.
D. Regular cleaning: Clean your basement floor regularly to remove any dirt or debris that may accumulate. This will help maintain the integrity of the vapor barrier and ensure its optimal performance.
IV. Conclusion:
Installing a vapor barrier under your basement floor is an effective way to protect your home from moisture damage and improve energy efficiency. Whether you choose a polyethylene sheet or epoxy coating, proper installation and maintenance are key to ensuring the longevity and effectiveness of the vapor barrier. By following the installation process and implementing regular care and maintenance, you can enjoy a dry and comfortable basement space for years to come. To summarize, here are the steps to install a vapor barrier under a basement floor:
I. Preparation:
1. Clear the basement: Remove any furniture, belongings, or obstacles from the basement floor.
2. Clean the floor: Sweep or vacuum the floor to remove any dirt, dust, or debris.
3. Repair any cracks: Fill in any cracks or gaps in the floor using an appropriate filler or sealant.
II. Installation:
1. Wear protective gear: Put on gloves and goggles before handling epoxy.
2. Apply the first coat: Use a roller or brush to apply the first coat of epoxy evenly onto the clean and prepared basement floor.
3. Allow for drying time: Follow the manufacturer’s instructions on drying time for the epoxy coating. Let the first coat dry completely before applying subsequent coats (optional).
4. Apply additional coats (optional): Depending on moisture protection needs, apply additional coats of epoxy in the same manner as the first coat.
5. Allow for curing time: After applying all desired coats of epoxy, allow sufficient time for the coating to cure fully according to manufacturer’s instructions.
III. Maintenance and Care:
A. Regular inspections: Periodically inspect the basement floor and vapor barrier for signs of damage or wear.
B. Repair any damage: Promptly repair any cracks, tears, or loose areas in the vapor barrier.
C. Keep the basement dry: Use dehumidifiers if necessary to reduce humidity levels and prevent moisture buildup.
D. Regular cleaning: Clean the basement floor regularly to remove dirt and debris.
IV. Conclusion:
Installing a vapor barrier under a basement floor helps protect against moisture damage and improve energy efficiency. Proper installation and maintenance are crucial for its effectiveness over time. By following these steps and taking care of your vapor barrier, you can enjoy a dry and comfortable basement space for years to come.