Resins are good for areas with irregular shapes and sizes. It's likewise safer to do research in order to have the ability to comparison shop on the internet for your bamboo kitchen flooring selection. A large amount of men and women tend to overlook kitchen flooring options when they are renovating their kitchen, yet choosing the most suitable flooring is one of the ways to improve the overall appeal of the room.
Here are Images about Tiling A Kitchen Floor With Porcelain Tiles
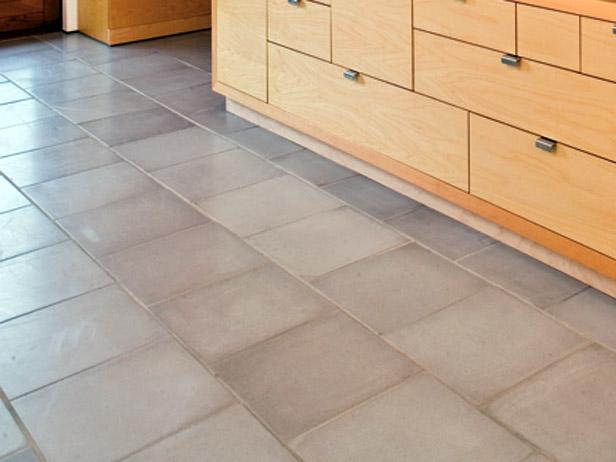
Tiling A Kitchen Floor With Porcelain Tiles

Professional kitchen flooring can be set up on hotel, restaurant, or catering kitchens to offer them a reliable floors to work upon. In this article we will explore several of the more popular kitchen flooring options. In terms of durability, both types of flooring mentioned previously are durable when you evaluate them with hardwood floor surfaces.
What is the Best Tile for Your Kitchen? BuildDirect® Learning

Even with the very best type of sealant when you allow water to sit down on top of your wooden floors it is going to harm them so I constantly suggest a mat where drinking water is a prospective concern together with making sure that any liquid spill is wiped up straight away. They include bar stools by sitting on and everyone can talk and benefit from the cooking experience together.
Images Related to Tiling A Kitchen Floor With Porcelain Tiles
Pros u0026 Cons of Ceramic Kitchen Tile Ceramic Kitchen Floor

Which Kitchen Floor Tiles Are Best? Top 10 Kitchen Design Ideas

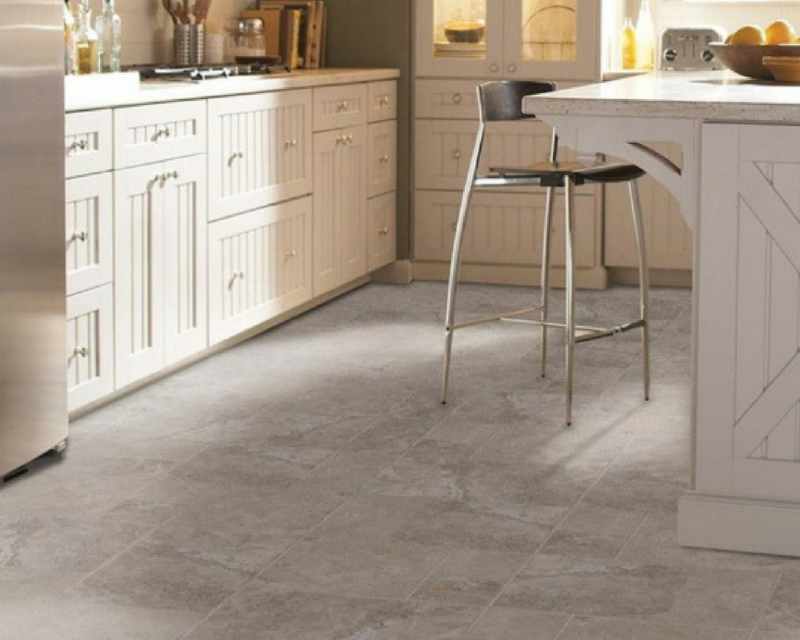
Kitchen Tile Flooring Options How to Choose the Best Kitchen
Types of Kitchen Floor Tiles (Design Guide) – Designing Idea

What Is Ceramic Tile? Flooring America
![]()
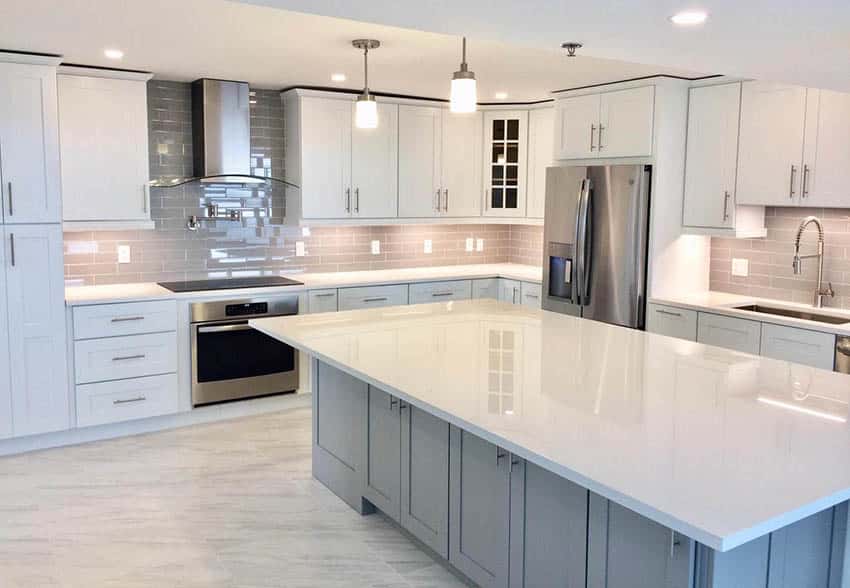
900+ Porcelain Flooring ideas porcelain flooring, flooring, tile

Types of Kitchen Floor Tiles (Design Guide) – Designing Idea
Kitchen Tile Flooring Options How to Choose the Best Kitchen

Porcelain Tile Clarence u0026 Amherst, NY NY Kitchen u0026 Bath Inc

If youre taking into account kitchen flooring ideas to amend your

Choosing the Right Floor Tile for Your Kitchen Marazzi USA
Travertine-Look Porcelain Tiles That Will Make You Do a Double Take
Related articles:
- Stained Concrete Basement Floor
- Finishing Basement Floor
- Refinish Concrete Basement Floor
- Best Flooring For Basement
- Basement Gym Flooring Ideas
- Laminate Flooring In Basement
- Basement Concrete Floor Sweating
- Basement Floor Finishing Ideas
- Painting Unfinished Basement Floor
- Unique Basement Flooring
Tiling A Kitchen Floor With Porcelain Tiles
Introduction:
Tiling a kitchen floor is a great way to enhance the overall appearance and functionality of your kitchen. Porcelain tiles, known for their durability and versatility, are an excellent choice for kitchen flooring. They not only provide a sleek and modern look but also offer resistance to stains, scratches, and moisture. In this article, we will guide you through the process of tiling a kitchen floor with porcelain tiles, from preparation to installation.
1. Preparing the Surface:
Before you start tiling, it is essential to prepare the surface properly. Begin by removing any existing flooring material, ensuring that the subfloor is clean and level. Fill in any cracks or holes with a suitable filler and allow it to dry completely. Next, remove any baseboards or trim that could obstruct the tile installation process. It is crucial to have a smooth and even surface to ensure the tiles adhere properly.
2. Choosing the Right Tiles:
When selecting porcelain tiles for your kitchen floor, consider factors such as size, color, texture, and finish. Larger tiles can create an illusion of spaciousness while smaller tiles can add intricate detail to your kitchen design. Opt for colors that complement your kitchen’s overall aesthetic and consider textures that offer slip-resistance for added safety. Additionally, choose between matte or glossy finishes based on your preference and maintenance requirements.
FAQ: What is the difference between glazed and unglazed porcelain tiles?
Glazed porcelain tiles have a protective layer of liquid glass applied to their surface during firing. This glaze enhances their durability, stain resistance, and aesthetic appeal. On the other hand, unglazed porcelain tiles do not have this layer of glaze, making them more resistant to scratches and wear. However, they may require periodic sealing to prevent stains.
3. Measuring and Planning:
Accurate measurements are crucial when tiling a kitchen floor to ensure proper alignment and minimize waste. Start by measuring the length and width of the room, including any alcoves or irregular areas. It is also important to determine the center point of the room as it will serve as a reference for positioning tiles. Use a chalk line to mark intersecting lines from the center point, creating a grid that will guide your tile installation.
FAQ: How do I calculate the number of tiles needed?
To determine the number of tiles required, multiply the length and width of the room to get the total square footage. Add an additional 10% to account for wastage and cuts. Divide this figure by the area covered by each tile to obtain the number of tiles needed.
4. Applying Adhesive:
Once you have measured and planned, it is time to apply adhesive to secure the tiles in place. Choose a thin-set mortar that is suitable for porcelain tiles and mix it according to the manufacturer’s instructions. Using a notched trowel, spread a thin layer of mortar onto a small section of the floor, ensuring even coverage. Work in small sections to prevent the mortar from drying too quickly.
FAQ: Can I use premixed adhesive instead of thin-set mortar?
While premixed adhesives are convenient, they are not recommended for porcelain tile installation due to their lower bonding strength compared to thin-set mortars. Thin-set mortars provide better adhesion and durability, ensuring long-lasting results.
5. Installing Porcelain Tiles:
With the adhesive applied, it’s time to install the porcelain tiles on your kitchen floor. Start at one corner of The room and place the first tile, pressing it firmly into the adhesive. Use spacers to create even gaps between tiles for grout lines. Continue laying tiles in a straight line, working outwards from the starting point. Trim tiles as needed to fit around obstacles or edges using a tile cutter or wet saw. Check regularly with a level to ensure tiles are laid flat and level.
FAQ: How long does it take for the adhesive to dry?
The drying time for adhesive can vary depending on factors such as humidity and temperature. It is recommended to wait at least 24-48 hours before applying grout to allow the adhesive to fully cure. Follow the manufacturer’s instructions for specific drying times.
6. Grouting:
Once the adhesive has dried, it’s time to apply grout between the tiles. Choose a grout color that complements your kitchen design and mix it according to the manufacturer’s instructions. Using a grout float, spread the grout over the tiles, pressing it into the gaps. Remove excess grout with a damp sponge, working diagonally across the tiles. Allow the grout to dry for the recommended time before cleaning off any remaining haze.
FAQ: How do I prevent grout from staining my tiles?
To prevent grout stains, it is important to seal your porcelain tiles before applying grout. This will create a barrier that prevents the grout from penetrating the surface of the tile. After grouting, apply a final layer of sealant to protect both the grout and tiles from dirt and stains.
7. Finishing Touches:
After the grout has fully dried, it’s time to add any finishing touches to complete your kitchen floor. This may include installing baseboards or transition strips to create a clean and polished look. Clean the tiles thoroughly to remove any remaining grout residue or haze, using a grout cleaner if necessary. Finally, enjoy your newly tiled kitchen floor and take pride in your DIY project!
FAQ: How do I maintain and clean porcelain tiles?
Porcelain tiles are relatively easy to maintain. Regular sweeping or vacuuming, followed by mopping with a mild detergent or specialized tile cleaner, is usually sufficient to keep them clean. Avoid using abrasive cleaners or tools that could scratch the surface of the tiles. Additionally, periodic resealing may be necessary to maintain their stain resistance and durability. To maintain and clean porcelain tiles, follow these steps:
1. Regularly sweep or vacuum the floor to remove any dirt or debris.
2. Mix a mild detergent or specialized tile cleaner with warm water according to the manufacturer’s instructions.
3. Use a mop or sponge to apply the cleaning solution to the tiles, working in small sections.
4. Gently scrub the tiles using a soft-bristle brush or mop, focusing on any stained or dirty areas.
5. Rinse the floor thoroughly with clean water to remove any residue from the cleaning solution.
6. Dry the floor with a clean towel or allow it to air dry completely.
7. Periodically, reseal the tiles to maintain their stain resistance and durability. Follow the manufacturer’s instructions for sealant application.
Remember to avoid using abrasive cleaners or tools that could scratch the surface of the tiles. With regular maintenance and proper cleaning techniques, your porcelain tiles will remain beautiful and durable for years to come.