This particular sort of floor is very appealing to have in a marketable kitchen. Because cork has a waxy substance it remains free and protected from the infestations of termites and molds. In the majority of homes these days, it is unsurprising to notice kitchen floors crafted from ceramic tiles, as this content possesses good qualities that ensure it is go on for many years.
Here are Images about Tiling A Kitchen Floor DIY
Tiling A Kitchen Floor DIY
The material which you choose in a kitchen area flooring renovation project is able to make or break the entire point, hence you need to weigh the elements that were mentioned against the natural qualities for the different materials that are offered for you. Since hardwood is utilized to create the surface of these floors, they are less slippery compared to tiles and definately will provide a much better grip.
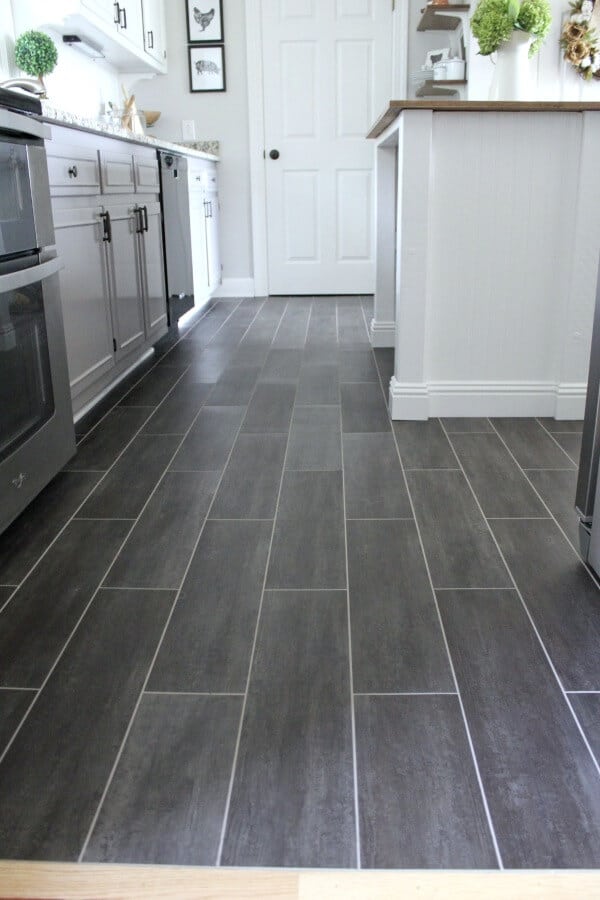
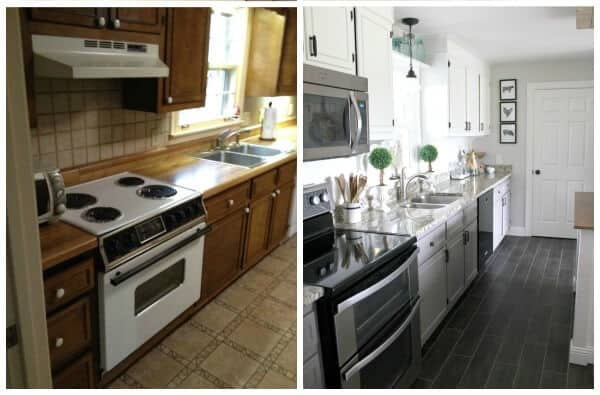
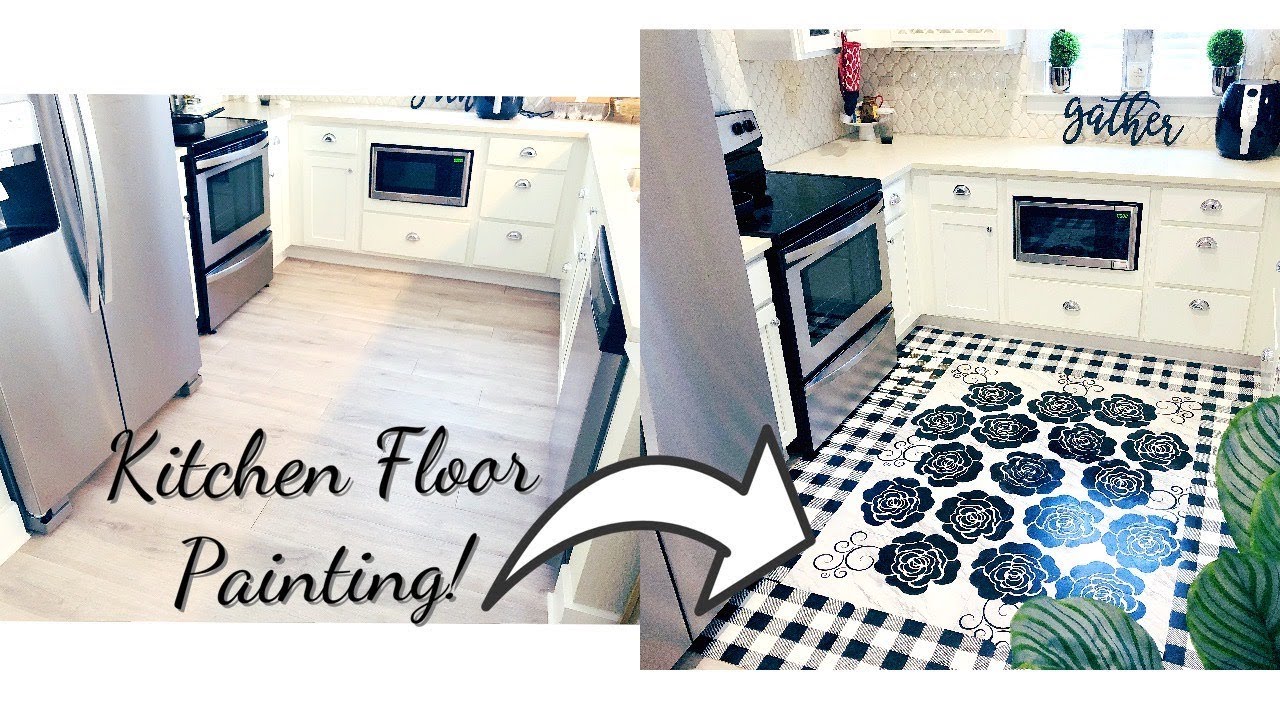
DIY Flooring: How We Changed our Kitchen in 3 days for Less than
Rubber Plank Flooring are essentially made of wooden boards which are about three quarters of an inch thick and is roughly around three to 7 inches wide and reaches a general length of about eight feet. The tiles in twelve inch sizes or a lot less are appropriate for small kitchens as they will give the area a more spacious look. For kitchen floors, the mosaic ceramic tiles are available in several patterns in unglazed and glazed finishes.
Images Related to Tiling A Kitchen Floor DIY
Peel And Stick Floor Tile in the Kitchen: A Gorgeous Budget
Adventures in DIY tiling u2014 Liz Morrow

DIY Flooring: How We Changed our Kitchen in 3 days for Less than

DIY Flooring: How We Changed our Kitchen in 3 days for Less than

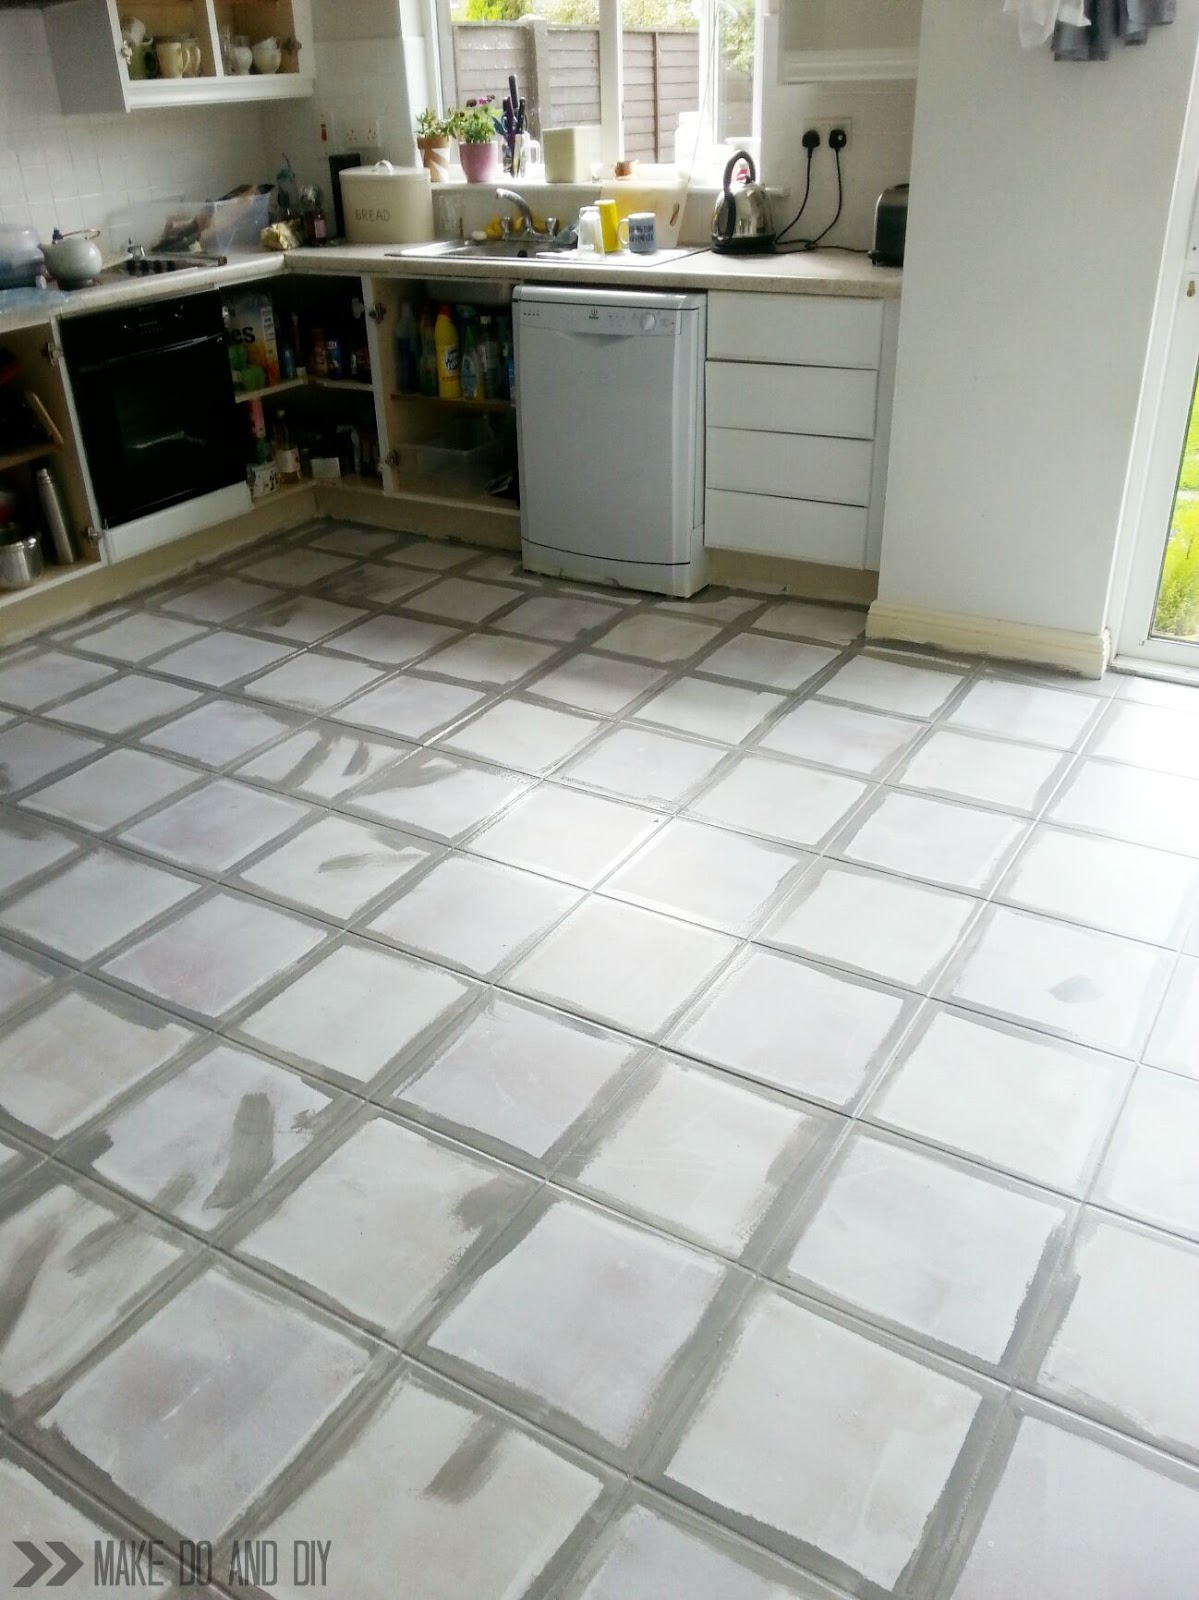
painted tile floor-no really! ~ Make Do and DIY
Tips For Installing A Kitchen Vinyl Tile Floor merrypad

RENTER FRIENDLY KITCHEN FLOOR DIY ON A BUDGET – INEXPENSIVE HOME DECOR IDEAS!
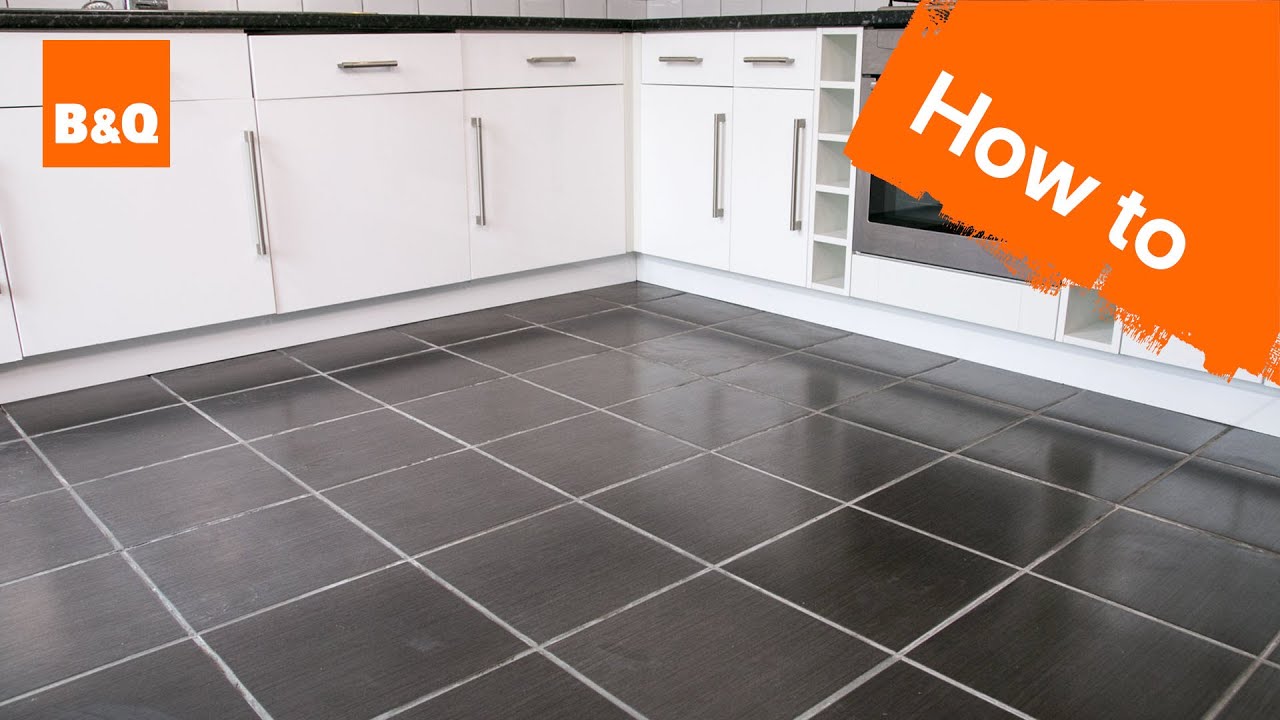
How to tile a floor part 1: preparation
Peel And Stick Floor Tile in the Kitchen: A Gorgeous Budget

How to Tile a Kitchen Floor Part 2 The Home Depot

Kitchen Flooring Materials and Ideas – This Old House
/cdn.vox-cdn.com/uploads/chorus_asset/file/19866713/May_June2019_sleek_pulls.jpg)
Tiling the Kitchen Floor PlanItDIY

Related articles:
- Stained Concrete Basement Floor
- Finishing Basement Floor
- Refinish Concrete Basement Floor
- Best Flooring For Basement
- Basement Gym Flooring Ideas
- Laminate Flooring In Basement
- Basement Concrete Floor Sweating
- Basement Floor Finishing Ideas
- Painting Unfinished Basement Floor
- Unique Basement Flooring
Title: Tiling a Kitchen Floor DIY: Transform Your Space with Elegance and Durability
Introduction:
Tiling a kitchen floor is an excellent way to enhance the overall aesthetics, functionality, and durability of your kitchen. Whether you’re looking to replace an outdated floor or start from scratch in a new home, this step-by-step guide will help you achieve professional-looking results through a do-it-yourself (DIY) approach. With careful planning, preparation, and execution, you can transform your kitchen into a stunning space that reflects your personal style.
I. Understanding the Different Tile Options
Choosing the right type of tile for your kitchen floor is crucial in achieving the desired look and functionality. Here are some popular options:
a) Ceramic Tiles: Known for their versatility and affordability, ceramic tiles come in various colors, patterns, and sizes. They are resistant to stains, moisture, and scratching.
b) Porcelain Tiles: Similar to ceramic tiles but denser and more durable, porcelain tiles are an excellent choice for high-traffic areas like kitchens. They offer exceptional water resistance and require minimal maintenance.
c) Natural Stone Tiles: For a luxurious touch, natural stone tiles such as marble, granite, or slate can elevate your kitchen’s aesthetic appeal. However, they may require more maintenance compared to ceramic or porcelain tiles.
d) Vinyl Tiles: An affordable and versatile option, vinyl tiles mimic the appearance of natural materials while offering easy installation and maintenance.
FAQs:
Q1: How do I choose the right tile size for my kitchen floor?
A1: The tile size depends on the size of your kitchen. Larger tiles create a seamless look in larger spaces, while smaller tiles work well in compact kitchens. Consider the overall style you want to achieve before making a decision.
Q2: Are natural stone tiles suitable for kitchens?
A2: Natural stone tiles can be used in kitchens; however, they require regular sealing to prevent staining and damage from moisture. Ensure you follow the manufacturer’s guidelines for maintenance.
II. Preparing the Subfloor
Before you begin tiling, it’s essential to prepare the subfloor properly. Follow these steps:
a) Remove the Existing Flooring: If there is already a floor covering in place, remove it carefully using appropriate tools. Make sure to check for any damages or unevenness in the subfloor.
b) Repair and Clean: Fix any cracks or damage on the subfloor and ensure it is clean, dry, and level. Sweep away debris and vacuum thoroughly.
c) Apply a Primer: Use a suitable primer to create a smooth surface that helps adhesive bond better with the subfloor. Follow the manufacturer’s instructions for application and drying time.
FAQs:
Q1: Can I tile over an existing tiled floor?
A1: It is generally not recommended to tile over an existing tiled floor. The additional weight can cause issues, and you may end up with an uneven surface. Removing the existing tiles ensures a proper installation.
Q2: How do I level an uneven subfloor?
A2: If your subfloor has significant unevenness, consider using a self-leveling compound to create a smooth surface. Follow the product instructions carefully for best results.
III. Measuring and Planning
Accurate measuring and careful planning are crucial for a successful tiling project. Here’s what you need to do:
a) Measure the Floor Area: Use a tape measure to determine the length and width of your kitchen floor. Multiply these measurements To get the total square footage of the area that needs to be tiled.
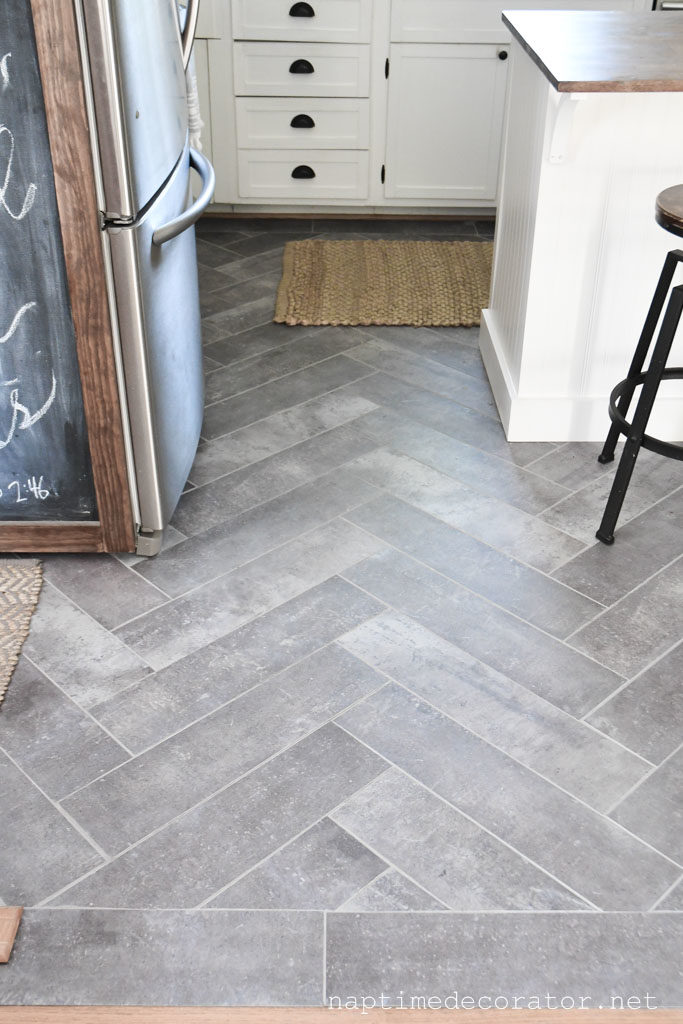
b) Consider Tile Layout: Think about how you want to lay the tiles in your kitchen. You can choose from various patterns, such as straight, diagonal, or herringbone. Consider the size and shape of the tiles to determine the most visually appealing layout.
c) Account for Wastage: It’s important to account for wastage when purchasing tiles. Typically, it’s recommended to buy an additional 10% of tiles to cover for any cutting mistakes or future repairs.
FAQs:
Q1: How do I calculate the number of tiles needed?
A1: To calculate the number of tiles needed, divide the total square footage of the area by the square footage of one tile. This will give you an estimate of how many tiles you need. Remember to account for wastage.
Q2: Can I mix different tile sizes in my kitchen?
A2: Yes, you can mix different tile sizes to create a unique and interesting look in your kitchen. Just make sure to plan the layout carefully and consider how different tile sizes will fit together.
IV. Installing the Tiles
Once you have prepared the subfloor and planned out your tiling project, it’s time to start installing the tiles. Follow these steps:
a) Start at a Reference Point: Choose a corner or a center point as your starting point. This will ensure that your tiles are properly aligned and symmetrical.
b) Apply Adhesive: Use a notched trowel to apply adhesive onto the subfloor in small sections. Spread the adhesive evenly, making sure to follow the manufacturer’s instructions for application thickness.
c) Lay the Tiles: Place the tiles onto the adhesive, pressing them firmly to ensure good adhesion. Use tile spacers to maintain consistent spacing between the tiles.
d) Cut Tiles as Needed: Use a tile cutter or wet saw to cut tiles to fit around edges, corners, or obstacles. Take accurate measurements and make precise cuts for a professional-looking finish.
e) Allow Adhesive to Dry: Give the adhesive enough time to dry before grouting. Follow the manufacturer’s instructions for drying time, which is typically 24-48 hours.
FAQs:
Q1: How long does it take for tile adhesive to dry?
A1: The drying time for tile adhesive can vary depending on factors such as humidity and temperature. Generally, it takes 24-48 hours for the adhesive to fully dry.
Q2: Can I use regular scissors to cut tiles?
A2: No, regular scissors are not suitable for cutting tiles. You will need specific tile cutting tools such as a tile cutter or wet saw to make accurate and clean cuts.