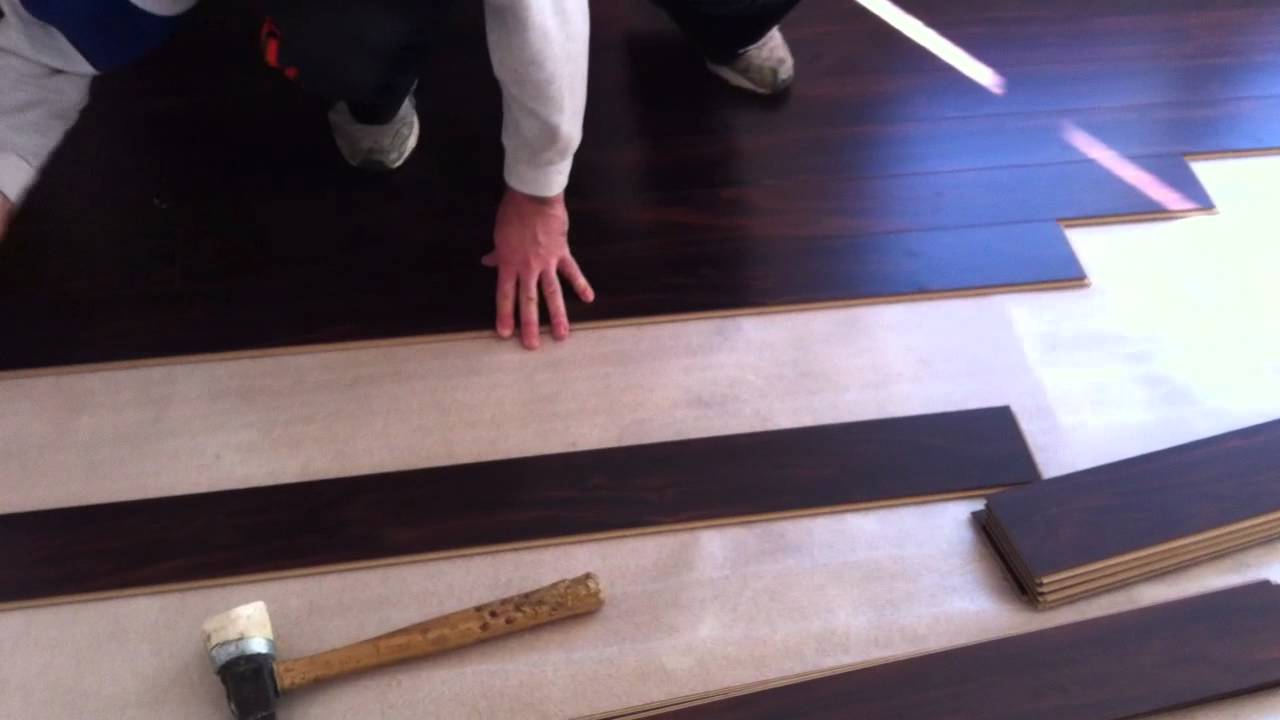
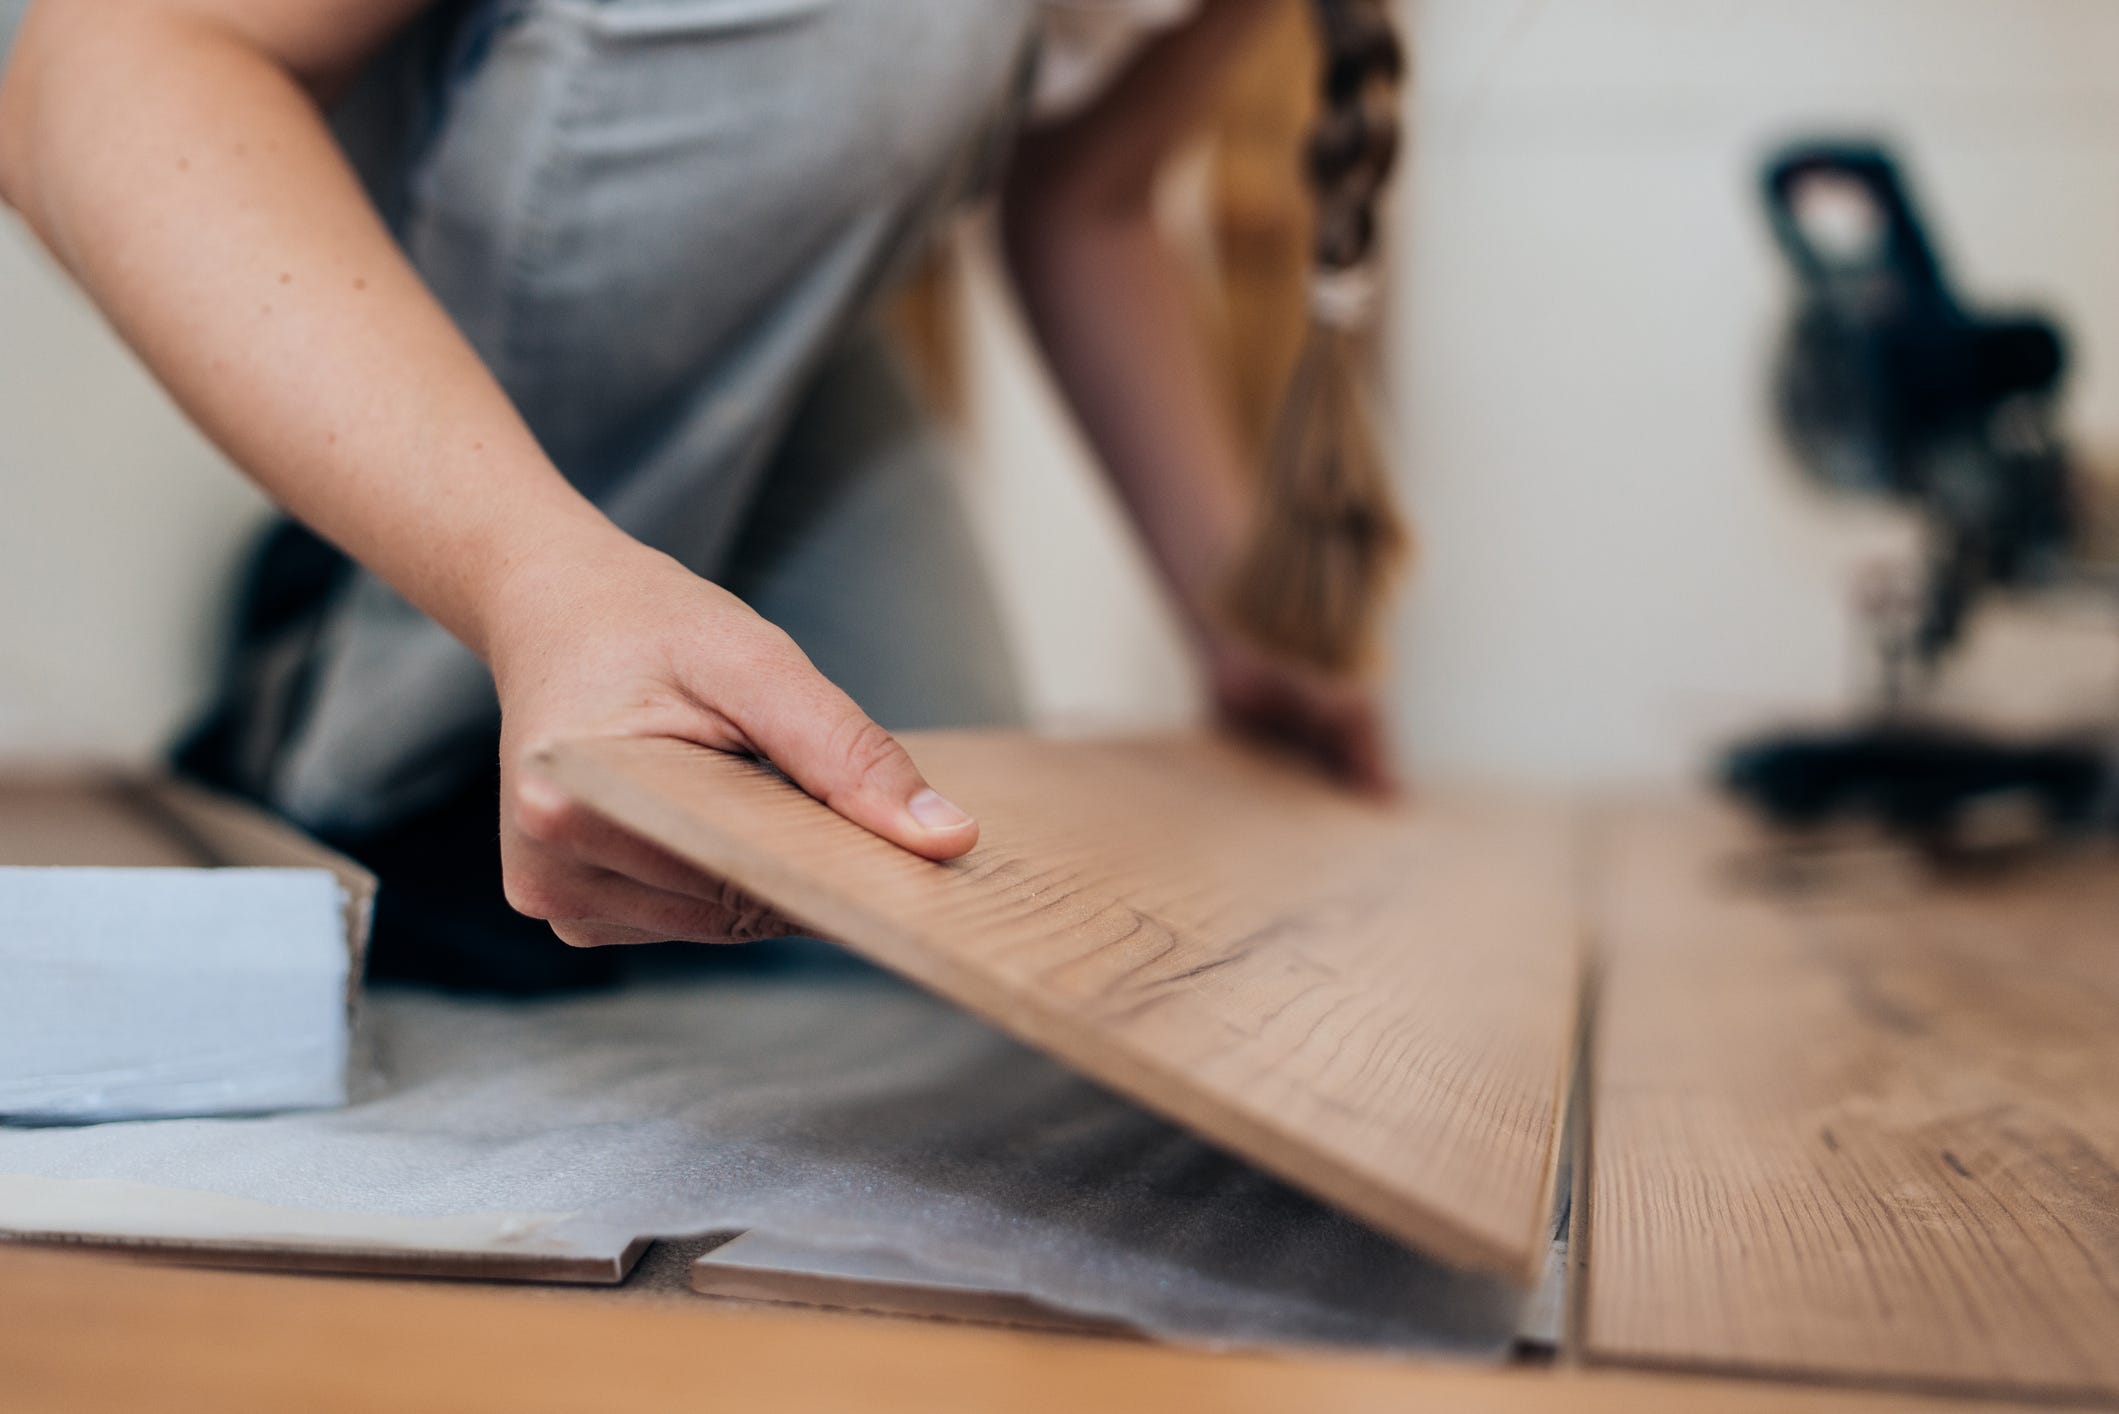
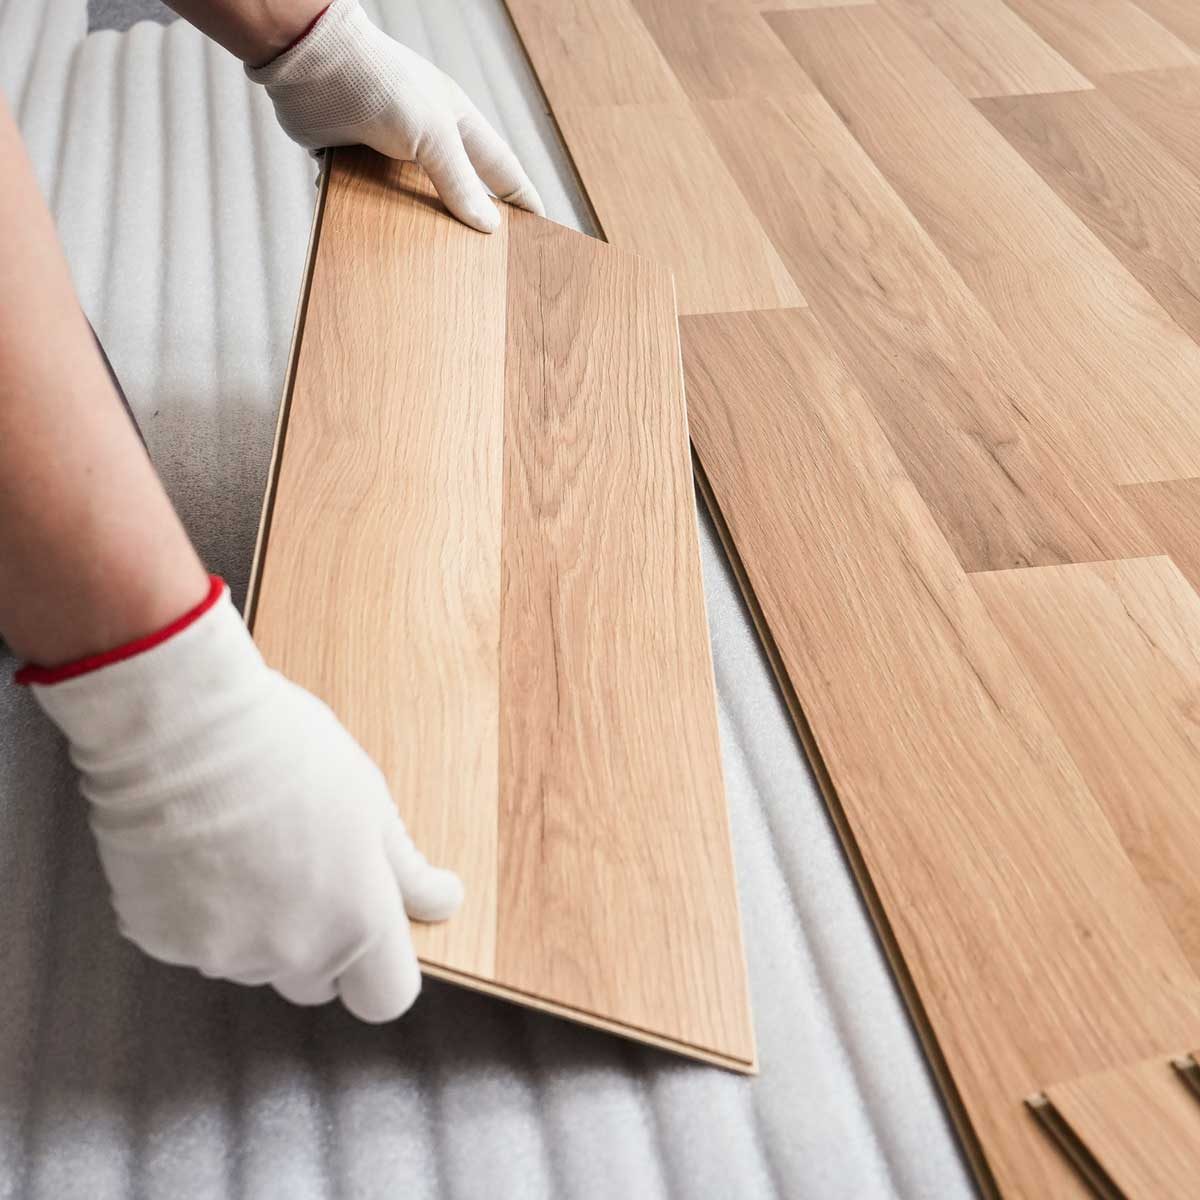
Fashioned with a tough and durable wear level, it's stronger than most installed sound hardwood floor surfaces, vinyl's, and floor coverings. When you're using tongue as well as groove laminate flooring, just introduce each new board at a forty five degree angle to the previous one, and lightly lower the brand new board in its place. Then cut the plank through the middle of the hole and install the two pieces of laminate flooring together near the pipe as well as glue them together.
Here are Images about Swiftlock Plus Laminate Flooring Installation Instructions
Swiftlock Plus Laminate Flooring Installation Instructions
Although laminate flooring has the ability to handle a good deal of pressure from individuals walking over it, it is usually imperative that you ask your interior designer to install rather heavy flooring. Depending on the quality you're looking for the best finishes and treatments will vary the cost of the laminate wood floors. Designers advise laminate for an upscale appearance without an upscale expense.
Swiftlock Plus by Shaw Review, From Lowes
When it comes to looking great, installation that is simple, on a budget but still durable. It would be acceptable to enquire from an authentic contractor about which brands are better. Selections in laminate flooring are numerous and vary is look coming from fire wood grain replication, to mimicking ceramic floor tile. Take a look at the reviews of the package stores on my3cents.com while you are at it. Unlike hardwood, laminate is not prone to scratches and dents from frequent, daily use.
Images Related to Swiftlock Plus Laminate Flooring Installation Instructions
Swiftlock Plus Laminate Review
How to Install Laminate Flooring Cheap Flooring Guide 2019
Installing Laminate Flooring Overview
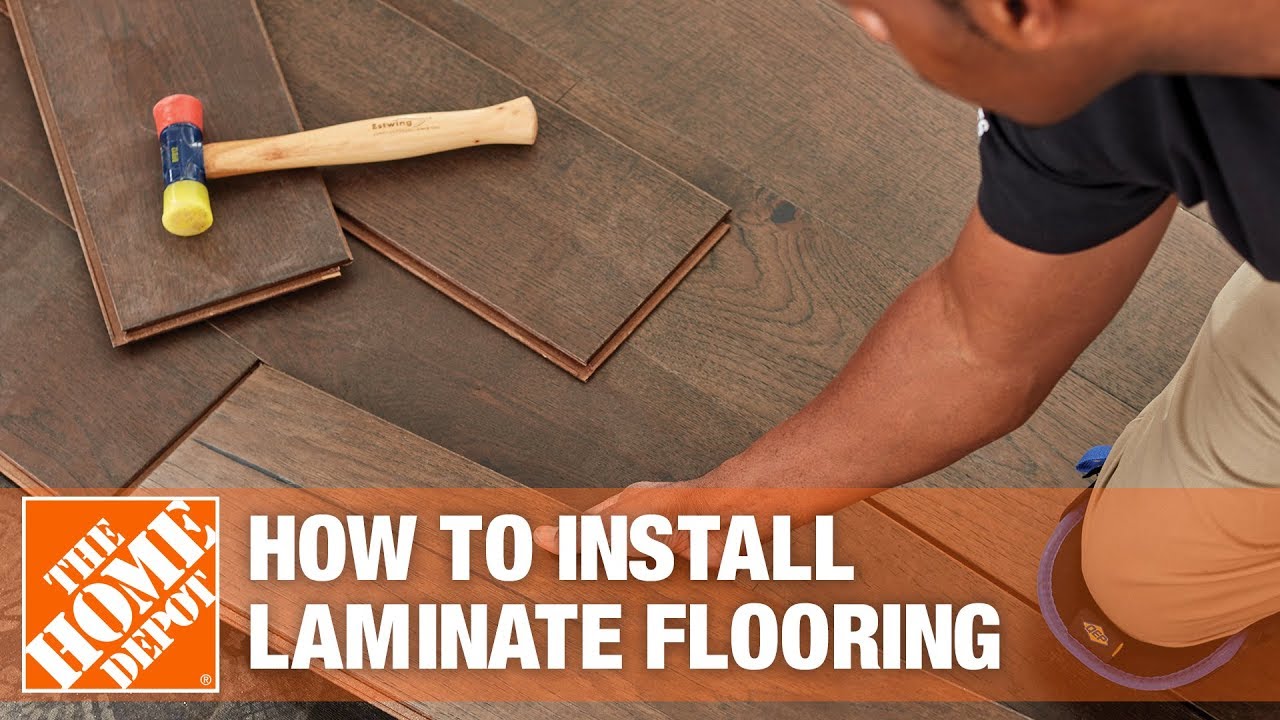
How to Install a Laminate Floor
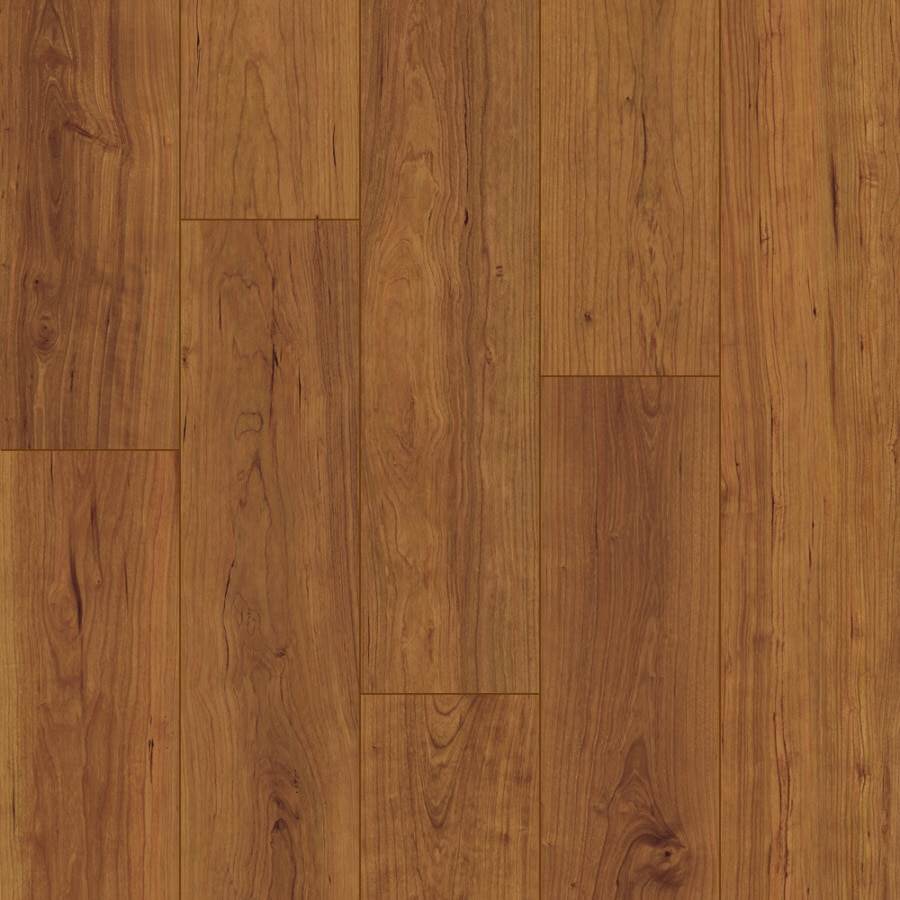
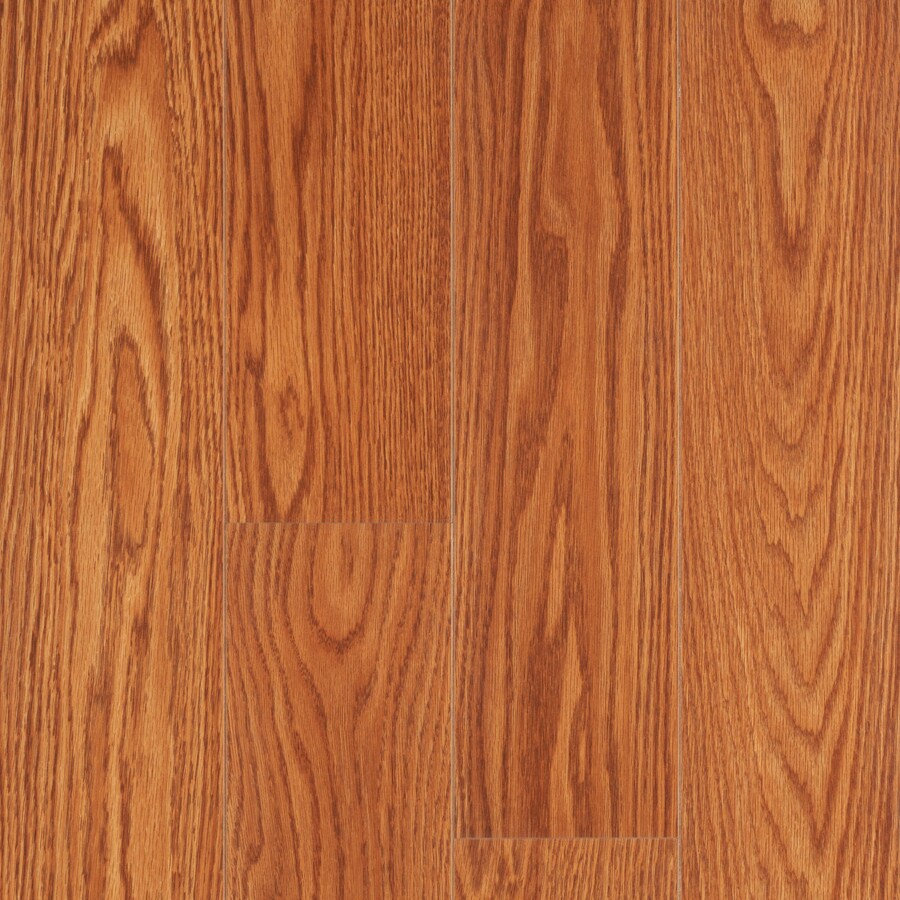
Style Selections Swiftlock Plus 5.5-in W x 4.23-ft L Cherry Wood
Swiftlock Plus Laminate Review
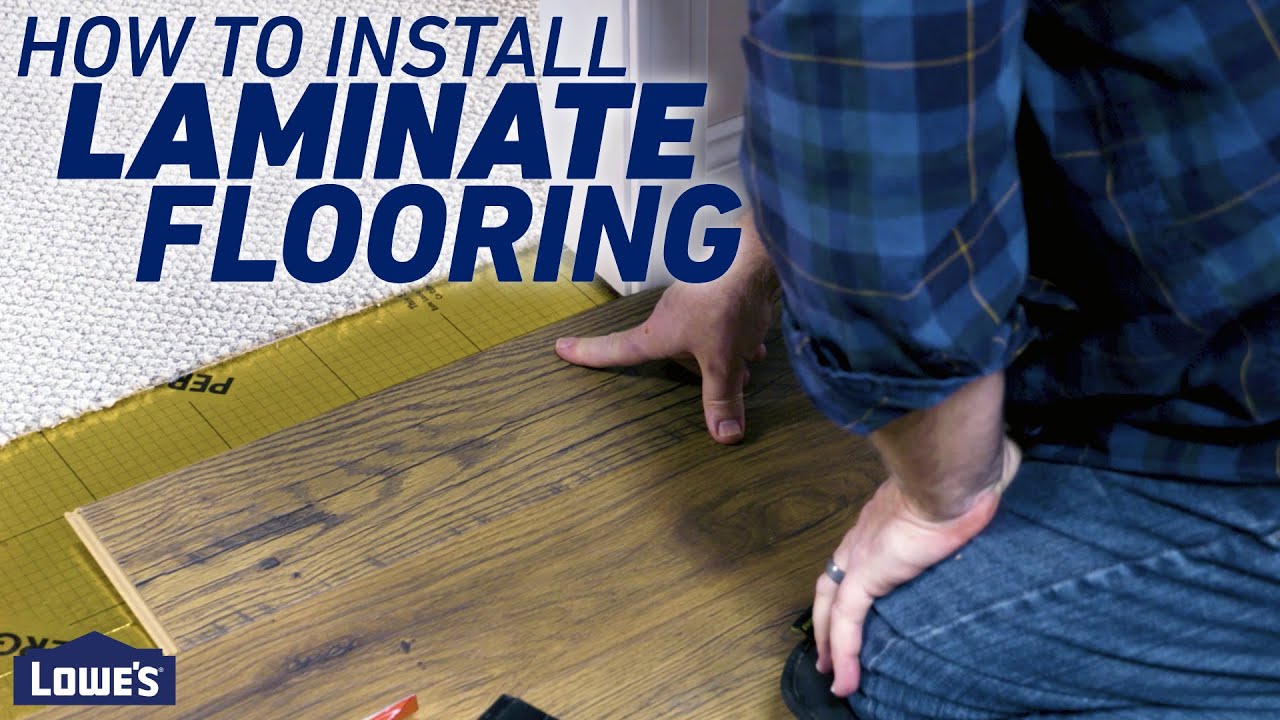
How to Install Laminate Flooring
:max_bytes(150000):strip_icc()/how-to-lay-laminate-flooring-1822250-08b-10f3572e10b14770b1e5da743da4226a.jpg)
8 Essential Tools for Laminate Flooring Installations The Family
How to Install Laminate Flooring
/how-to-lay-laminate-flooring-1822250-04-e2971fa6cba84aaabb1bd9d571fbd745.jpg)
What size expansion gap should be left when installing laminate

How to Install Laminate Floors HGTV
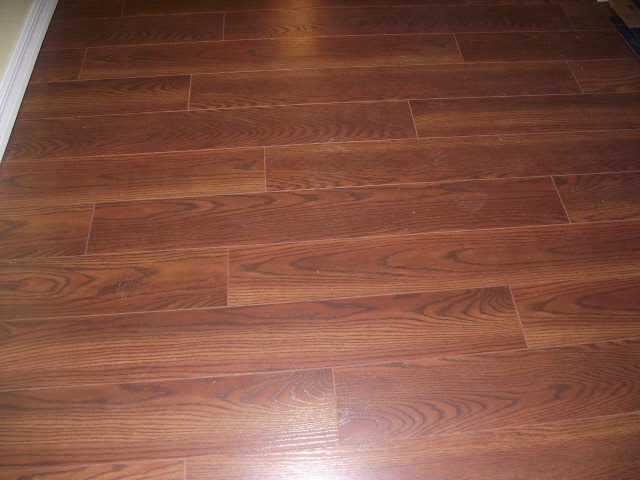
SwiftLock Plus Laminate 6.1-in W x 3.97-ft L Avery Oak Wood Plank
Related articles:
- Tigerwood Laminate Flooring
- Royal Cherry Laminate Flooring
- Laminate Flooring Thickness For Basement
- Quick Step Commercial Laminate Flooring
- Espresso Oak Laminate Flooring
- Laminate Flooring Colors
- Modern Laminate Flooring Colors
- Dark Shiny Laminate Flooring
- Krono 8mm Laminate Flooring
- Quick Step Lagune Laminate Flooring
Swiftlock Plus laminate flooring is a popular choice for homeowners looking for a durable and attractive flooring option. Installing Swiftlock Plus laminate flooring is a relatively straightforward process that can be completed by DIY enthusiasts with some basic tools and skills. In this article, we will provide detailed instructions on how to install Swiftlock Plus laminate flooring, along with some frequently asked questions and their answers.
1. Pre-Installation Preparation:
Before you begin installing your Swiftlock Plus laminate flooring, it is important to properly prepare the area where the flooring will be installed. Start by removing any existing flooring, baseboards, and trim from the room. Make sure the subfloor is clean, dry, and level before proceeding with the installation. If necessary, use a self-leveling compound to even out any uneven areas on the subfloor.
FAQs:
Q: Do I need to acclimate the flooring before installation?
A: Yes, it is recommended to acclimate Swiftlock Plus laminate flooring in the room where it will be installed for at least 48 hours prior to installation. This allows the planks to adjust to the temperature and humidity of the room.
2. Gather Necessary Tools and Materials:
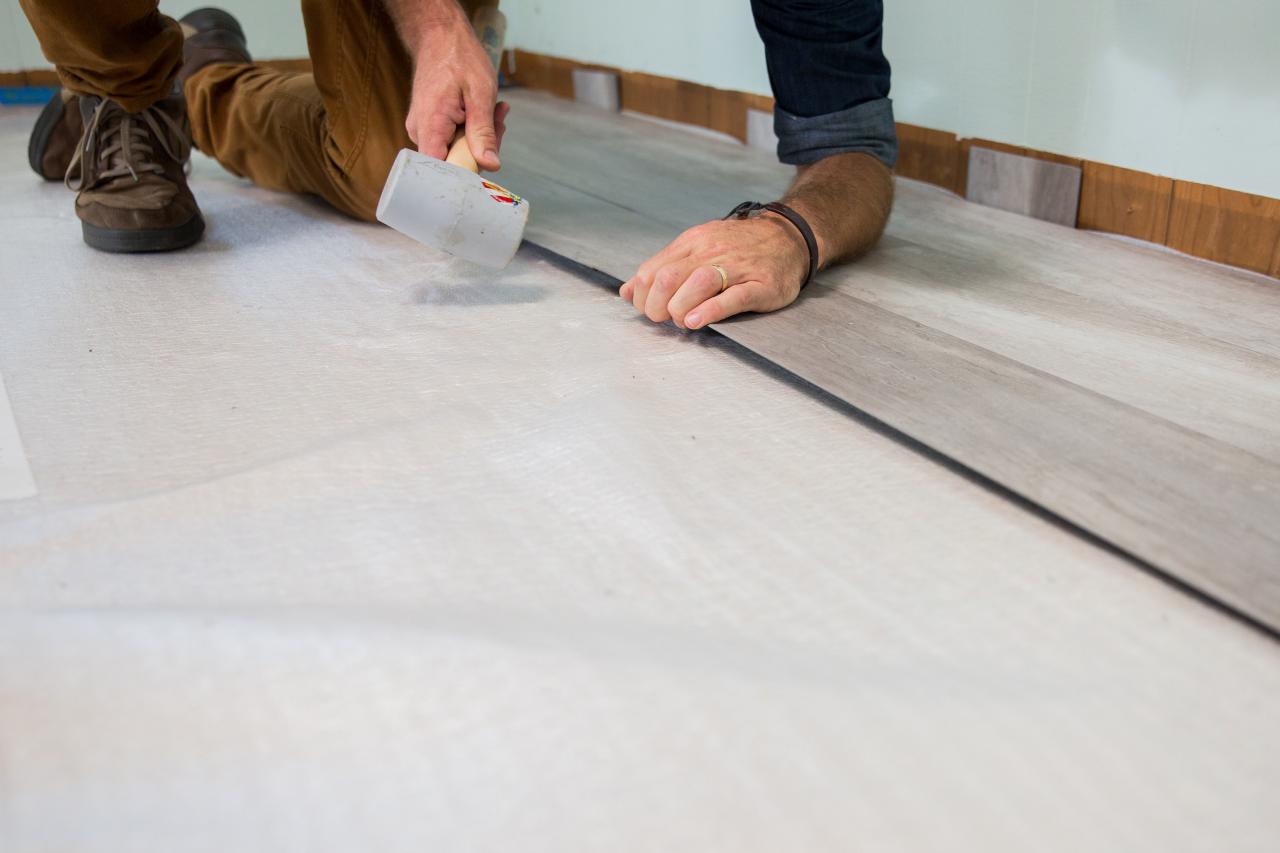
Before you start installing Swiftlock Plus laminate flooring, make sure you have all the necessary tools and materials on hand. You will need a tape measure, pencil, tapping block, pull bar, spacers, circular saw or miter saw, hammer, utility knife, and safety glasses. Additionally, make sure you have enough Swiftlock Plus laminate flooring planks to cover the entire area.
FAQs:
Q: Can I install Swiftlock Plus laminate flooring over existing tile or carpet?
A: It is not recommended to install laminate flooring over carpet or tile. The existing flooring should be removed before installing Swiftlock Plus laminate flooring.
3. Installation Process:
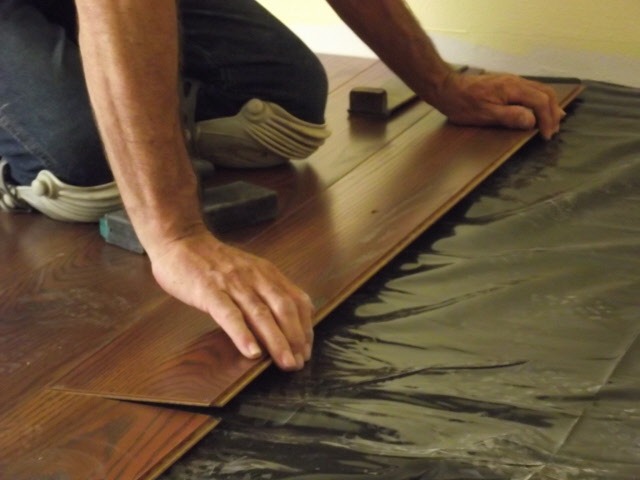
Start by laying out the underlayment according to the manufacturer’s instructions. The underlayment helps reduce noise and provides a smooth surface for the laminate planks to sit on. Begin in one corner of the room and work your way across the room, clicking each plank into place using the Swiftlock locking system. Make sure to leave a 1/4 inch expansion gap around the perimeter of the room to allow for expansion and contraction of the planks.
FAQs:
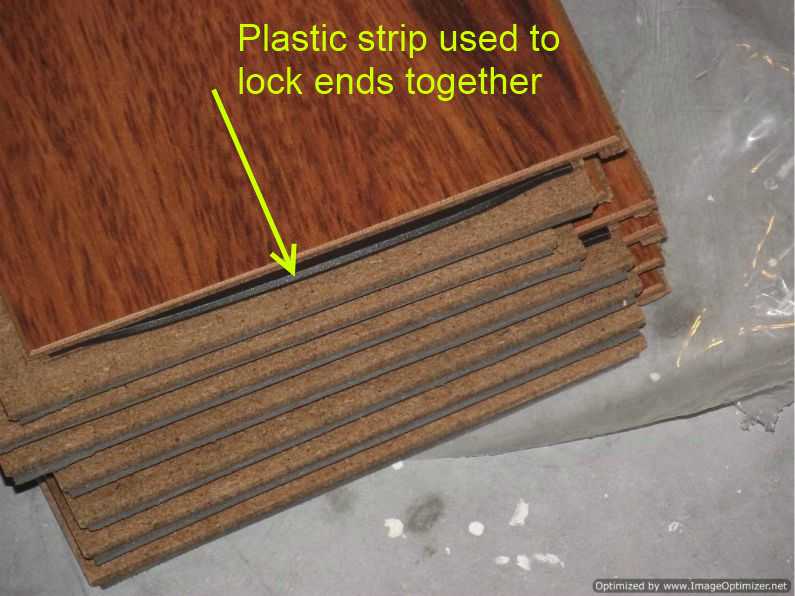
Q: Do I need to glue down Swiftlock Plus laminate flooring?
A: No, Swiftlock Plus laminate flooring features a click-lock system that does not require adhesive for installation. Simply click each plank into place using a tapping block and pull bar.
4. Finishing Touches:
Once all of the planks are installed, trim any excess underlayment around the edges of the room using a utility knife. Install baseboards or quarter round molding around the perimeter of the room to cover the expansion gap and give your new floor a finished look. Use finishing nails or construction adhesive to secure the molding in place.
FAQs:
Q: How do I clean and maintain Swiftlock Plus laminate flooring?
A: To clean Swiftlock Plus laminate flooring, simply sweep or vacuum regularly to remove dirt and debris. For deeper cleaning, use a damp mop with a mild cleaner specifically designed for laminate floors.
In conclusion, installing Swiftlock Plus laminate flooring is a straightforward process that can be completed in just a few simple steps. By following these detailed instructions and FAQs, you can achieve professional-looking results without having to hire a professional installer. With its easy click-lock system and durable construction, Swiftlock Plus Laminate flooring is a great choice for DIY installation in your home. Remember to acclimate the planks, gather the necessary tools and materials, follow the installation process, and finish with trim and maintenance for a beautiful and long-lasting floor. Enjoy your new Swiftlock Plus laminate flooring! Remember, if you have any questions or run into any issues during the installation process, refer to the FAQs provided or consult the manufacturer’s instructions. It’s always better to ask for help or clarification rather than risk making a mistake that could affect the quality and longevity of your new flooring.
By taking the time to properly prepare, follow the installation steps carefully, and finish with attention to detail, you can enjoy a beautiful and durable Swiftlock Plus laminate flooring in your home for years to come. Good luck with your installation project! Remember, if you have any questions or run into any issues during the installation process, refer to the FAQs provided or consult the manufacturer’s instructions. It’s always better to ask for help or clarification rather than risk making a mistake that could affect the quality and longevity of your new flooring. By taking the time to properly prepare, follow the installation steps carefully, and finish with attention to detail, you can enjoy a beautiful and durable Swiftlock Plus laminate flooring in your home for years to come. Good luck with your installation project!