The polished concrete prints fast getting a common problem in many places around the planet and this is partly because numerous individuals are actually appreciative of the beauty of its and also because many places only can't stand having some other kind of floor. Sealed concrete has a really low environmental impact.
Here are Images about Staining Interior Concrete Floors DIY
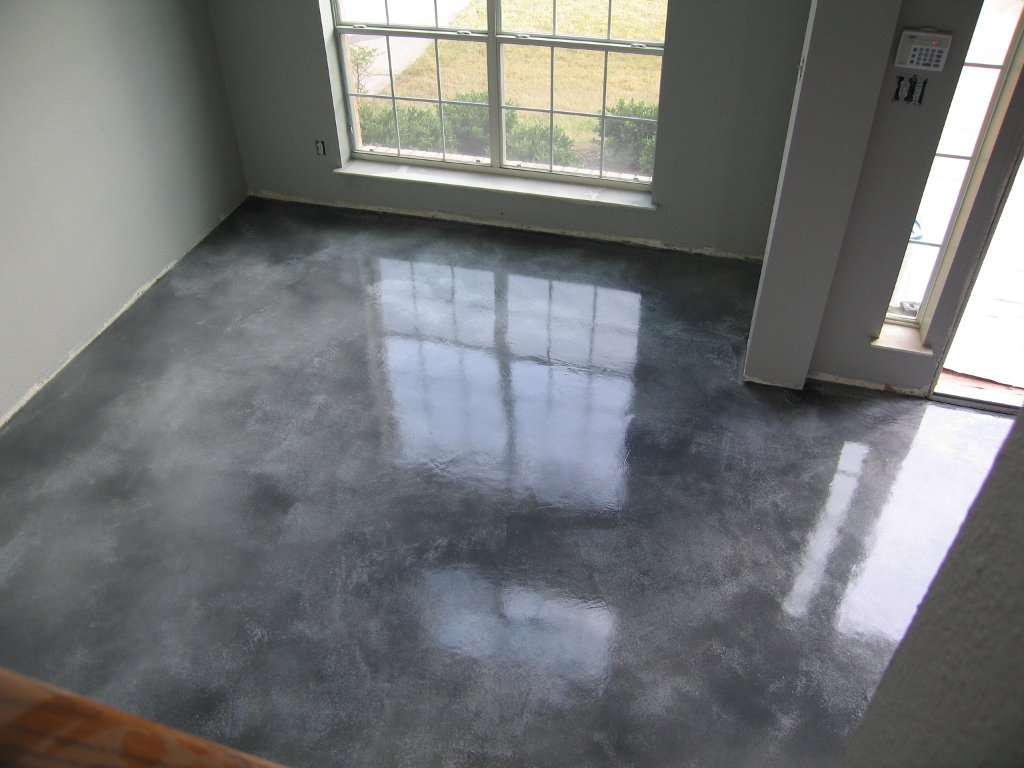
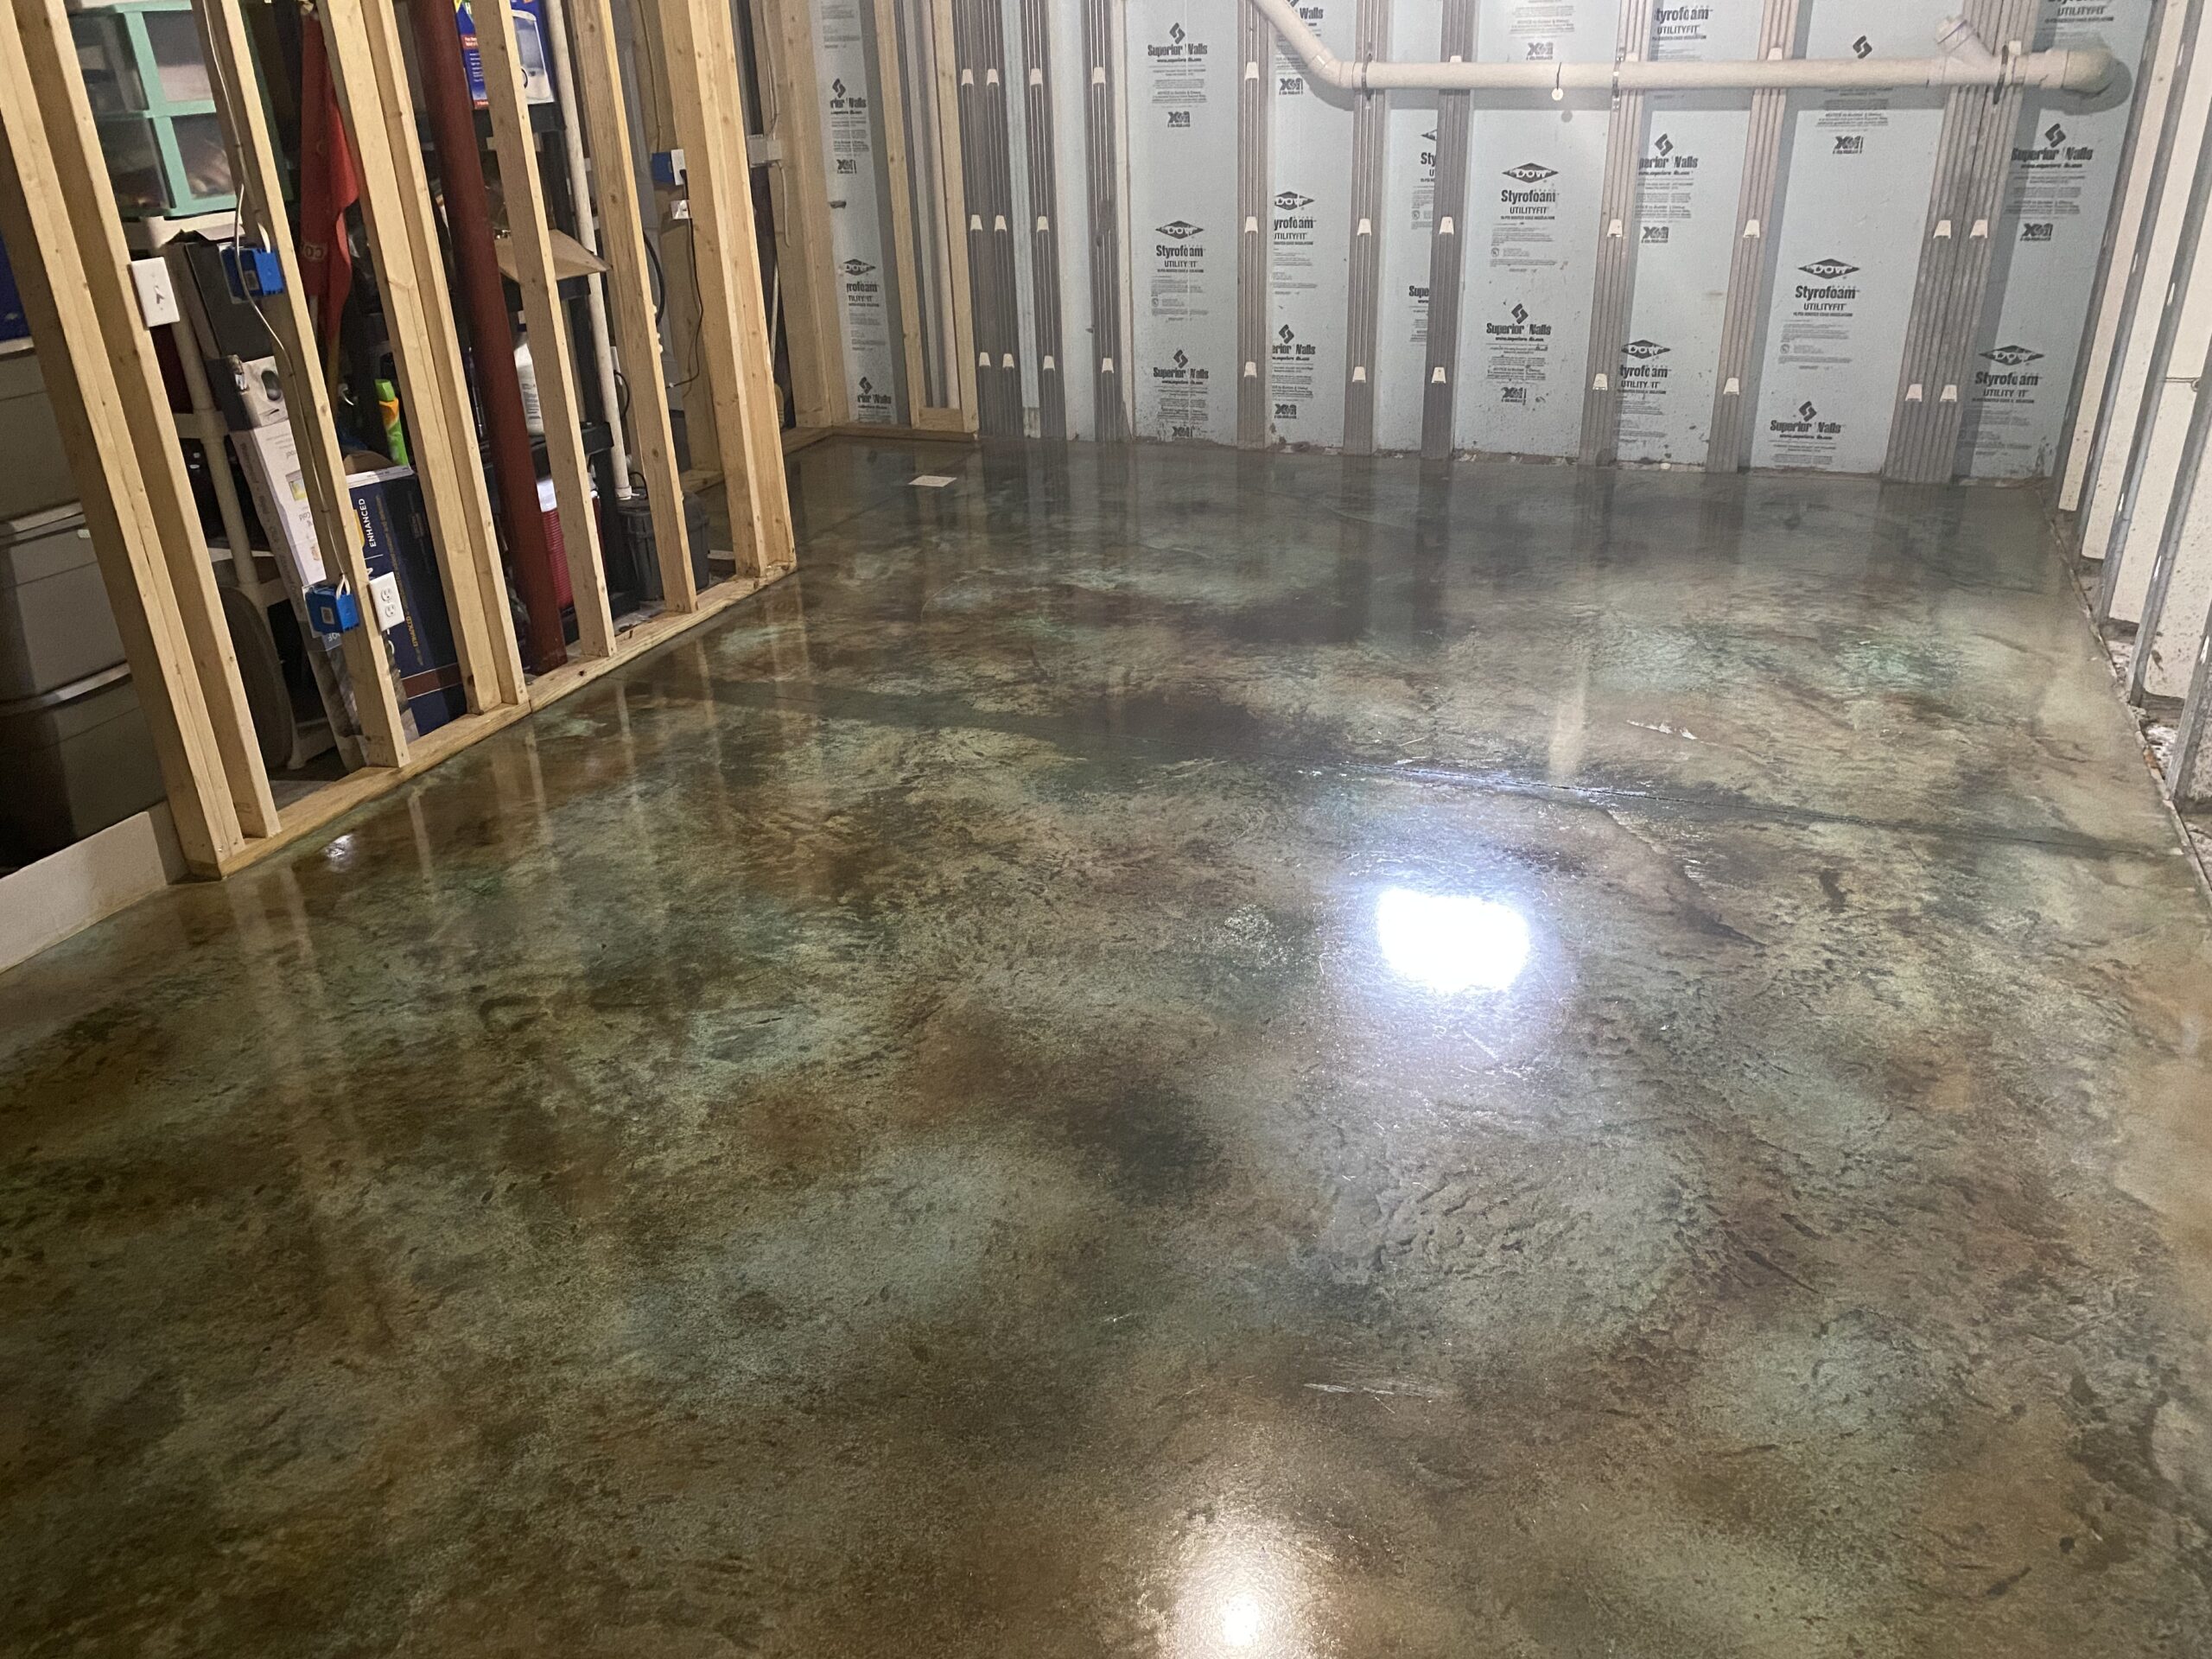
Staining Interior Concrete Floors DIY

Dealing with polished concrete floors is something that nearly all people may not be perfectly clued about. Do you have polished concrete floors, or perhaps perhaps terrazzo floors? This will make understanding what type of paint to go with much easier. Dust, dander and dust mites can all be prevented by utilizing this flooring type.
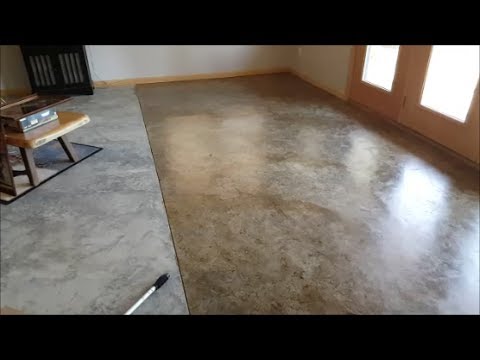
The Beginneru0027s Guide to DIY Stained Concrete, A Step by Step Tutorial

Remember concrete flooring may be covered with a few substances like epoxy, a lovely durable finish which can be used someplace in the house. Concrete office flooring is a green choice that frequently outlasts other floor varieties as carpet, tile, wood, and linoleum.
Images Related to Staining Interior Concrete Floors DIY
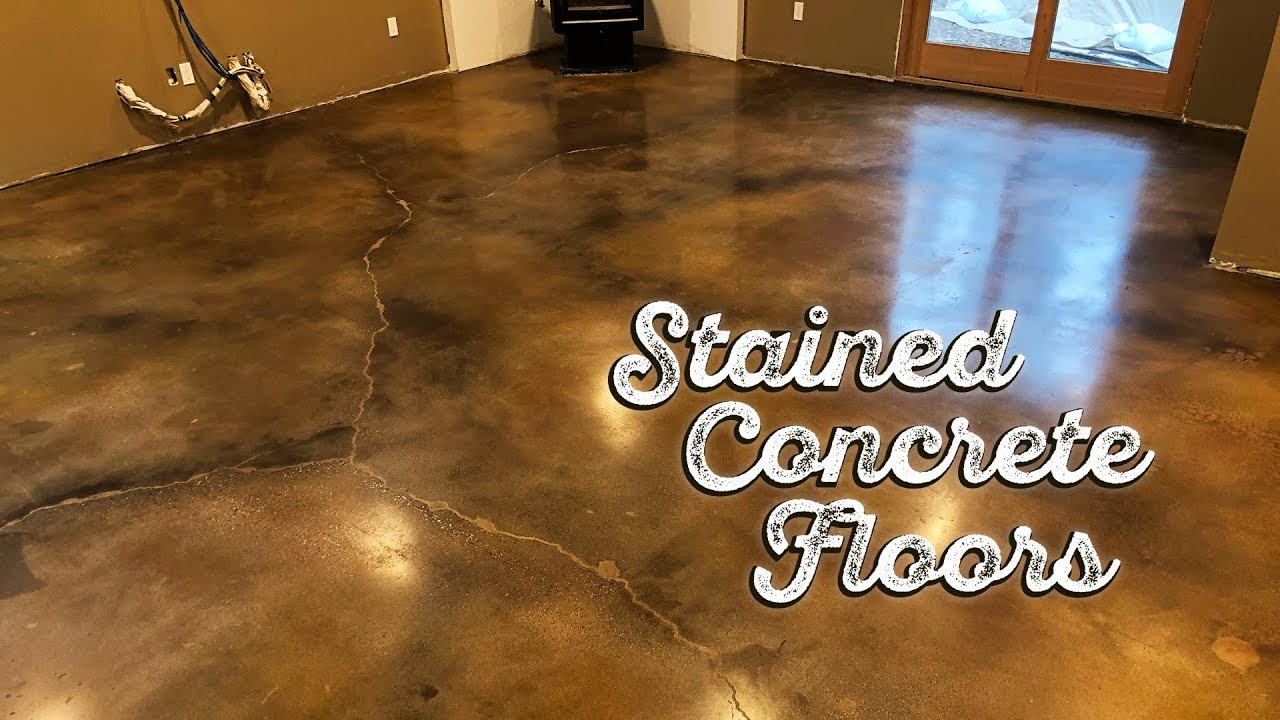
Stained Concrete Floors
The Beginneru0027s Guide to DIY Stained Concrete, A Step by Step Tutorial

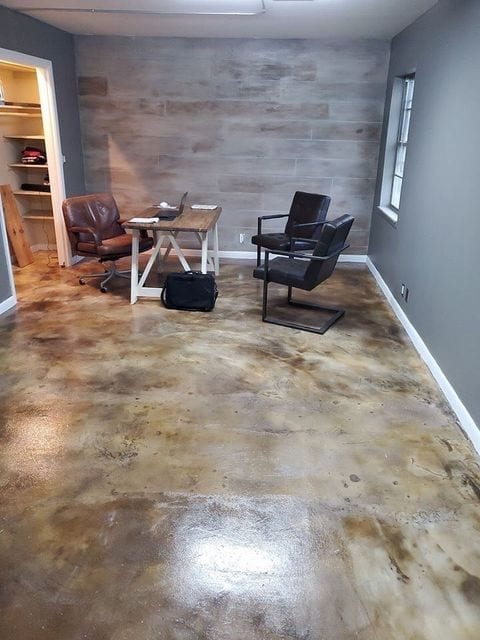
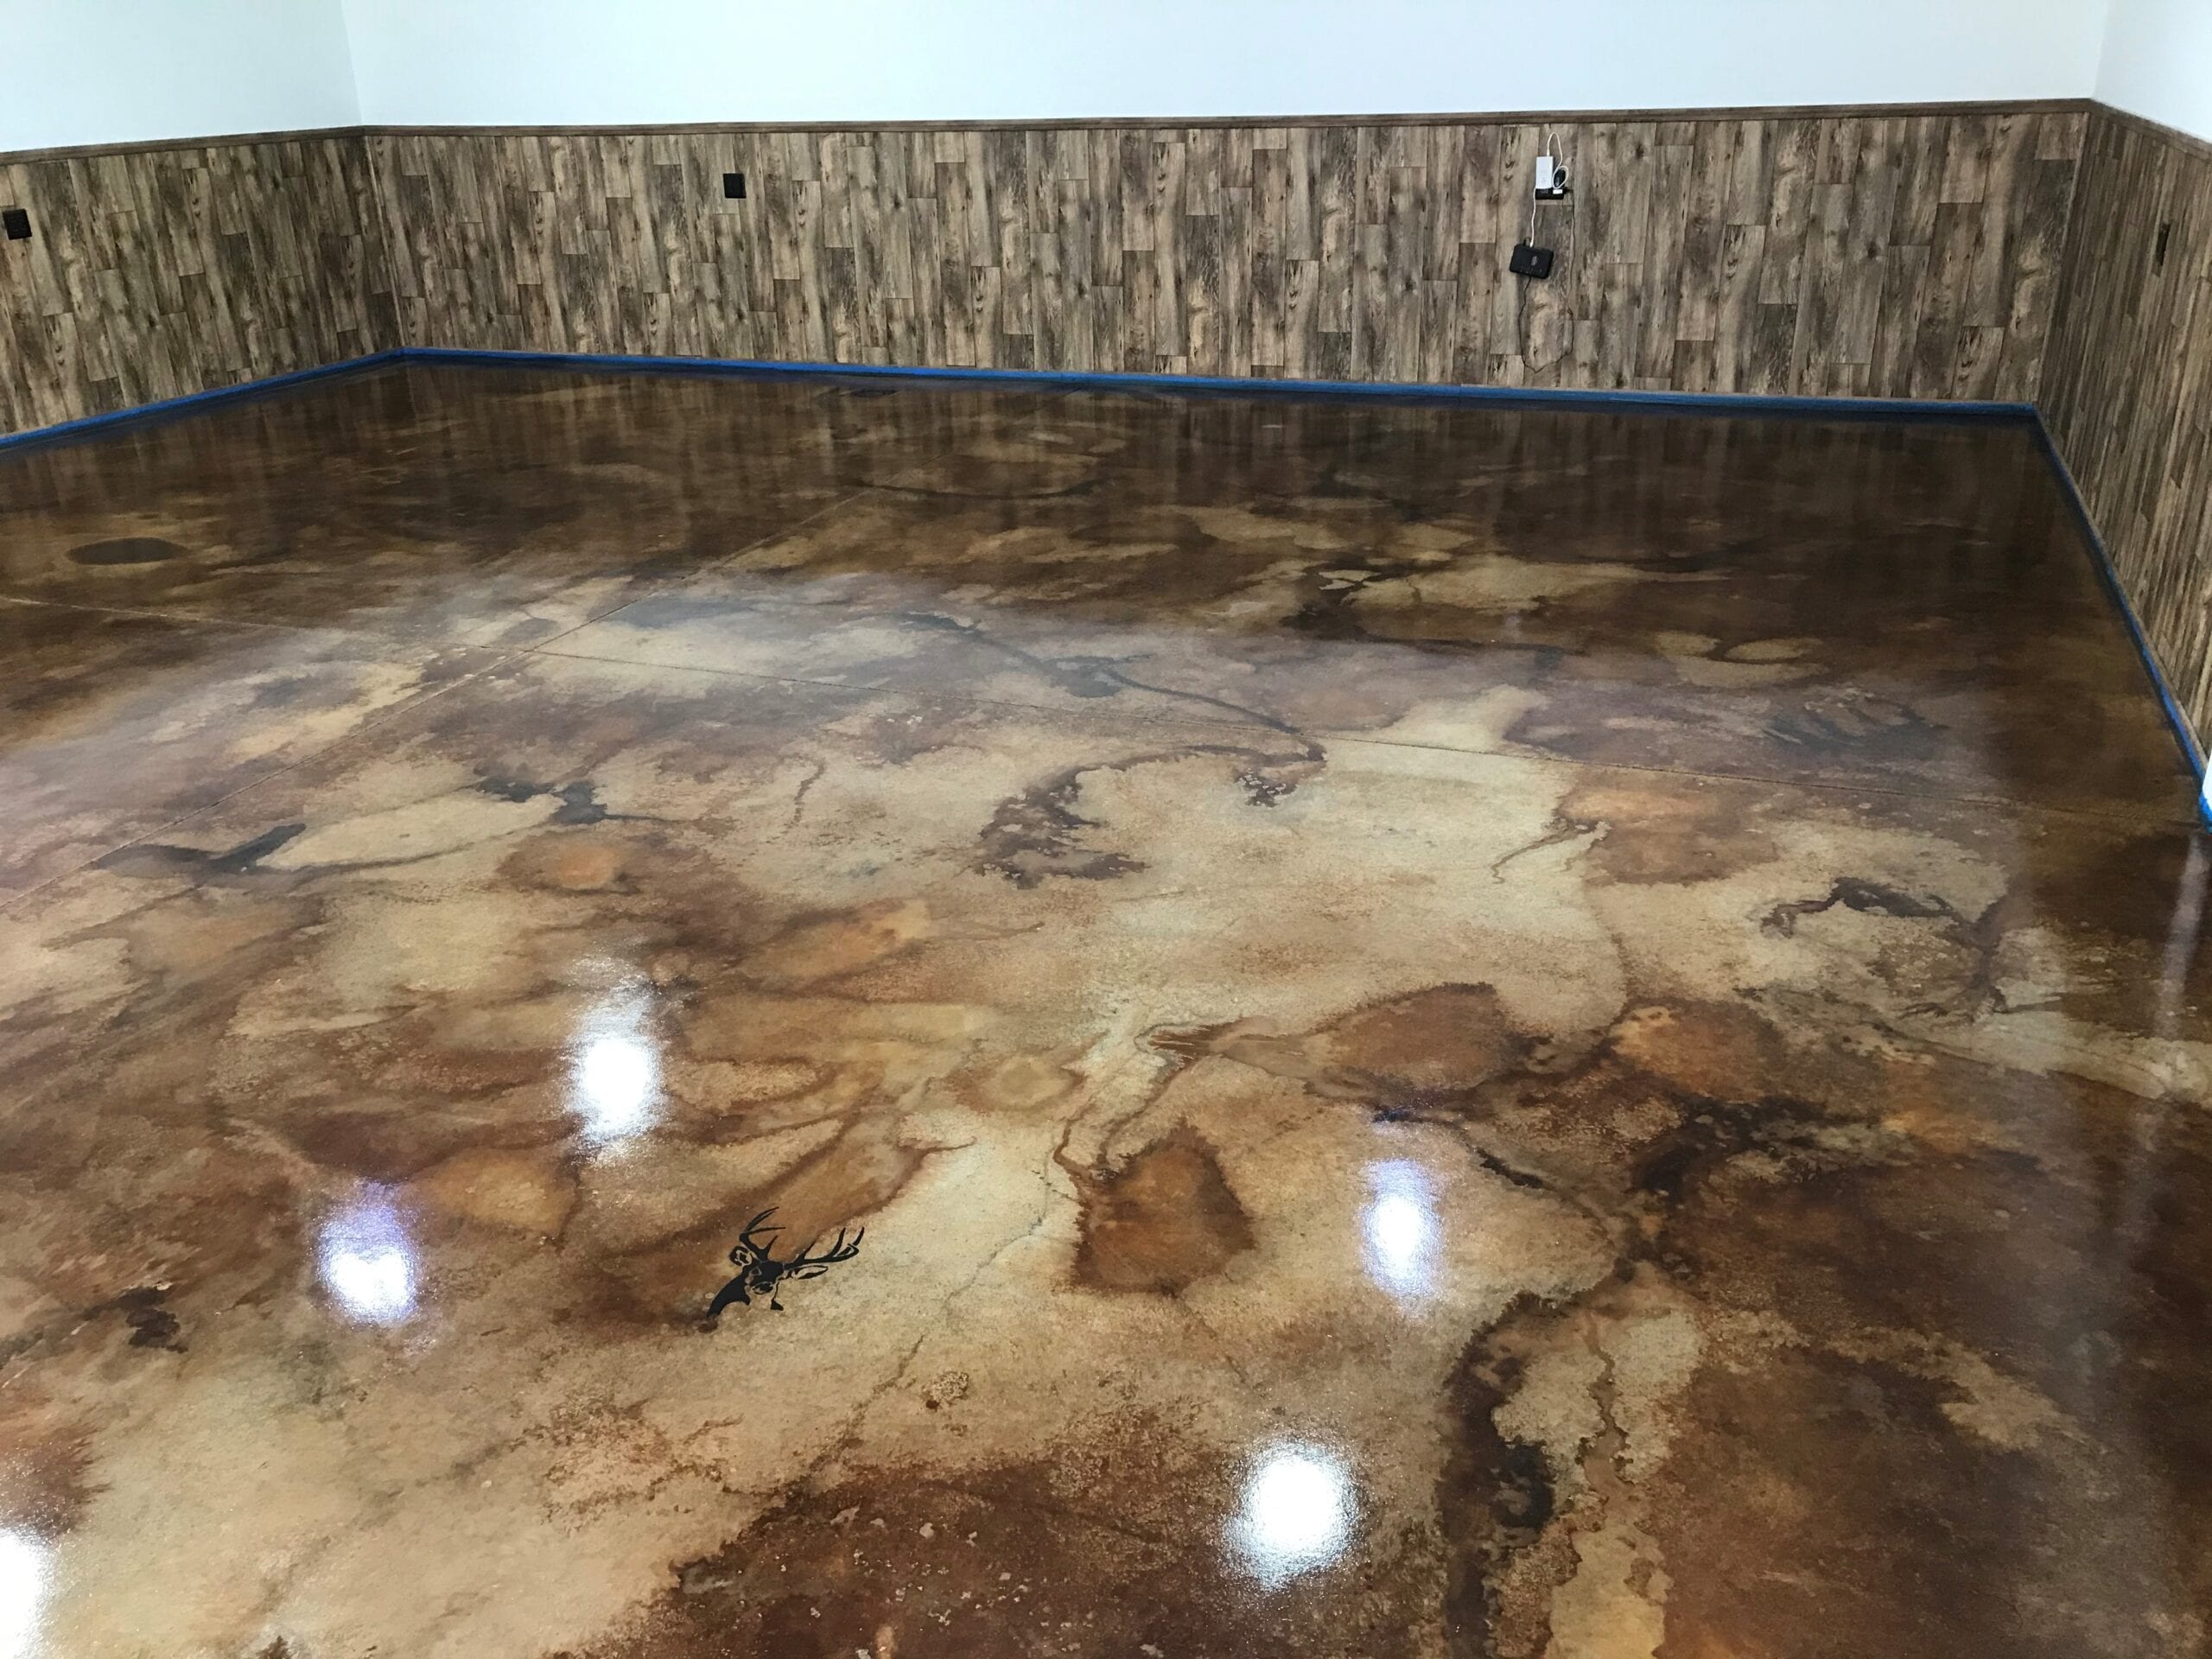
Stained Concrete Floors: Cost, How to Stain DIY, Maintenance Tips
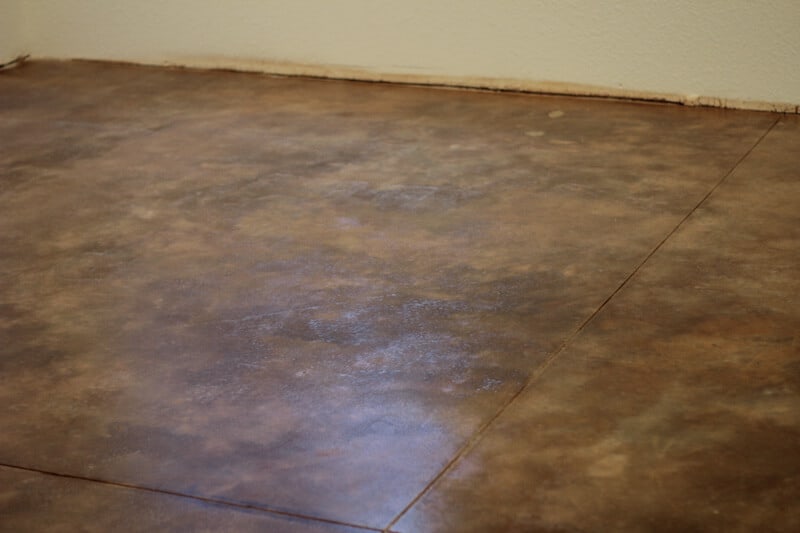
How to Acid Stain a Concrete Floor – Plank and Pillow

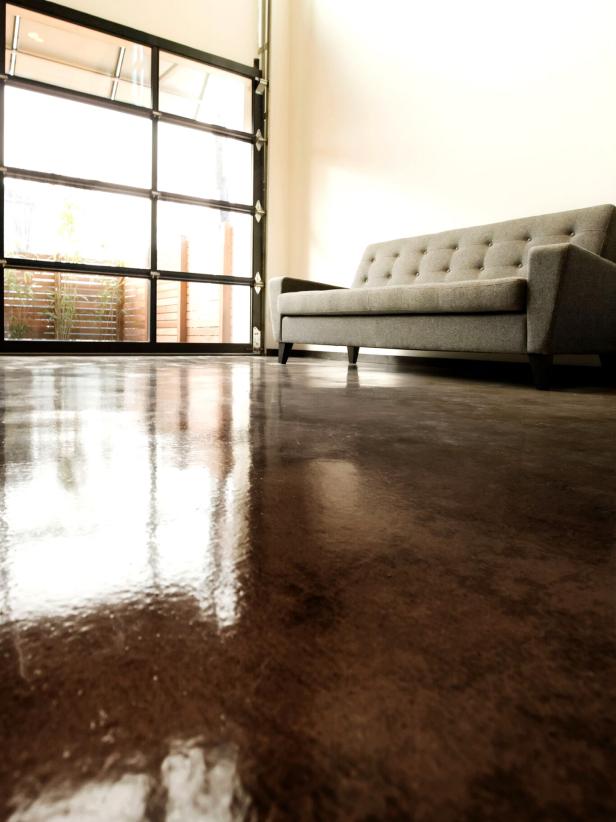
Coffee Brown Concrete Stain Photo Gallery Direct Colors
How to Apply an Acid-Stain Look to Concrete Flooring HGTV
How to Stain an Interior Concrete Floor eHow Painted concrete

Acid Stained Concrete Floors – Stained Concrete – Direct Colors
DIY Basement Floor Stain and finish, 2 colors, Without Etching!
Stained Garage Concrete Floor Turned Man Cave Direct Colors
The Beginneru0027s Guide to DIY Stained Concrete, A Step by Step Tutorial

How to Acid Stain Concrete Floors u2022 The Prairie Homestead
Related articles:
- Stained Concrete Floors Design
- Decorative Concrete Floors
- Acid Stained Concrete Floors
- Polished Concrete Floor In Bathroom
- Concrete Floor Stain And Polish
- White Mold On Concrete Floor
- Polished Concrete Floor
- Polished Concrete Floor Cleaning
- Staining Concrete Floors Indoors Yourself
- Flooring Options For Concrete Floors
Staining Interior Concrete Floors DIY: A Comprehensive Guide to Transforming Your Space
Introduction:
Concrete floors have long been associated with industrial settings, but they are increasingly becoming a popular choice for residential and commercial spaces alike. With their durability, versatility, and low maintenance requirements, concrete floors offer numerous advantages over traditional flooring options. However, bare concrete can lack visual appeal and warmth. This is where staining comes in. Staining interior concrete floors can transform them into beautiful, unique surfaces that enhance the overall aesthetic of any space. In this comprehensive guide, we will walk you through the process of staining interior concrete floors DIY-style, allowing you to unleash your creativity and create a stunning floor that reflects your personal style.
I. Understanding Concrete Stains:
Before delving into the DIY staining process, it’s essential to understand the different types of concrete stains available. There are two main categories: acid-based stains and water-based stains.
1. Acid-Based Stains:
Acid-based stains penetrate the concrete surface and react chemically to create unique colors and patterns. They typically consist of a mixture of water, acid-soluble metallic salts, hydrochloric acid, and wetting agents. Acid stains produce rich earth tones like browns, greens, and blues that mimic natural stone or marble.
FAQ #1: Are acid-based stains safe to use indoors?
Answer: Yes, acid-based stains are safe for indoor use if used correctly. However, proper ventilation is necessary during application due to the fumes emitted by the chemical reaction.
2. Water-Based Stains:
Water-based stains are non-reactive and contain pigments that penetrate the concrete surface without causing a chemical reaction. They offer a wider range of color options compared to acid-based stains and are generally easier to apply.
FAQ #2: Can water-based stains achieve vibrant colors like acid-based stains?
Answer: While water-based stains may not produce the same depth of color as acid-based stains, they can still achieve vibrant hues when applied in multiple layers or combined with other techniques.
II. Preparing the Concrete Surface:
Proper preparation is crucial for achieving a successful staining result. Follow these steps to ensure your concrete floor is ready for staining:
1. Cleaning and Repairing:
Begin by thoroughly cleaning the concrete surface, removing any dirt, debris, oil stains, or existing coatings. Use a degreasing cleaner or a mixture of water and trisodium phosphate (TSP) to scrub the floor. Rinse thoroughly and allow it to dry completely. Next, inspect the floor for any cracks, holes, or imperfections. Patch and repair these areas using an appropriate concrete patching compound.
FAQ #3: Can I stain a concrete floor with cracks or imperfections?
Answer: Yes, you can stain a concrete floor with minor cracks or imperfections. However, keep in mind that the stains will accentuate these flaws rather than conceal them. Consider filling larger cracks or opting for decorative techniques like faux finishes to minimize their appearance.
2. Testing Porosity:
Before applying the stain, it’s essential to determine the porosity of your concrete floor. Sprinkle a few drops of water on various areas of the floor. If the water beads up and doesn’t absorb into the concrete within a few minutes, it indicates low porosity. In such cases, you may need to etch or mechanically profile the surface to enhance its ability to absorb the stain.
FAQ #4: How can I improve the porosity of my concrete Floor?
Answer: To improve the porosity of your concrete floor, you can use a concrete etching solution or mechanically profile the surface using tools like a grinder or shot blaster. These methods create a textured surface that allows the stain to penetrate and adhere properly.
III. Applying the Stain:
Once your concrete surface is properly prepared, you can proceed with applying the stain. Follow these steps for a successful staining process:
1. Surface Protection:
Before starting, protect any adjacent surfaces or areas you don’t want to stain. Use plastic sheets, tape, or drop cloths to cover them.
2. Mixing and Diluting:
Follow the manufacturer’s instructions to mix and dilute the stain if required. Some stains come pre-mixed and ready to use, while others need dilution with water.
3. Application Techniques:
There are various application techniques you can choose from, depending on the desired effect. Common methods include spraying, brushing, rolling, or using a sponge or cloth. Apply the stain evenly and avoid overlapping to prevent uneven coloration.
4. Multiple Layers and Blending:
For more vibrant colors or unique effects, apply multiple layers of stain. Allow each layer to dry completely before adding the next one. You can also blend different colors together by applying them simultaneously or layering them after each other.
5. Sealing:
Once the stain has dried and achieved the desired color intensity, it’s essential to seal the concrete surface. A sealer protects the stain from wear and enhances its longevity. Choose a sealer specifically designed for stained concrete and follow the manufacturer’s instructions for application.
IV. Maintenance and Care:
To maintain the beauty and longevity of your stained concrete floor, follow these maintenance tips:
1. Regular Cleaning:
Sweep or dust mop the floor regularly to remove dirt and debris. Use a mild cleaner or pH-neutral detergent for routine cleaning. Avoid using harsh chemicals or abrasive cleaners that can damage the stain or sealer.
2. Preventive Measures:
Place mats or rugs at entryways to prevent dirt and grit from scratching the surface. Use furniture pads or coasters under heavy furniture to avoid scratching or indentations. Wipe up spills immediately to prevent staining.
3. Periodic Re-Sealing:
Over time, the sealer on your stained concrete floor may wear off. Periodically re-seal the surface according to the manufacturer’s instructions to maintain its protection and appearance.
By following these guidelines, you can achieve beautiful and long-lasting results when staining your concrete floor. Remember to always read and follow the instructions provided by the stain and sealer manufacturers for best results. Staining a concrete floor can be a great way to add color and character to your space. However, it’s important to follow the proper steps and techniques to ensure a successful and long-lasting result. Here are some guidelines to help you through the process:
1. Surface Preparation:
Before applying the stain, it’s crucial to prepare the concrete surface properly. Start by cleaning the floor thoroughly to remove any dirt, dust, or grease. Use a mild detergent and scrub brush or pressure washer if necessary. Repair any cracks or imperfections in the concrete and allow it to dry completely. Finally, tape off any areas you don’t want to stain and cover nearby objects with drop cloths to protect them.
2. Mixing and Diluting:
Follow the manufacturer’s instructions for mixing and diluting the stain if required. Some stains come pre-mixed and ready to use, while others need to be diluted with water. Make sure to mix the stain thoroughly before applying it.
3. Application Techniques:
There are several application techniques you can choose from, depending on the desired effect. Common methods include spraying, brushing, rolling, or using a sponge or cloth. Apply the stain evenly and avoid overlapping to prevent uneven coloration.
4. Multiple Layers and Blending:
For more vibrant colors or unique effects, you can apply multiple layers of stain. Allow each layer to dry completely before adding the next one. You can also blend different colors together by applying them simultaneously or layering them after each other.
5. Sealing:
Once the stain has dried and achieved the desired color intensity, it’s essential to seal the concrete surface. A sealer not only protects the stain from wear but also enhances its longevity. Choose a sealer specifically designed for stained concrete and follow the manufacturer’s instructions for application.
Maintenance and Care:
To maintain the beauty and longevity of your stained concrete floor, here are some maintenance tips:
1. Regular Cleaning:
Sweep or dust mop the floor regularly to remove dirt and debris. Use a mild cleaner or pH-neutral detergent for routine cleaning. Avoid using harsh chemicals or abrasive cleaners that can damage the stain or sealer.
2. Preventive Measures:
Place mats or rugs at entryways to prevent dirt and grit from scratching the surface. Use furniture pads or coasters under heavy furniture to avoid scratching or indentations. Wipe up spills immediately to prevent staining.
3. Periodic Re-Sealing:
Over time, the sealer on your stained concrete floor may wear off. Periodically re-seal the surface according to the manufacturer’s instructions to maintain its protection and appearance.
By following these guidelines, you can achieve beautiful and long-lasting results when staining your concrete floor. Remember to always read and follow the instructions provided by the stain and sealer manufacturers for best results.