Tile can produce the foundation for your decorating theme, or even become the very last accent in your bedroom motif. You can wash them with laundry soaps or maybe another floor laundering material. Not many individuals choose this particular flooring sort at the moment since it is not as good looking as the others. But if you don't wish to put mats you must go for the very best ceramic tile floor fresher.
Images Related to Slate Tile Flooring Outdoor
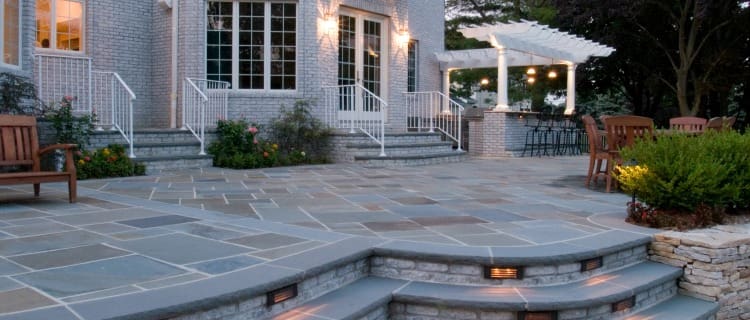
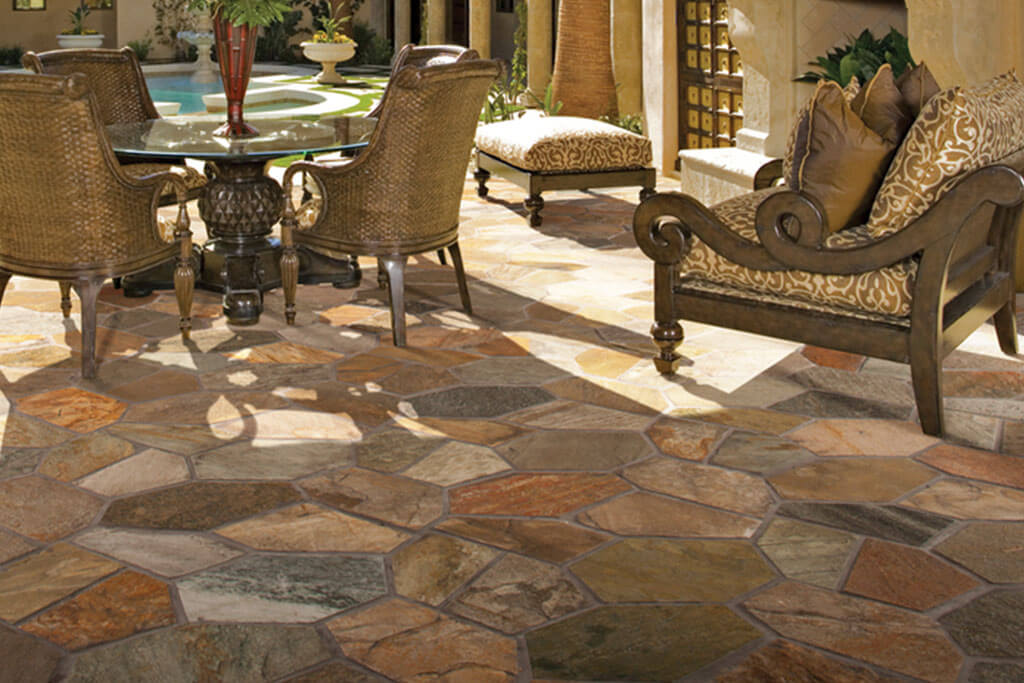
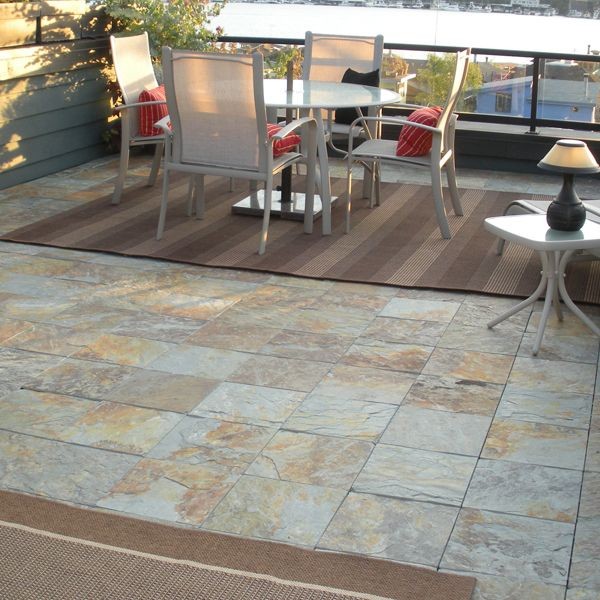
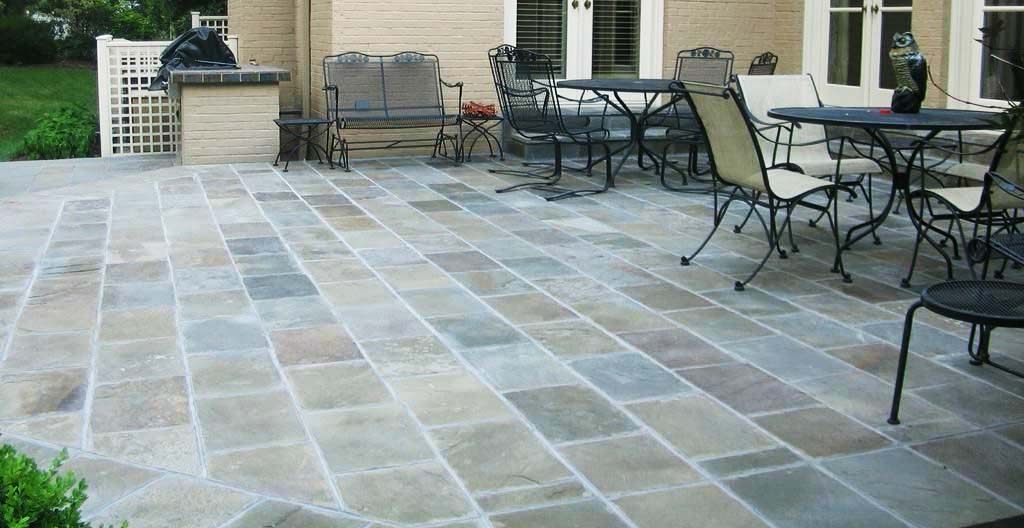
Slate Tile Flooring Outdoor

They will tolerate serious heat and cool conditions without breaking, they're exceptionally reluctant to numerous chemical compounds and won't ever fade nor stain, they've outstanding slip-resistant attributes and they're reasonably easy to clean and keep. Typically hot, dry weather means sand or dirt travel inside simply.
Outdoor Slate Tile: Discover Your Patio Flooring Options
Purchase them pre-cut to your requirements since they need to have a gemstone wheel for cutting. It is going to take a few of hours when the mortar is totally dry. For some individuals garage tile flooring is the sole choice and they view it as the smartest choice. Understanding the sort of subfloor you'll be putting in ceramic tile flooring over is important. The styles tones of theirs are light grey to solid black.
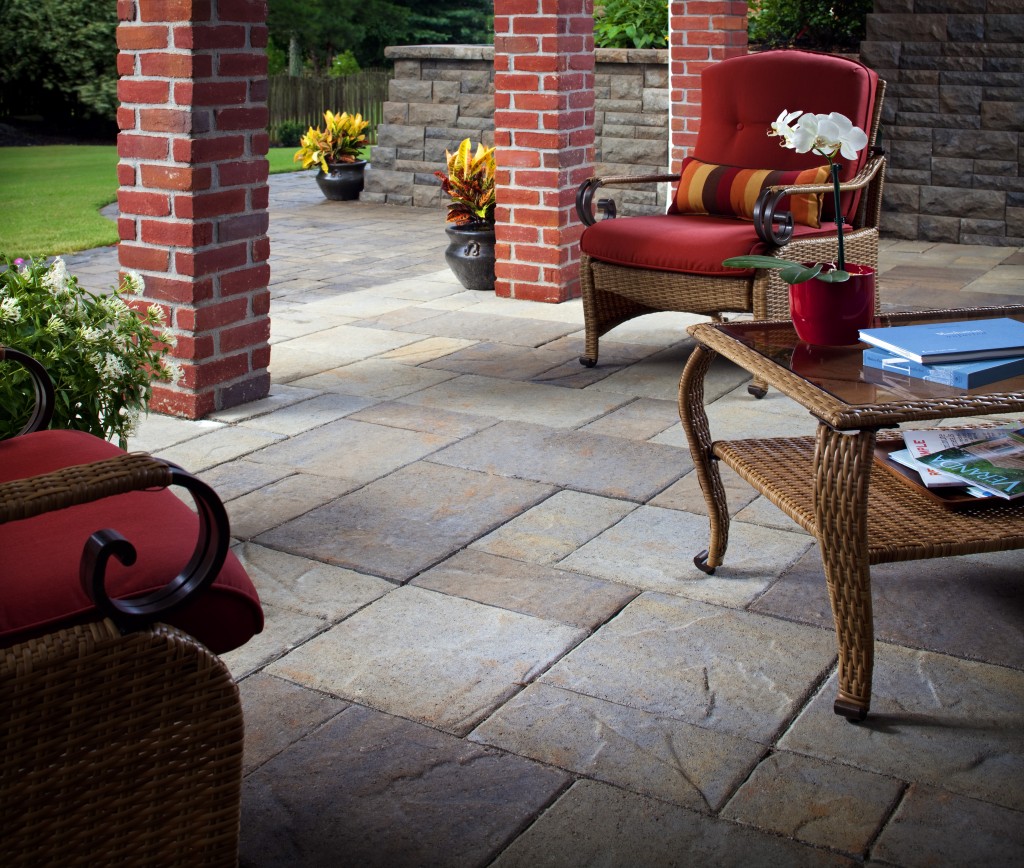
Outdoor Slate Tile: Patio Flooring Options + Expert Tips Install
Outdoor tile – CASARTA – Marshalls plc – garden / for floor / slate

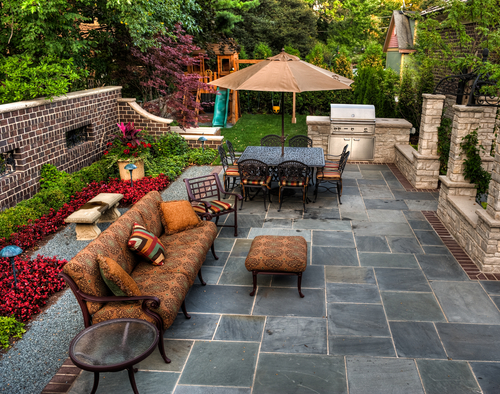
Slate, Outdoor, Deck, Tile – HomeInfatuation.com.

Beautiful black slate tile by Triton Stone! Patio pavers design

Pin on Slate Tile Projects

Outdoor Patio Flooring Slate
Three Things You Should Know About Natural Stone Tile
30,441 Slate Tile Photos – Free u0026 Royalty-Free Stock Photos from

8 Outdoor Flooring Options u2014 Du0026S Flooring
Outdoor Slate Floor Tiles – Contemporary – Patio – Chicago – by
How to Install Slate Tile
/a-closeup-image-of-slate-tiles-and-grout-140237029-24b4cf4f67ba4eb48751a5724c901514.jpg)
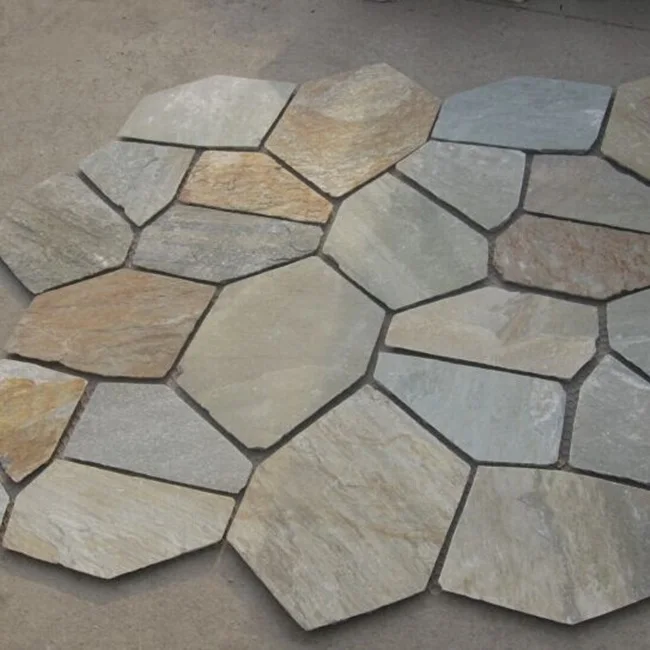
Slate floor tiles in earthly tones for hardscape designing
Related articles:
- Vintage Bathroom Floor Tile Patterns
- Bathroom Floor Tile DIY
- Limestone Bathroom Floor Tiles
- Bathroom Floor Porcelain Tile
- Concrete Bathroom Floor Ideas
- White Bathroom Ceramic Tiles
- Bathroom Floor Baseboard
- Rustic Bathroom Flooring Ideas
- Bathroom Flooring Options
- Bamboo Bathroom Flooring Ideas
Title: Slate Tile Flooring Outdoor: The Perfect Blend of Elegance and Durability
Introduction:
Slate tile flooring outdoor is a popular choice among homeowners who desire an elegant, durable, and low-maintenance flooring option for their outdoor spaces. With its natural beauty, robustness, and resistance to extreme weather conditions, slate tile flooring has become a go-to solution for patios, decks, walkways, and other exterior areas. In this comprehensive article, we will explore the various aspects of slate tile flooring outdoor, including its benefits, installation process, maintenance tips, and frequently asked questions.
I. What is Slate Tile Flooring Outdoor?
Slate is a metamorphic rock that is formed from the compression of clay and shale over millions of years. It is characterized by its unique texture and color variations, which add to the charm and appeal of any outdoor space. Slate tile flooring is crafted from thin layers of slate that are cut into tiles of various shapes and sizes for installation in exterior areas.
II. Benefits of Slate Tile Flooring Outdoor:
1. Durability: One of the primary advantages of slate tile flooring outdoor is its exceptional durability. This natural stone can withstand heavy foot traffic and is highly resistant to cracks, chips, and scratches. It can easily handle the rigors of outdoor use without losing its structural integrity.
2. Weather Resistance: Slate tile flooring exhibits excellent resistance to extreme temperatures, making it an ideal choice for outdoor environments. Whether it’s scorching heat or freezing cold, slate tiles retain their strength and beauty year-round.
3. Slip Resistance: The textured surface of slate tiles offers excellent slip resistance even when wet. This makes them a safe option for poolside areas or any space exposed to moisture.
4. Aesthetics: With its stunning array of colors, from deep blues and greens to warm earth tones, slate tile flooring adds a touch of elegance and sophistication to any outdoor space. Each tile has its unique pattern, creating a visually captivating mosaic effect.
5. Low Maintenance: Slate tile flooring requires minimal upkeep. Regular sweeping and occasional mopping are usually sufficient to keep it looking pristine. Additionally, slate’s natural resistance to stains and spills makes it an easy-to-maintain option.
III. Installation Process of Slate Tile Flooring Outdoor:
Installing slate tile flooring outdoor involves several steps, including surface preparation, tile layout, adhesive application, grouting, and sealing. Here is a breakdown of the installation process:
1. Surface Preparation: Ensure that the surface is clean, level, and free from any debris or existing flooring materials. Remove any loose or damaged concrete or wood.
2. Tile Layout: Plan the layout of the tiles by starting from a central point and working outward. Dry-lay the tiles to ensure a proper fit and make any necessary cuts before proceeding to the next step.
3. Adhesive Application: Apply a suitable outdoor adhesive to the prepared surface using a notched trowel. Work in small sections to prevent the adhesive from drying out before laying the tiles.
4. Tile Installation: Place each slate tile firmly into the adhesive, pressing down gently to ensure proper adhesion. Use plastic spacers between tiles for consistent spacing.
5. Grouting: Once the adhesive has cured (usually after 24 hours), apply grout using a float or grout bag. Remove excess grout with a damp sponge before it dries.
6. Sealing: After the grout has fully cured (typically after 48 hours), apply A penetrating sealer to protect the slate tiles from moisture, stains, and other outdoor elements. Follow the manufacturer’s instructions for application and drying times.
7. Regular Maintenance: To keep your slate tile flooring outdoor looking its best, regularly sweep or vacuum to remove dirt and debris. Clean up spills immediately to prevent staining, and periodically reapply a sealer to maintain its protective layer.
Overall, the installation process of slate tile flooring outdoor requires careful preparation and attention to detail. Hiring a professional installer can ensure a successful and long-lasting installation. Here is an example of the installation process of slate tile flooring outdoor:
1. Surface Preparation: Ensure that the surface is clean, level, and free from any debris or existing flooring materials. Remove any loose or damaged concrete or wood.
2. Tile Layout: Plan the layout of the tiles by starting from a central point and working outward. Dry-lay the tiles to ensure a proper fit and make any necessary cuts before proceeding to the next step.
3. Adhesive Application: Apply a suitable outdoor adhesive to the prepared surface using a notched trowel. Work in small sections to prevent the adhesive from drying out before laying the tiles.
4. Tile Installation: Place each slate tile firmly into the adhesive, pressing down gently to ensure proper adhesion. Use plastic spacers between tiles for consistent spacing.
5. Grouting: Once the adhesive has cured (usually after 24 hours), apply grout using a float or grout bag. Remove excess grout with a damp sponge before it dries.
6. Sealing: After the grout has fully cured (typically after 48 hours), apply a penetrating sealer to protect the slate tiles from moisture, stains, and other outdoor elements. Follow the manufacturer’s instructions for application and drying times.
7. Regular Maintenance: To keep your slate tile flooring outdoor looking its best, regularly sweep or vacuum to remove dirt and debris. Clean up spills immediately to prevent staining, and periodically reapply a sealer to maintain its protective layer.
Overall, the installation process of slate tile flooring outdoor requires careful preparation and attention to detail. Hiring a professional installer can ensure a successful and long-lasting installation. The installation process for outdoor slate tile flooring requires careful preparation and attention to detail. Here is an example of the step-by-step process:
1. Surface Preparation: Begin by ensuring that the surface is clean, level, and free from any debris or existing flooring materials. Remove any loose or damaged concrete or wood.
2. Tile Layout: Plan the layout of the tiles by starting from a central point and working outward. Dry-lay the tiles to ensure a proper fit and make any necessary cuts before proceeding to the next step.
3. Adhesive Application: Use a notched trowel to apply a suitable outdoor adhesive to the prepared surface. Work in small sections to prevent the adhesive from drying out before laying the tiles.
4. Tile Installation: Place each slate tile firmly into the adhesive, pressing down gently to ensure proper adhesion. Use plastic spacers between tiles for consistent spacing.
5. Grouting: Once the adhesive has cured (usually after 24 hours), apply grout using either a float or grout bag. Remove excess grout with a damp sponge before it dries.
6. Sealing: After the grout has fully cured (typically after 48 hours), apply a penetrating sealer to protect the slate tiles from moisture, stains, and other outdoor elements. Follow the manufacturer’s instructions for application and drying times.
7. Regular Maintenance: To keep your outdoor slate tile flooring looking its best, regularly sweep or vacuum to remove dirt and debris. Clean up spills immediately to prevent staining, and periodically reapply a sealer to maintain its protective layer.
Overall, hiring a professional installer can ensure a successful and long-lasting installation of outdoor slate tile flooring.