The reality however is the fact that the epoxy garage floor remedy requires no more information than what's needed to pain a wall. Floor mats are wonderful to go after laying them on the floor. Rubber garage flooring or even an epoxy-coating is durable. Your special tastes will be respected because you are able to individualize the way you coat the floor of yours. Garage flooring doesn't have to be old fashioned.
Here are Images about Self Leveling Compound Concrete Garage Floor
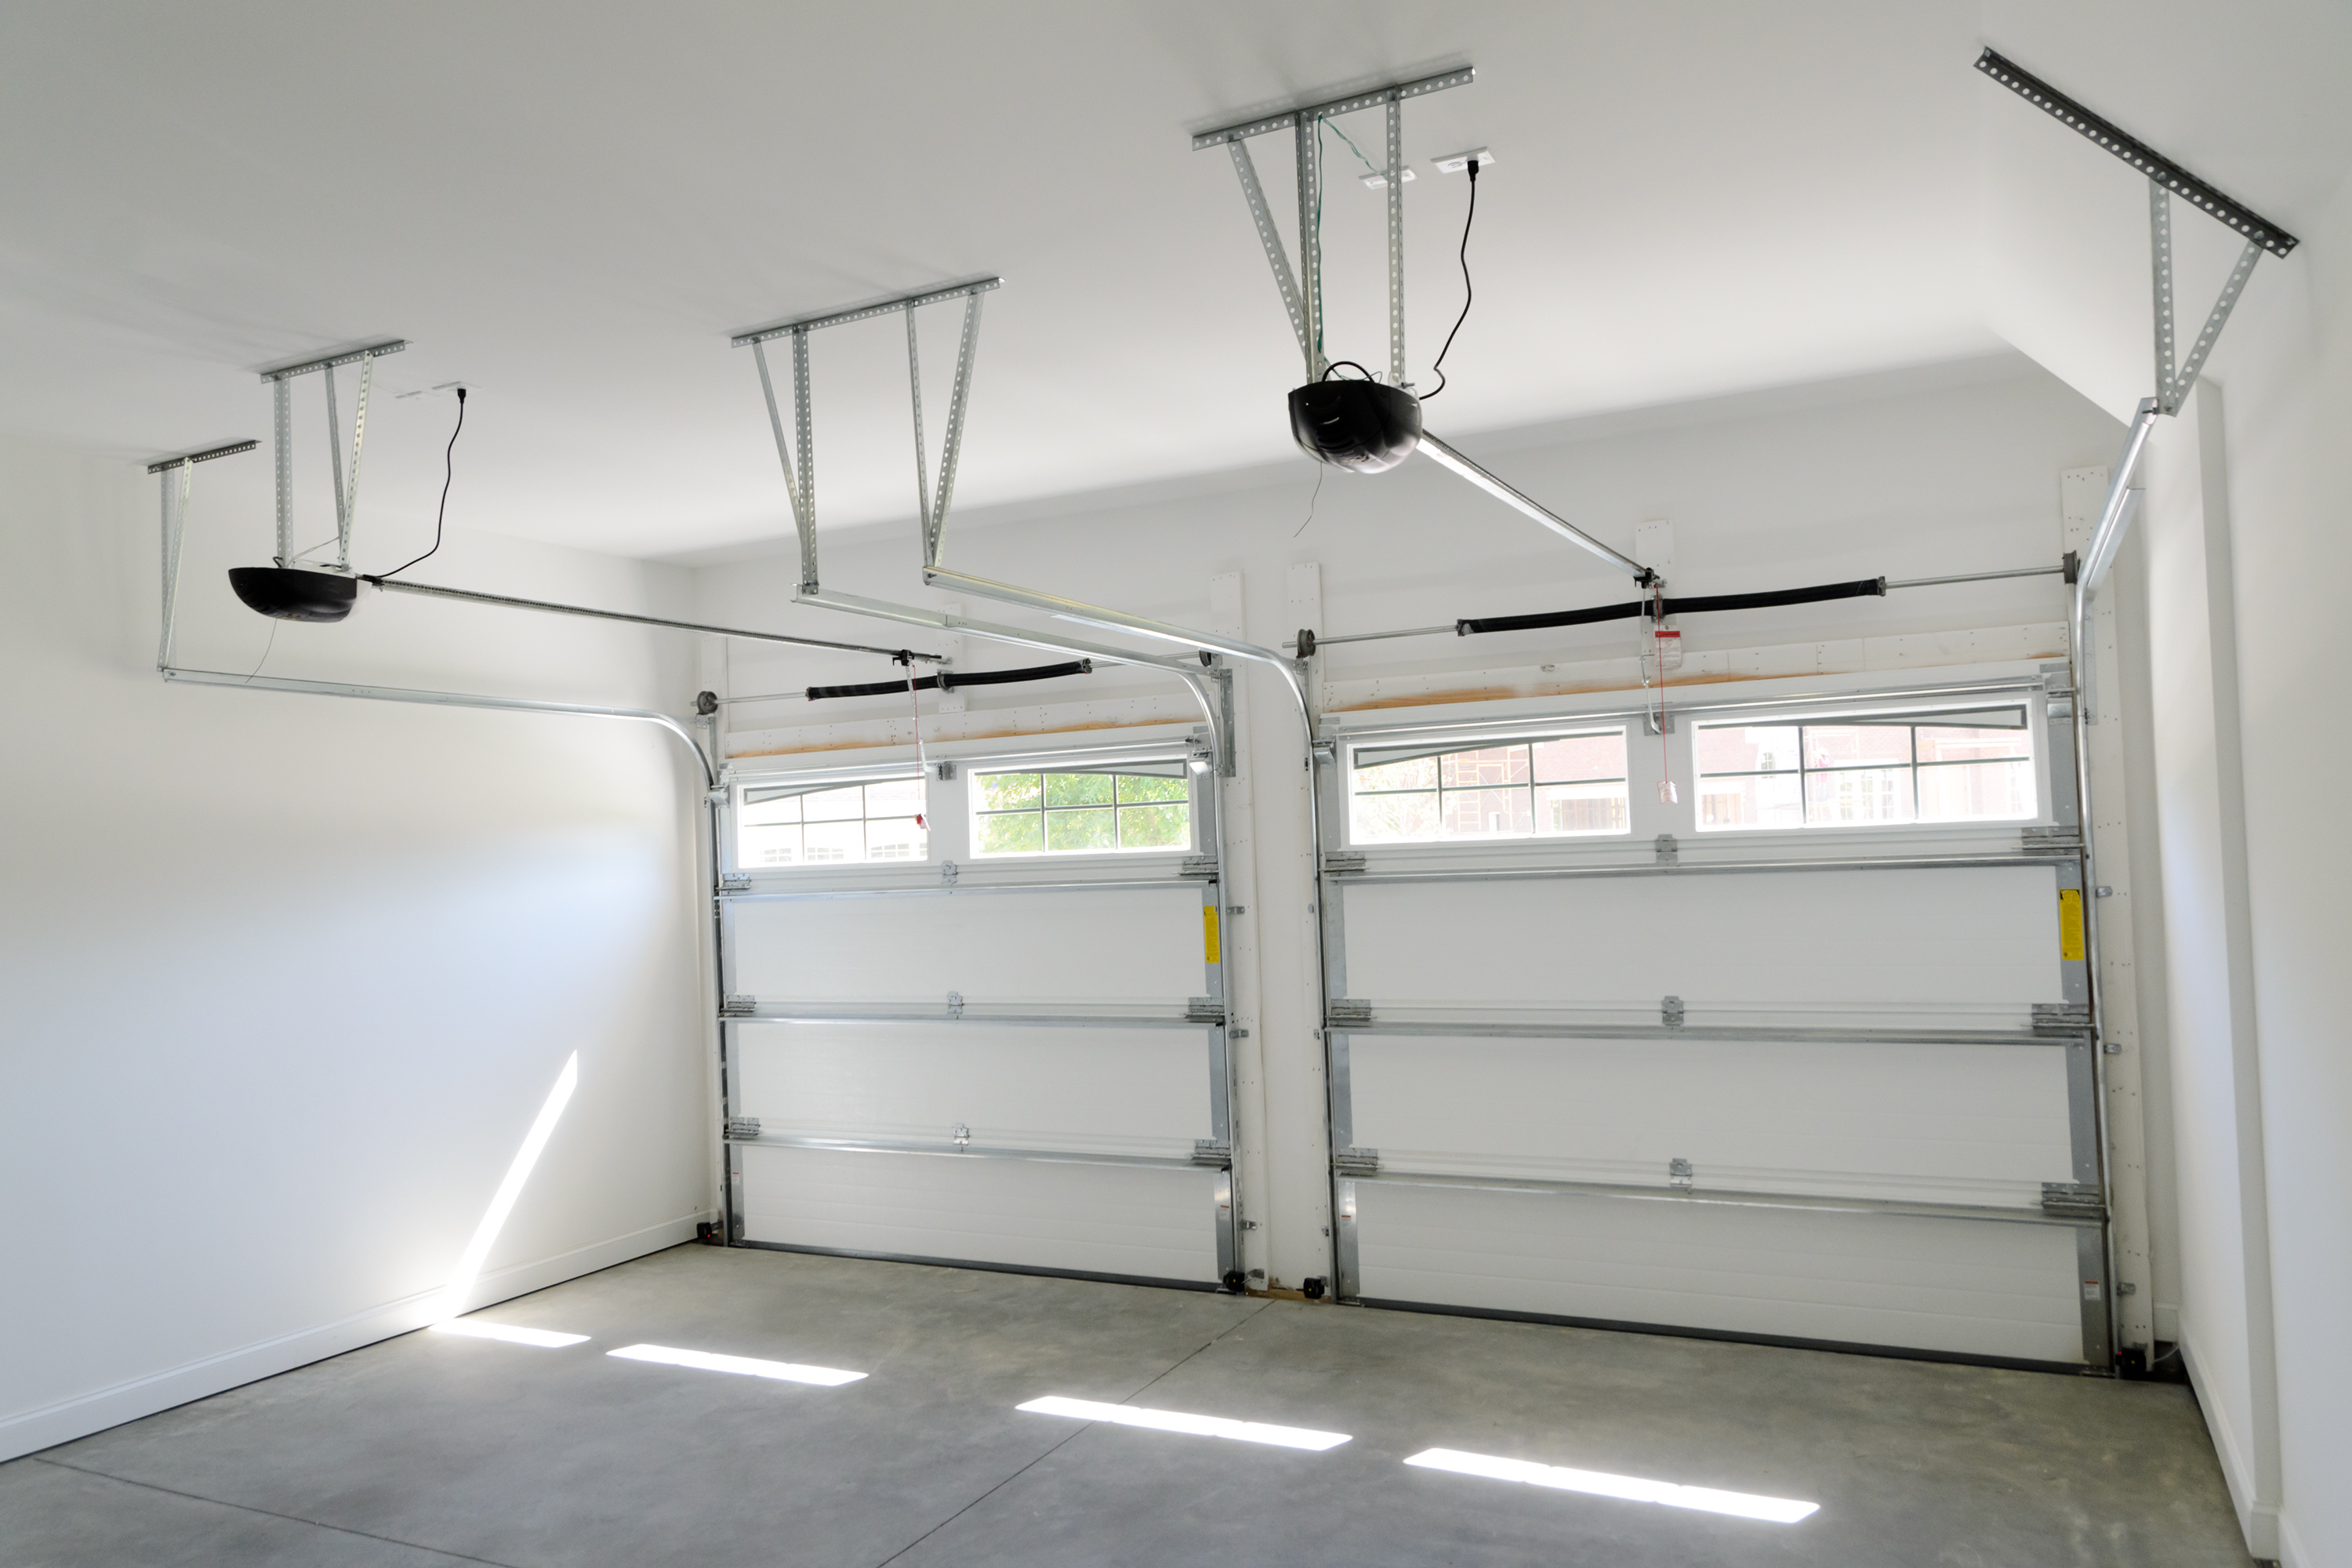
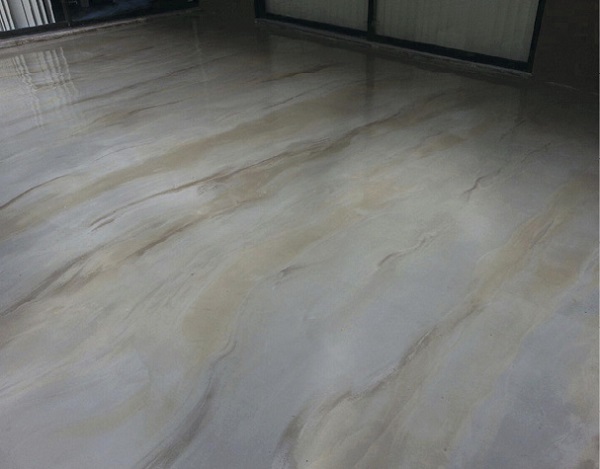
Self Leveling Compound Concrete Garage Floor
Typical fluids which often destroy a garage concrete floor are motor oils, drinking water, as well as other chemical substances that are often stored as well as found in any garage. A lot of people that spend time operating in their garage will use it as a wood shop or automobile shop. But there are different sorts of garage flooring for you to choose from.
How to avoid pinholes in self leveling cement floors? Duraamen

Some people chose to just cover the area of their garage floors that they utilize parking their automobile. You can not assume all garage flooring is the same, and one of the main differences in between them is actually issues of install. And a good number of customers settle for floor mats simply since it's the easiest one to install. One more option is floor epoxy.
Images Related to Self Leveling Compound Concrete Garage Floor
Can Self Leveling Concrete Be Used as a Finished Floor?
How to use self-leveling on large floor areas
How to Resurface a Garage Floor.

SikaLevel Self-Leveling Underlayment SIKA

How to pour self levelling cement yourself.
Concrete Garage Floor Repair and Leveling Services Garage Floor

5 Benefits of Self-Leveling Epoxy Flooring Black Bear Coating

How to Fix Low Spots on a Garage Floor
Self-Leveling Concrete Can Save Both Time and Money – Concrete Decor
Concrete Garage Floor Repair and Leveling Services Garage Floor

FLOOR-TOP STG – Concrete Floor Topping – W. R. Meadows
How To Level A Concrete Floor That Slopes at Level

Related articles:
- Interlocking Garage Floor Tiles
- Garage Floor Coatings
- Garage Floor Ideas
- Garage Floor Paint
- Garage Floor Rubber Covering
- Garage Floor Coating Paint
- Garage Floor Epoxy Ideas
- Best Garage Floor Material
- Black Epoxy Garage Floor Coating
- Garage Floor Slab Thickness
Self Leveling Compound for Concrete Garage Floors: Achieving a Smooth and Durable Surface
Introduction:
A concrete garage floor is subject to heavy use, from vehicle traffic to various types of equipment and tools. Over time, it is natural for the surface to become uneven, resulting in tripping hazards and an unappealing appearance. Fortunately, there is a solution to this problem – self-leveling compound. In this article, we will delve into the world of self-leveling compounds for concrete garage floors, exploring their benefits, application process, and frequently asked questions.
Benefits of Self Leveling Compound:
1. Achieving a Smooth Surface: One of the primary benefits of using self-leveling compound on your concrete garage floor is the ability to create a smooth and even surface. The compound spreads out evenly across the floor, filling in gaps, cracks, and imperfections. This ensures that your garage floor not only looks visually appealing but also provides a safe environment free from tripping hazards.
2. Improved Durability: By applying a self-leveling compound, you can significantly enhance the durability of your concrete garage floor. The compound acts as a protective layer that strengthens the surface, making it more resistant to wear and tear caused by heavy vehicles or dropped tools. Additionally, it helps to prevent further damage by sealing any existing cracks or joints.
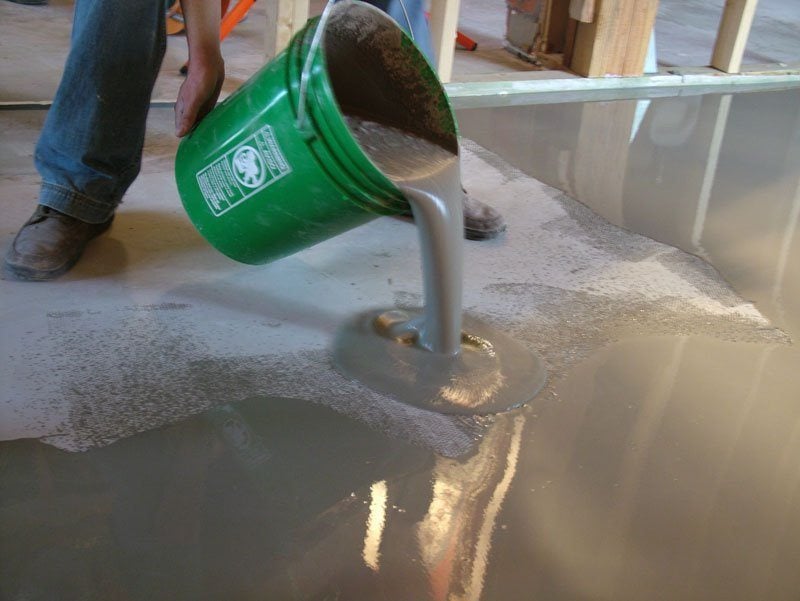
3. Time-Saving Application: Unlike traditional methods of leveling a concrete floor, such as using mortar or cement mixtures, self-leveling compounds offer a much quicker application process. With their fluid consistency, these compounds can be poured onto the floor and spread effortlessly using a squeegee or trowel. This saves both time and effort compared to manually mixing materials and waiting for them to dry.
4. Versatility: Self-leveling compounds are suitable for various types of garage floors, including those made of concrete, plywood, or even existing tiles. This versatility makes them an excellent choice for both new construction projects and renovations, as they can be used to level the floor before applying a new surface or covering.
Application Process:
1. Surface Preparation: Before applying a self-leveling compound, it is crucial to prepare the concrete garage floor properly. Start by thoroughly cleaning the surface to remove any dirt, grease, or debris. Next, inspect the floor for cracks or holes and repair them using an appropriate patching compound or epoxy filler. Finally, ensure that the floor is completely dry before moving on to the next step.
2. Primer Application: Applying a primer serves as a crucial step in ensuring proper adhesion of the self-leveling compound to the concrete floor. Choose a primer specifically designed for self-leveling compounds and follow the manufacturer’s instructions for application. Typically, this involves mixing the primer with water and applying it evenly using a roller or brush. Allow sufficient drying time before proceeding.
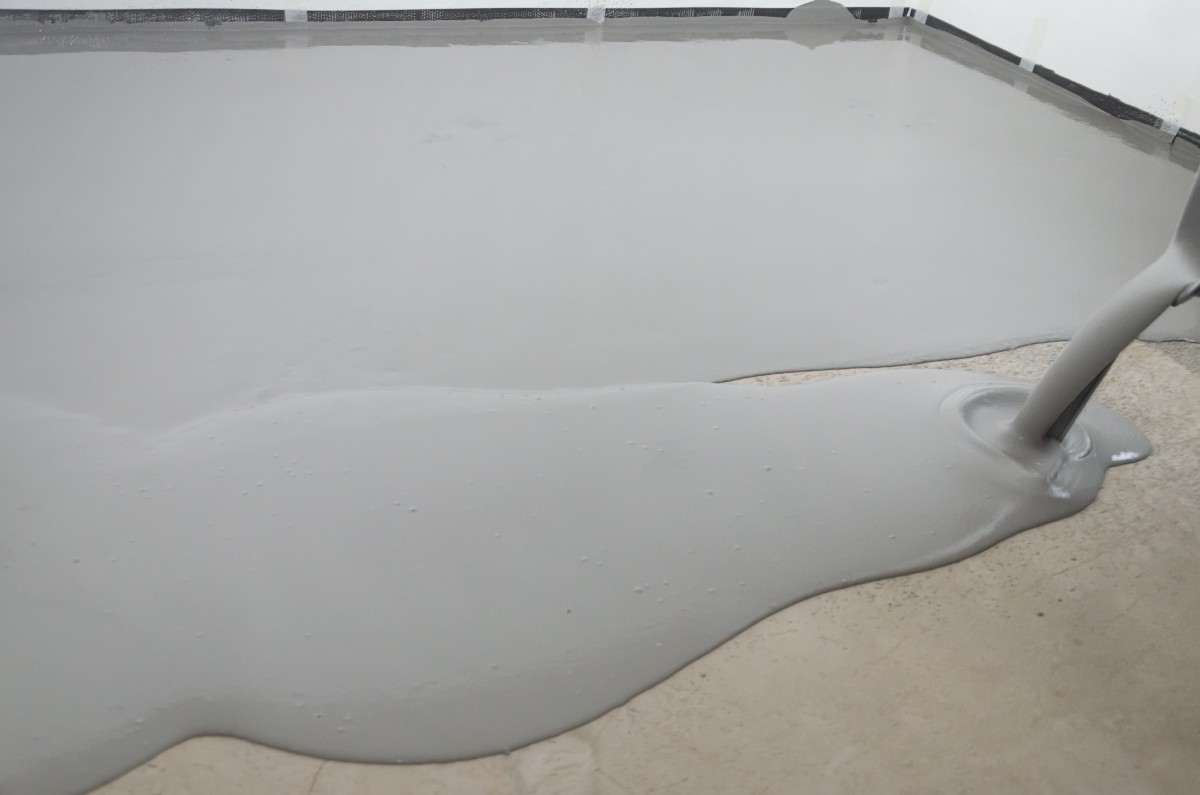
3. Mixing and Pouring: Once the primer is dry, it’s time to mix the self-leveling compound according to the manufacturer’s instructions. Most compounds come in powder form and require mixing with water to achieve the desired consistency. Use a drill with a mixing paddle attachment for efficient blending. Slowly add water while continuously stirring until you obtain a smooth, pourable mixture.
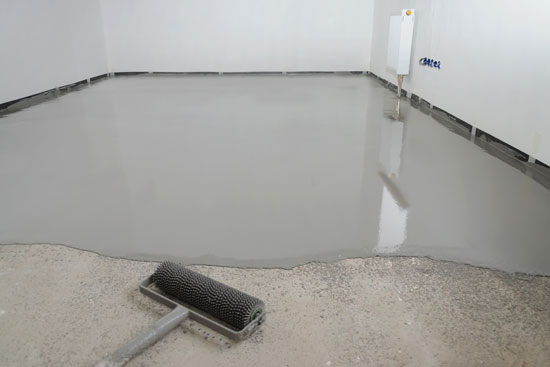
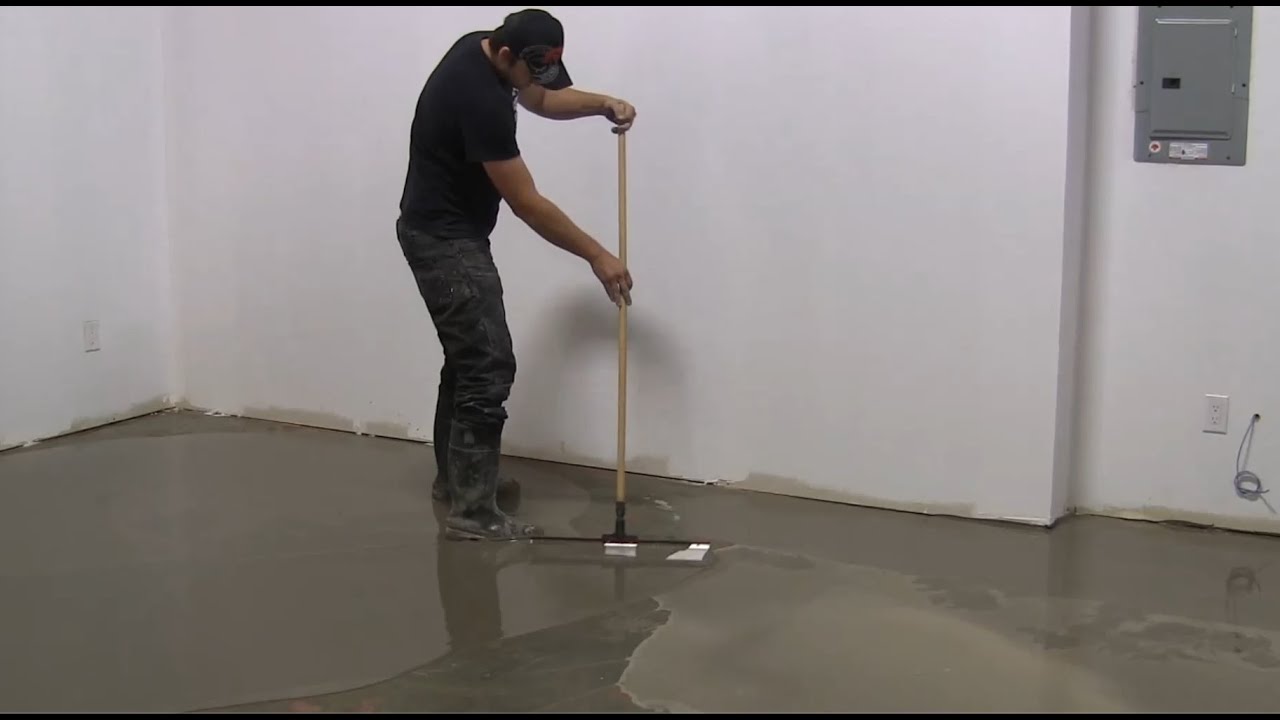
4. Spreading and Leveling: With your mixed self-leveling compound ready, begin pouring it onto the garage floor strategically, starting from one corner and working your way towards an exit point. Use a squeegee or trowel to spread the compound evenly across the Entire floor, ensuring that it fills any low spots and levels out any uneven areas. Work quickly to prevent the compound from drying before you can spread it properly.
5. Smoothing and Finishing: After spreading the compound, use a smoothing tool, such as a trowel or long-handled squeegee, to further level and smooth the surface. This will help eliminate any ridges or bumps and create a seamless finish. Pay extra attention to edges and corners to ensure they are properly filled and leveled.
6. Drying Time: Allow the self-leveling compound sufficient time to dry and cure before applying any additional coatings or coverings. The drying time can vary depending on factors such as temperature, humidity, and the thickness of the applied compound. It is recommended to follow the manufacturer’s instructions for specific drying times.
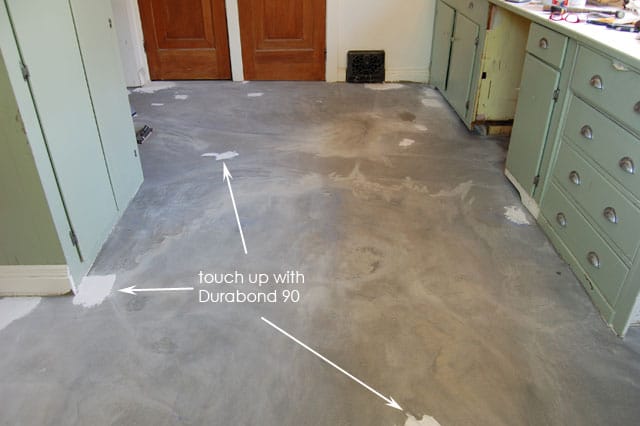
7. Final Touches: Once the self-leveling compound is fully dry, inspect the surface for any imperfections or rough spots. Use sandpaper or a floor sander to smooth out any rough areas if necessary. Finally, you can proceed with applying your desired floor covering or coating, such as epoxy paint or garage tiles, for a finished look.
To properly finish a concrete garage floor, follow these steps:
1. Thoroughly clean the surface to remove dirt, grease, and debris.
2. Inspect the floor for cracks or holes and repair them using an appropriate patching compound or epoxy filler.
3. Ensure the floor is completely dry before proceeding.
4. Apply a primer designed for self-leveling compounds according to the manufacturer’s instructions.
5. Mix the self-leveling compound with water according to the manufacturer’s instructions.
6. Pour the mixed compound onto the garage floor, starting from one corner and working towards an exit point.
7. Use a squeegee or trowel to spread the compound evenly and fill any low spots or level out uneven areas.
8. Smooth the surface using a trowel or long-handled squeegee to eliminate ridges or bumps.
9. Pay attention to edges and corners to ensure they are properly filled and leveled.
10. Allow the compound sufficient time to dry and cure before applying additional coatings or coverings.
11. Inspect the surface for any imperfections or rough spots and use sandpaper or a floor sander to smooth them if necessary.
12. Apply your desired floor covering or coating, such as epoxy paint or garage tiles, for a finished look.
Remember to always follow the manufacturer’s instructions for each product used and take proper safety precautions when working with chemicals and tools. Some additional tips for finishing a concrete garage floor include:
1. Use a long-handled squeegee or trowel to spread the self-leveling compound in a back-and-forth motion, covering the entire floor surface. This will help ensure an even application and prevent any missed spots.
2. Work in small sections at a time to prevent the compound from drying before you can spread it properly. This is especially important if you are working in a large area.
3. Use a bubble level or laser level to check for any uneven areas or low spots before applying the self-leveling compound. This will help you identify areas that may require additional compound or leveling.
4. If there are any deep cracks or holes in the concrete floor, consider using a concrete repair product before applying the self-leveling compound. This will help create a smoother surface and prevent future cracks from forming.
5. Ensure proper ventilation in the garage while working with self-leveling compounds and other chemicals. Open windows or use fans to keep the air circulating and prevent the buildup of fumes.
6. Consider applying multiple coats of self-leveling compound if necessary, especially if you are dealing with significant unevenness in the floor. Allow each coat to dry completely before applying the next one.
7. If you are planning to apply epoxy paint or other coatings on top of the self-leveling compound, make sure to choose products that are compatible with each other. Follow the manufacturer’s instructions for both products to ensure proper adhesion and durability.
8. Take your time during each step of the process and pay attention to detail. Proper preparation and application will result in a smooth and durable garage floor finish.
Overall, by following these steps and tips, you can achieve a professional-looking finish for your concrete garage floor.