Many vinyl tiles have adhesive backing which an installer must peel off, placement on the floor and put it on. You will find a few things you are able to do to stop this from happening to guard your floor. There's additionally a vinyl-backed style, which only requires gluing on the edges and can be easily eliminated when replacement is needed. One of the main downsides of vinyl floor is that it can't be refinished as well as polished.
Images Related to Rubber Vinyl Flooring For Bathroom
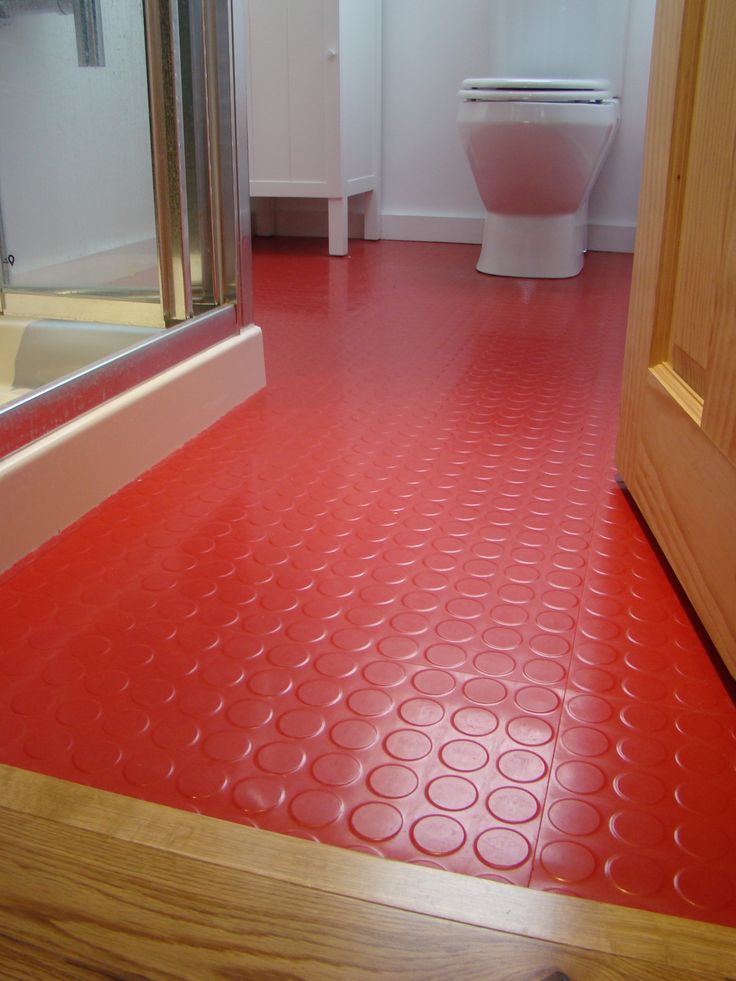
Rubber Vinyl Flooring For Bathroom

Vinyl flooring can be made to mimic natural stone which is extremely popular in luxury models. The wear covering is actually also from vinyl and helps to protect the floor from wear and tear. Vinyl is considered first-rate flooring material on all the counts that matter. The resistance of its to dents and gouging is dependent on the thickness belonging to the layer. No demand for harsh chemicals or cleaning agents.
Five Reasons Why Rubber Flooring for Bathrooms Is the Best Option
Tiles as well as Solid Pieces- Vinyl sheet will do well in any place in your home. Stay away from using an overly soaked mop, particularly over the vinyl tiles. This's because in spite of its rich luxurious look, the price is really affordable. Just before you choose to pick a vinyl floor it's essential to balance the pro's and also con's of vinyl floor surfaces. Unlike a few years back, vinyl flooring wore readily.
Residential Rubber Flooring: Rubber Tiles, Rolls and Mats in Your Home
Bathroom Flooring Luxury Vinyl Bathroom Flooring LVT u0026 Rubber
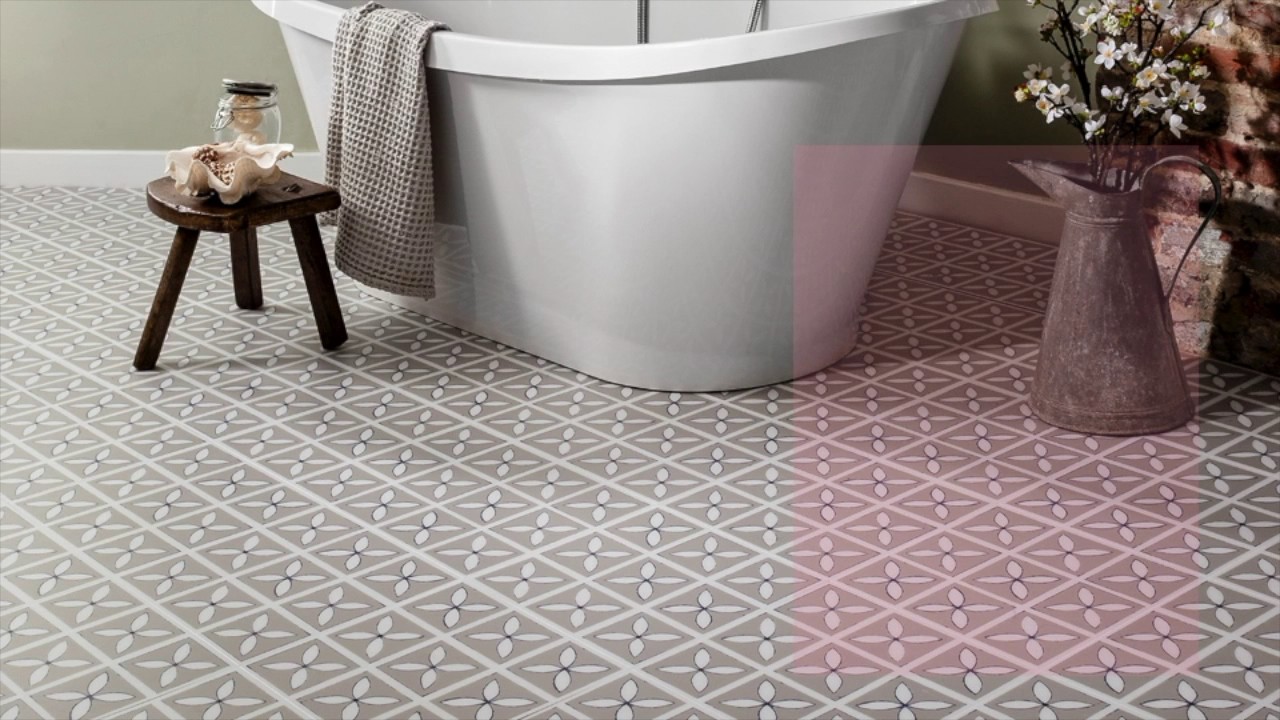
Bathroom Flooring Ideas Luxury Vinyl Tiles Harvey Maria

Bathroom flooring ideas u2013 Flooring ideas for bathrooms

Bathroom flooring ideas u2013 Flooring ideas for bathrooms

Bathroom Flooring Ideas: Cushioned Flooring
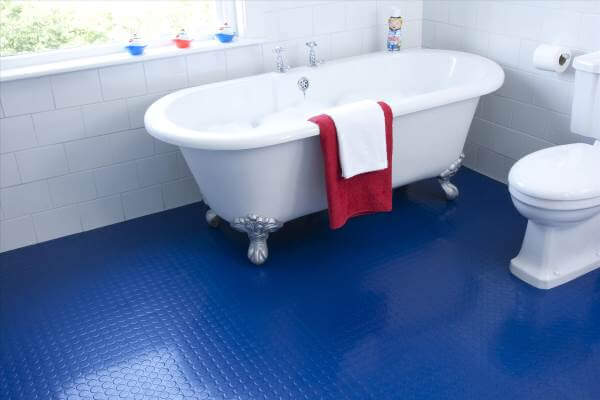
Black raised rubber flooring in the bathroom. You can secure it

Bathroom Flooring Luxury Vinyl Bathroom Flooring LVT u0026 Rubber

Rubber Soul Paulu0027s Scrap Car Removal
Bright Yellow Vinyl Flooring – The Colour Flooring Company

What is the Best Flooring for Bathrooms? u2013 The Good Guys

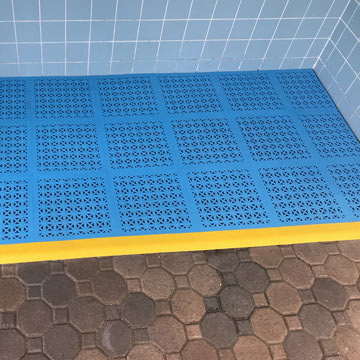
Non-Slip Bathroom Flooring for Your Home

Related articles:
- Vinyl Flooring Bathroom Tile
- Modern Vinyl Flooring
- Funky Vinyl Flooring
- Vinyl Flooring For Kitchen
- Vintage Look Vinyl Flooring
- Kitchen Vinyl Floor Tiles Ideas
- Vinyl Flooring With Wood Look
- Waterproof Vinyl Flooring
- Vinyl Flooring For Cheap
- How To Remove Vinyl Flooring
Rubber Vinyl Flooring For Bathroom: A Durable and Stylish Choice
Introduction:
The bathroom is one of the most important areas in any home, and it deserves flooring that not only looks beautiful but also withstands the daily wear and tear. Rubber vinyl flooring has emerged as a popular choice for bathrooms due to its durability, water resistance, and stylish appearance. In this article, we will delve into the various aspects of rubber vinyl flooring for bathrooms, including its benefits, installation process, maintenance tips, and frequently asked questions.
Benefits of Rubber Vinyl Flooring for Bathrooms:
1. Durability: Rubber vinyl flooring is known for its exceptional durability. It is designed to withstand heavy foot traffic, making it suitable for bathrooms that experience high usage. The rubber composition of this flooring provides excellent resilience against scratches, stains, and dents, ensuring it maintains its pristine appearance for years to come.
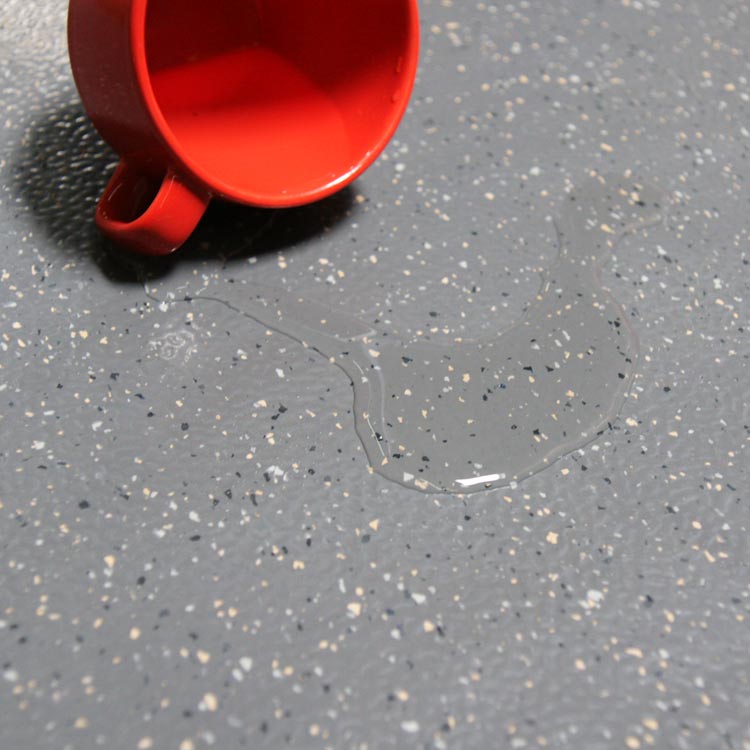
2. Water Resistance: Bathrooms are prone to moisture and water spills, making water resistance a crucial factor when choosing flooring. Rubber vinyl flooring offers excellent water resistance, preventing any damage caused by water penetration. Its seamless installation further enhances its ability to prevent water seepage, making it a reliable choice for bathroom flooring.
3. Slip Resistance: Safety is paramount in a bathroom environment where slipping accidents can occur due to wet conditions. Rubber vinyl flooring comes with anti-slip properties that provide enhanced traction underfoot. This feature reduces the risk of accidents, especially in households with children or elderly individuals.
4. Comfortable Underfoot: Walking barefoot on cold tiles can be uncomfortable during winter months. Rubber vinyl flooring offers a warmer surface compared to traditional ceramic or stone tiles, providing a more comfortable experience underfoot throughout the year.
Installation Process:
Installing rubber vinyl flooring in your bathroom requires careful planning and attention to detail. Here are the essential steps involved:
1. Prepare the Surface: Ensure that the bathroom floor is clean, dry, and free from any debris or imperfections. Remove the existing flooring, if necessary, and repair any cracks or uneven areas.
2. Measure and Cut: Take accurate measurements of the bathroom floor to determine the amount of rubber vinyl flooring needed. Use a utility knife or a vinyl cutter to cut the flooring sheets into appropriate sizes based on the measurements.
3. Apply Adhesive: Apply a suitable adhesive to the subfloor using a trowel, following the manufacturer’s instructions. Spread the adhesive evenly to ensure proper adhesion.
4. Lay the Flooring: Carefully lay each sheet of rubber vinyl flooring onto the adhesive, aligning it with the edges of the room. Avoid stretching or folding the flooring during installation to prevent unnecessary stress on the material.
5. Trim and Finish: Once all the flooring sheets are in place, trim any excess material along the edges using a utility knife for a neat finish. Apply seam sealer to secure the joints between each sheet and allow sufficient drying time as per the manufacturer’s guidelines.
Maintenance Tips for Rubber Vinyl Flooring in Bathrooms:
Proper maintenance is essential to preserve the beauty and longevity of your rubber vinyl flooring in bathrooms. Here are some tips to keep it looking its best:
1. Regular Cleaning: Sweep or vacuum your rubber vinyl flooring regularly to remove dirt, dust, and debris that can cause scratches or dull its appearance. Use a damp mop with a mild detergent solution to clean the surface thoroughly, avoiding excessive water that may seep into seams.
2. Remove Stains Promptly: Treat spills or stains immediately to Prevent them from setting into the rubber vinyl flooring. Use a mild cleaning solution or a specialized vinyl floor cleaner to remove the stain gently. Avoid using harsh chemicals or abrasive tools that can damage the flooring.
3. Avoid Scratches: Place protective pads under furniture legs to prevent scratching the rubber vinyl flooring. Use a doormat at the entrance of the bathroom to trap dirt and prevent it from being tracked onto the floor.
4. Control Moisture: Wipe up any water spills or splashes immediately to prevent moisture damage to the rubber vinyl flooring. Use bath mats or rugs outside the shower or bathtub area to absorb excess water and minimize slipping hazards.
5. Prevent Sun Damage: Direct sunlight exposure can cause fading or discoloration of rubber vinyl flooring over time. Use blinds, curtains, or UV-protective window films to minimize sun exposure in your bathroom.
Conclusion:
Rubber vinyl flooring is a reliable and practical choice for bathrooms due to its durability, slip resistance, and comfort underfoot. By following proper installation and maintenance procedures, you can enjoy a beautiful and functional bathroom floor that will last for years to come. Overall, the process for installing rubber vinyl flooring in a bathroom involves applying adhesive to the subfloor, laying the flooring sheets onto the adhesive, trimming and finishing the edges, and applying seam sealer. To maintain the flooring, regular cleaning, prompt stain removal, avoiding scratches, controlling moisture, and preventing sun damage are essential. By following these steps and tips, you can ensure that your rubber vinyl flooring in the bathroom remains in good condition and lasts for a long time. Overall, the process for installing rubber vinyl flooring in a bathroom involves applying adhesive to the subfloor, laying the flooring sheets onto the adhesive, trimming and finishing the edges, and applying seam sealer. To maintain the flooring, regular cleaning, prompt stain removal, avoiding scratches, controlling moisture, and preventing sun damage are essential. By following these steps and tips, you can ensure that your rubber vinyl flooring in the bathroom remains in good condition and lasts for a long time.