Polished concrete flooring is an excellent way to conserve resources. Concrete floor takes a little while to warm up, but is quite effective at possessing that heat in, meaning the home of yours will stay hot on winter nights. Maintaining the concrete floor coating of yours is simple. Polished concrete floors can be really easy to maintain as well as take care of.
Here are Images about Resurfacing Interior Concrete Floors
Resurfacing Interior Concrete Floors

Keep in mind concrete flooring can be discussed with a few substances such as epoxy, a beautiful sturdy finish which can be used someplace in the home. Concrete office flooring is a greenish choice that usually outlasts various other floor types as linoleum, wood, tile, and carpet.
Concrete Floor Resurfacing vs. Polishing

Polished concrete floors can be the initial step toward establishing an allergy free setting. Polished concrete is becoming a favorite office floor choice due to the durability of its, simple maintenance, and sizable range of colors and decorative choices. You can also mop it using hot, soapy water, but only using a gentle detergent.
Images Related to Resurfacing Interior Concrete Floors
Concrete Floor Resurfacing, Refinishing u0026 Crack Repair SUNDEK
Concrete u0026 Epoxy Floor Resurfacing/Polishing Company VA

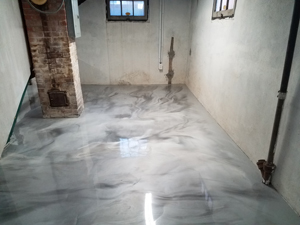
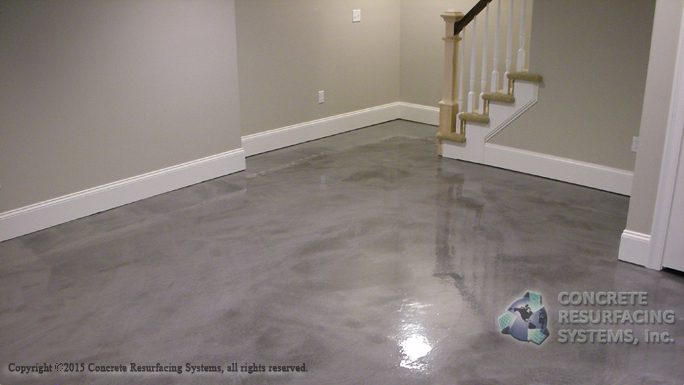
Resurfaced Concrete Basements Concrete Craft
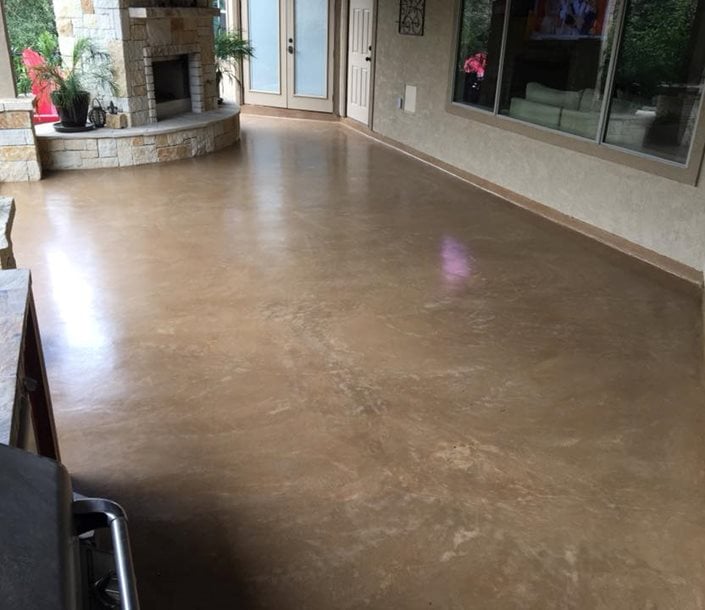
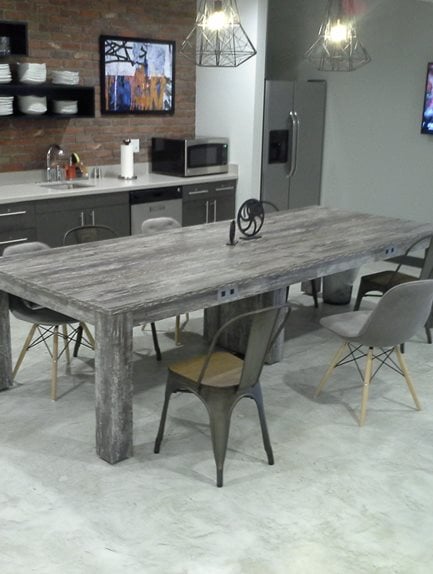
Interior Concrete Floor: Concrete Staining – Modern – Living Room

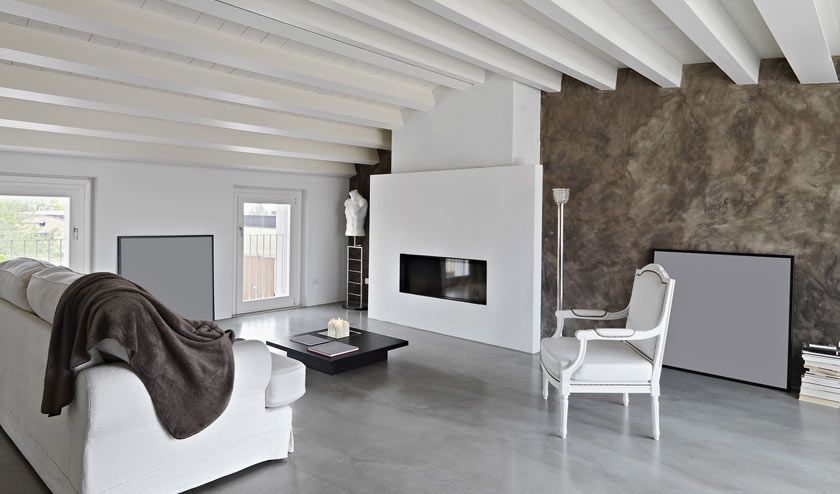
Refinishing Concrete Floors Life of an Architect

Resurfaced Concrete Basements Concrete Craft
Interior Flooring offered by SBR Concrete Polishing

Concrete Floor Resurfacing for DC Homes u0026 Businesses SUNDEK of
Indoor Concrete Restoration Oregon Concrete Surfacing
Refinishing Options for Older Concrete Floors

Concrete Floor Resurfacing, Refinishing u0026 Crack Repair SUNDEK
Concrete Coatings Epoxy Flooring – Concrete Resurfacing Systems
Related articles:
- Stained Concrete Floors Design
- Decorative Concrete Floors
- Acid Stained Concrete Floors
- Polished Concrete Floor In Bathroom
- Concrete Floor Stain And Polish
- White Mold On Concrete Floor
- Polished Concrete Floor
- Polished Concrete Floor Cleaning
- Staining Concrete Floors Indoors Yourself
- Flooring Options For Concrete Floors
Resurfacing Interior Concrete Floors: A Comprehensive Guide
Introduction:
Concrete floors have become increasingly popular in residential and commercial spaces due to their durability and sleek appearance. However, over time, these floors may develop cracks, stains, or simply wear out, requiring a fresh new look. One cost-effective solution to rejuvenate your interior concrete floors is resurfacing. In this article, we will explore the process of resurfacing interior concrete floors, including the necessary steps, materials required, and frequently asked questions.
I. Understanding Resurfacing:
Resurfacing interior concrete floors involves applying a thin layer of cement-based overlay onto the existing floor surface. This overlay acts as a protective coating that not only repairs any damages but also enhances the overall aesthetics of the floor. The process can be applied to various types of concrete surfaces, such as basement floors, garage floors, or even living spaces.
FAQs:
Q1: Why should I consider resurfacing my interior concrete floors?
A1: Resurfacing offers numerous benefits, including cost-effectiveness compared to complete floor replacement, enhanced durability, improved aesthetics, and the ability to personalize the design with various colors and textures.
Q2: How long does a resurfaced concrete floor last?
A2: When properly maintained, a resurfaced concrete floor can last anywhere from 10 to 20 years or even longer.
II. Preparing for Resurfacing:
Before embarking on the resurfacing process, thorough preparation is crucial to ensure optimal results. Here are the key steps involved in preparing your interior concrete floor:
1. Surface Cleaning:
Begin by removing all furniture and objects from the area. Thoroughly clean the entire floor surface using a high-pressure washer or a cleaning solution specifically designed for concrete surfaces. This step ensures that there is no dirt, grease, or debris left behind that could affect the adhesion of the overlay material.
2. Repairing Damages:
Inspect the floor for any cracks, chips, or spalling. Use a concrete repair compound to fix these damages before proceeding with the resurfacing. Pay close attention to expansion joints and fill them with an appropriate sealant to prevent future cracks.
3. Grinding and Etching:
To ensure proper adhesion of the overlay material, it is essential to roughen the existing concrete surface. This can be achieved through grinding or etching. Grinding involves using a diamond grinder to remove the top layer of the concrete, while etching involves applying an acid-based solution that chemically reacts with the surface and creates a rough texture.
FAQs:
Q1: Can I resurface my interior concrete floor if it has extensive cracks?
A1: It is possible to resurface a floor with cracks, but it is crucial to repair them beforehand using a suitable concrete repair compound. Resurfacing over large cracks without addressing the underlying issue may cause the cracks to reappear.
Q2: Is it necessary to hire a professional for floor preparation?
A2: While it is possible to prepare the floor yourself, hiring a professional contractor can ensure that all necessary steps are carried out correctly, especially when dealing with extensive repairs or intricate designs.
III. Choosing the Right Overlay Material:
Selecting the appropriate overlay material is vital as it determines not only the durability but also the final appearance of your resurfaced concrete floor. There are various options available, each with its own unique characteristics:
1. Polymer-Modified Overlay:
Polymer-modified overlays are a popular Choice for resurfacing concrete floors due to their durability and flexibility. They are made by mixing a polymer resin with cement, sand, and other additives. This overlay material can be applied in thin layers, allowing for a smooth and seamless finish. It is also highly resistant to cracking, staining, and UV damage.
2. Microtopping:
Microtopping is a thin layer of cement-based overlay that can be applied to achieve a sleek and contemporary look. It can be customized with various colors and textures to create unique designs. Microtopping is known for its excellent adhesion and abrasion resistance, making it suitable for high-traffic areas.
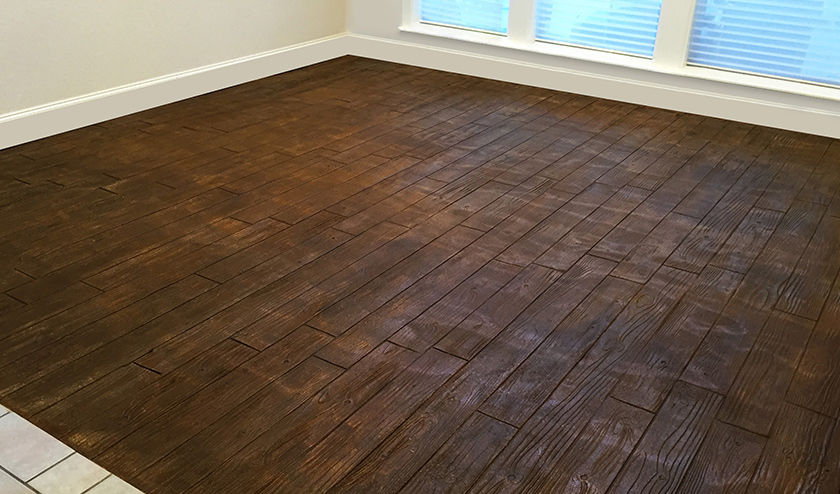
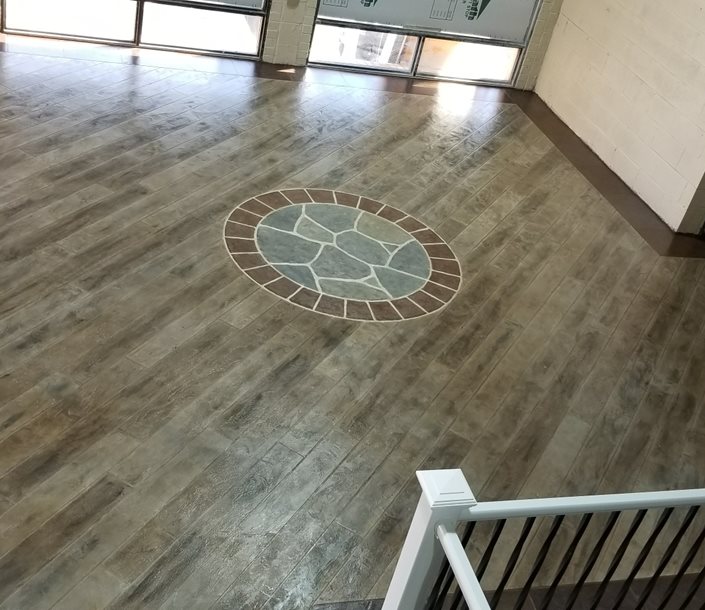
3. Stamped Concrete Overlay:
Stamped concrete overlays mimic the look of natural materials such as stone, brick, or wood. They are created by pressing rubber stamps onto the overlay material while it is still wet, creating texture and patterns. Stamped concrete overlays offer the benefits of durability and low maintenance while providing the aesthetic appeal of natural materials.
FAQs:
Q1: How long do polymer-modified overlays last?
A1: Polymer-modified overlays can last anywhere from 10 to 20 years or longer with proper maintenance. Their lifespan depends on factors such as usage, maintenance practices, and environmental conditions.
Q2: Can microtopping be used in outdoor areas?
A2: Yes, microtopping can be applied both indoors and outdoors. However, it is important to choose a microtopping specifically designed for outdoor use to ensure its durability against weathering and UV exposure.
IV. Application Process:
Once the floor has been properly prepared and the overlay material selected, it is time to begin the application process. Here are the general steps involved in resurfacing a concrete floor:
1. Primer Application:
Before applying the overlay material, a primer is often used to enhance adhesion. The primer is applied to the clean and dry surface using a roller or brush, following the manufacturer’s instructions.
2. Mixing and Applying the Overlay Material:
Follow the manufacturer’s instructions for mixing the overlay material. Once mixed, it is applied to the floor using a trowel or a specialized applicator tool. The material should be spread evenly and at the desired thickness.
3. Adding Color and Texture:
If desired, color can be added to the overlay material by using pigment additives or integral colorants. Textures can also be created by stamping or using specialized tools while the overlay material is still wet.
4. Curing and Sealing:
After the overlay material has been applied, it needs time to cure and harden. This process typically takes several days, during which it is important to protect the surface from foot traffic and moisture. Once fully cured, a sealer can be applied to enhance durability, stain resistance, and ease of maintenance.
FAQs:
Q1: Can I apply multiple layers of overlay material for added durability?
A1: Yes, multiple layers of overlay material can be applied for increased thickness and durability. However, it is important to follow the manufacturer’s instructions regarding maximum thickness and curing times between layers.
Q2: How long does it take for the overlay material to cure?
A2: The curing time for overlay materials can vary depending on factors such as temperature, humidity, and the specific product used. It is best to consult the manufacturer’s instructions for the recommended curing time.