The polished concrete is a fast printer becoming a standard problem in numerous places around the planet and this's mainly because a lot of men and women are actually appreciative of its beauty and also because many instances just can not stand having any other kind of floor. Sealed concrete has a really low environmental impact.
Here are Images about Resurfacing A Concrete Floor
Resurfacing A Concrete Floor

cost which is Low, durability and minimal maintenance make this the ideal flooring choice for manufacturing, commercial as well as other high traffic situations. With this particular technology of concrete flooring, the floor will be kept warm even in the coldest climate and also you are able to walk on the floor even without the need for footwear.
Concrete Resurfacing – Hudson Valley Epoxy Flooring

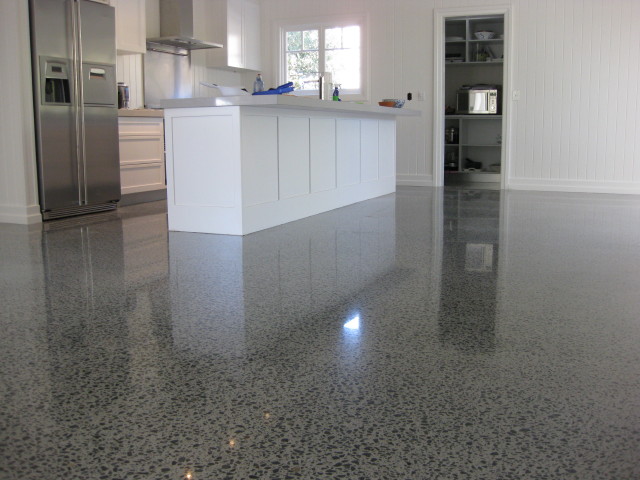
At the conclusion of the working day, the polished concrete floor is going to look something such as some form of polished stone, not surprising that it is utilized as a decorative means in so many locations. In case the concrete floors has been in the past sealed, it is a good idea to sweep and after that mop the area with water and soap, a standard cleaning product or even an experienced concrete cleaner.
Images Related to Resurfacing A Concrete Floor
How to easily resurface a concrete floor Watco
Concrete u0026 Epoxy Floor Resurfacing/Polishing Company VA
Concrete Floor Resurfacing vs. Polishing

Garage Floor Resurfacing: 4 Simple Steps My Decorative
Concrete Floor Resurfacing Services Concrete Resurfacing Contractors

The Right Way to Resurface a Concrete Floor » Residence Style
Concrete Resurfacing in Mankato The Caretakers, Inc.
Concrete Resurfacing – Best Resurfacing Practice for Concrete Repair

Garage Floor Resurfacing: Fix a Pitted Garage Floor (DIY) Family

How to Resurface Concrete
Concrete Floor Resurfacing for DC Homes u0026 Businesses SUNDEK of
Refinishing Concrete Floors Life of an Architect

Related articles:
- White Mold On Concrete Floor
- Polished Concrete Floor
- Polished Concrete Floor Cleaning
- Staining Concrete Floors Indoors Yourself
- Flooring Options For Concrete Floors
- White High Gloss Concrete Floors
- Acid Stain Concrete Floors DIY
- Redo Patio Concrete Floor
- Interior Concrete Floor Ideas
- Gloss Concrete Floor Paint
Resurfacing A Concrete Floor: Enhancing Durability and Aesthetics
Introduction:
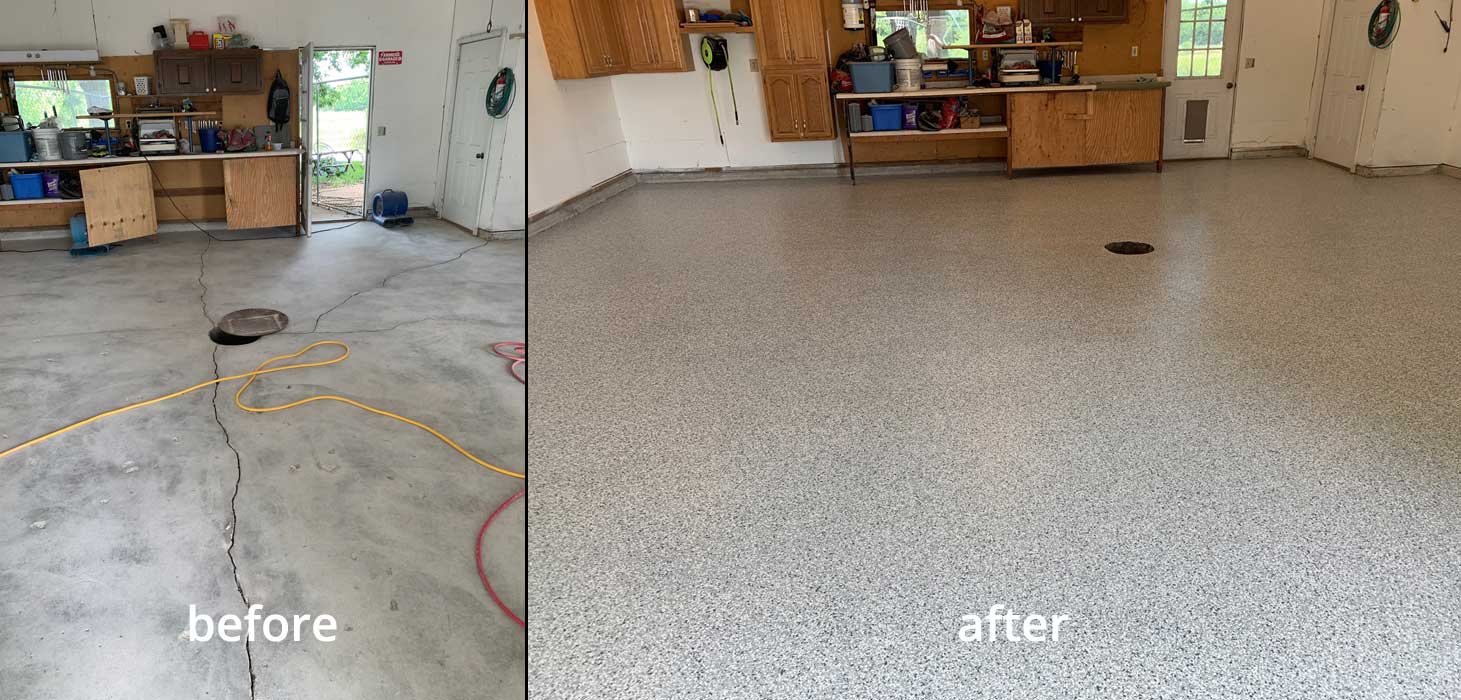
Concrete floors are known for their durability and versatility. However, over time, they can become worn, cracked, or stained, diminishing their appearance and functionality. Resurfacing a concrete floor is an effective solution to restore its beauty and prolong its lifespan. In this article, we will delve into the process of resurfacing a concrete floor, exploring the steps involved, the benefits it offers, and addressing frequently asked questions to provide a comprehensive guide.
I. Understanding Concrete Resurfacing:
Concrete resurfacing involves applying a thin layer of concrete or specialized resurfacing material onto an existing concrete floor. This process helps to repair surface imperfections, add strength, and enhance the aesthetic appeal of the floor. Resurfacing is commonly performed on interior and exterior surfaces such as driveways, patios, garage floors, and basement floors.
A. Assessing the Condition of the Concrete:
Before embarking on a concrete resurfacing project, it is crucial to assess the condition of the existing floor. Look out for cracks, spalling (flaking or chipping), or uneven surfaces. The floor must be structurally sound to ensure successful resurfacing.
FAQs:
1. Can I resurface a severely damaged concrete floor?
If your concrete floor has extensive damage such as deep cracks or significant spalling, resurfacing may not be sufficient. In such cases, it is advisable to consult with a professional contractor who can assess if repairs or replacement are necessary.
2. Can I resurface a concrete floor that has been previously painted?
Yes, you can resurface a painted concrete floor. However, it is essential to remove any loose paint or coatings before proceeding with the resurfacing process.
B. Preparing the Surface:
Proper surface preparation is vital for achieving optimal results in concrete resurfacing. The following steps should be followed:
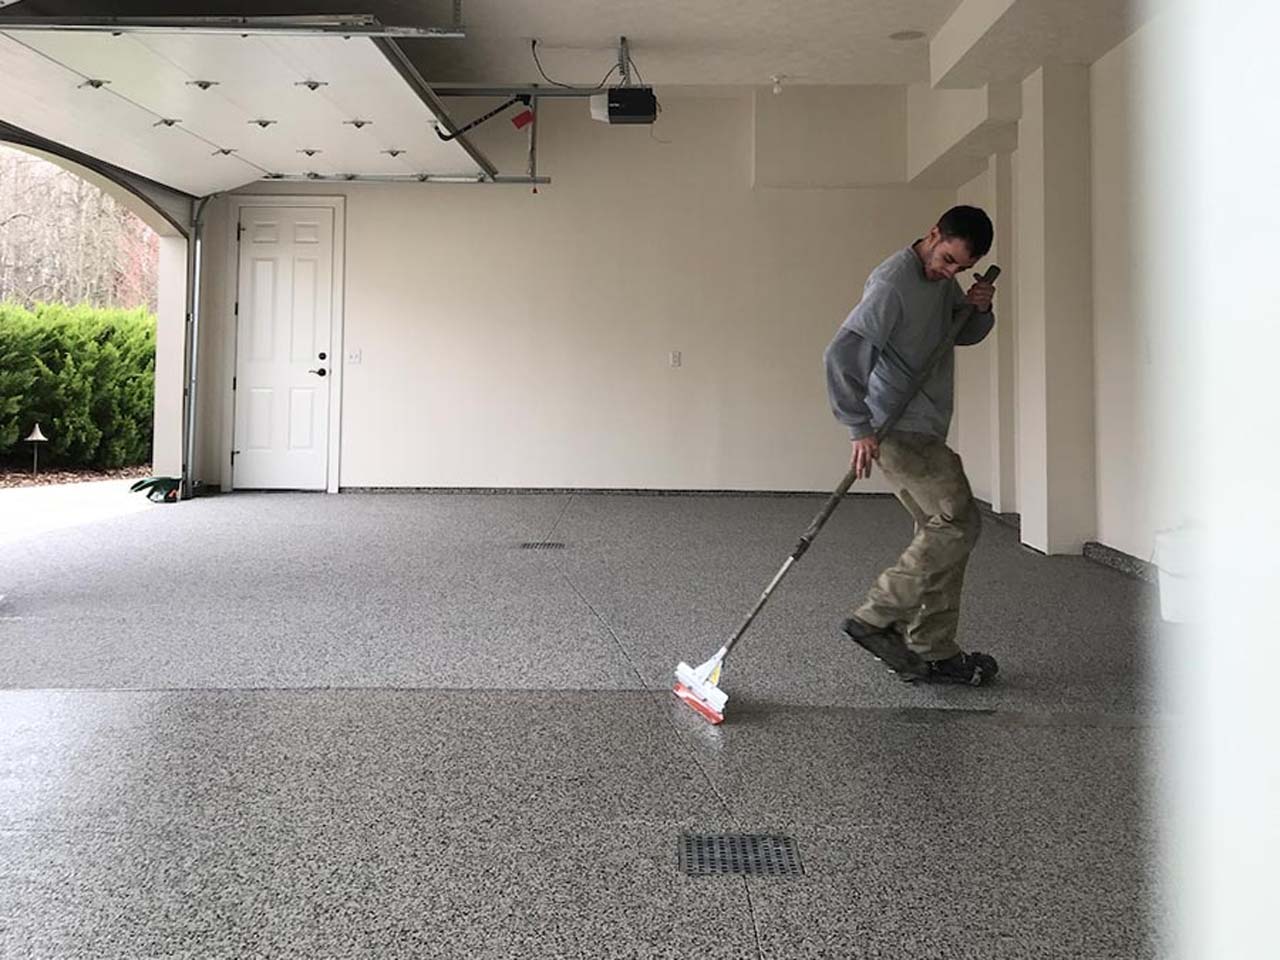
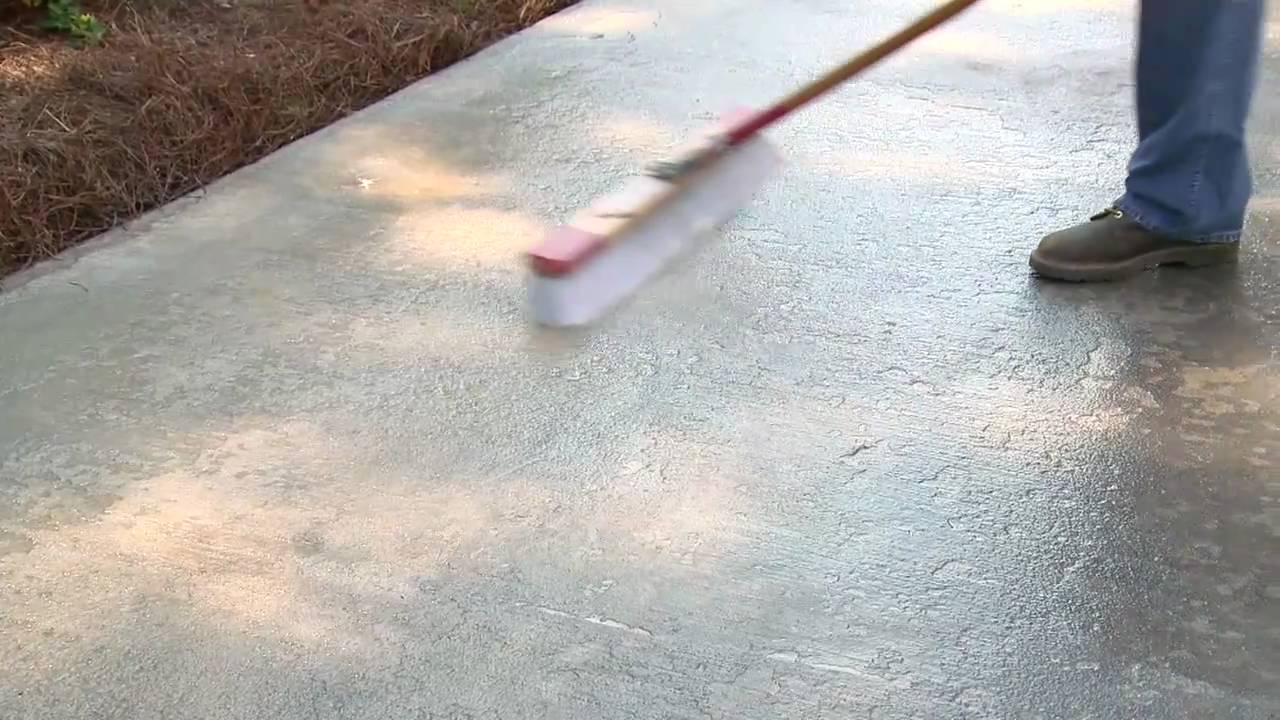
1. Cleaning the Surface:
Thoroughly clean the concrete floor using a broom, vacuum, or pressure washer to remove dirt, dust, and debris. For stubborn stains, use a suitable concrete cleaner or degreaser.
2. Repairing Cracks and Imperfections:
Fill any cracks or holes in the concrete using a high-quality concrete patching compound. Smooth the compound using a trowel and allow it to dry according to the manufacturer’s instructions.
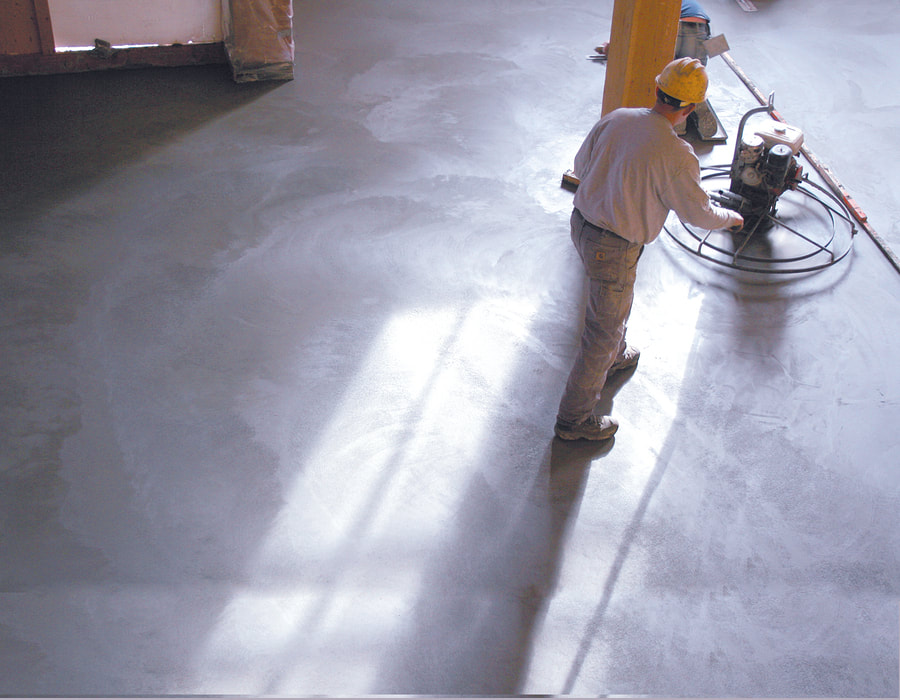
3. Etching or Grinding:
To ensure proper adhesion of the resurfacing material, it is essential to etch or grind the surface of the concrete. This process removes any existing coatings, opens up the pores of the concrete, and provides a rough texture for better bonding.
FAQs:
3. Can I skip the surface preparation step?
Surface preparation is a critical step that should not be overlooked. Neglecting this step can lead to poor adhesion of the resurfacing material and premature failure of the new layer.
4. Is it necessary to hire a professional for surface preparation?
While surface preparation can be done by homeowners with some DIY experience, it is recommended to hire a professional for larger projects or if you are unsure about your skills. Professionals have the expertise and equipment necessary to achieve optimal results.
II. Choosing the Resurfacing Material:
Several resurfacing materials are available in the market, each offering unique benefits and applications. The choice of material depends on factors such as desired aesthetics, budget, and intended use.
A. Polymer-Modified Over Lays:
Polymer-modified overlays are a popular choice for concrete resurfacing due to their durability and versatility. These overlays consist of a blend of polymers, cement, and other additives that enhance the material’s strength and flexibility.
1. Benefits of Polymer-Modified Overlays:
– Enhanced durability: Polymer-modified overlays can withstand heavy foot traffic, abrasion, and impact better than regular concrete surfaces.
– Crack resistance: The flexible nature of polymer-modified overlays allows them to expand and contract with temperature changes, reducing the likelihood of cracks forming.
– Versatile aesthetics: Polymer-modified overlays can be customized with various colors, patterns, and textures to achieve the desired look for your floor.
– Quick installation: Polymer-modified overlays can be applied relatively quickly compared to other resurfacing methods, minimizing downtime.
2. Application of Polymer-Modified Overlays:
– Surface preparation: Follow the surface preparation steps mentioned earlier to ensure proper adhesion of the overlay.
– Mixing the overlay: Follow the manufacturer’s instructions for mixing the polymer-modified overlay. Typically, it involves combining the dry mix with water or a liquid polymer additive.
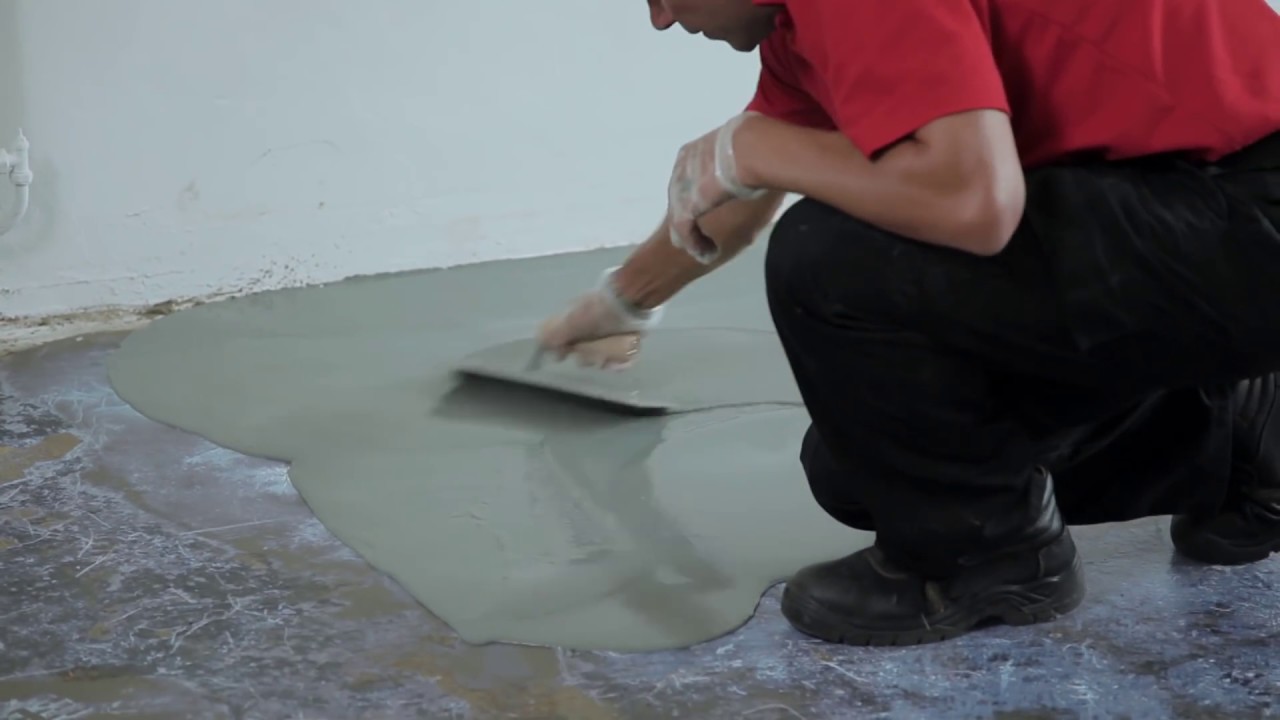
– Applying the overlay: Use a trowel or squeegee to spread the overlay mixture evenly over the prepared concrete surface. Work in small sections to ensure thorough coverage.
– Smoothing and finishing: Once the overlay is applied, use a trowel or broom to achieve the desired texture and finish. Allow the overlay to cure according to the manufacturer’s instructions before subjecting it to foot traffic or other loads.
FAQs:
5. How long does a polymer-modified overlay last?
The lifespan of a polymer-modified overlay depends on various factors such as the quality of installation, maintenance, and usage. However, with proper care, a well-installed overlay can last for 10-20 years or even longer.
6. Can I apply a polymer-modified overlay myself?
While it is possible to apply a polymer-modified overlay yourself, it is recommended to hire a professional for the best results. Professionals have the necessary skills and equipment to ensure proper installation and longevity of the overlay.
B. Microtopping:
Microtopping is another popular resurfacing material that provides a thin layer of cementitious material over existing concrete surfaces. It is commonly used to achieve a smooth, polished finish.
1. Benefits of Microtopping:
– Thin application: Microtopping is typically applied at a thickness ranging from 1/16 inch to 1/8 inch, making it an ideal choice when minimal height increase is desired.
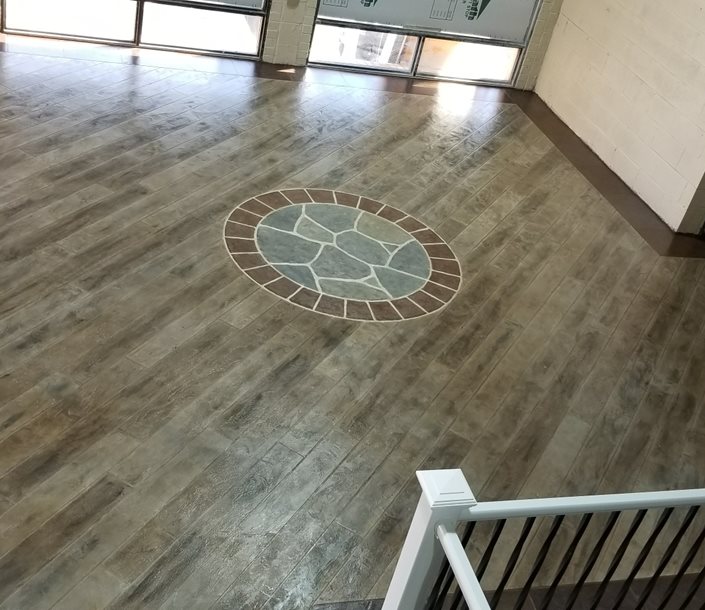
– Smooth and polished finish: Microtopping can be troweled or sanded to create a smooth and polished surface that resembles polished concrete or terrazzo.
– Versatile aesthetics: Microtopping can be stained or dyed in various colors to achieve different design effects. It can also be stamped or stenciled for added texture and pattern.
– Durability: Despite its thin application, microtopping can provide excellent durability and resistance to abrasion and foot traffic.
2. Application of Microtopping:
– Surface preparation: Follow the surface preparation steps mentioned earlier to ensure proper adhesion of the microtopping.
– Mixing and applying the microtopping: Follow the manufacturer’s instructions for mixing the microtopping material. Apply it in thin, even coats using a trowel or squeegee. Allow each coat to dry before applying subsequent coats if necessary.
– Smoothing and finishing: Once the microtopping is applied, use a trowel or sanding equipment to achieve the desired smoothness and polish. Seal the microtopping with a suitable concrete sealer for added protection and longevity.
FAQs:
7. Can I apply microtopping over a painted concrete floor?
Applying microtopping over a painted concrete floor is possible but may require additional surface preparation. The paint or coating must be removed entirely, and the surface should be properly cleaned and prepared before applying the microtopping.
8. How long does a microtopping last?
The lifespan of a microtopping depends on factors such as installation quality, maintenance, and usage. With proper care, a well-installed microtopping can last for 10-15 years or longer.
It’s important to note that these instructions and FAQs provide general guidelines for concrete resurfacing and may not cover every possible scenario. It is always recommended to consult with professionals or manufacturers for specific recommendations based on your unique circumstances.