Epoxy flooring is a form of surface coating which will protect a concrete floor from frequent usage. A floor sealed with epoxy will have a long life dealing with a huge amount of traffic. As soon as these two are mixed they are poured over a current flooring or base material in order to create a protective coating. Epoxy is easy to thoroughly clean, and impervious to mold and bacteria.
Here are Images about Residential Epoxy Flooring DIY
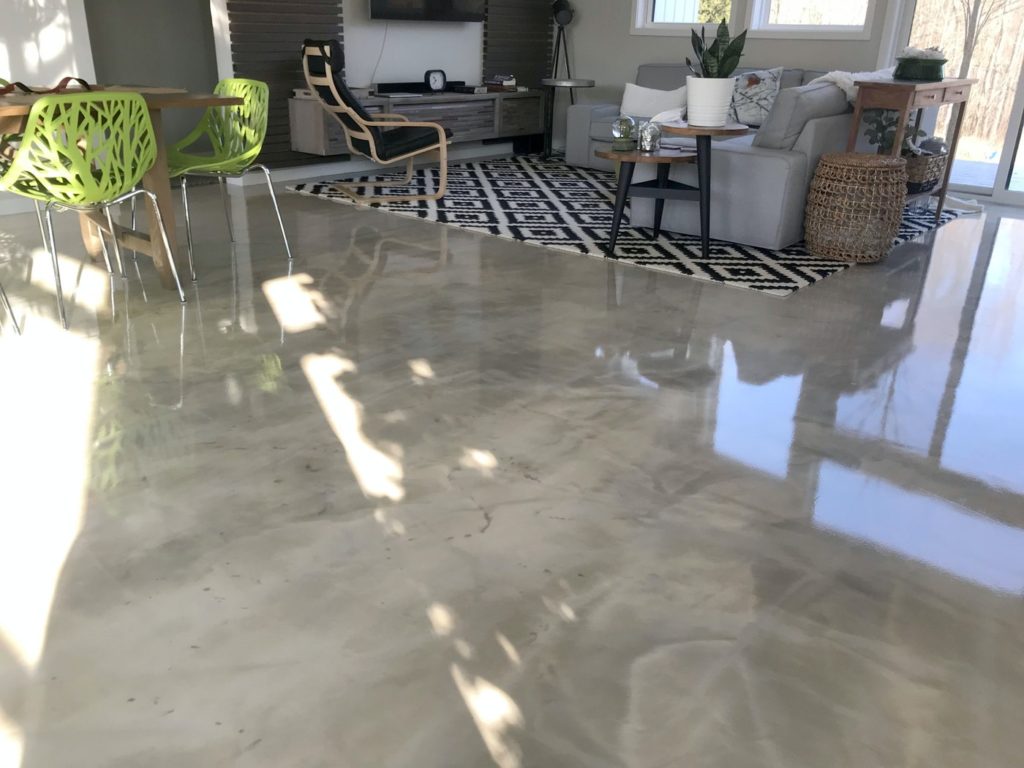
Residential Epoxy Flooring DIY
Epoxy covering for floors are also really inexpensive in comparison to various other forms of floor finishes including vinyl, wood, tile, and carpeting. Additionally, it extends the lifetime of your concrete and also preserves it. Above each one of these advantages the most significant is its economical price. Hardwood floors are pricey and could be easily damaged by water.
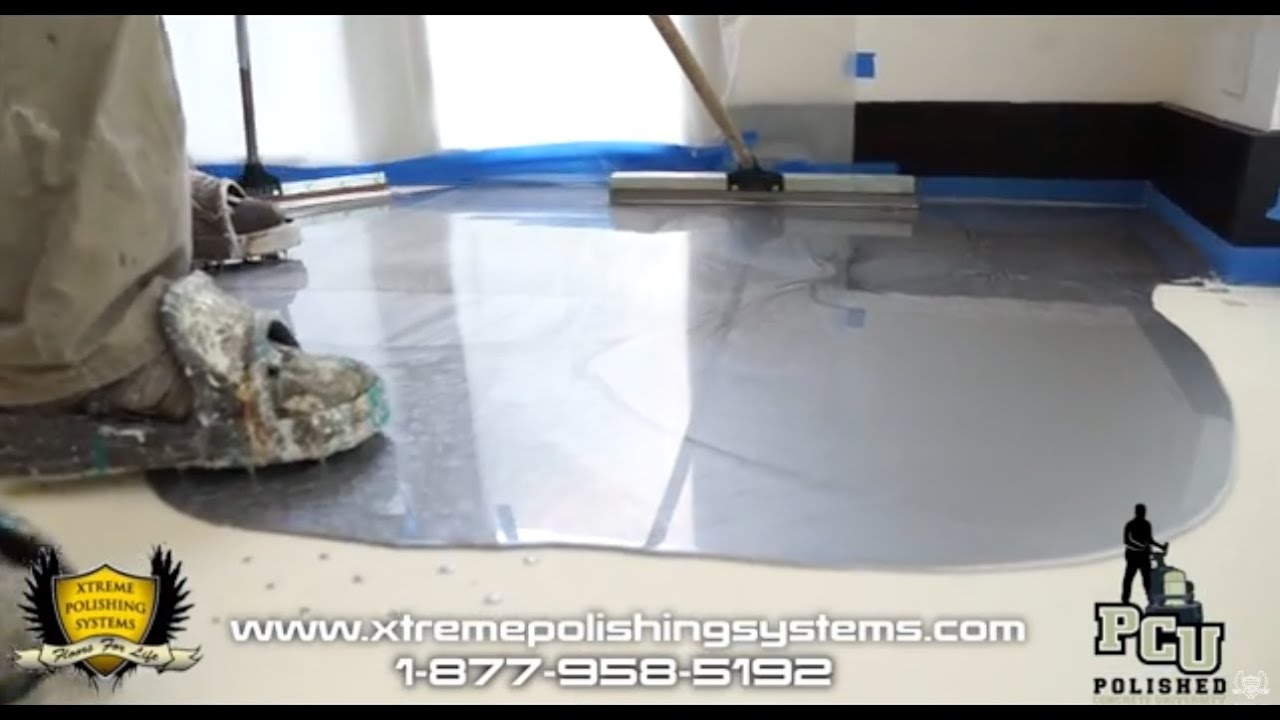
How to Residential Metallic Epoxy Floor Installation Start to Finish Xtreme Polishing Systems
The functionality of your epoxy flooring is going to be immediately affected by the way in which you cook the surface. Epoxy flooring is certainly becoming very popular every day. One would be that an epoxy floor is going to repel any, chemicals, dust, dirt, and water additional type of spot that carpet will soak within. Epoxy flooring for companies has many pros.
Images Related to Residential Epoxy Flooring DIY
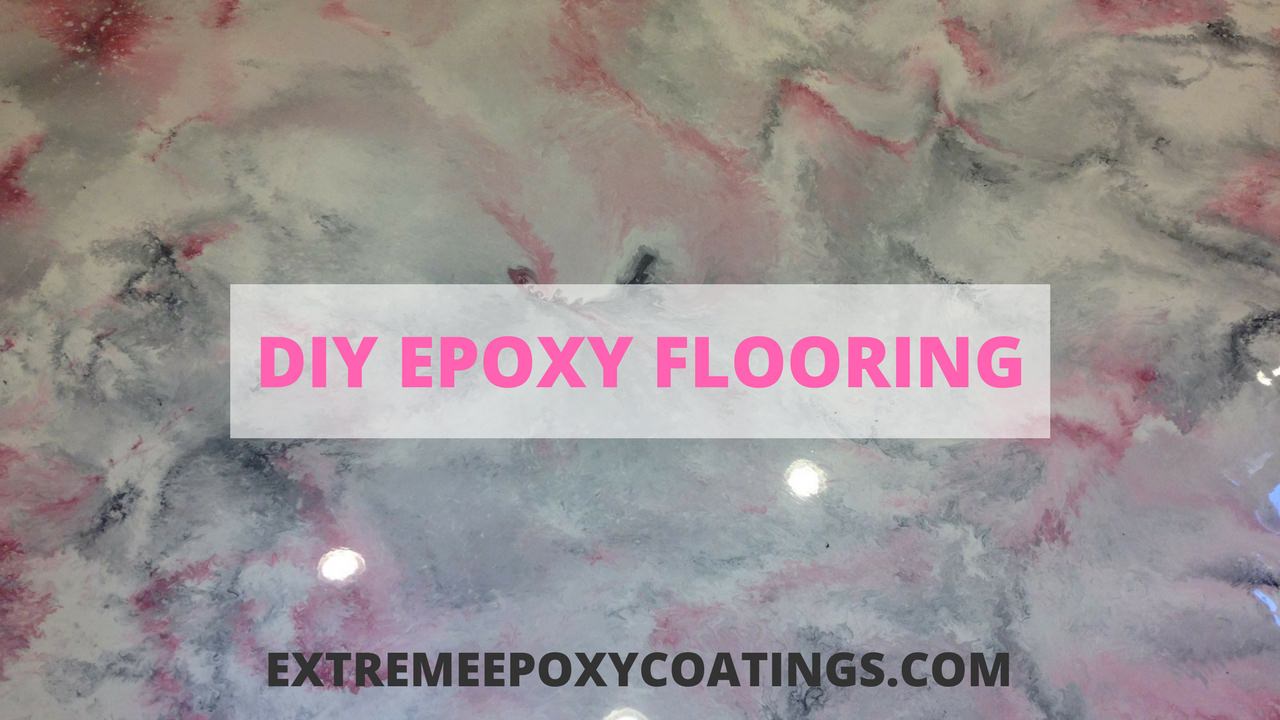
Epoxy Flooring Blog DIY VS Professional Epoxy Flooring
DIY Epoxy Floor Metallic Installation Guide
Commercial and Residential Floors Trends with DIY Epoxy Floor

All You Need To Know About The Residential Epoxy Flooring – New

How To Do Amazing Metallic Epoxy Floor!
Easy Do-It-Yourself Epoxy Flooring Installation Guide We Are Extreme
DIY: Homeowner Installs Designer Metallic Epoxy Floor Coating
The Pros And Cons Of Epoxy Flooring
DIY: Homeowner Installs Designer Metallic Epoxy Floor Coating
6+ Best Epoxy Kitchen Floor Cost Epoxy floor designs, Concrete

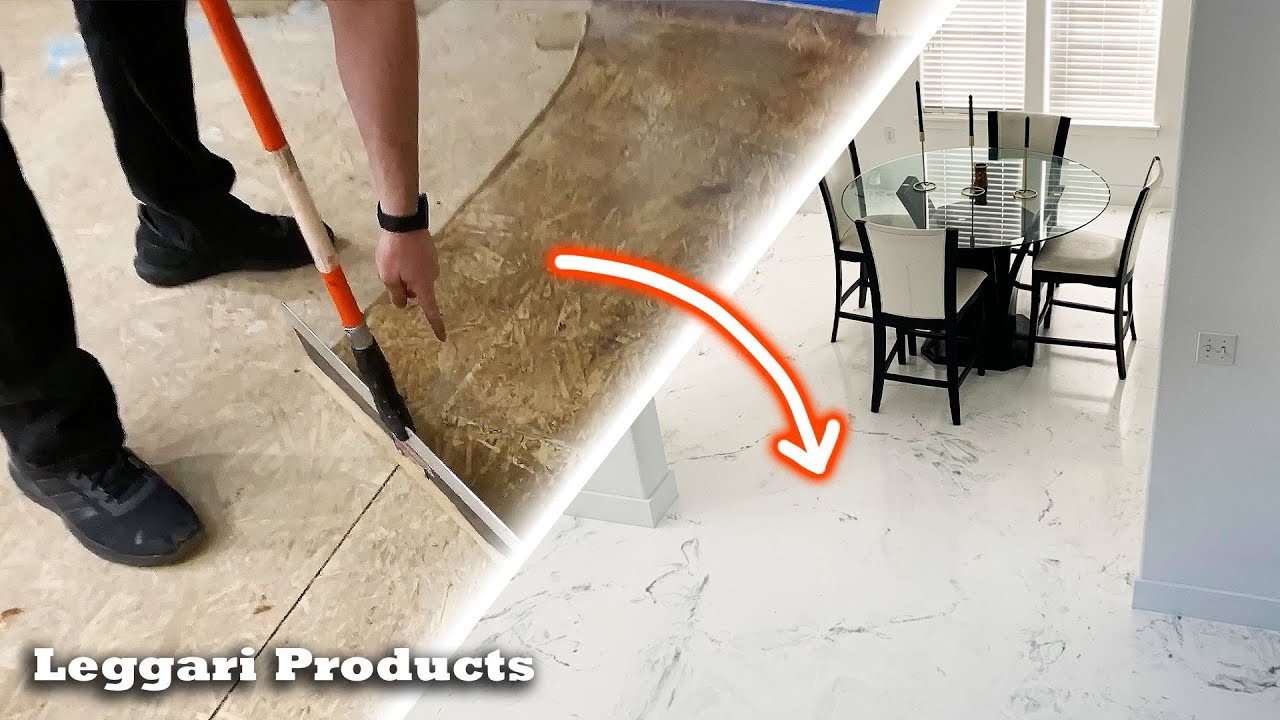
You Would Never Guess Itu0027s Over Wood Subfloor DIY Faux White Marble Luxury Floor Using Epoxy Resin
Easy Do-It-Yourself Epoxy Flooring Installation Guide We Are Extreme
Related articles:
- Epoxy Flooring Living Room
- 3D Epoxy Flooring
- Epoxy Flooring Ideas
- Residential Epoxy Flooring
- Epoxy Flooring Waterproof
- Epoxy Floor Coating Tips
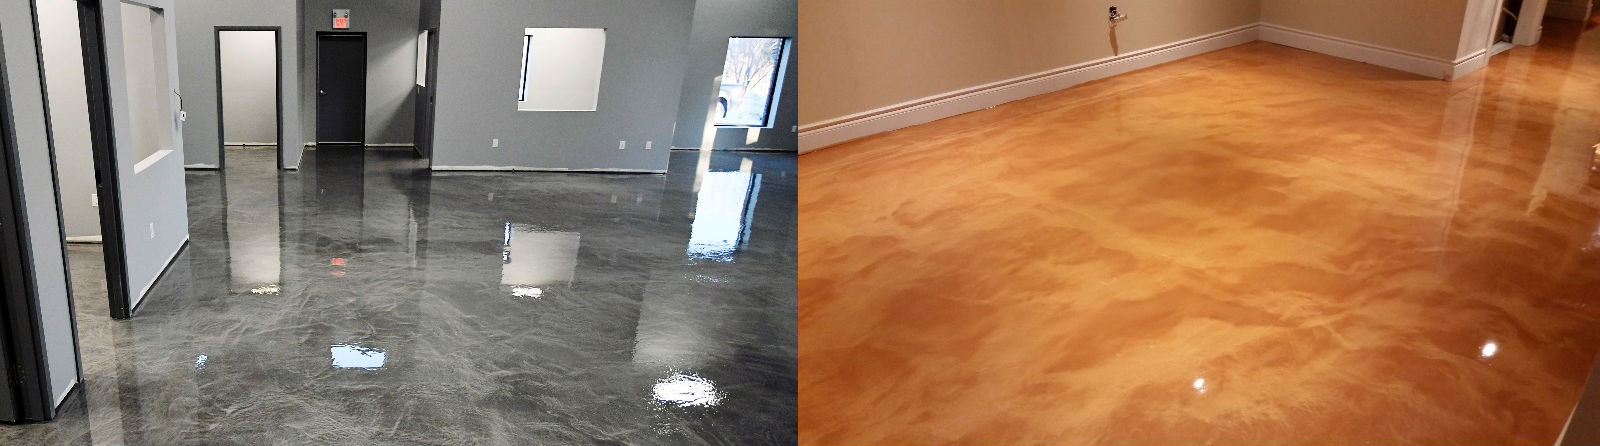
- Metallic Epoxy Floor Designs
- Epoxy Flooring Contractors
- Epoxy Floor Coating Material
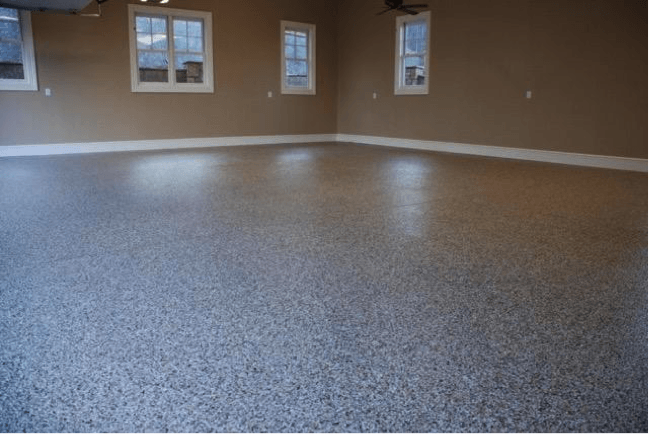
- Epoxy Floor Coating With Flakes
Residential Epoxy Flooring DIY: A Comprehensive Guide to Transforming Your Home
Introduction:
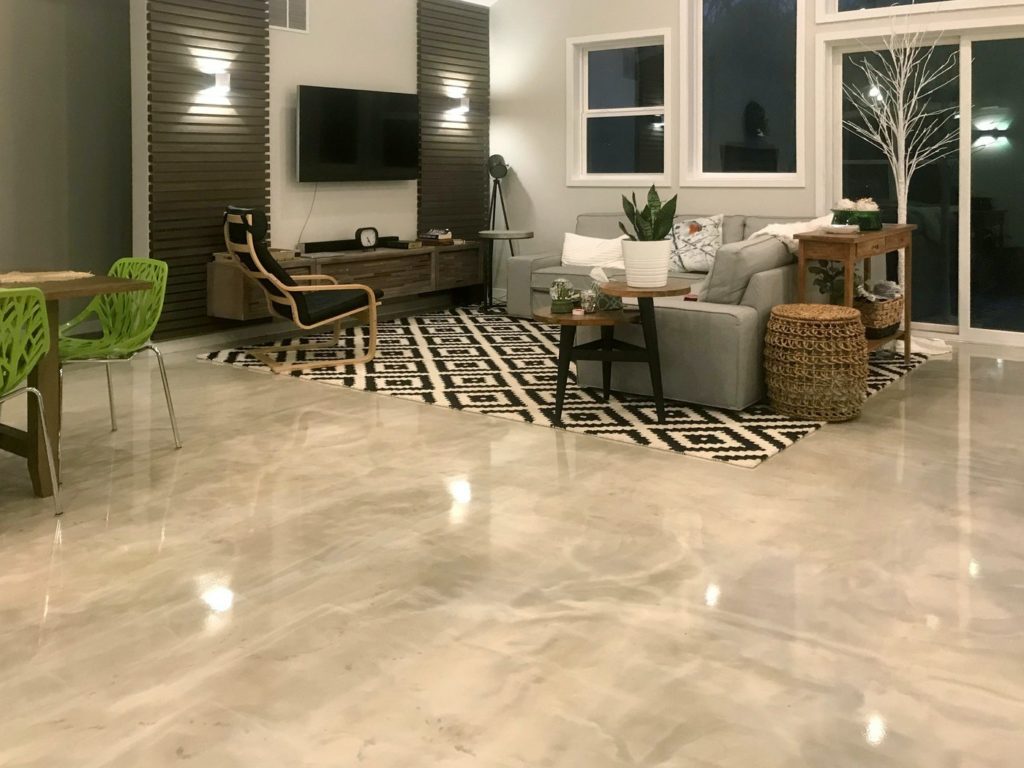
Residential epoxy flooring has gained popularity in recent years due to its durability, versatility, and aesthetic appeal. This type of flooring not only enhances the overall look of your home but also provides a long-lasting solution that can withstand heavy foot traffic, spills, and stains. While hiring professionals to install epoxy flooring can be expensive, many homeowners are opting for the DIY approach to save money and add a personal touch to their interior spaces. In this comprehensive guide, we will walk you through the process of installing residential epoxy flooring yourself, from preparation to final finishing touches.
I. Understanding Epoxy Flooring:
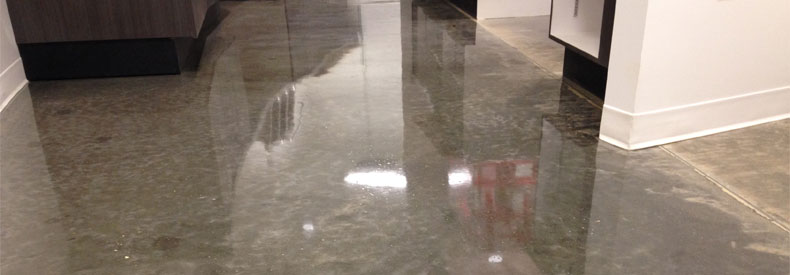
Before delving into the DIY aspect of residential epoxy flooring, it is crucial to understand what exactly it is and how it differs from other types of flooring options. Epoxy flooring is a durable and seamless coating that is applied directly over concrete surfaces. It consists of a combination of resin and hardeners, forming a chemical bond that creates an incredibly strong and resilient surface. Unlike traditional flooring options such as tiles or hardwood, epoxy offers a smooth, glossy finish that adds a modern touch to any room.
FAQs:
Q: Is epoxy flooring suitable for all areas of the house?
A: Yes, epoxy flooring can be installed in various areas such as kitchens, living rooms, basements, garages, and even bathrooms. However, it is essential to consider factors like moisture levels and exposure to direct sunlight before deciding on epoxy for certain spaces.
Q: How long does epoxy flooring last?
A: When properly installed and maintained, residential epoxy flooring can last up to 20 years or more. However, the longevity largely depends on factors such as the quality of materials used and the level of foot traffic in the area.
II. Preparing for Installation:
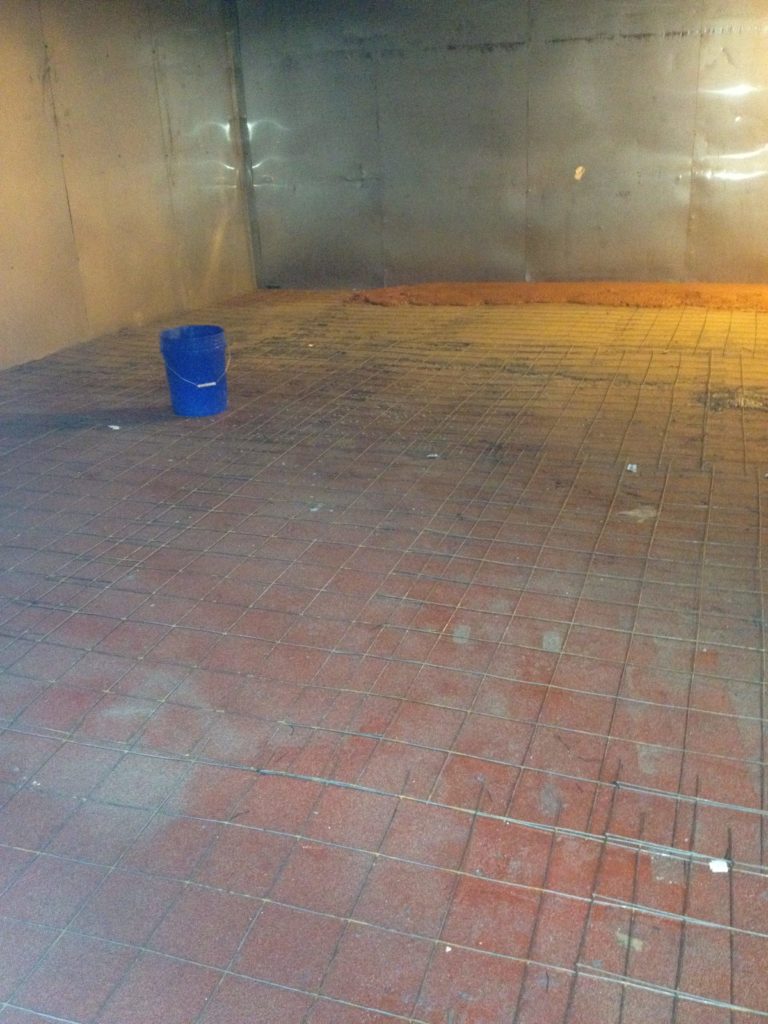
1. Assessing Surface Condition:
The first step in preparing for a successful epoxy flooring installation is to assess the condition of the surface you will be working on. Ensure that the concrete is clean, dry, and free of any cracks or defects. If there are existing coatings or sealants, these need to be removed to ensure proper adhesion of the epoxy.
2. Repairing Concrete:
If there are any cracks or imperfections in the concrete, it is crucial to repair them before proceeding with the epoxy installation. Small cracks can be filled with a concrete patching compound, while larger cracks may require professional assistance. It is essential to allow sufficient time for the repairs to cure and dry completely.
3. Cleaning the Surface:
Thoroughly cleaning the surface is vital to ensure optimal adhesion of the epoxy coating. Start by removing any dirt, dust, or debris using a broom or vacuum cleaner. Next, use a degreaser or detergent to remove any oil or grease stains. Rinse the surface thoroughly with water and allow it to dry completely before moving on to the next step.
FAQs:
Q: Can I install epoxy flooring over existing tiles?
A: While it is possible to install epoxy over tiles, it is important to consider factors such as the condition and stability of the tiles. If they are loose or damaged, it is recommended to remove them before proceeding with epoxy installation for better results.
Q: Do I need special equipment for surface preparation?
A: Basic tools such as brooms, vacuum cleaners, degreasers, and detergent are usually sufficient for surface preparation. However, if you encounter stubborn stains or heavily Soiled areas, you may need additional tools such as a pressure washer or floor scrubber to ensure a thorough cleaning. It is also recommended to wear protective gear such as gloves and goggles while working with cleaning agents.
III. Applying the Epoxy Coating:
1. Priming the Surface:
Before applying the epoxy coating, it is necessary to prime the surface to enhance adhesion and ensure a smooth finish. Use a roller or brush to apply a thin layer of epoxy primer, following the manufacturer’s instructions. Allow the primer to dry completely before proceeding to the next step.
2. Mixing the Epoxy Resin:
Carefully follow the instructions provided by the epoxy manufacturer for mixing the resin and hardener. Use a clean bucket and mixing paddle to combine the components thoroughly. Avoid introducing air bubbles into the mixture, as this can affect the final result.
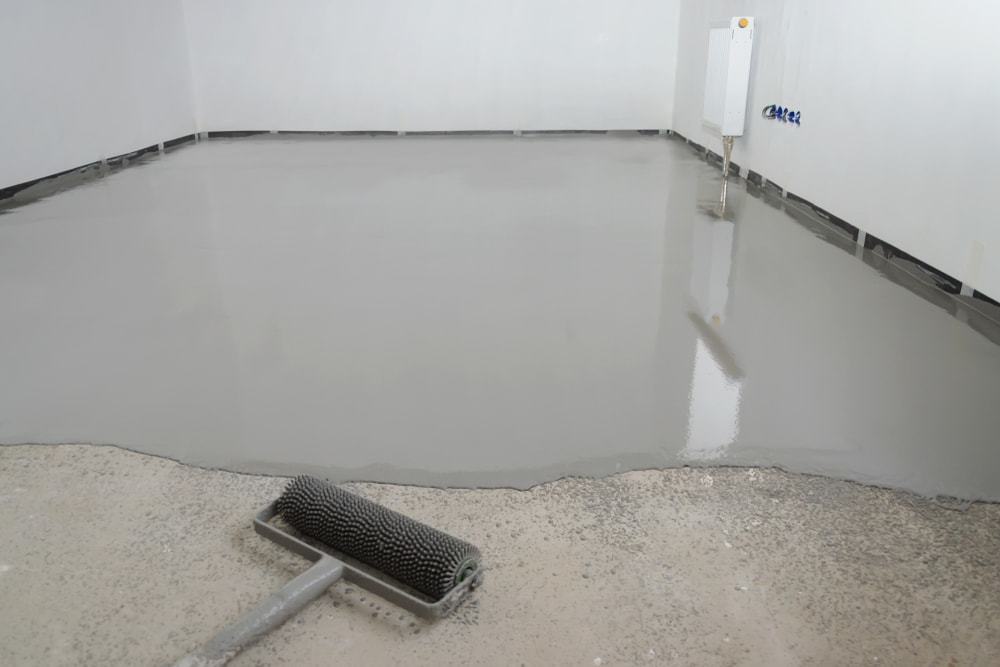
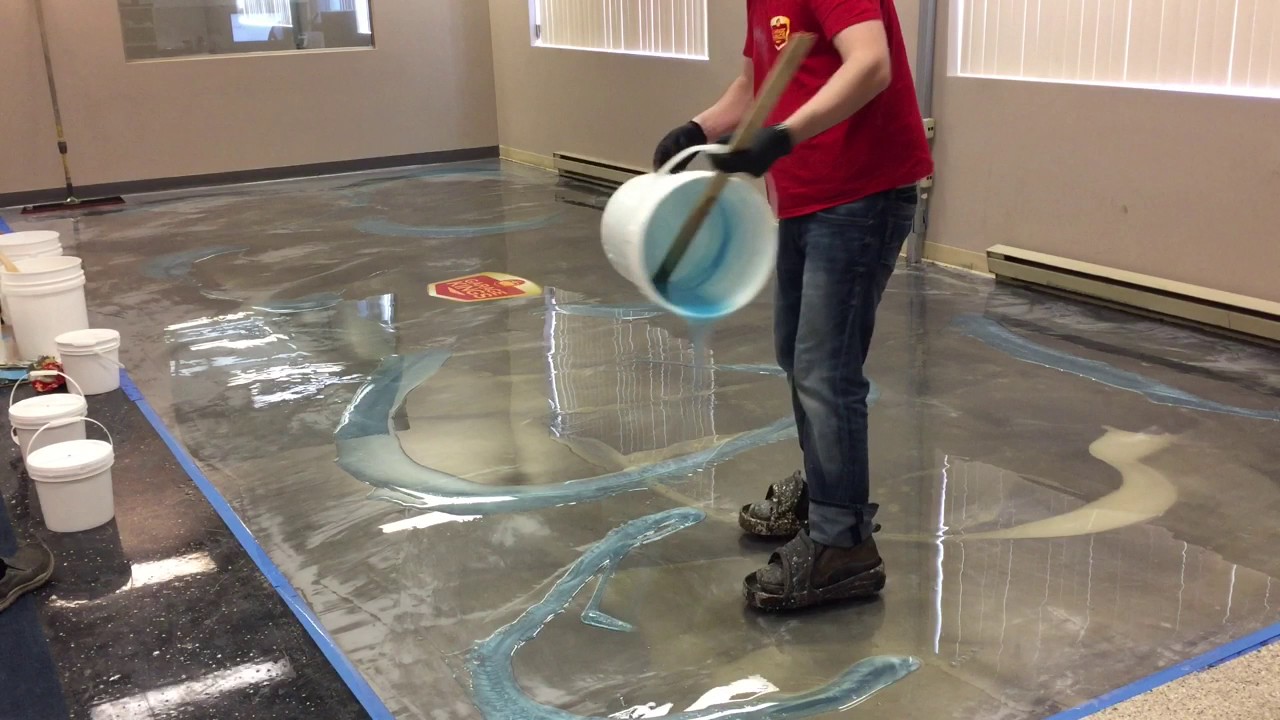
3. Applying the Epoxy Coating:
Once the epoxy resin is mixed, pour it onto the primed surface in small sections. Use a roller or squeegee to spread the epoxy evenly, ensuring full coverage. Work quickly but carefully to prevent the epoxy from drying before you finish. If desired, you can add decorative elements like color flakes or metallic pigments at this stage.
4. Allowing for Curing and Drying:
After applying the epoxy coating, allow it to cure according to the manufacturer’s instructions. This usually takes several hours or overnight. During this time, ensure that no one walks on or disturbs the surface to avoid compromising its integrity.
FAQs:
Q: How long does it take for epoxy flooring to cure?
A: The curing time for epoxy flooring can vary depending on factors such as temperature and humidity. In general, it takes around 24-72 hours for the epoxy to fully cure. It is recommended to avoid heavy traffic or placing furniture on the surface during this period.
Q: Can I apply multiple coats of epoxy?
A: Yes, it is possible to apply multiple coats of epoxy to achieve a thicker and more durable surface. However, it is important to allow each coat to dry and cure properly before applying the next one. Follow the manufacturer’s instructions for the recommended wait time between coats.
IV. Maintaining Epoxy Flooring:
1. Regular Cleaning:
To maintain the glossy finish of your epoxy flooring, regularly sweep or vacuum to remove dirt and debris. Use a mild detergent and warm water to mop the surface periodically, avoiding harsh cleaning agents that can damage the epoxy.
2. Avoiding Scratches and Impact Damage:
While epoxy flooring is highly durable, it is still susceptible to scratches from sharp objects or impact damage from heavy items. Place felt pads under furniture legs, use protective mats in high-traffic areas, and avoid dragging or dropping heavy objects directly onto the floor.
3. Resealing the Surface:
Over time, the epoxy coating may wear down or become dull. To restore its shine and protect it from further damage, consider resealing the surface every few years. This involves applying a fresh layer of epoxy or a clear topcoat specifically designed for epoxy floors.
FAQs:
Q: Can I use a steam mop on epoxy flooring?
A: It is not recommended to use a steam mop on epoxy flooring, as the high heat and moisture can potentially damage the epoxy coating. Stick to using a mild detergent and warm water for regular cleaning.
Q: How do I remove stains from epoxy flooring?
A: For most stains, a mixture of warm water and mild detergent should be sufficient. Gently scrub the stained area with a soft-bristle brush or mop, and rinse thoroughly. For stubborn stains, you may need to use a specialized epoxy cleaner or consult a professional for assistance.
By following these steps and considering the FAQs, you can successfully install and maintain epoxy flooring in your home. Enjoy the sleek and durable surface that adds both style and functionality to any space!