Let's discuss in detail the characteristics of this flooring. You will be ready to find a style and finish that appeal to help you. Something else people dislike about the standard cheap vinyl flooring is that the self-stick tiles don't stick very well. When dirt cannot be rid from by a broom or perhaps vacuum, make use of a mop dampened on water which is lukewarm. For a room which has excessive foot traffic, choose the one with enhanced urethane.
Images Related to Replacing Vinyl Flooring In Kitchen
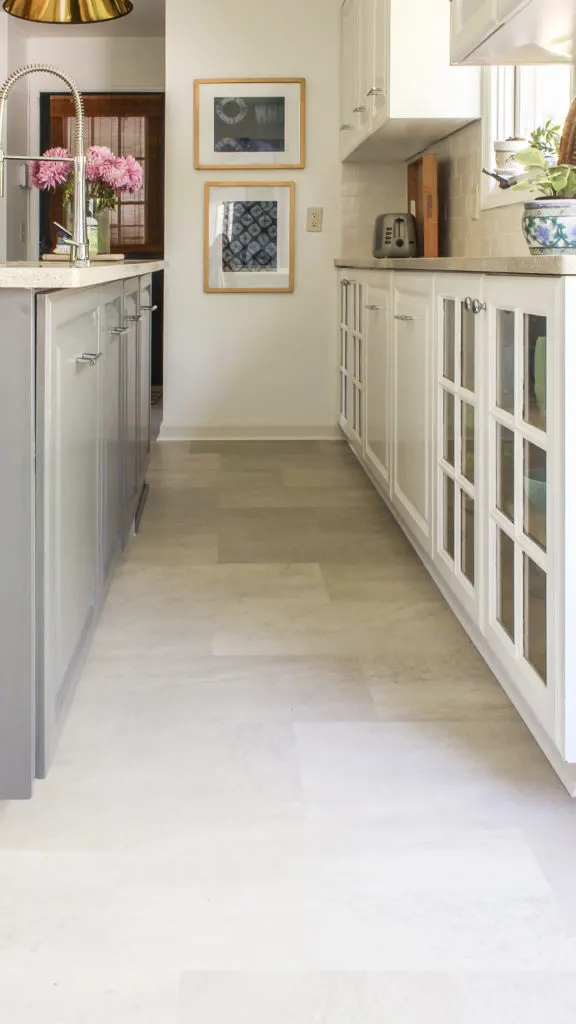
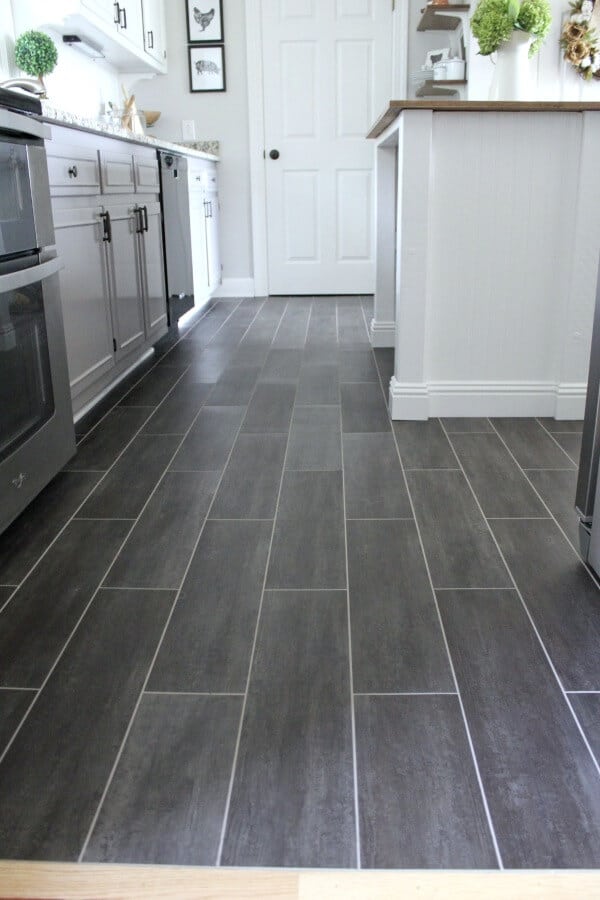
Replacing Vinyl Flooring In Kitchen

Vinyl floors installation might sound easy to do but if you are not up to the expected mistakes, just call a team of professionals and they would be prepared to help you. FHA requirements are a minimum of ten mils though the best flooring types offer up to thirty mils for optimum protection. Sweep off the dirt from your floor on a daily basis to stop it from harming your vinyl floor.
LVT Flooring Over Existing Tile the Easy Way – Vinyl Floor
Sheet vinyl on the other hand expenses more than tiles per square foot. They are going to be simpler and easier to care for. Many people prefer vinyl because of the convenience it presents in terms of keeping it sterile and clean. But now it's so much better and you are definitely assured that you wouldn't be forced to replace the flooring of yours after a long time. If you opt to use sheet vinyl, that is not a concern.
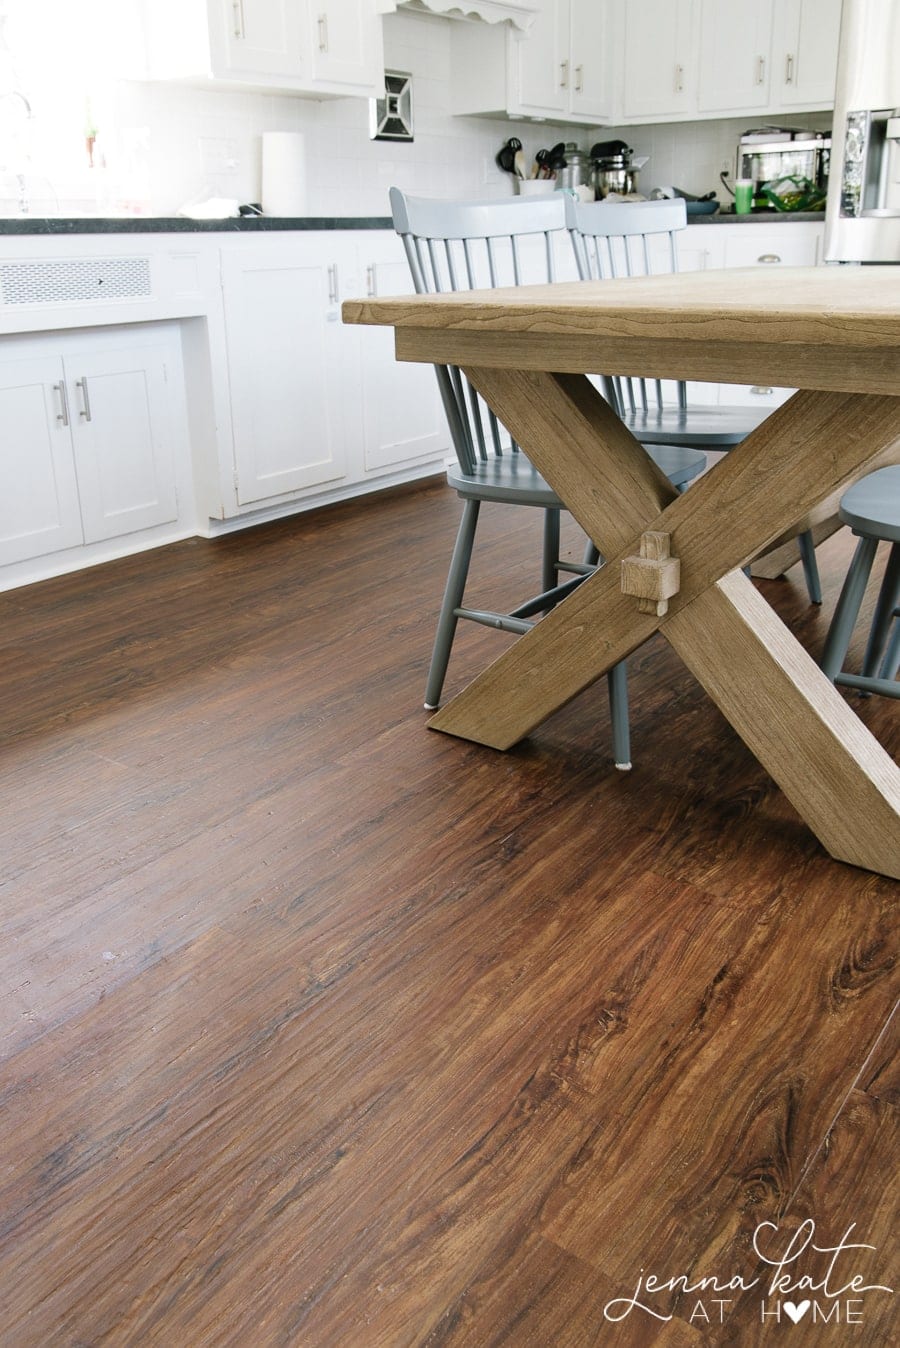
How to Install Luxury Vinyl Plank Flooring – Jenna Kate at Home
How To Install Vinyl Plank Flooring In A Kitchen And Living Room As A Beginner Home Renovation
Vinyl flooring for kitchens: 14 floor ideas made from vinyl Real
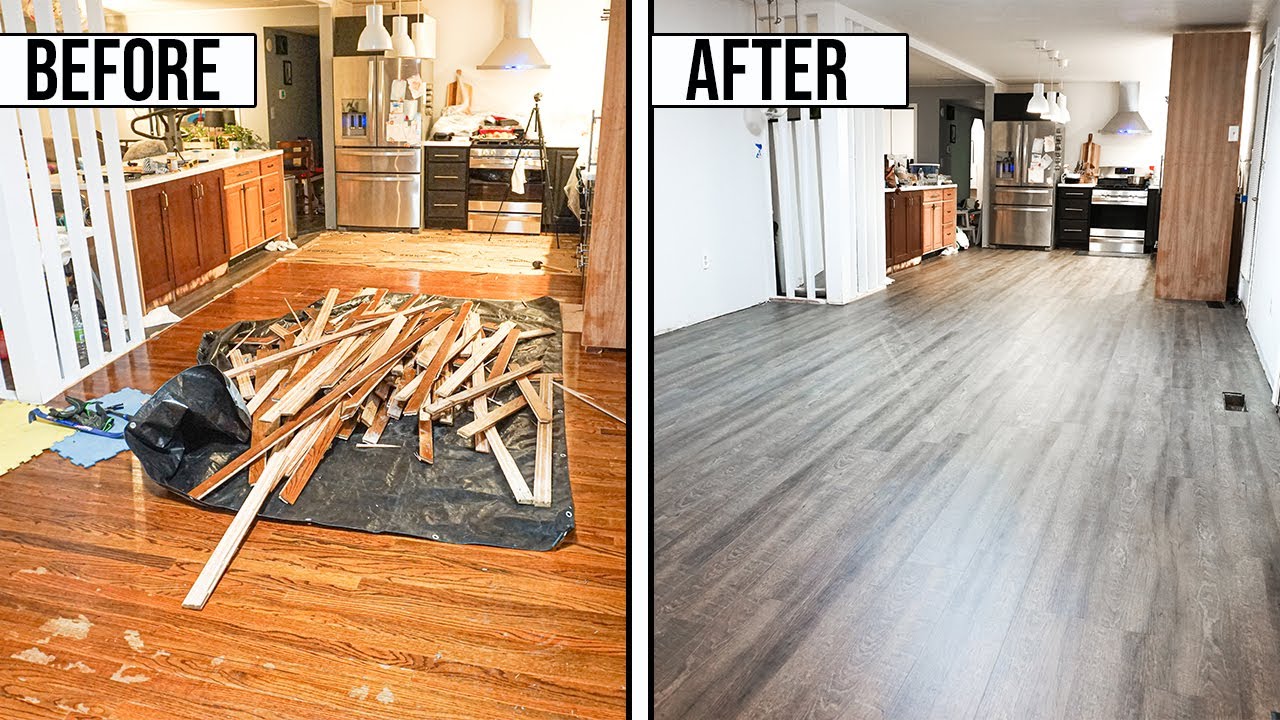
DIY Flooring: How We Changed our Kitchen in 3 days for Less than
The Pros, Cons, and Types of Vinyl Flooring You Should Know
How to Install Vinyl Plank Flooring as a Beginner Home Renovation

How to Lay Luxury Vinyl Tile Flooring (LVT) + a feature in TABLE
How To Install Vinyl Plank Flooring – Kitchen Infinity
Installing Kitchen Flooring or Cabinets First? – This Old House
/cdn.vox-cdn.com/uploads/chorus_image/image/66530483/32_cabinets_styles.0.jpg)
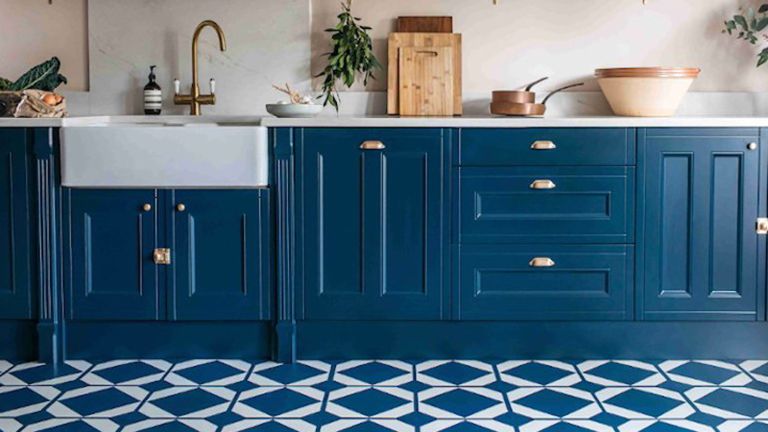
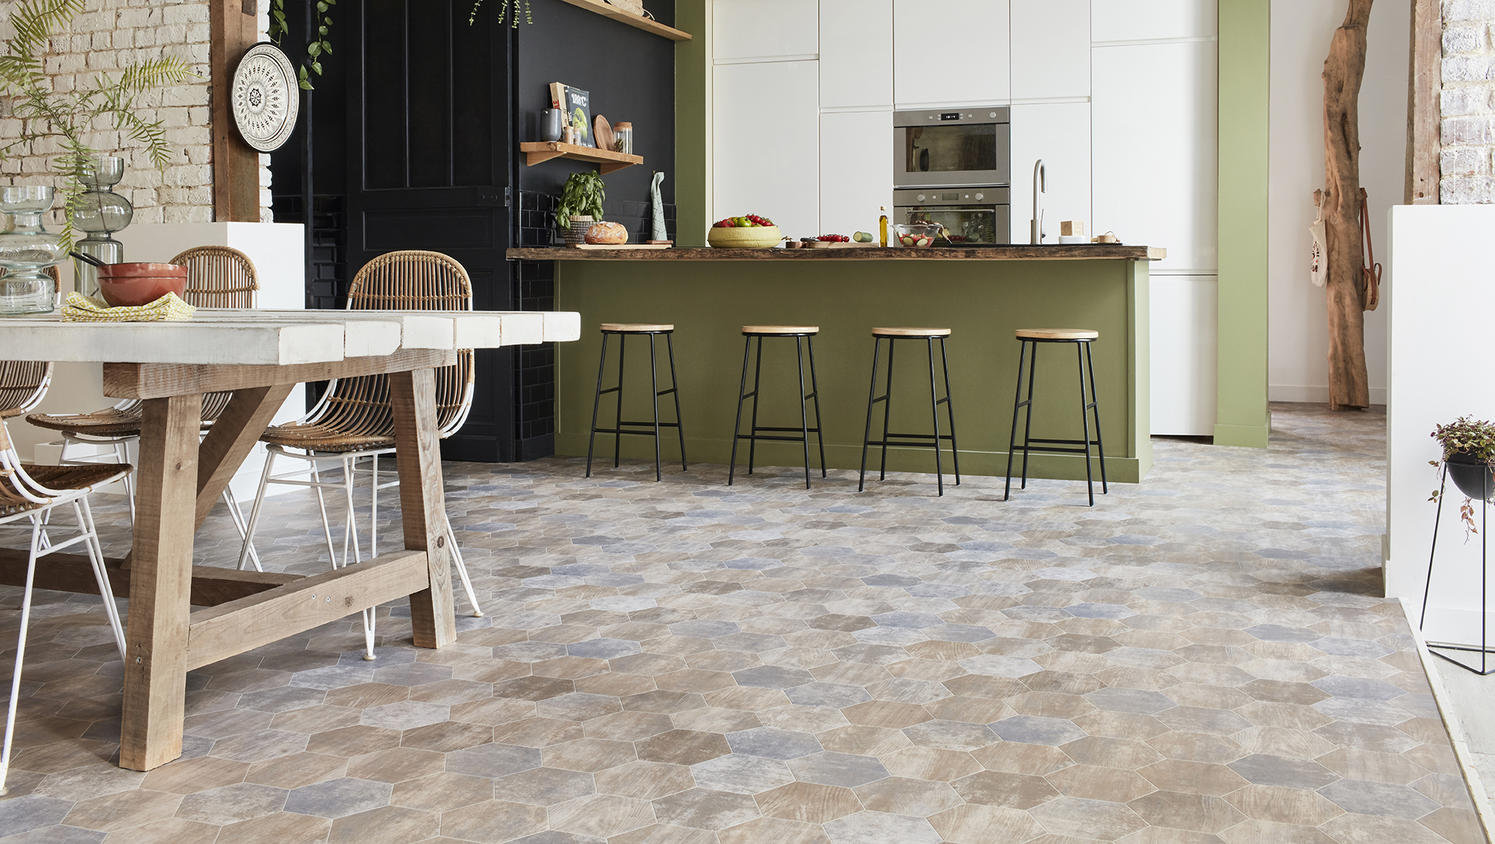
Choosing vinyl flooring for your kitchen- Tarkett Tarkett
The Pros, Cons, and Types of Vinyl Flooring You Should Know
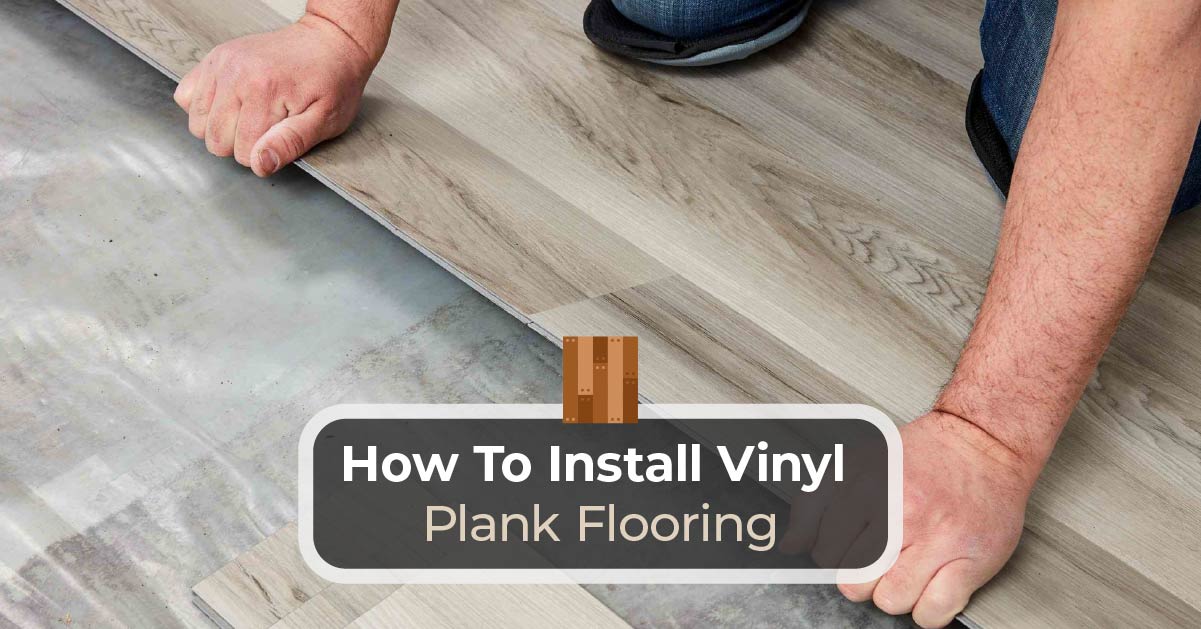
How to Install Vinyl Plank Flooring
/easy-install-plank-vinyl-flooring-1822808-10-6cfb7acfac434155a53e0ef80bfbc825.jpg)
Related articles:
- Vinyl Flooring Bathroom Tile
- Modern Vinyl Flooring
- Funky Vinyl Flooring
- Vinyl Flooring For Kitchen
- Vintage Look Vinyl Flooring
- Kitchen Vinyl Floor Tiles Ideas
- Vinyl Flooring With Wood Look
- Waterproof Vinyl Flooring
- Vinyl Flooring For Cheap
- How To Remove Vinyl Flooring
Are you looking to give your kitchen an upgrade? Installing new flooring is a great way to spruce up the space and add value to your home. Vinyl flooring is a popular choice for kitchens, as it is easy to maintain and comes in a variety of colors and styles. But replacing vinyl flooring can be tricky, so here is a comprehensive guide to help you through the process.
Preparing for Installation
Before you begin replacing your vinyl flooring, there are a few steps you need to take to prepare for installation. First, you’ll want to make sure the surface underneath the vinyl is even and without any bumps or dips. If it isn’t level, you’ll need to level it out with a thin layer of either concrete or self-leveling compound.
Next, you’ll need to check for any moisture or water damage. If there is any, it’s best to repair it before installing the new flooring. Finally, make sure the subfloor is clean and free of dust and debris before beginning installation.
Choosing Your New Flooring
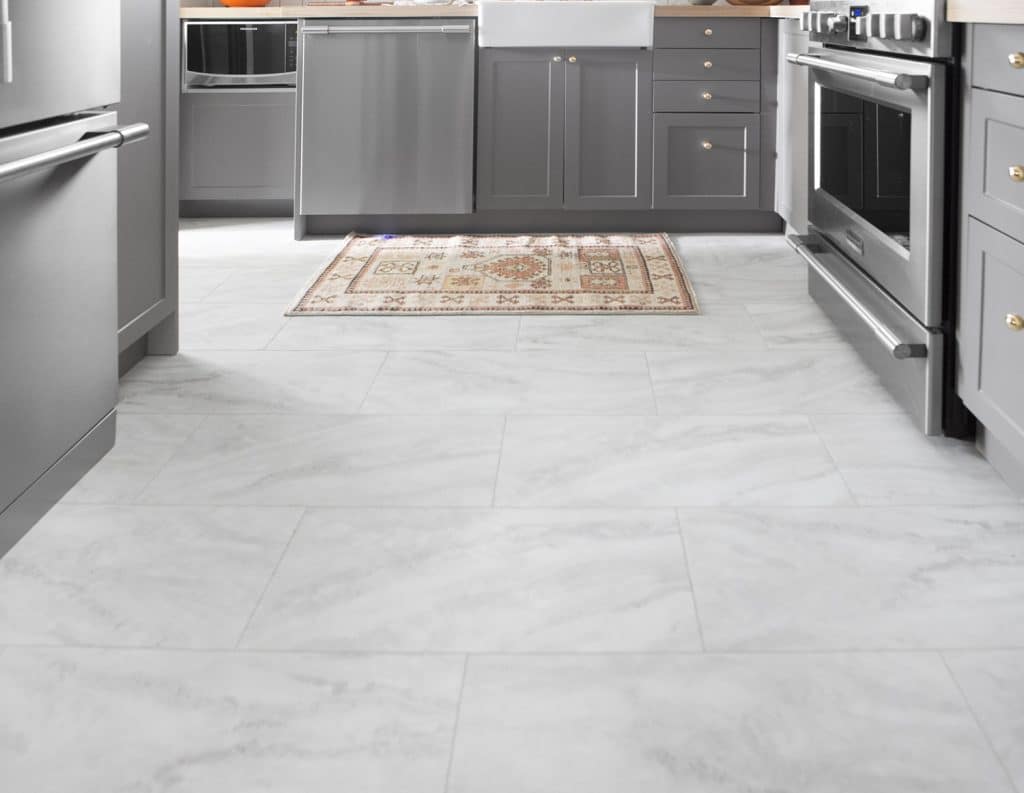
Once you’ve prepped the subfloor, it’s time to choose your new vinyl flooring. Vinyl comes in both sheet and tile form, so decide which one will work best for your kitchen. Sheet vinyl is more affordable and easier to install, while tile has a more luxurious look and is more durable. Consider factors such as foot traffic, budget, and maintenance when making your decision.
Installing Your New Flooring
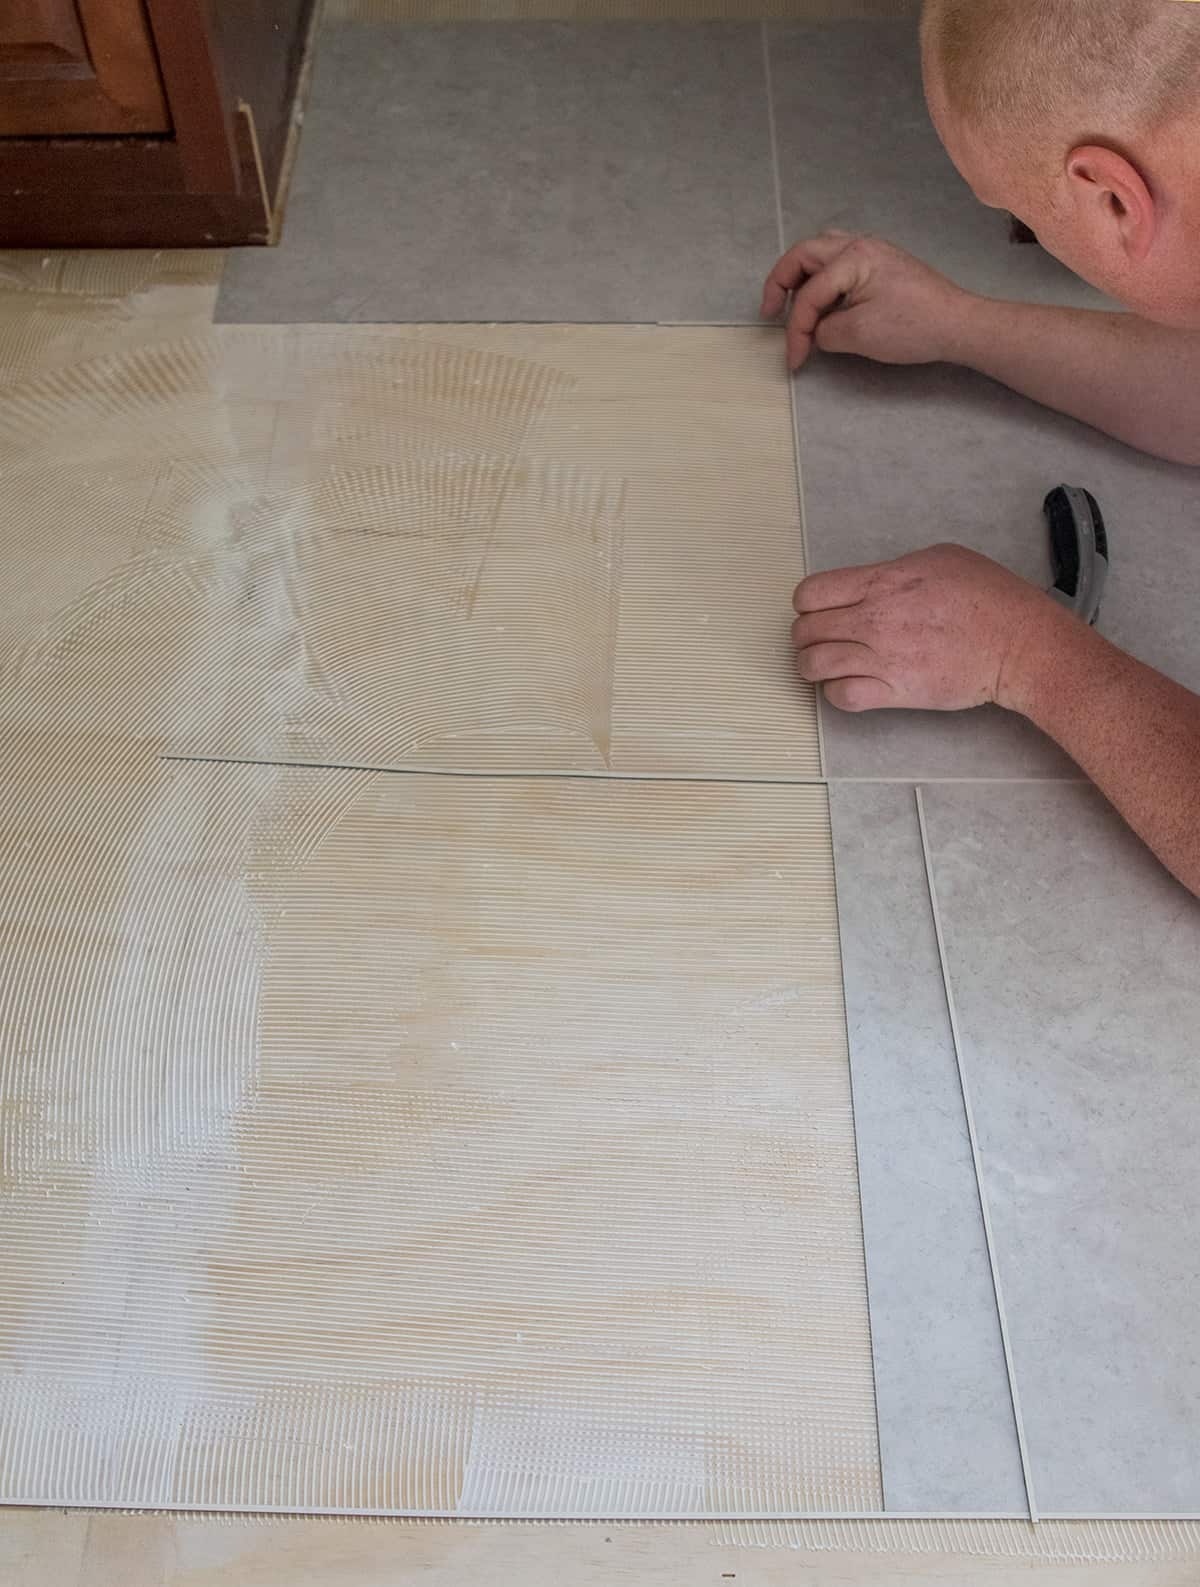
Vinyl flooring is generally easy to install for DIYers. If you’re using sheet vinyl, you’ll need to measure the space and cut the sheet with a utility knife or box cutter. Make sure that all edges are sealed with adhesive before pressing them down onto the subfloor. If you’re using tile, use adhesive on each individual piece before laying them out on the subfloor one by one.
Finishing Touches
Once your new flooring is installed, it’s time to put on the finishing touches! If you used adhesive on your vinyl flooring, apply painter’s tape along all of the edges to ensure they stay in place while drying. Then make sure all seams are sealed with caulking or sealant and that there isn’t any dirt or debris around them. Finally, apply grout if needed and let everything dry completely before moving furniture back into the room.
Common Questions About Replacing Vinyl Flooring
Q: How long does it take to replace vinyl flooring?
A: It usually takes about two days for most homeowners to replace their vinyl flooring from start to finish. However, this timeline can vary depending on how much prep work needs to be done beforehand and how large the area is that needs to be covered.
Q: Do I need special tools for this project?
A: Generally speaking, no special tools are needed for replacing vinyl flooring in a kitchen. A utility knife or box cutter can be used to cut any pieces that need trimming down as well as adhesive for sealing all edges once they are laid out on the subfloor.
Q: What type of maintenance does vinyl flooring require?
A: Vinyl requires very little maintenance compared to other types of floors like hardwood or tile. To keep it in good condition, simply sweep up any dirt or debris regularly and mop it with warm water and mild detergent every once in a while.