Before you can begin your ceramic tile flooring installation, you need to make sure that the tiles you have picked are well-suited for the section of the home you are going to use them for. First of all they include a great deal to the valuation of the house. Removing all of the furniture as well as the existing flooring by yourself can actually save hundreds of dollars. The mats are easier to clean as opposed to the floors.
Images Related to Replacing Tile Floor With Wood
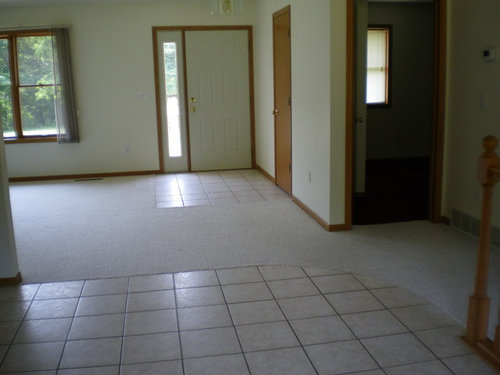
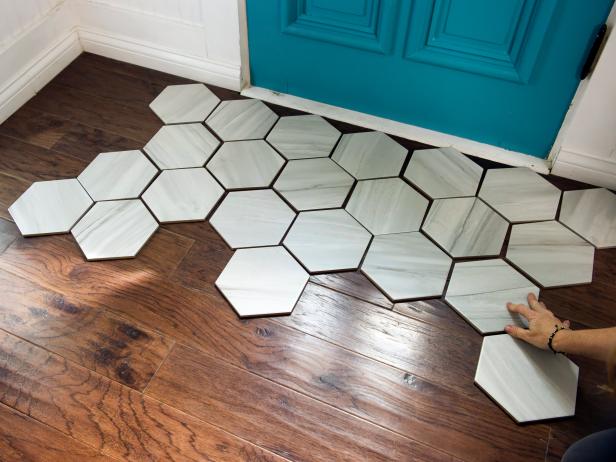
Replacing Tile Floor With Wood
Ceramic tile flooring just isn't inexpensive! Nevertheless, this shouldn't be your main consideration when deciding to redesign your kitchen floor or perhaps bathroom floor. If you want to install ceramic tile flooring in all the rooms of the home of yours you're bringing a degree of consistency to the home. Ensure that each tile is in spite of the following.
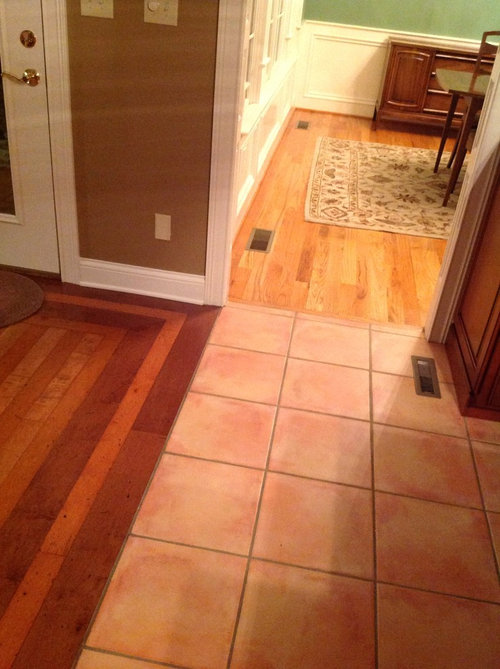
What to replace tile floor with in kitchen with 2 different flooring t
Several of the longer lasting tile floors in the marketplace are the linoleum ones. You are able to set up a floor mat but this particular will not be so easy to clean or maintain in the long run. 99 % of the most deadly pathogens from tiled floors. A via wash of the tiles with a few warm water and cleaner will make sure a very good gloss. Bigger tiles can also be used in bigger spaces. Generally wear safety goggles when you are using tiles.
How To Remove A Tile Floor and Underlayment – Concord Carpenter
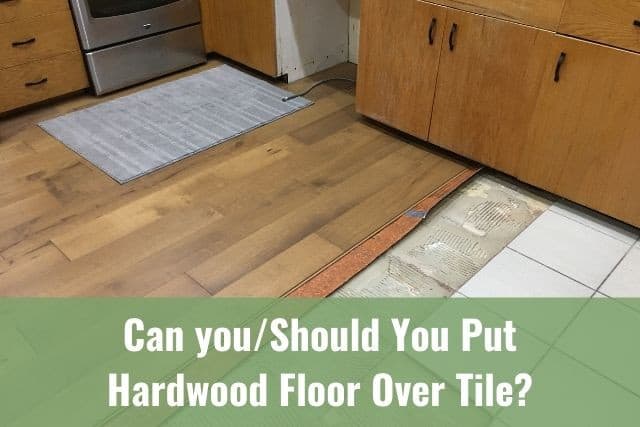
Can you/Should You Put Hardwood Floor Over Tile? – Ready To DIY
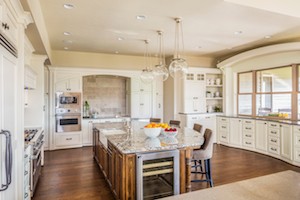
Hardwood Floors Versus Tile – Warmer u0026 Comfortable

The 3 Most Surprising Places Hardwood is Replacing Tile SVB
How to Remove Ceramic Tile and Underlayment the Smart Way

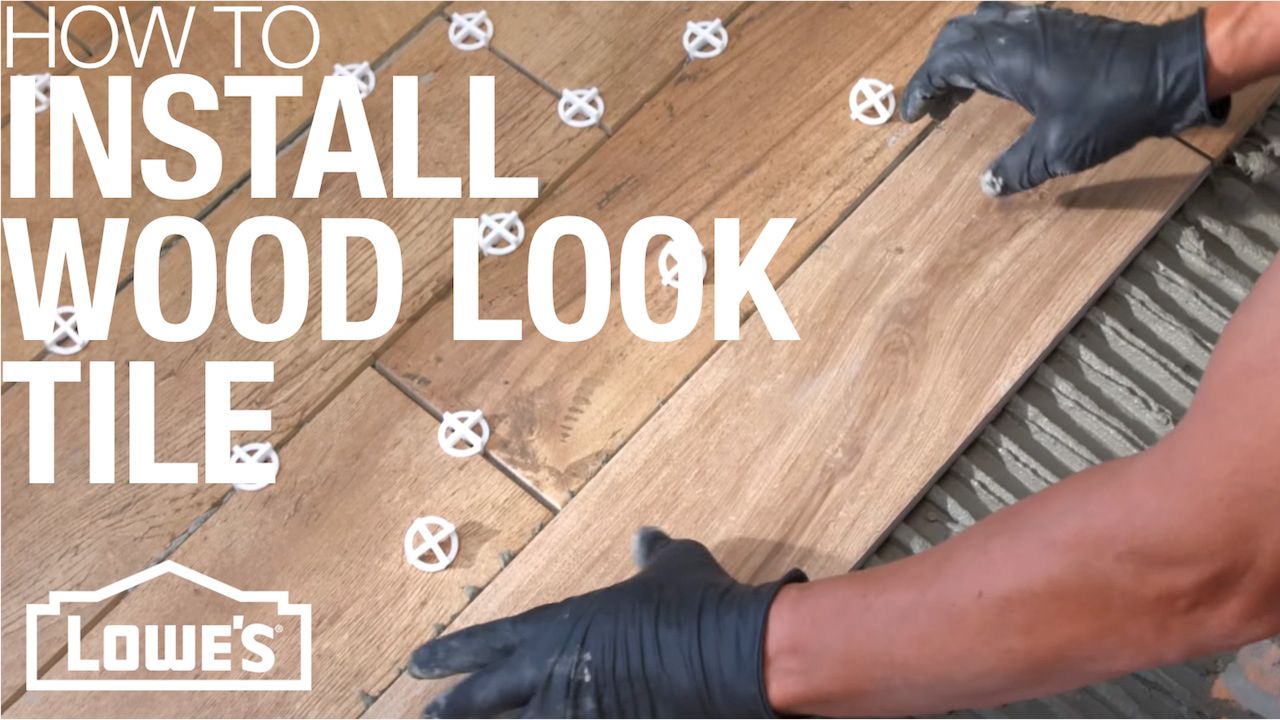
How to Install Wood-Look Floor Tile
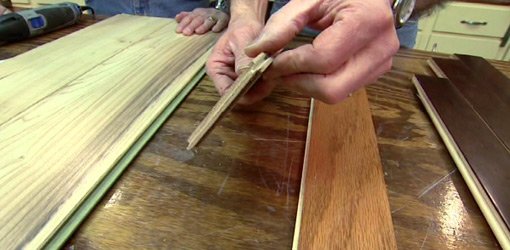
Laying Wood Flooring Over Tile – Todayu0027s Homeowner
How To Install a Tile “Rug” Within a Hardwood Floor HGTV
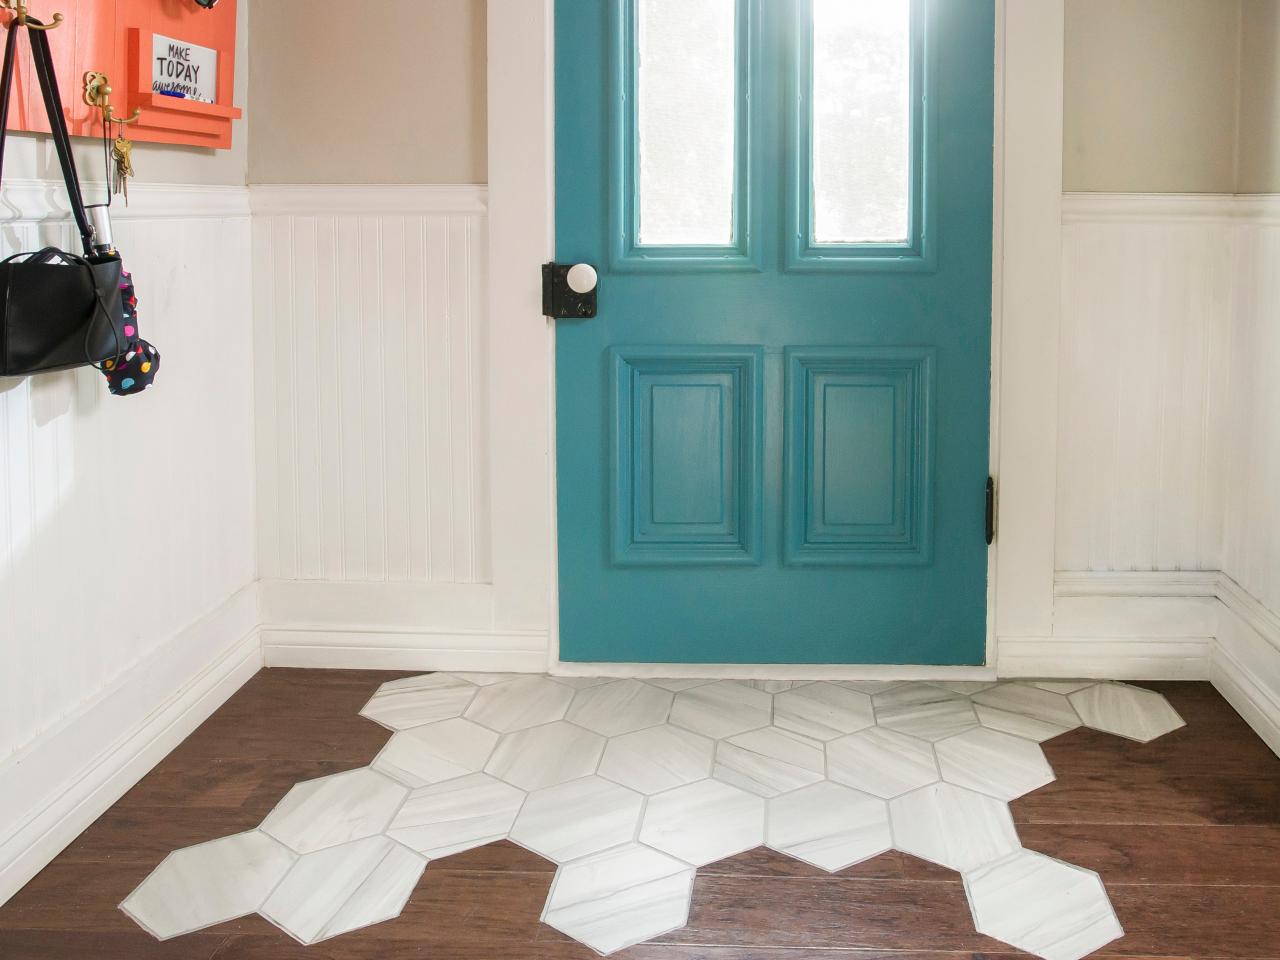
How To Install a Tile “Rug” Within a Hardwood Floor HGTV
Expert Q and Au0027s: Tearing Out Tile Flooring Better Homes u0026 Gardens

How to Remove Ceramic Floor Tiles BuildDirect® Learning

Installing Ceramic Tile Over Different Floor Surfaces
/200571260-001_HighRes-56a49df53df78cf772834996.jpg)
Related articles:
- Vintage Bathroom Floor Tile Patterns
- Bathroom Floor Tile DIY
- Limestone Bathroom Floor Tiles
- Bathroom Floor Porcelain Tile
- Concrete Bathroom Floor Ideas
- White Bathroom Ceramic Tiles
- Bathroom Floor Baseboard
- Rustic Bathroom Flooring Ideas
- Bathroom Flooring Options
- Bamboo Bathroom Flooring Ideas
Replacing Tile Floor With Wood
Introduction:
Replacing tile floor with wood is a popular home improvement project that can bring a fresh, stylish look to any room. Whether you’re tired of the cold and hard feel of tiles or simply want to update your flooring, switching to wood can provide warmth, beauty, and durability. In this article, we will guide you through the process of replacing tile floor with wood, offering detailed steps, pros and cons, FAQs, and expert tips to ensure a successful transformation.
I. Assessing the Feasibility:
Before diving into a tile-to-wood floor conversion, it’s crucial to assess the feasibility of the project. Consider the following factors:
1. Subfloor Condition:
The condition of your subfloor is essential when transitioning from tile to wood. Ensure that it is smooth, level, and structurally sound. If there are any issues with the subfloor, such as cracks or unevenness, they should be addressed before proceeding with the installation.
2. Moisture Concerns:
Wood flooring is sensitive to moisture, so it’s crucial to evaluate the moisture levels in your space. Conduct a moisture test using a specialized kit or consult a professional to ensure your environment is suitable for wood flooring. Excessive moisture can lead to warping or cupping of the planks over time.
3. Height Considerations:
Take into account the height difference between your existing tile floor and the surrounding surfaces like adjacent rooms or door thresholds. You may need to adjust transitions or make modifications to ensure a seamless transition between different flooring types.
II. Selecting the Right Wood Flooring:
Once you’ve determined that transitioning from tile to wood is feasible in your space, it’s time to choose the right type of wood flooring for your needs. Consider these factors:
1. Engineered vs Solid Wood:
Engineered wood flooring consists of multiple layers of real wood veneer bonded together with strong adhesives. It offers increased stability and resistance to moisture, making it a suitable choice for areas prone to humidity or temperature fluctuations. Solid wood, on the other hand, is made from a single piece of hardwood and provides a timeless charm.
2. Wood Species:
Different wood species offer distinct colors, grain patterns, and hardness levels. Oak and maple are popular choices due to their durability and versatility, while exotic woods like Brazilian cherry or teak provide unique aesthetics. Consider your preferences, budget, and the level of foot traffic in the room when selecting a wood species.
3. Finish Options:
Wood flooring comes in various finishes, including oil-based polyurethane, water-based polyurethane, or natural oils. Each finish has its own pros and cons regarding durability, ease of maintenance, and appearance. Research different finishes and consult with flooring experts to find the one that suits your lifestyle and desired aesthetic.
III. Preparing for Installation:
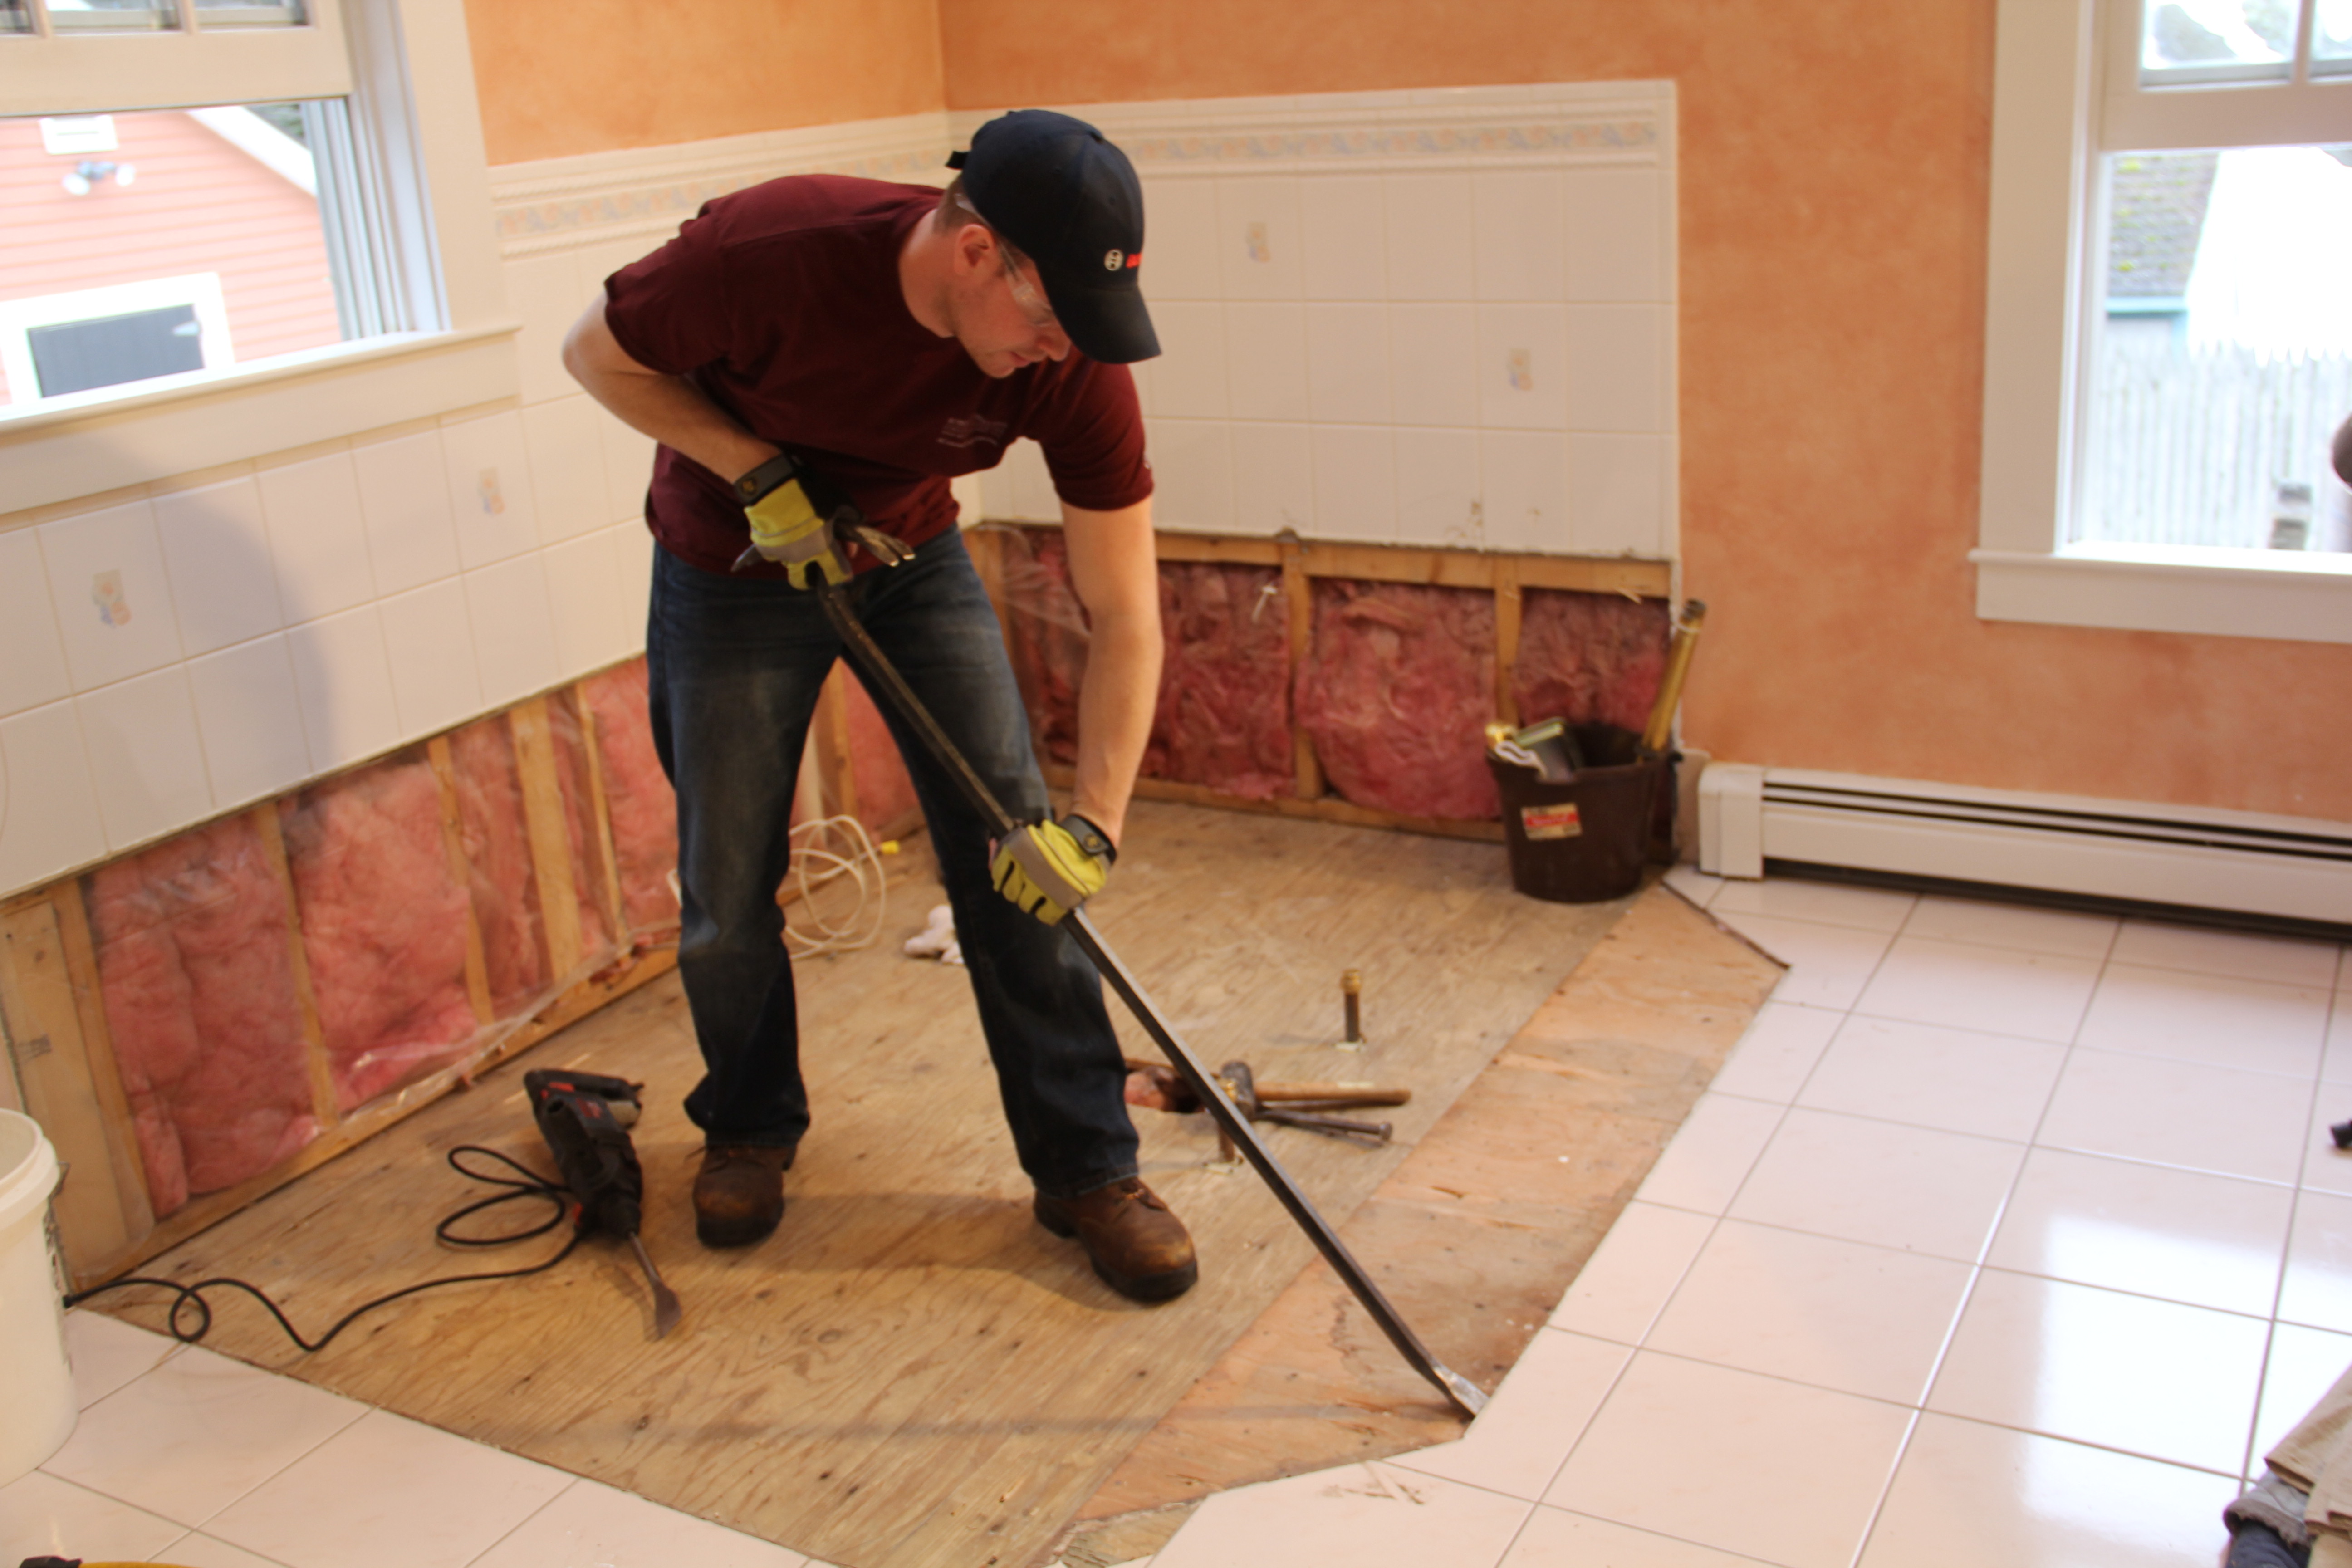
1. Removing Existing Tile:
To replace tile floor with wood, you’ll need to remove the existing tiles first. Start by removing any baseboards or trim around the edges of the room using a pry bar or molding remover tool. Then, use a chisel or floor scraper to carefully lift the tiles off the subfloor. Be cautious not to damage the subfloor during this process.
2. Cleaning and Repairing Subfloor:
Once the tiles are removed, thoroughly clean the subfloor to remove any debris or adhesive residue. If there are any cracks or uneven areas on the subfloor, fill them with a high-quality leveling compound or patch Product. Allow the compound to dry completely before proceeding with the installation.
3. Acclimating the Wood:
Before installing the wood flooring, it’s important to acclimate it to the environment. Stack the wood planks in the room where they will be installed and leave them for at least 48 hours to adjust to the humidity and temperature of the space. This will prevent any warping or shrinking of the wood after installation.
IV. Installation Process:
1. Lay a Moisture Barrier:
To protect the wood flooring from moisture, lay a moisture barrier over the subfloor. This can be a plastic sheet or specialized underlayment designed for moisture protection.
2. Start with a Straight Line:
Begin the installation by finding the longest, straightest wall in the room. Measure an equal distance from this wall and use a chalk line or laser level to create a straight line across the room. This will serve as your reference point for laying the first row of wood planks.
3. Install Wood Flooring:
Starting at one end of the room, place the first plank along the reference line, leaving a small gap (about 1/4 inch) between the plank and the wall to allow for expansion. Use a pneumatic flooring stapler or nail gun to secure the plank to the subfloor, making sure to follow manufacturer’s instructions on spacing and placement of fasteners.
4. Continue with Subsequent Rows:
Continue installing additional rows of wood planks, using spacers between each plank to maintain consistent spacing. Stagger the end joints of adjacent planks by at least 6 inches to create a more stable and aesthetically pleasing installation.
5. Cut and Trim Planks:
As you approach walls, doorways, or other obstructions, you will likely need to cut and trim the wood planks to fit. Use a circular saw or jigsaw to make precise cuts, ensuring a snug fit. Remember to leave the necessary expansion gap around the perimeter of the room.
6. Install Transition Pieces:
Once all the wood planks are installed, you may need to install transition pieces where the wood flooring meets other types of flooring or different rooms. These transition pieces can help create a smooth and seamless transition between different flooring surfaces.
V. Finishing Touches:
1. Install Baseboards:
After the wood flooring is installed, reinstall the baseboards or install new ones if necessary. This will cover the expansion gap and provide a finished look to the room.
2. Apply Finish:
If your wood flooring is unfinished, you will need to apply a finish to protect and enhance its appearance. Follow manufacturer’s instructions for applying the chosen finish, whether it’s a polyurethane coating or natural oil.
3. Maintain Wood Flooring:
To keep your wood flooring looking its best, follow proper maintenance practices such as regular sweeping or vacuuming, using protective pads on furniture legs, and promptly cleaning up any spills or stains with recommended cleaning products.
Proper maintenance will help extend the lifespan of your wood flooring and keep it looking beautiful for years to come. Installing wood flooring can be a great way to add warmth and beauty to your home. Follow these steps for a successful installation:
1. Prepare the Subfloor:
– Remove any existing flooring and clean the subfloor thoroughly.
– Check for any unevenness or damage and make necessary repairs.
– Install a moisture barrier if needed, especially for concrete subfloors.
2. Establish a Reference Line:
– Use a chalk line or laser level to create a straight line across the room.
– This will serve as your reference point for laying the first row of wood planks.
3. Install Wood Flooring:
– Starting at one end of the room, place the first plank along the reference line.
– Leave a small gap (about 1/4 inch) between the plank and the wall for expansion.
– Use a pneumatic flooring stapler or nail gun to secure the plank to the subfloor.
– Follow manufacturer’s instructions on spacing and placement of fasteners.
4. Continue with Subsequent Rows:
– Install additional rows of wood planks, using spacers to maintain consistent spacing.
– Stagger the end joints of adjacent planks by at least 6 inches for stability and aesthetics.
5. Cut and Trim Planks:
– Use a circular saw or jigsaw to make precise cuts as you approach walls or obstructions.
– Ensure a snug fit and leave the necessary expansion gap around the perimeter.
6. Install Transition Pieces:
– If necessary, install transition pieces where the wood flooring meets other types of flooring or different rooms.
– These transition pieces help create a smooth transition between different surfaces.
V. Finishing Touches:
1. Install Baseboards:
– After installing wood flooring, reinstall or install new baseboards to cover the expansion gap.
– This provides a finished look to the room.
2. Apply Finish:
– If your wood flooring is unfinished, apply a finish to protect and enhance its appearance.
– Follow manufacturer’s instructions for applying the chosen finish, whether it’s polyurethane or natural oil.
3. Maintain Wood Flooring:
– Regularly sweep or vacuum the floor to remove dirt and debris.
– Use protective pads on furniture legs to prevent scratches.
– Clean up spills or stains promptly with recommended cleaning products.
– Proper maintenance will extend the lifespan and keep your wood flooring looking beautiful.