Naturally, everything tiling jobs are going to require some cutting and trimming of tiles so they fit snugly around borders, obstructions, piping, electrical wiring, window frames, electrical pipes, basins and so on. These're often industrial gratings or stainless steel. Throughout Europe, tile floor surfaces continues to be employed for years. Many styles of tile for the floor flooring have been utilized.
Images Related to Replacing Ceramic Tile Floor Kitchen
Replacing Ceramic Tile Floor Kitchen
/removing-ceramic-floor-tile-452501-hero-8300d7b0a9c94ba6a2e844788a0225bc.jpg)
You are able to furthermore cut the tile while you are placing it, but in that case you've to be sure you have not laid down the mortar until you have created the required cuts. Eliminate all nails and waste and examine the subfloor carefully for symptoms of rot, warped boards and damaged spots. Styles vary from lively to subdued; textures differ from classically smooth to antiqued markings.
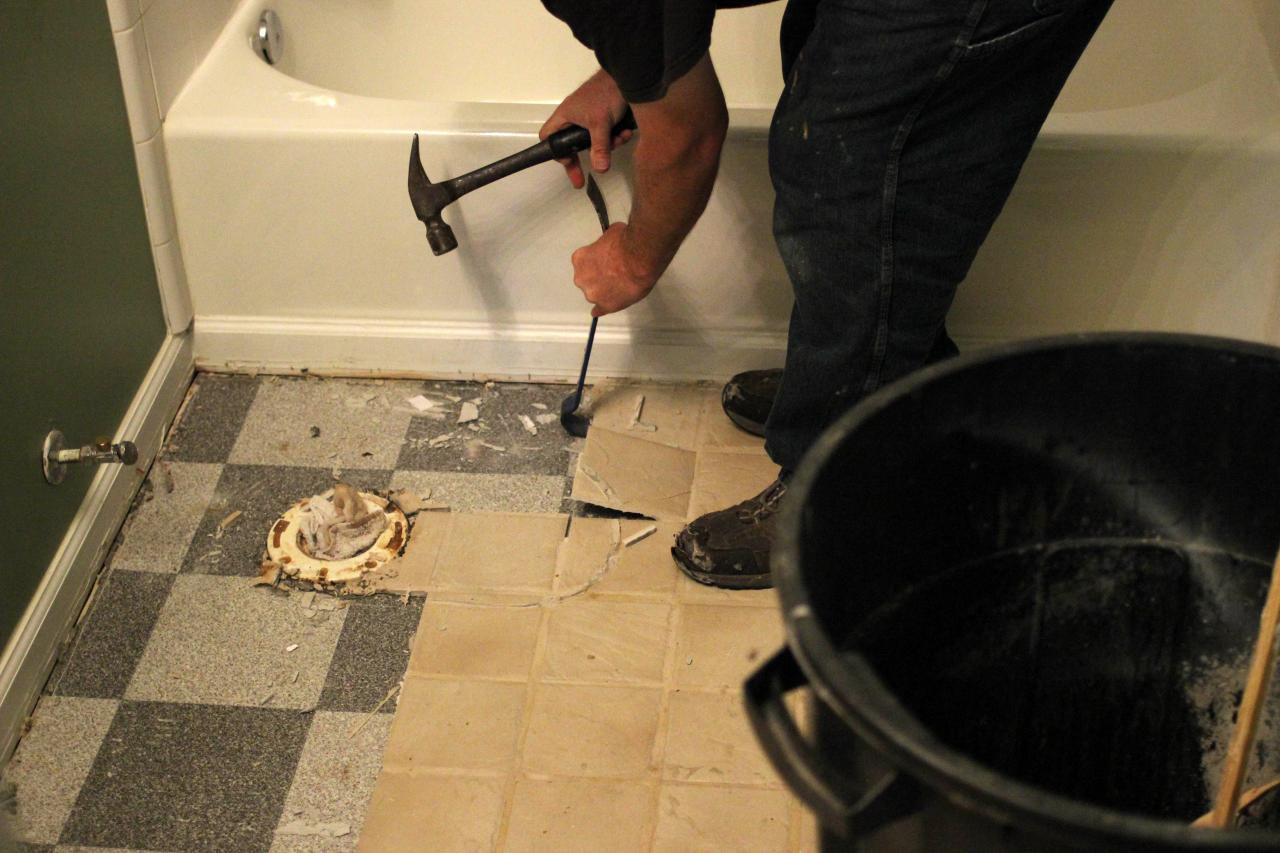
How to Remove Ceramic Floor Tiles BuildDirect® Learning

For that matter, natural stone such as marble as well as granite are actually on the additional end of the spectrum – they crack actually easier than ceramic tile and should not be worn in settings where any surplus deflection is achievable. The floor tiles need to be sealed and regularly resealed with a commercially available sealant in comparison to ceramic tiles which only have to have the grout lines of theirs sealed. Denver tile flooring offers you a huge assortment of tile.
Should I Repair or Replace Floor Tile? Redoing Tile Floor

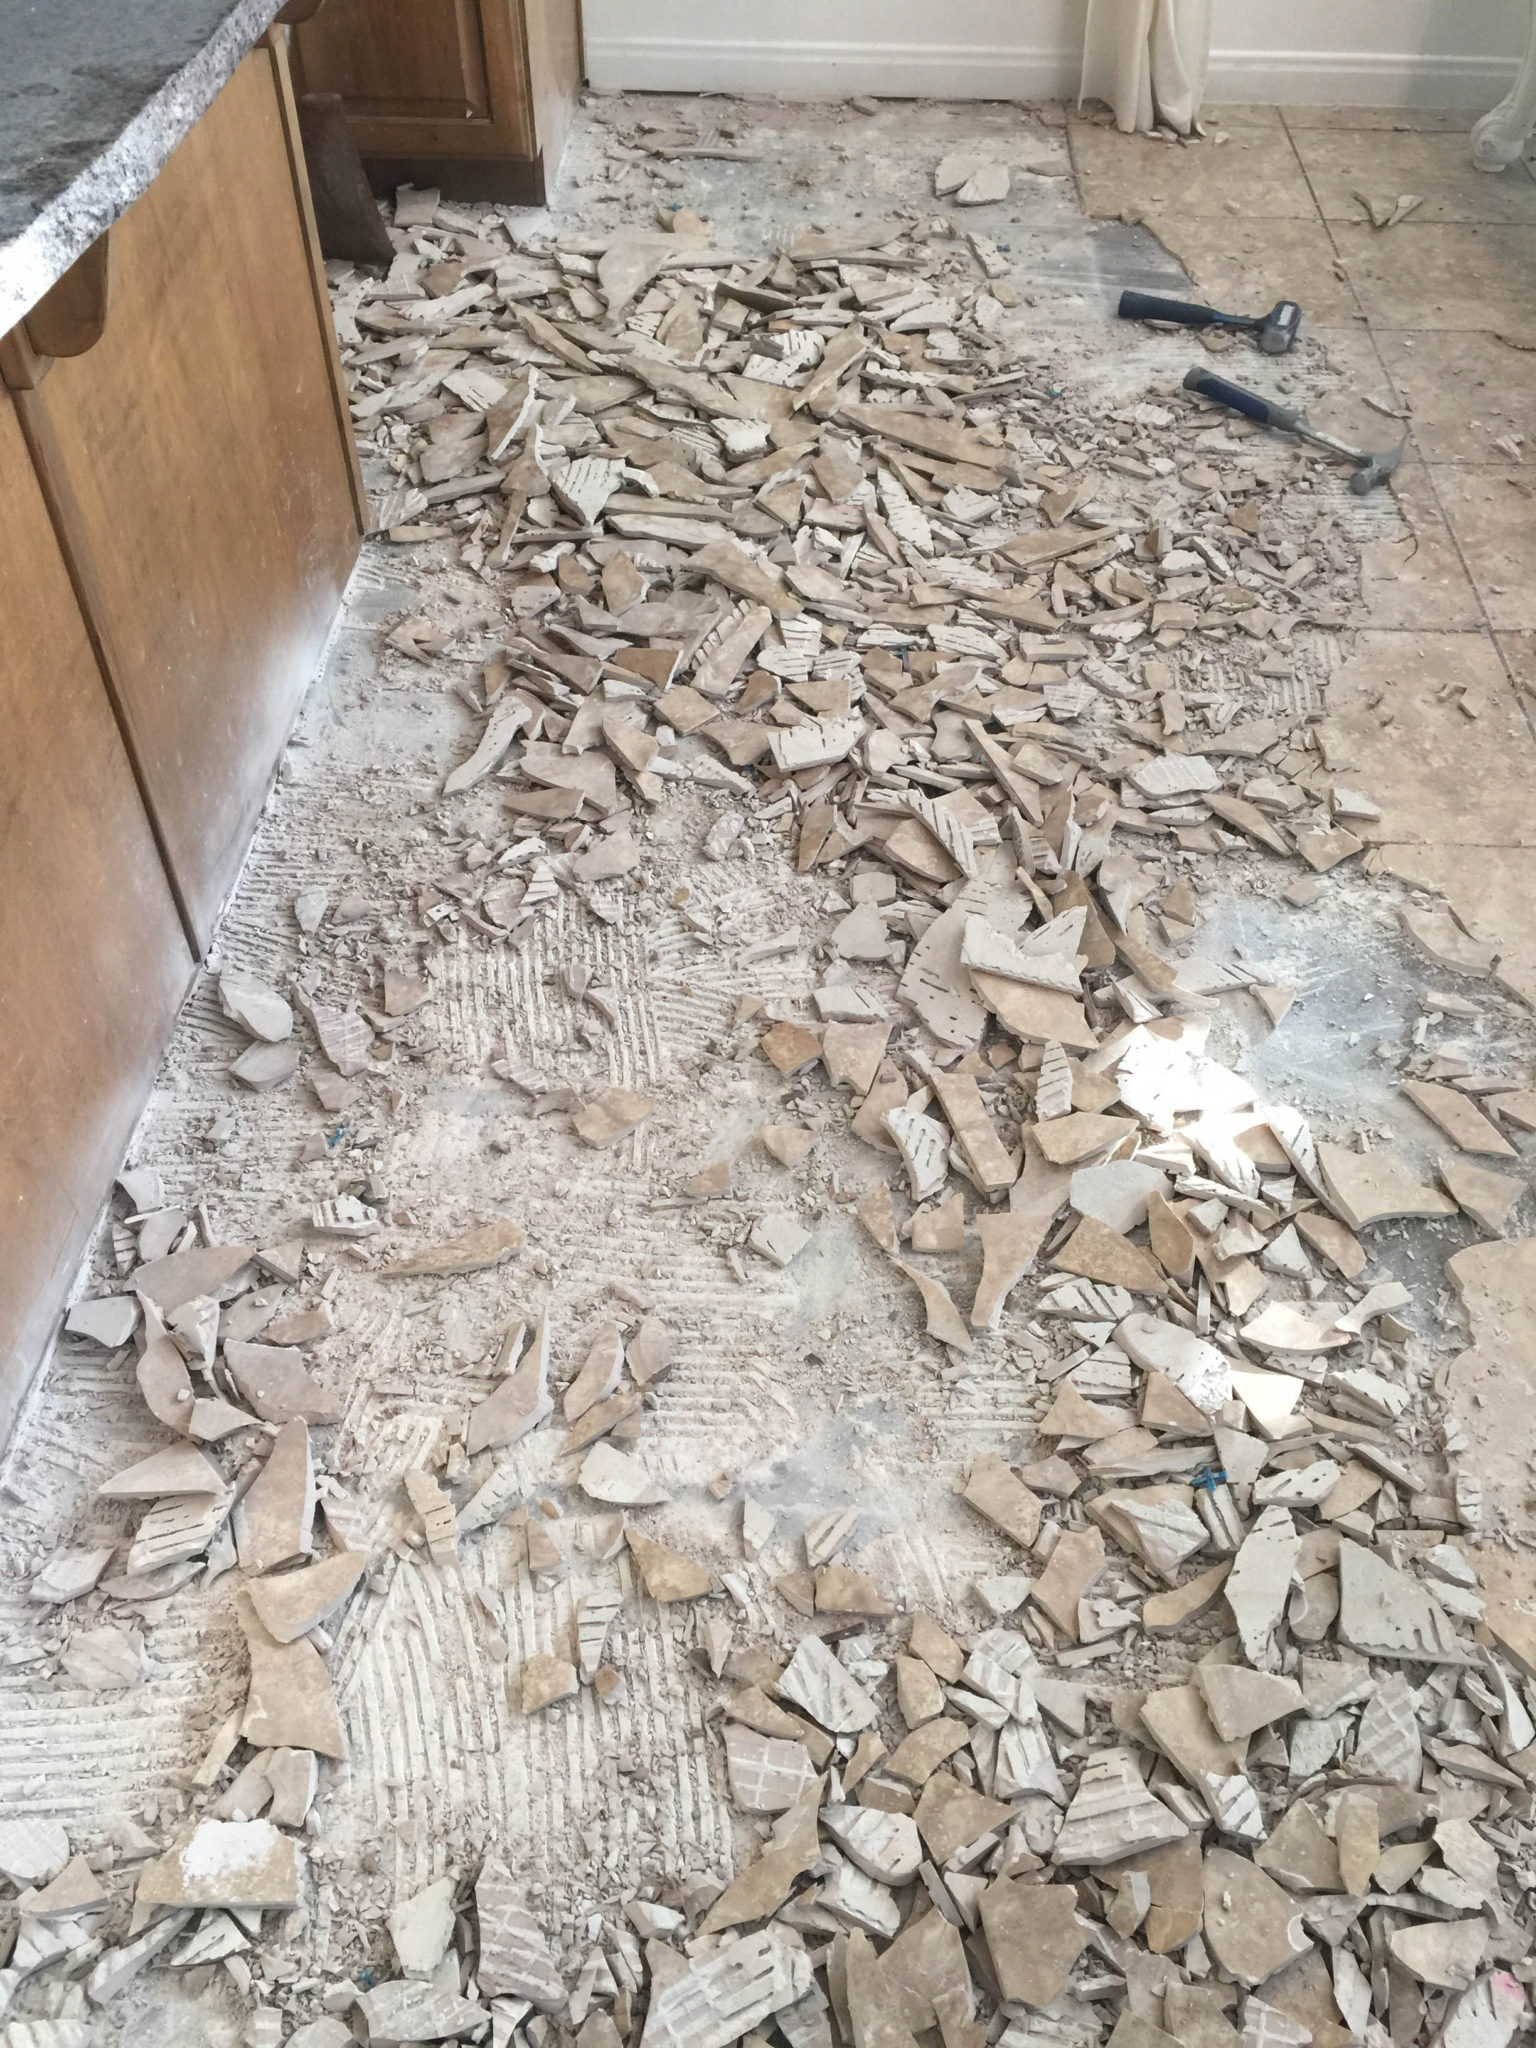
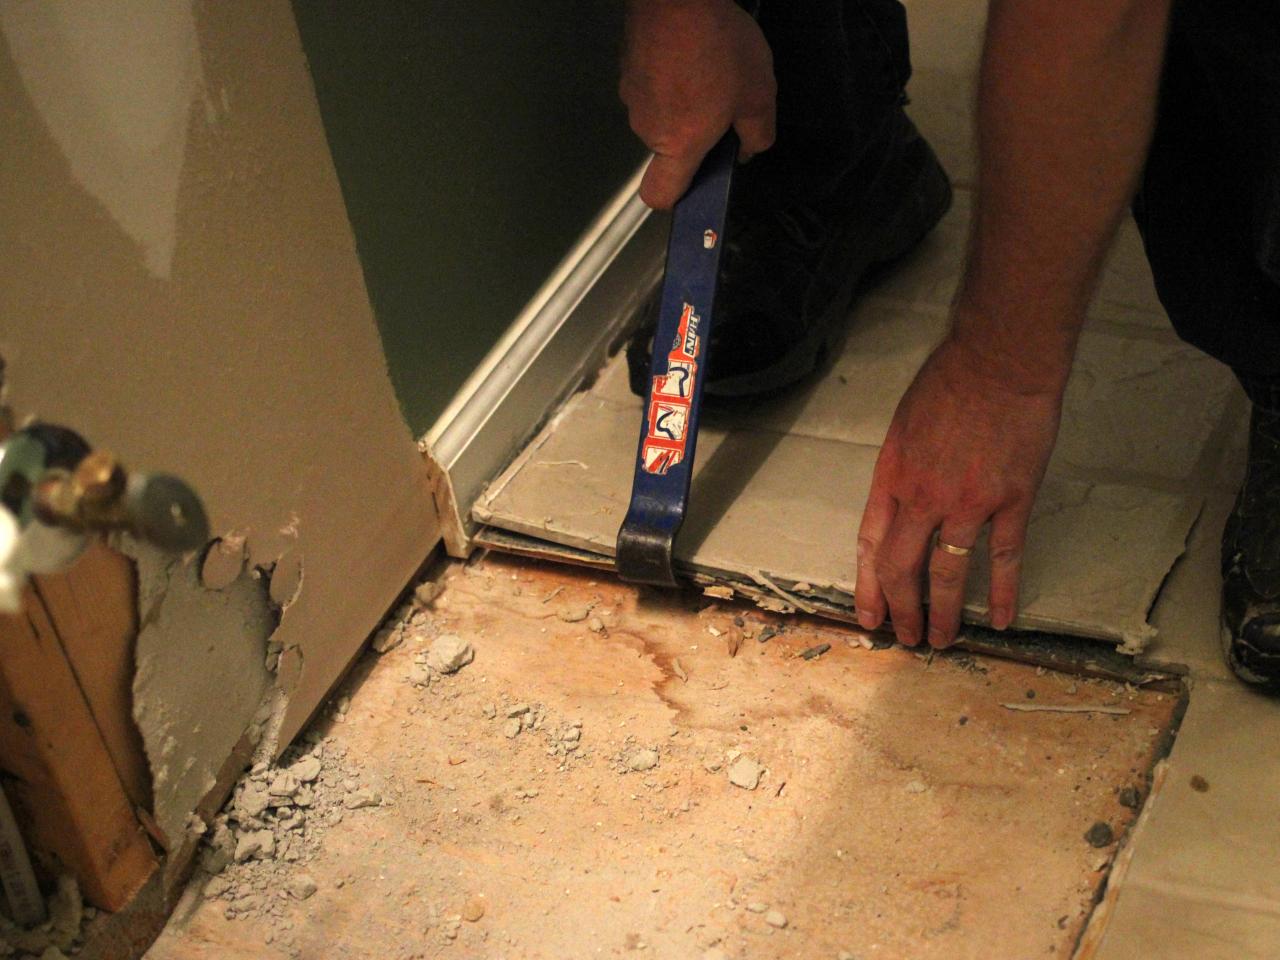
How to Remove Tile Flooring Yourself {with Tips and Tricks} All
How to Remove Tile Flooring Yourself {with Tips and Tricks} All
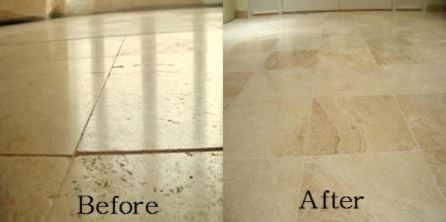
Ceramic Tile Repair And Restoration – Tile Floor Installation In
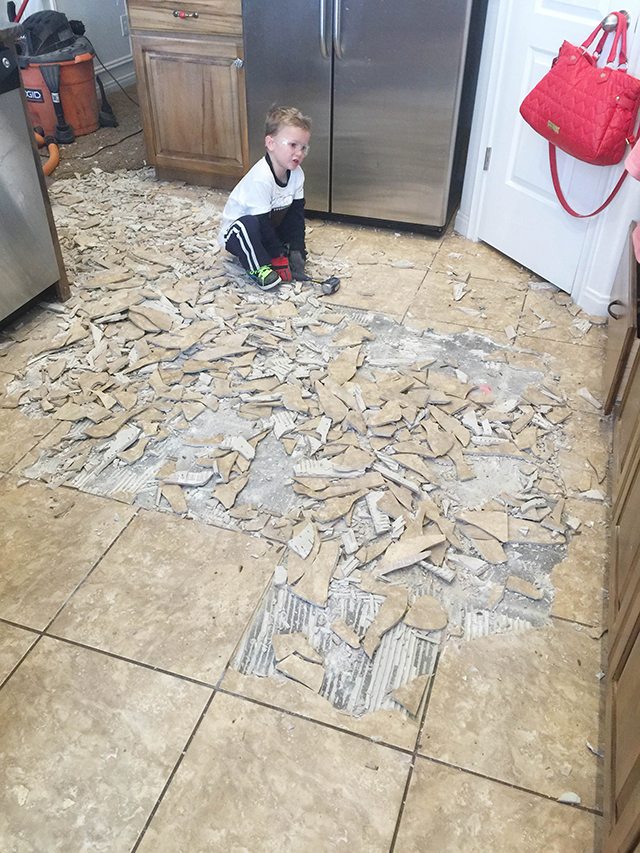
Tearing Out Old Kitchen Flooring PlanItDIY

How to Update Tile Without Removing It {Peel and Stick Floor Tiles}

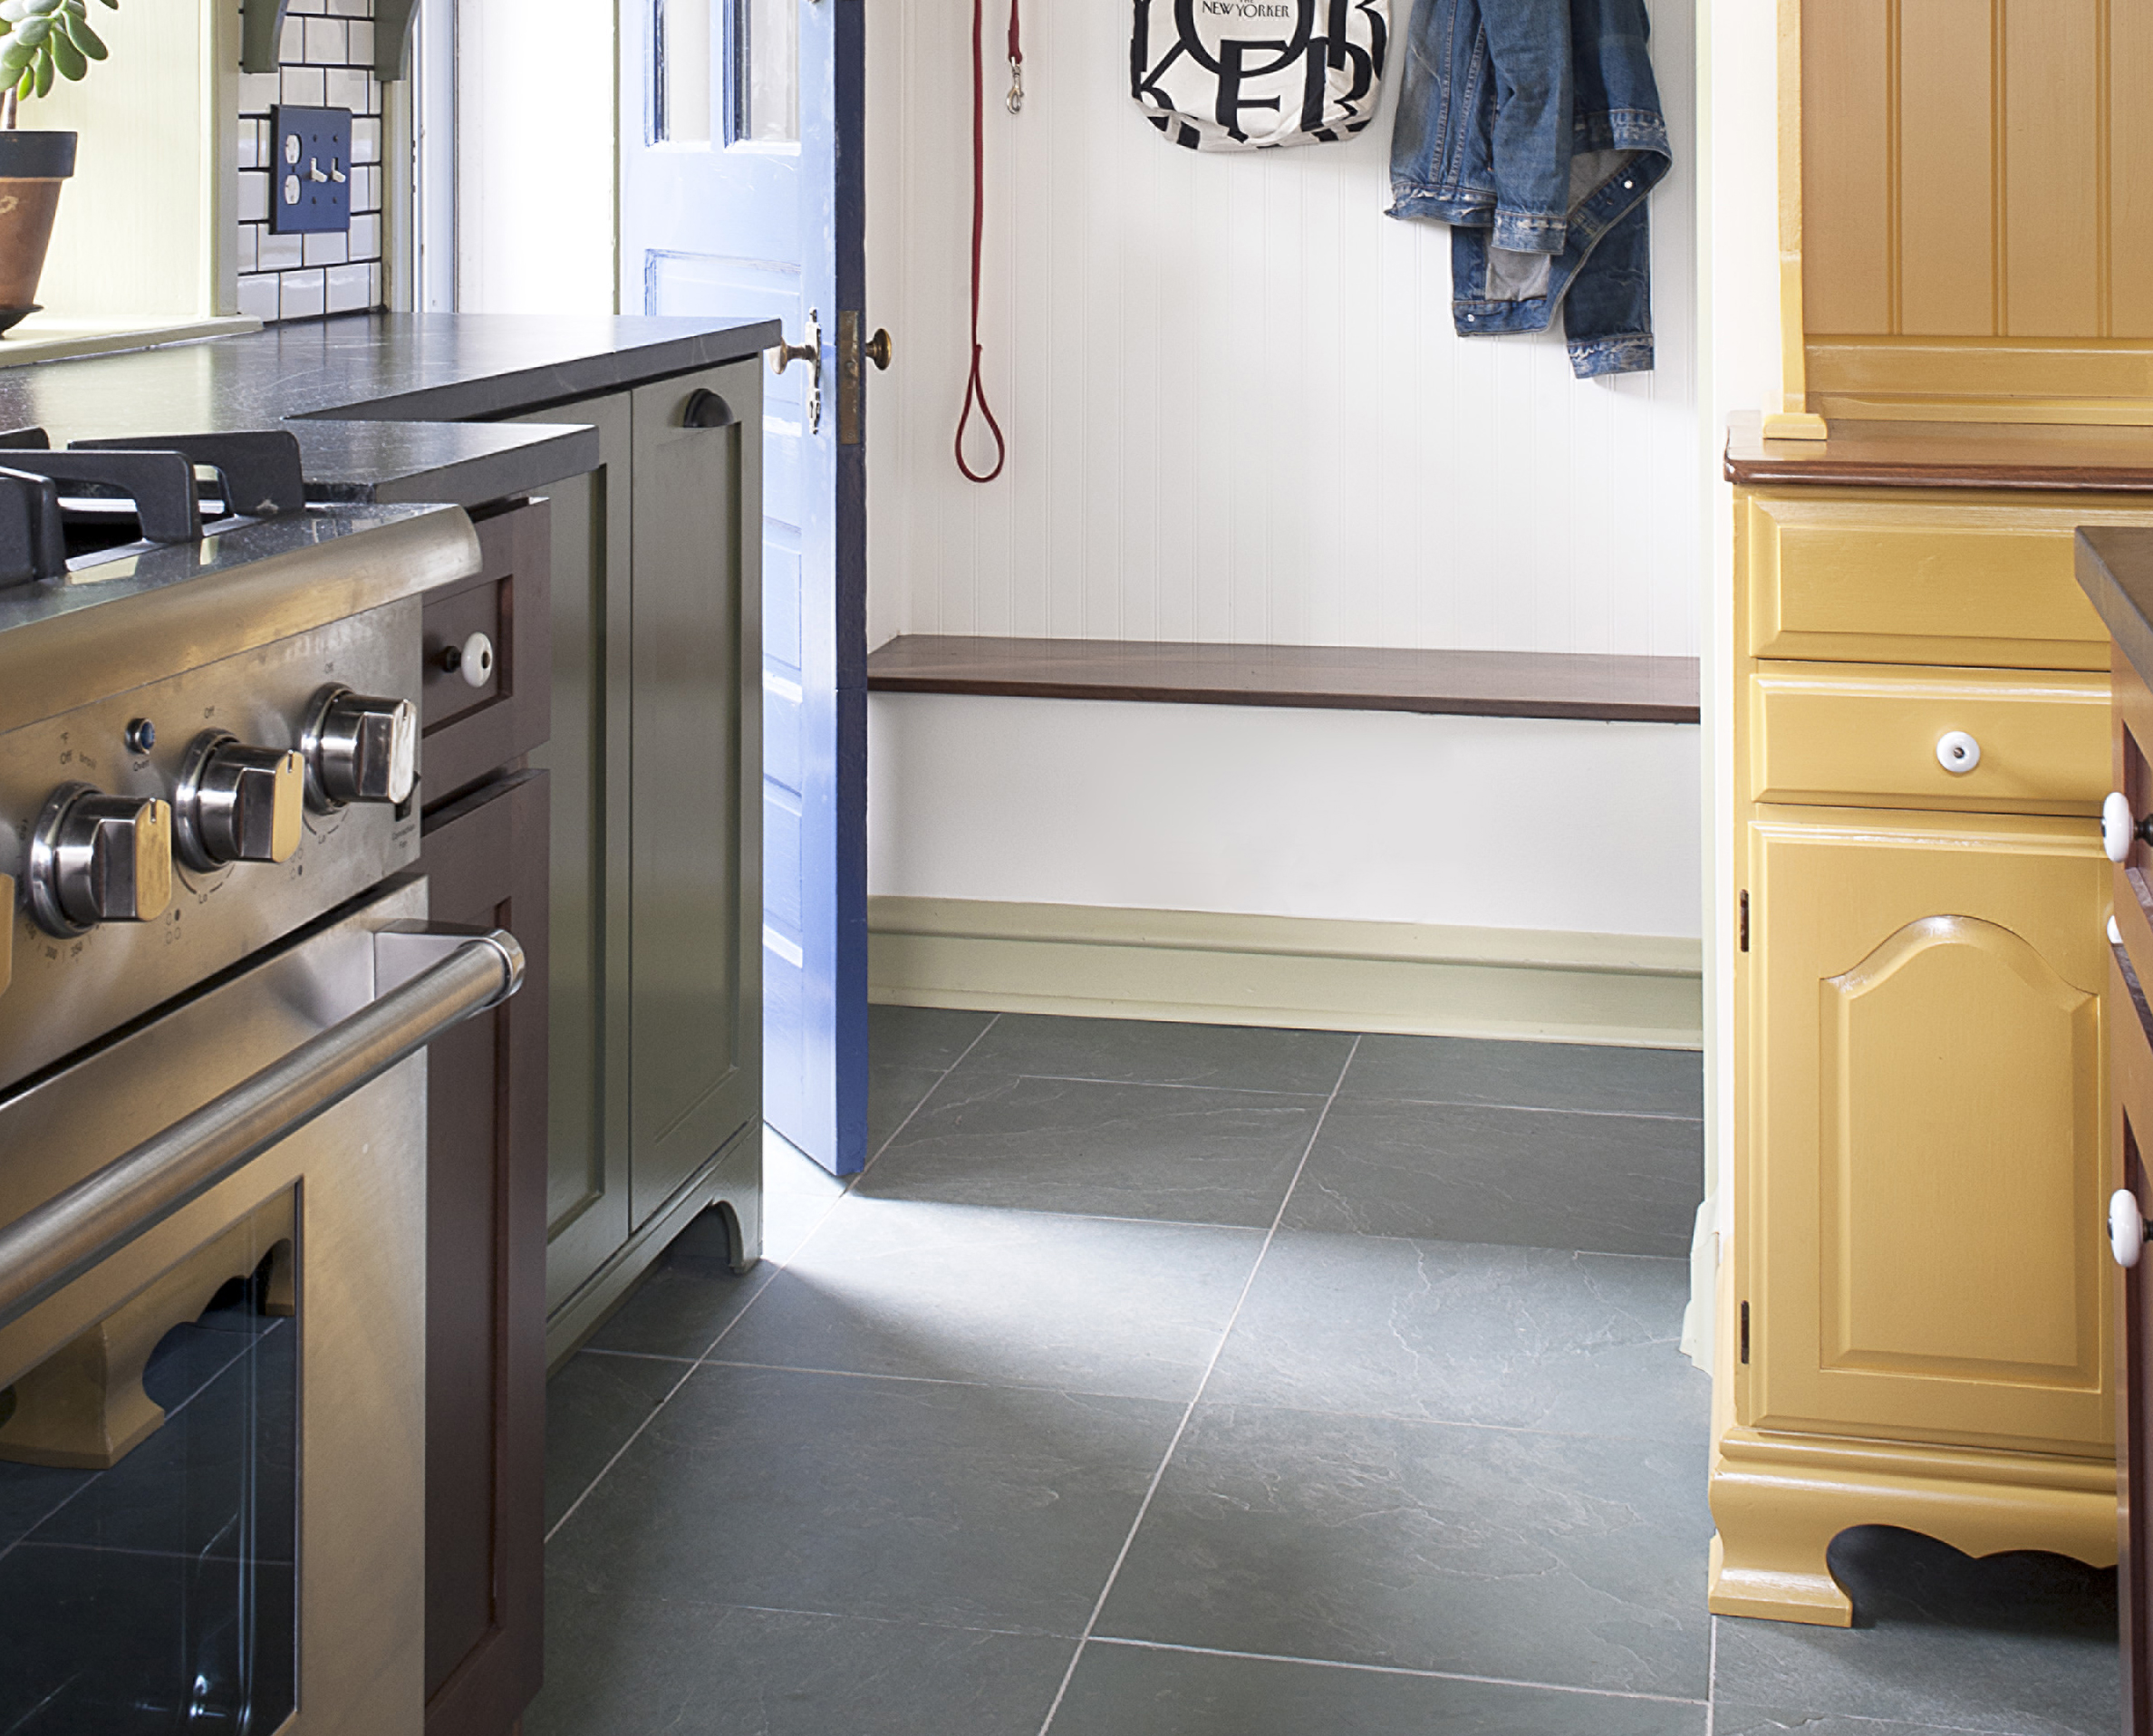
The Six Best Floors for your Kitchen Renovation. Airy Kitchens
How to Remove a Tile Floor HGTV
How To Fix Loose Or Broken Ceramic Floor Tiles
.png)
How to Know When itu0027s Time to Replace Your Flooring

How to Remove a Tile Floor HGTV
removing kitchen tile floor without taking out cabinets

Related articles:
- Vintage Bathroom Floor Tile Patterns
- Bathroom Floor Tile DIY
- Limestone Bathroom Floor Tiles
- Bathroom Floor Porcelain Tile
- Concrete Bathroom Floor Ideas
- White Bathroom Ceramic Tiles
- Bathroom Floor Baseboard
- Rustic Bathroom Flooring Ideas
- Bathroom Flooring Options
- Bamboo Bathroom Flooring Ideas
Tired of looking at the same old ceramic tile floor in your kitchen? Replacing it with a new and improved design can be a great way to give your kitchen a facelift. It’s no easy job, but with careful planning and preparation, you can get the job done in no time.
In this article, we’ll discuss everything you need to know about replacing your ceramic tile floor in the kitchen. From materials and tools needed to getting the job done quickly and efficiently, we’ve got you covered!
What Materials and Tools are Needed?
Before you start replacing your ceramic tile floor, it’s important to make sure you have all the materials and tools needed for the job. This includes:
-Ceramic tiles
-Thinset mortar
-Grout
-Tile spacers
-Tile saw
-Tile nippers
-Notched trowel
-Rubber mallet
-Grout float
-Caulk gun
-Grout sealer
-Sponge
-Safety glasses and gloves.
How Do I Prepare for Replacing my Ceramic Tile Floor?
Before beginning the process of replacing a ceramic tile floor in your kitchen, there are several steps you should take to ensure the job is done properly. First, make sure the surface of the existing tile is free from dirt, dust, and any debris that may prevent adhesion. Use a vacuum cleaner or broom and dustpan to remove any dirt or dust from the surface. Once the surface is clean, use a notched trowel to spread thinset mortar evenly on the surface of the existing tile. This will serve as an adhesive between the new tile and existing tile. Allow it to dry before continuing.
How Do I Install My New Ceramic Tile Floor?
Once your surface is prepped and ready for installation, it’s time to begin laying your new ceramic tile floor in the kitchen. Begin by placing your first tile in one corner of the room. Use tile spacers to ensure proper spacing between each tile. Then, using a rubber mallet, press down firmly on each tile until it is level with the rest of the tiles. Continue this process until all tiles have been laid. Once complete, mix grout according to directions on package and use a grout float to fill in spaces between tiles. Wipe off any excess grout with a damp sponge. Finally, use a grout sealer to protect your grout from staining and moisture damage.
What Are Some Tips for Replacing Ceramic Tile Floors?
Replacing ceramic tile floors can seem like an intimidating task but with these tips, you can make sure your project goes smoothly:
-Measure twice and cut once when cutting tiles for corners or hard-to-fit areas.
-Mix thinset mortar according to package directions and use a notched trowel to ensure even coverage on existing tiles.
-Allow thinset mortar to dry completely before beginning installation of new tiles.
-Use tile spacers when laying your new tiles for consistent spacing between each piece.
-Spread grout evenly with a grout float before wiping off excess with a damp sponge.
-Seal grout with a quality grout sealer for added protection against staining and moisture damage.
-Make sure to wear safety glasses and gloves throughout the entire project for added protection from dust and debris.
Conclusion
Replacing your ceramic tile floor in the kitchen can be a great way to give your kitchen an updated look without breaking the bank. With careful planning and preparation, you can get the job done quickly and efficiently with minimal hassle. Just remember to measure twice and cut once when cutting tiles for corners or hard-to-fit areas, mix thinset according to package directions, use tile spacers when laying new tiles, spread grout evenly with a grout float before