This type of floor is incredibly appealing to have in a marketable kitchen. Since cork is known for a waxy substance it is totally free and protected from the infestations of termites and molds. In most homes these days, it is unsurprising to notice kitchen area floors made from ceramic tiles, as this material possesses good qualities that allow it to last for many years.
Here are Images about Removing Old Kitchen Floor Tiles
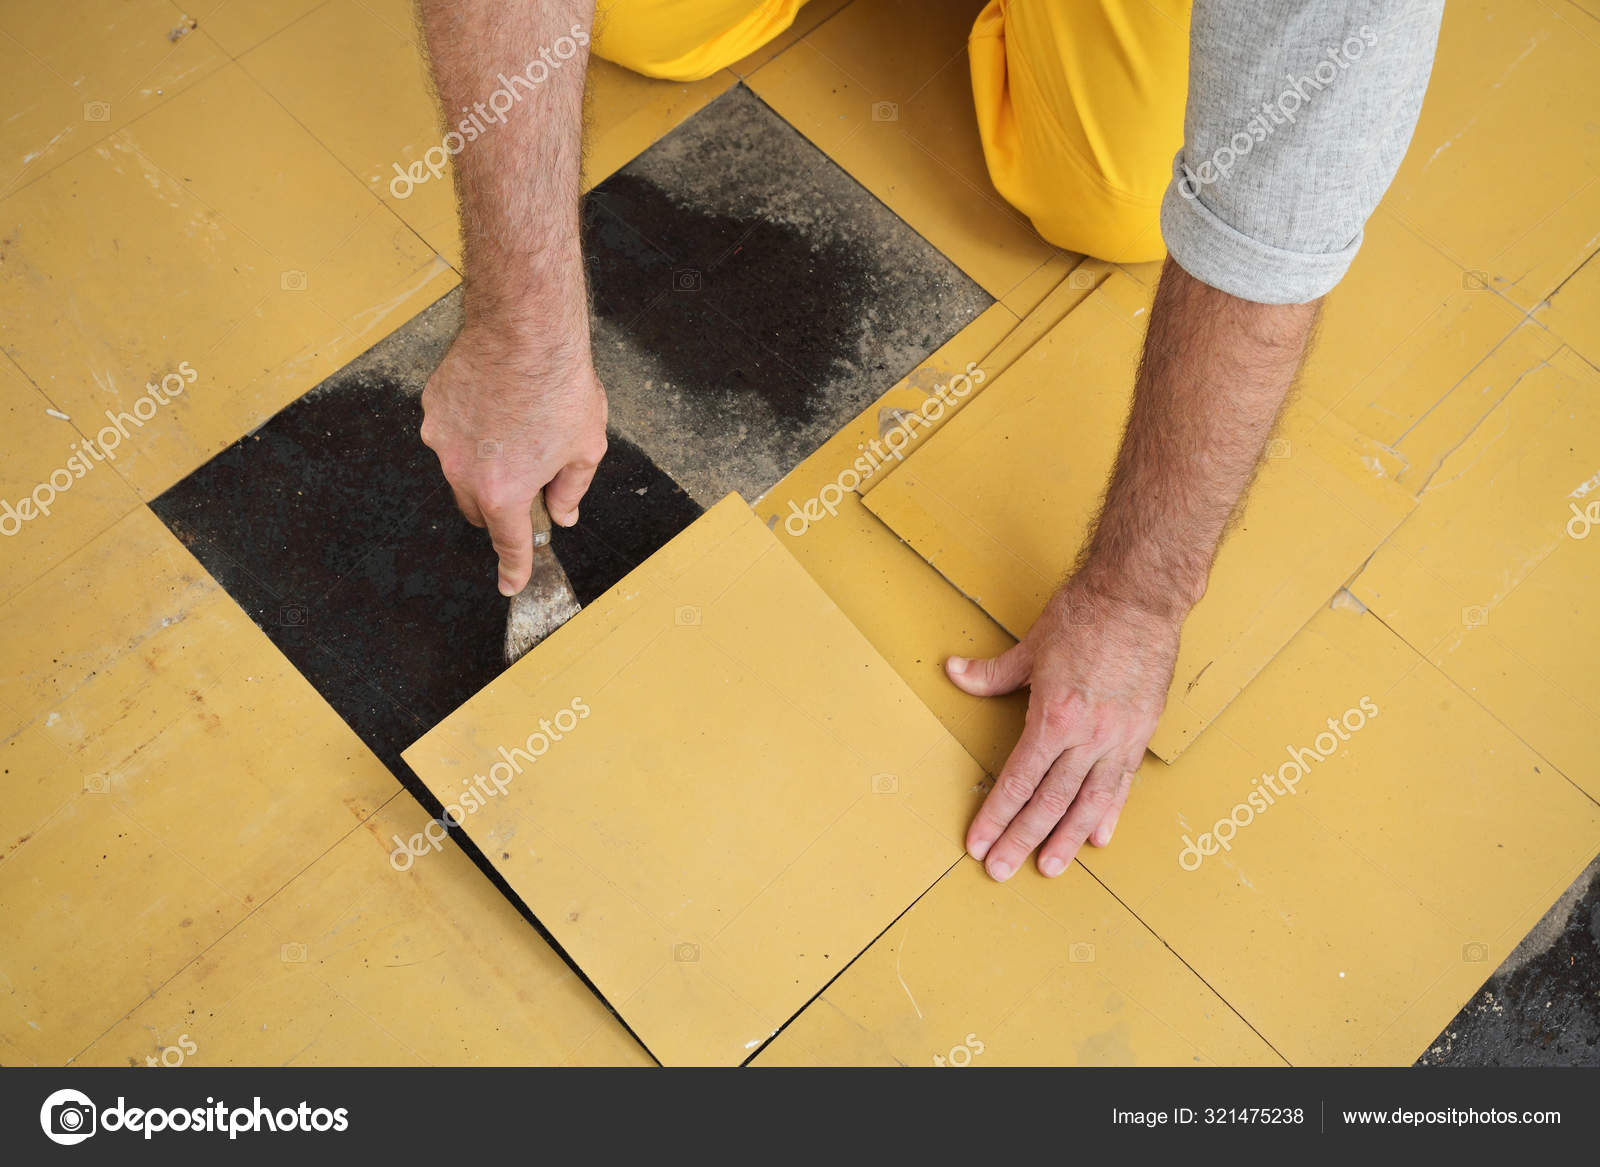
Removing Old Kitchen Floor Tiles

Tiled flooring is popular, as a result of the reality that it can be purchased in a range of different materials. If your kitchen experiences high traffic and you would like to secure against regular spills, stone room floor tiles are your best solution, followed by ceramic as well as porcelain. Today's choices are mostly healthy friendly.
How to Remove a Tile Floor HGTV
This particular kind might be relatively expensive due to the distinct appeal it results in to the kitchen floor of yours. Nonetheless, there's one thing that is important that you need to keep in mind. It can be an overwhelming conclusion to earn, and in merely the tile and marble choices alone, you will find beautiful decorated parts to pick from.
Images Related to Removing Old Kitchen Floor Tiles
How to Remove Ceramic Floor Tile
/removing-ceramic-floor-tile-452501-hero-8300d7b0a9c94ba6a2e844788a0225bc.jpg)
How to Remove Tile Flooring Yourself {with Tips and Tricks} All
Tearing Out Old Kitchen Flooring PlanItDIY
Replacing the Kitchen Floor: Removing Old Tile Flooring – Always

Tearing Out Old Kitchen Flooring PlanItDIY
How to Remove a Tile Floor HGTV
HOW TO REMOVE TILE THE EASY WAY – Be Your Own Handyman @ Home
How to Remove Tile Flooring Yourself {with Tips and Tricks} All
How to Remove Peel and Stick Floor Tile – A Butterfly House

Perfect-Fit Flooring Ltd Blog – Perfect-Fit Flooring Cornwall
Old vinyl tiles removal from floor in a room or kitchen Stock
Removing Ceramic Tiles The Easy Way Using Demolition Hammer
Related articles:
- Stained Concrete Basement Floor
- Finishing Basement Floor
- Refinish Concrete Basement Floor
- Best Flooring For Basement
- Basement Gym Flooring Ideas
- Laminate Flooring In Basement
- Basement Concrete Floor Sweating
- Basement Floor Finishing Ideas
- Painting Unfinished Basement Floor
- Unique Basement Flooring
If you’re planning to upgrade your kitchen’s look, one of the biggest and most important tasks is removing old kitchen floor tiles. This process can be daunting, but with the right tools and techniques it can be made much easier. Here, we’ll discuss the steps you should take when removing and replacing old kitchen floor tiles.
Tools and Materials Needed
The first step in removing old kitchen floor tiles is gathering the necessary tools and materials. You will need a flat pry bar, a hammer, a chisel, safety glasses, gloves, and a dust mask. You may also need adhesive remover, depending on the type of adhesive used to secure the tile. Additionally, you will need new tiles and grout for installation.
Preparing the Room
Once you have all the necessary materials, it’s time to prepare the room. Start by turning off the power to the area you are working in. Remove any furniture or appliances that may be in the way. If possible, cover the counter tops and other surfaces with a tarp or drop cloth to protect them from damage while you’re working.
Removing Old Tiles
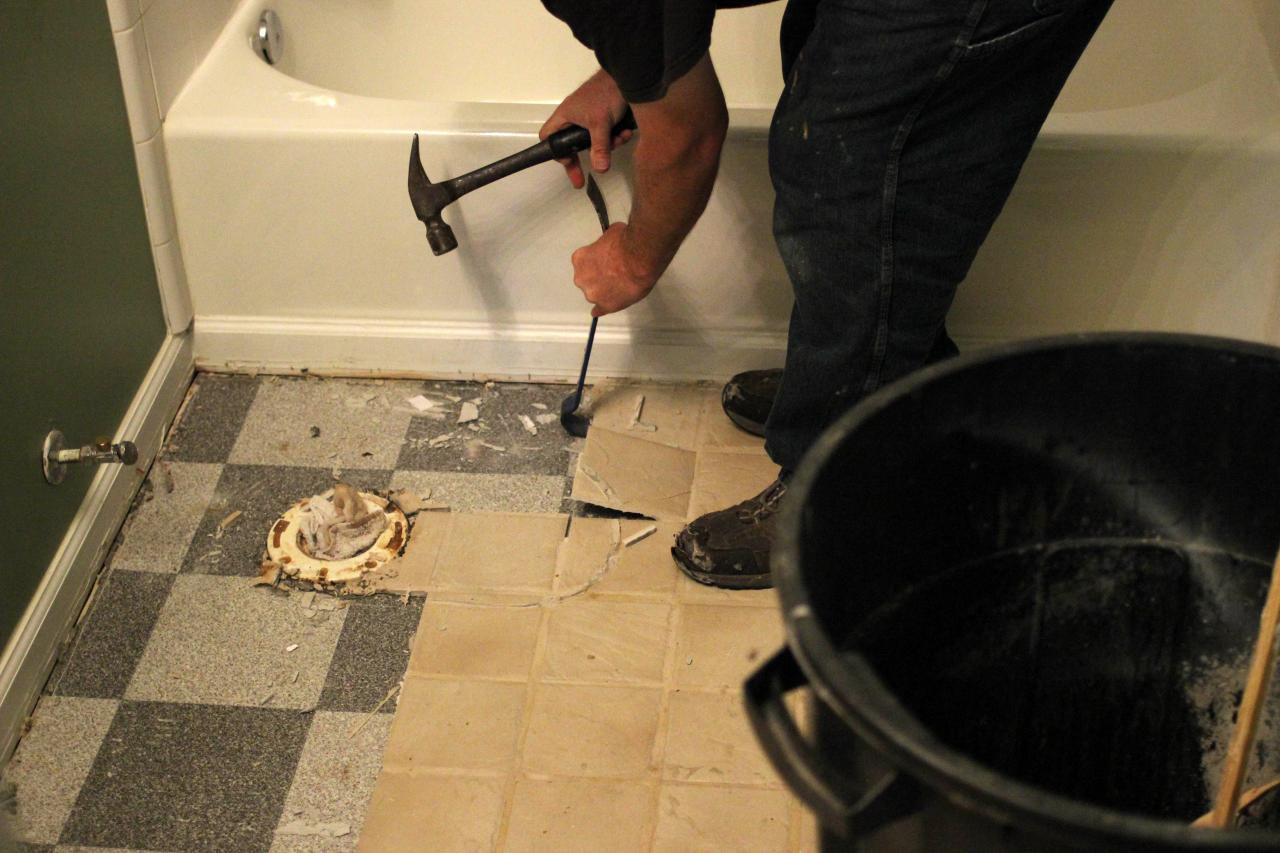
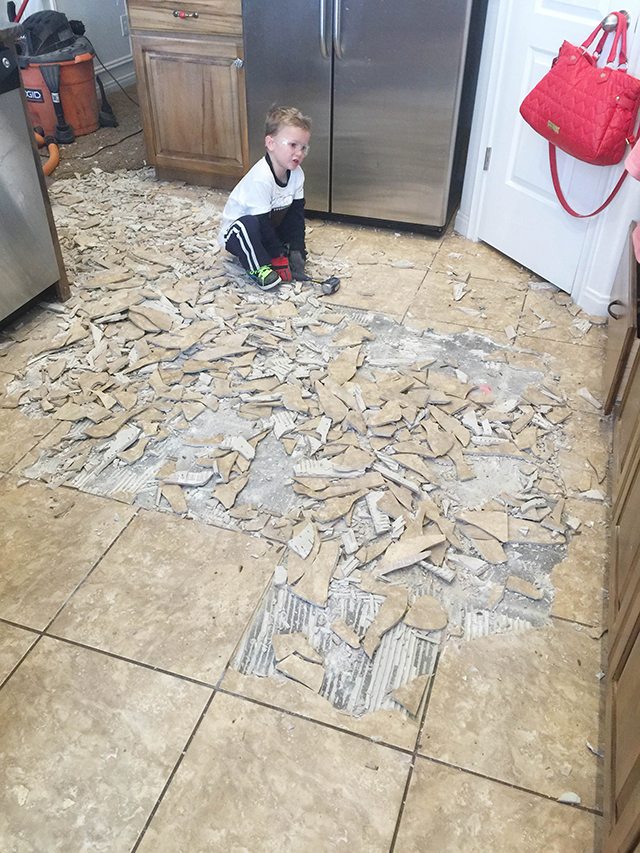
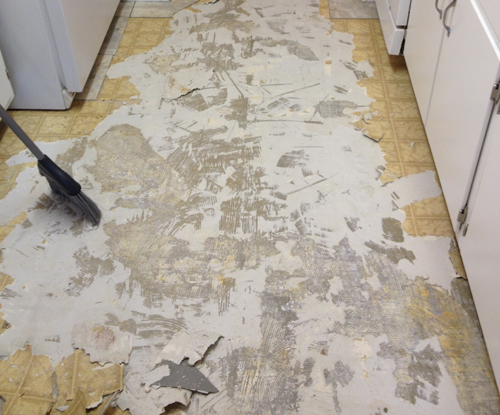
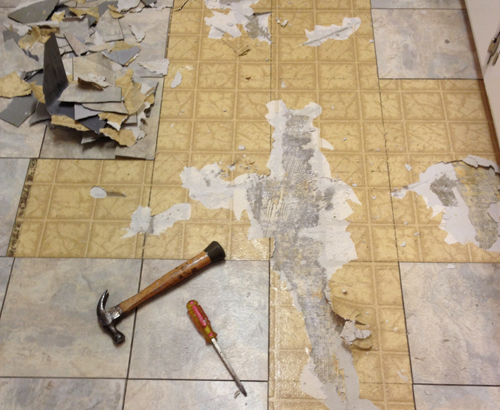
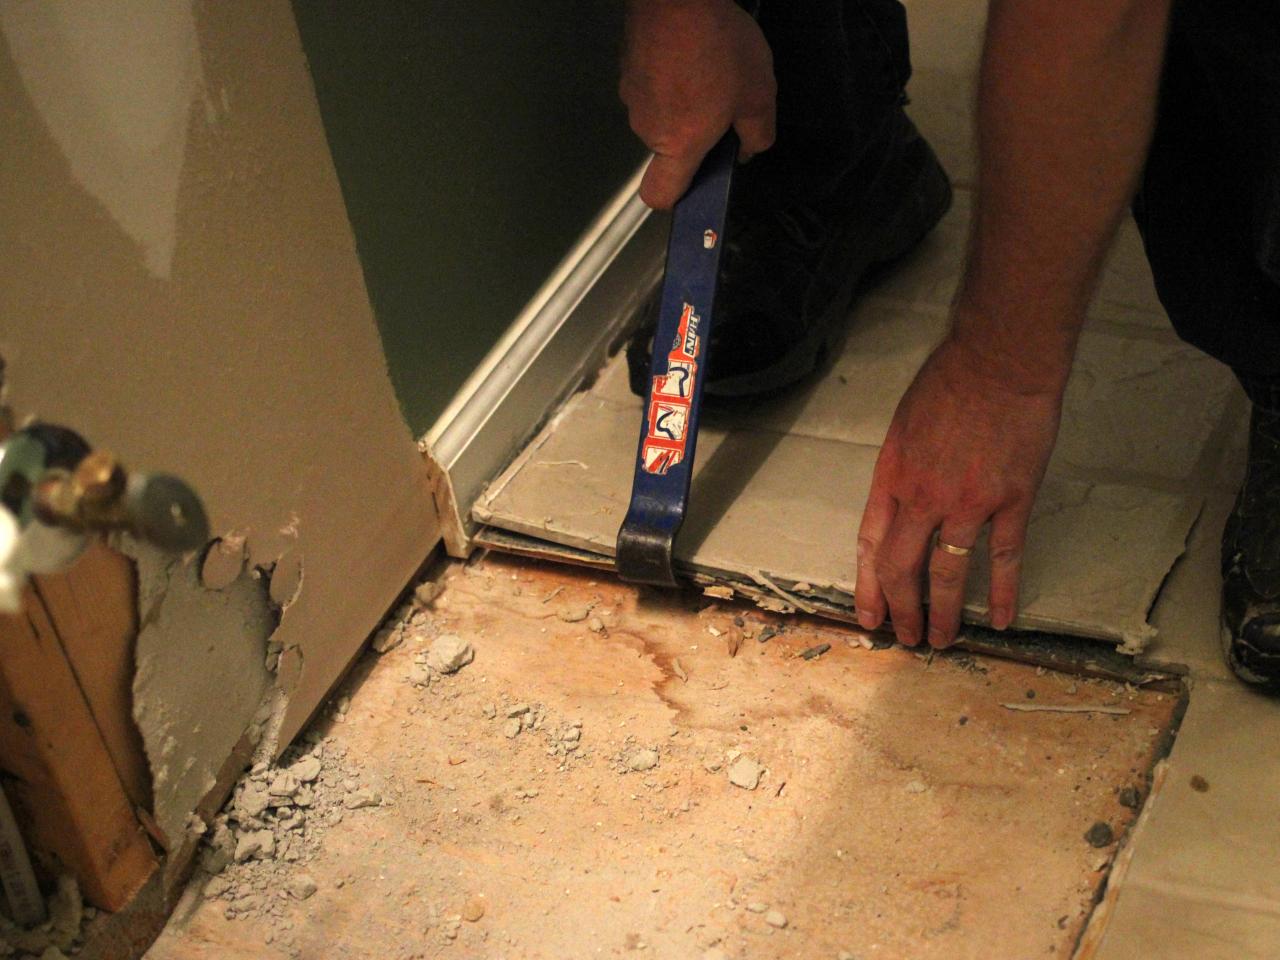
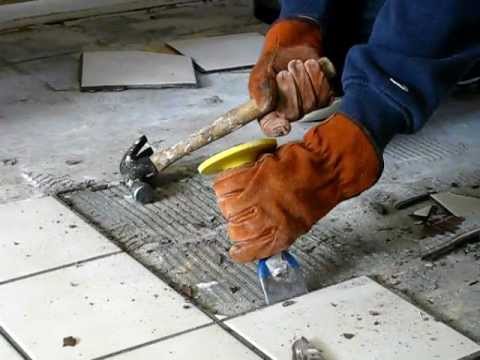
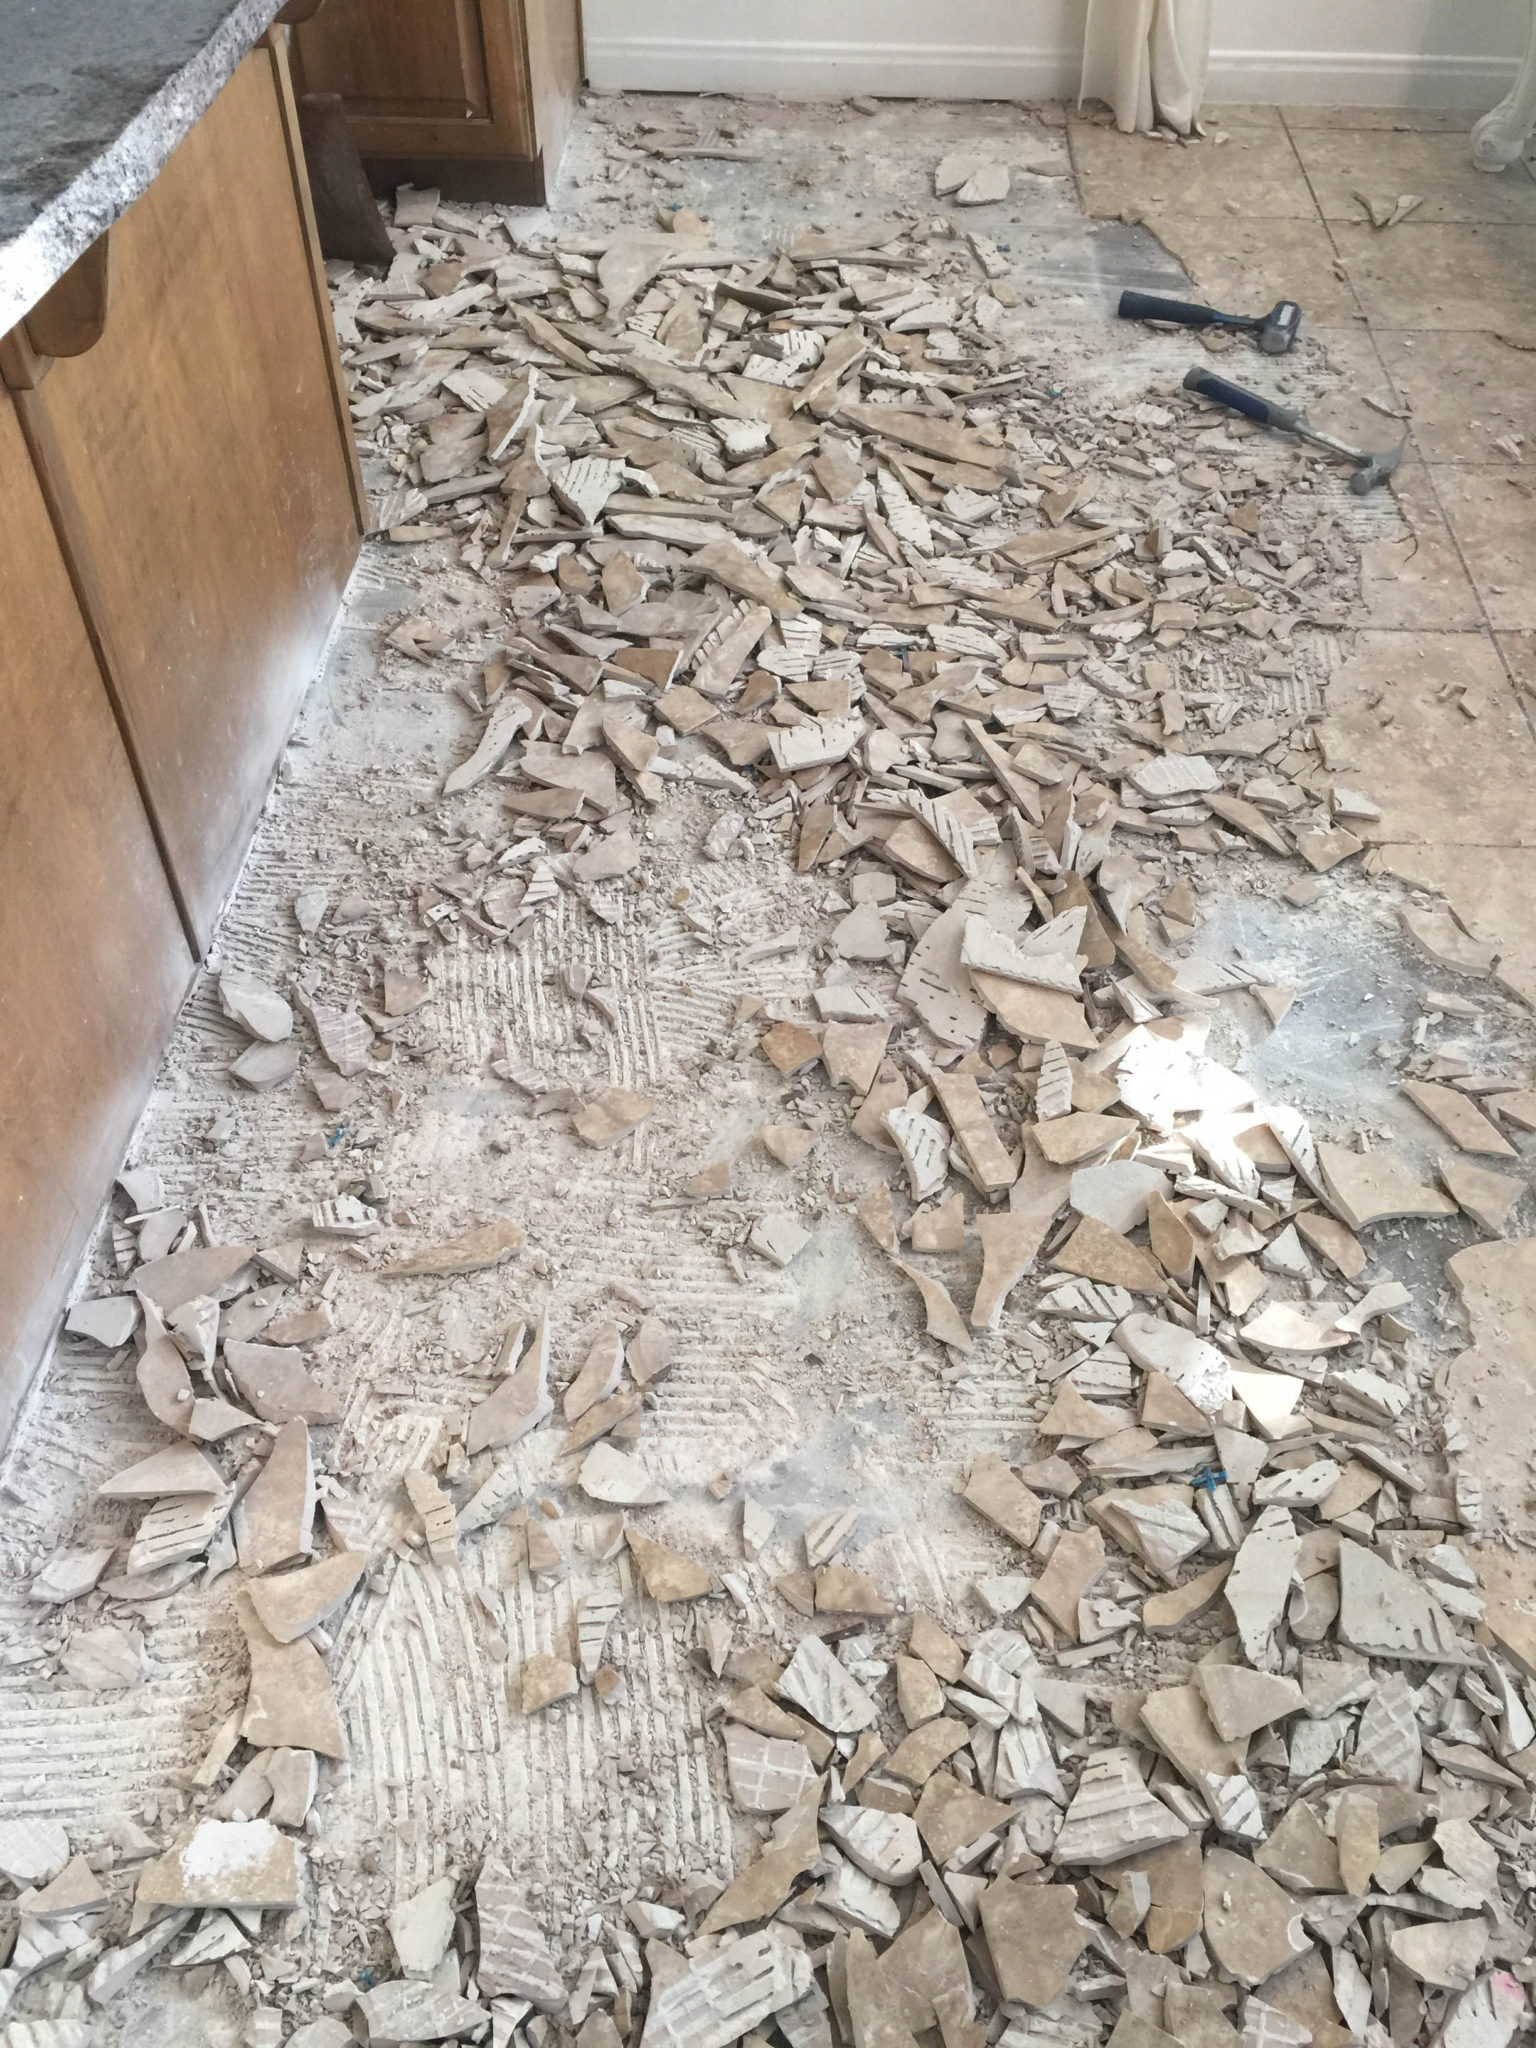
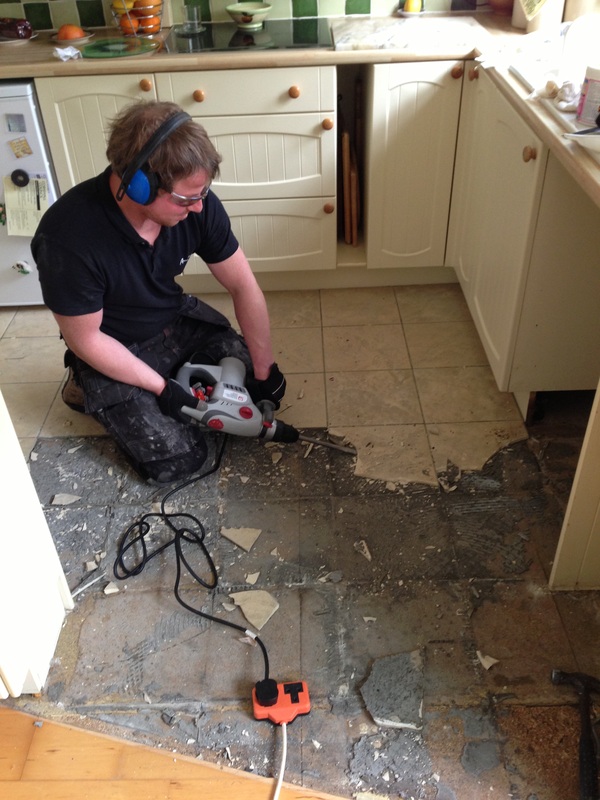
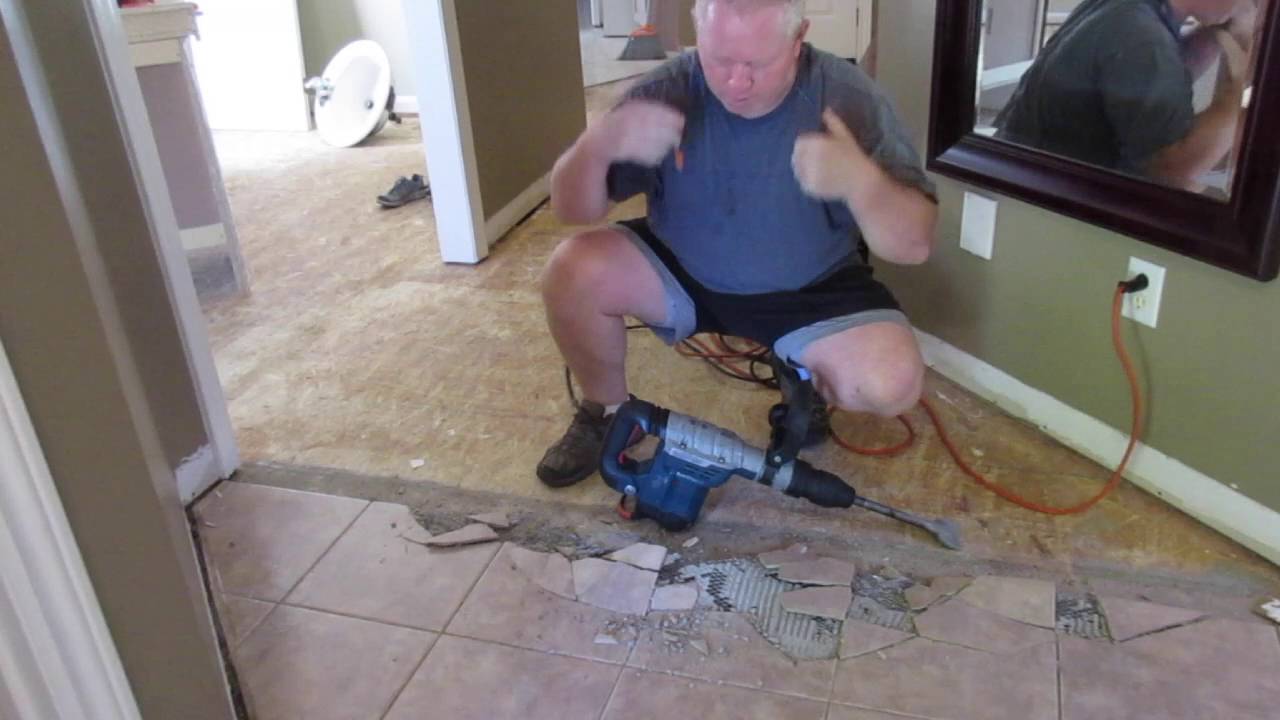
Now it’s time to start removing old kitchen floor tiles. Begin by using a flat pry bar to remove any trim pieces or baseboards around the perimeter of the area you’re working in. Next, use a hammer and chisel to break up any large tiles that may be present. It is important to use extreme caution when doing this as you don’t want to damage any surrounding walls or floors. When dealing with smaller tiles, use the flat pry bar to gently pry them up from the floor. Once all of the tiles have been removed, use a shop vacuum to clean up any debris that may have been left behind.
Installing New Tiles
Once all of the old tiles have been removed, it’s time to install the new ones. Begin by measuring out where each tile will go, then mark it with a pencil or chalk line so you know where to place them. Next, spread out some adhesive remover on the floor and let it sit for about 10 minutes before scraping it up with a putty knife or scraper. If there are any stubborn spots of adhesive remaining, repeat this process until they are removed. Once all of the adhesive has been removed, spread out some tile adhesive on the floor and begin laying down each tile one at a time. Make sure each tile is firmly pressed into place before moving onto the next one. Once all of the tiles have been installed, let them sit for 24 hours before proceeding with grouting them in place.
Grouting
The final step in installing new kitchen floor tiles is grouting them in place. Begin by mixing up some grout according to directions on the package and using a rubber trowel to spread it out evenly between each tile. Make sure there are no air pockets left behind as this can lead to cracking or shifting over time. Once all of the grout has been applied, use a damp sponge to wipe away any excess grout that may be left behind on the surfaces of each tile. Allow for 24 hours of drying time before walking on your new kitchen floor tiles!
Common Questions & Answers
Q: What type of adhesive should I use when installing new kitchen floor tiles?
A: It is best to use an adhesive specifically made for tiling floors as this will ensure maximum adhesion and durability over time. Be sure to read all instructions carefully before applying any adhesive so that it is applied correctly and securely!
Q: How long do I need to wait after grouting before walking on my new kitchen floor tiles?
A: It is recommended that you wait at least 24 hours after grouting before walking on your new kitchen floor tiles in order for everything to set properly and securely in place!