Thus, examine the laminates first and in case you realize that there are numerous damages, then you have to quickly get in touch with the supplier. Several makers of laminated wood floors today put forward that ammonia be used as a cleaner for their floors. You will not have the extra stress of worrying whether the young children are likely to spill one thing and ruin the carpet. Laminate floors resist very stain causing chemical substances and in addition, the UV resistance of theirs is also very high.
Here are Images about Removing Laminate Flooring Without Damage
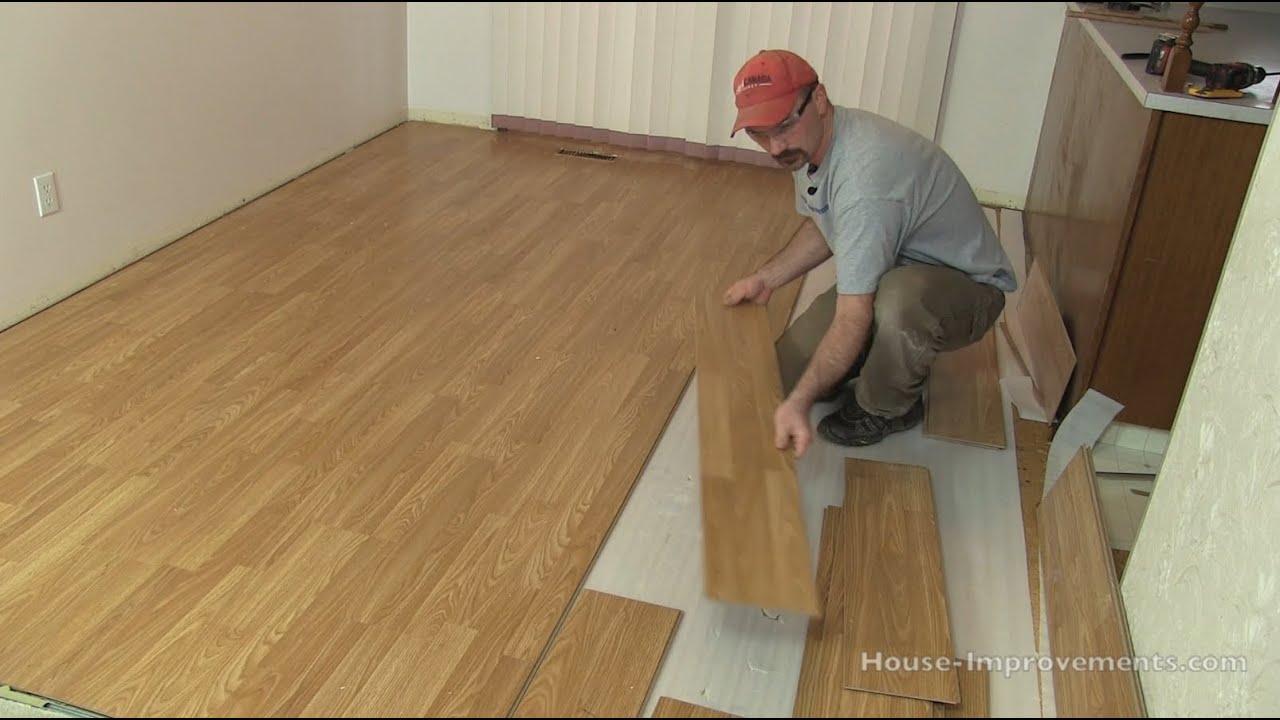
Removing Laminate Flooring Without Damage
After all, everyone really wants to remember the initial effect that if used in laminated flooring. The two styles which are individual vary in the way they are connected to the core. Laminate flooring is undeniably one of the most useful inventions. The core layer provides laminate's bulk and also adds more resistance to dents. The companies Pergo and Armstrong have become household names through the laminate floors of theirs.
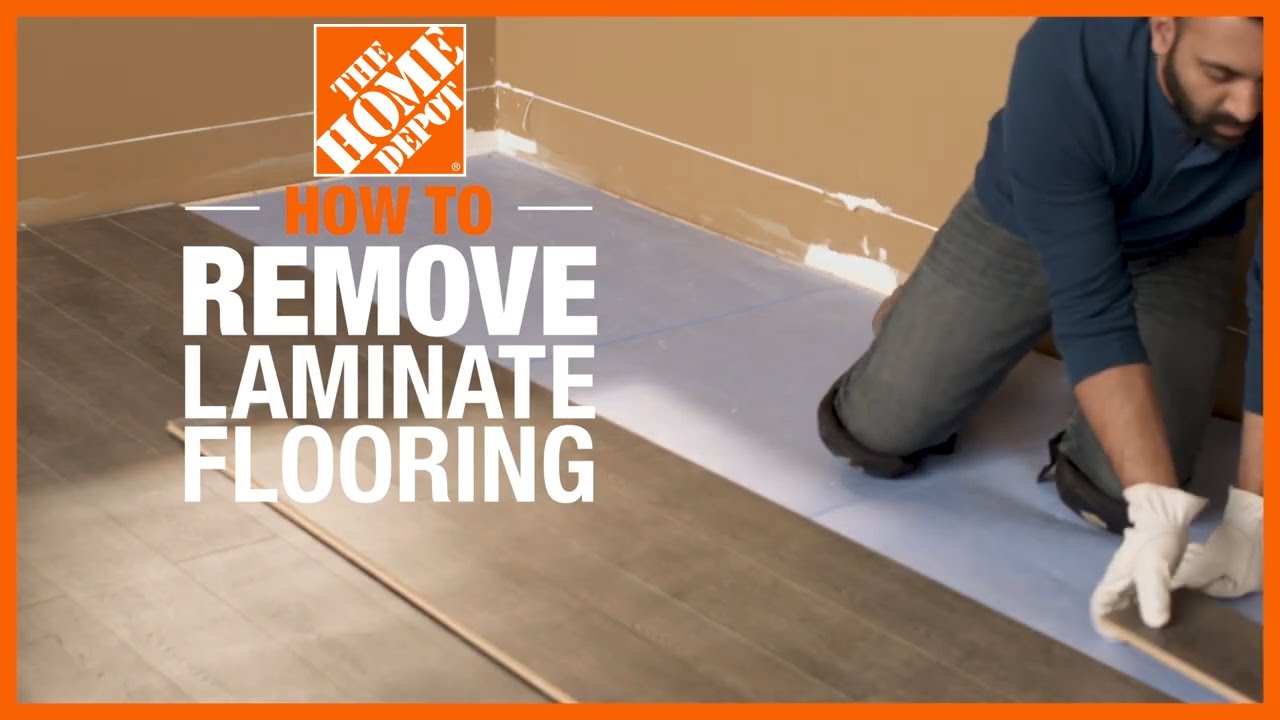
How to Remove Laminate Flooring
The wear layer is loaded with aluminum oxide and it is designed to resist wear, tear and scratches. There are several laminate flooring items that have the sub-flooring material built directly on the bottom, that make sure you take a look at the options you have through retail outlet or the manufacturer before making your ultimate decision on which type of laminate flooring you would like to purchase for your next project.
Images Related to Removing Laminate Flooring Without Damage
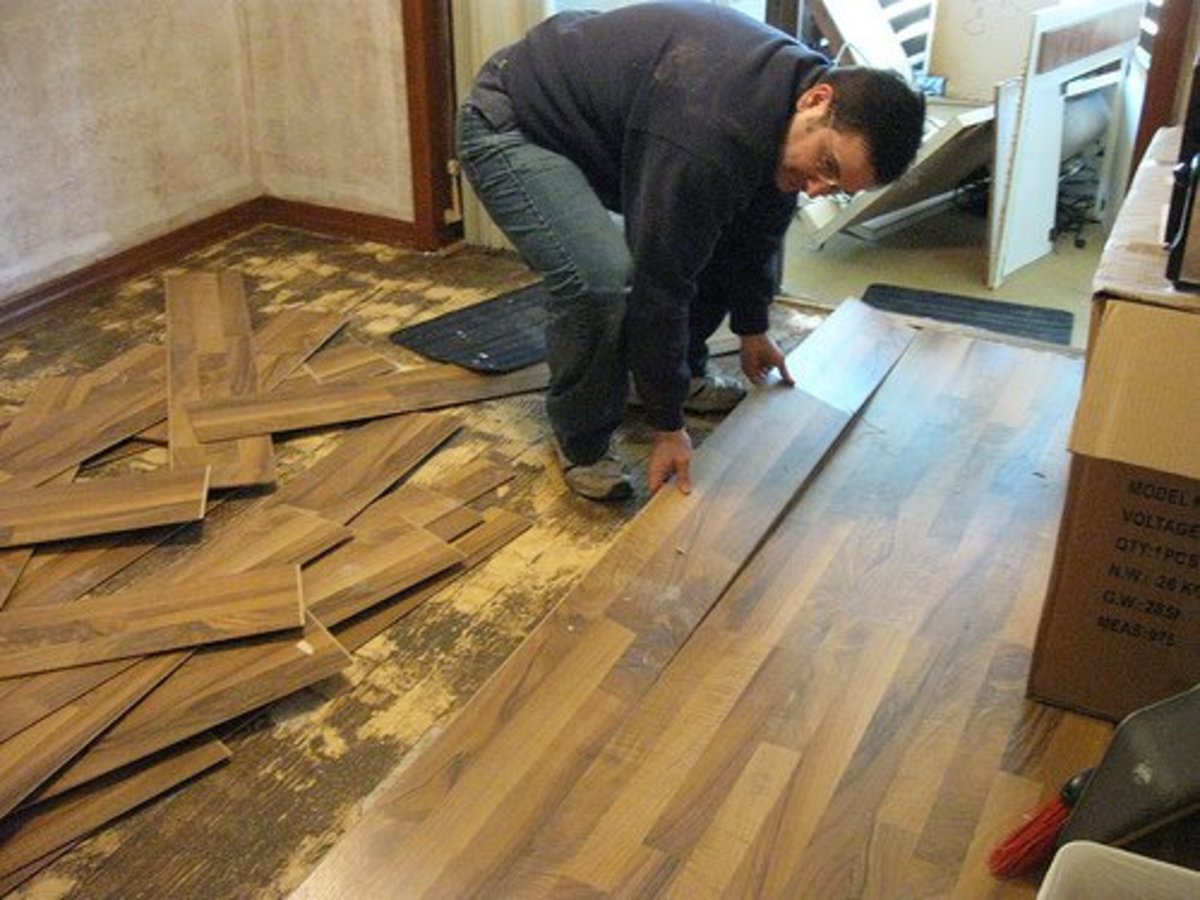
How to Remove Laminate Floor DIY – Dengarden
How to Remove Laminate Flooring HomeFlooringPros
How to Remove Laminate Flooring
How Do I Remove Laminate Flooring? – Factory Direct Flooring

How to remove Laminate Flooring

How To Remove Laminate Flooring – Bob Vila

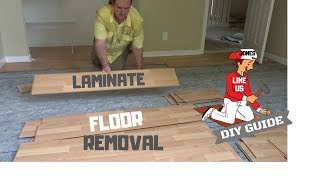
DIY LAMINATE FLOORING REMOVAL / HOW TO REMOVE PERGO FLOORING AND REMOVAL OF TRIM WITHOUT DAMAGING
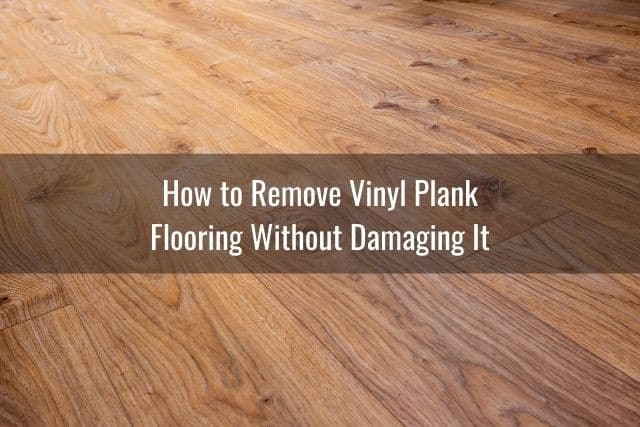
Can You Remove and Reuse Vinyl Plank Flooring? – Ready To DIY
9 Laminate Floor Mistakes and How to Fix Them
/laminate-floor-mistakes-and-solutions-1900254-hero-d907a15207a34f35b6ee2b87b3491d89.jpg)
How to Remove Tongue and Groove Flooring without Causing Any Damage
Laminate Floor Repair (DIY) Family Handyman

How to Repair Swollen Laminate Flooring without Replacing
Related articles:
- Tigerwood Laminate Flooring
- Royal Cherry Laminate Flooring
- Laminate Flooring Thickness For Basement
- Quick Step Commercial Laminate Flooring
- Espresso Oak Laminate Flooring
- Laminate Flooring Colors
- Modern Laminate Flooring Colors
- Dark Shiny Laminate Flooring
- Krono 8mm Laminate Flooring
- Quick Step Lagune Laminate Flooring
Removing Laminate Flooring Without Damage
Laminate flooring is a popular choice among homeowners due to its durability, affordability, and easy installation. However, there may come a time when you need to remove your laminate flooring, whether it’s because you want to replace it with a new flooring option or because it has been damaged and needs to be repaired. Whatever the reason may be, removing laminate flooring can be a daunting task if not done correctly. In this article, we will guide you through the process of removing laminate flooring without causing any damage.
I. Preparing for the Removal Process
Before you start removing your laminate flooring, it is essential to prepare yourself and the area properly. Here are some steps you should follow:
1. Gather the necessary tools: To remove laminate flooring successfully, you will need a few essential tools. These include safety goggles, work gloves, a pry bar or crowbar, a hammer, pliers, a utility knife, and a putty knife.
2. Clear the room: Remove all furniture and other items from the room where you will be working. This will provide you with ample space to maneuver and prevent any potential accidents or damage to your belongings.
3. Turn off electricity: If there are any electrical outlets or switches located on the wall where you will be working, ensure that you turn off the electricity in that area to avoid any electrical hazards.
4. Inspect the floor: Before starting the removal process, inspect the laminate flooring for any loose or damaged pieces. This will give you an idea of how difficult the removal process might be and help you determine if any additional steps need to be taken.
FAQs:
Q1: Can I remove laminate flooring without using any tools?
A1: While it is possible to remove small sections of laminate flooring by hand without using tools, it is not recommended for larger areas. Using appropriate tools ensures that the removal process is efficient and minimizes the risk of damage.
Q2: Do I need to wear safety goggles and gloves during the removal process?
A2: Yes, wearing safety goggles and gloves is highly recommended. Safety goggles protect your eyes from any flying debris or sharp edges, while gloves provide protection for your hands when handling tools or potentially sharp laminate pieces.
II. Removing the Laminate Flooring
Now that you have prepared yourself and the area, it’s time to start removing the laminate flooring. Follow these steps carefully:
1. Start at an edge: Begin by identifying a corner or edge where you will start the removal process. Insert the pry bar or crowbar between the laminate plank and the wall, applying gentle pressure to lift it slightly. Be cautious not to damage the wall during this step.
2. Lift the first plank: Once you have lifted the laminate plank, use your hands or pliers to remove any nails or staples that may be holding it in place. If there are no visible nails or staples, proceed to lift it further until it comes loose entirely.
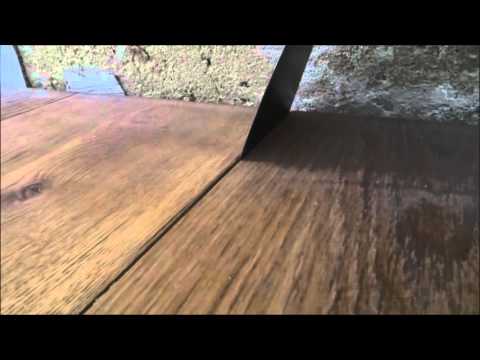
3. Continue with adjacent planks: After removing the first plank, move on to the adjacent one. Insert the pry bar or crowbar into the seam between two planks and repeat the lifting process. Take your time and be patient to avoid damaging neighboring planks.
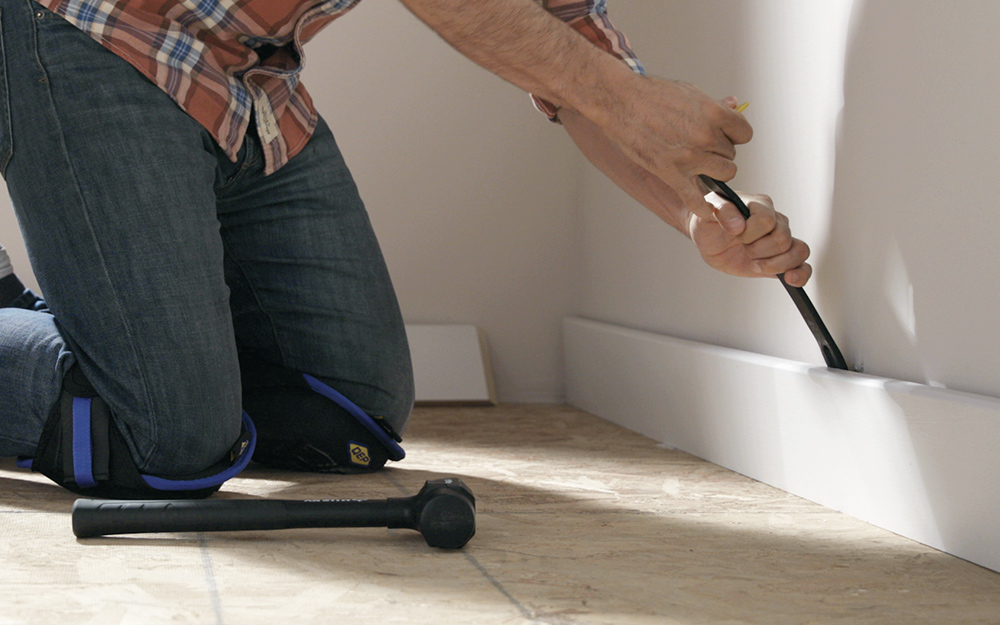
4. Remove baseboards if necessary: In some cases, the baseboards may interfere with the removal of laminate flooring. If this is the case, use a putty knife or utility knife to gently pry off the baseboards before continuing with The removal process. This will give you better access to the laminate planks and make the removal easier.
5. Dispose of the removed planks: As you remove each plank, set them aside in a safe and designated area. If the planks are still in good condition, you may consider reusing or selling them. Otherwise, dispose of them properly according to local regulations.
6. Repeat the process: Continue removing the laminate planks one by one, working your way across the room until all the flooring has been removed. Take breaks as needed to prevent fatigue and ensure your safety.
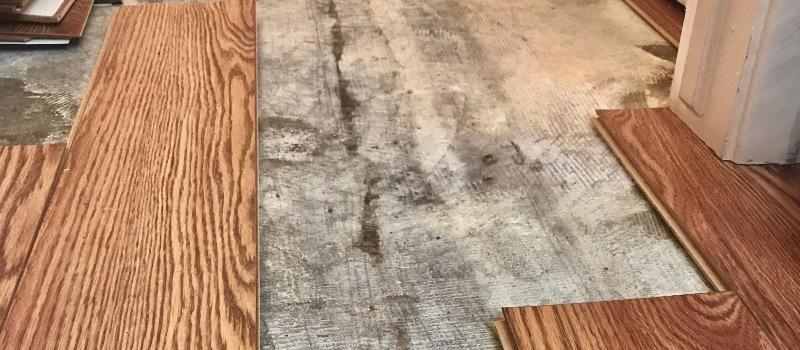
7. Clean and prepare the subfloor: Once all the laminate flooring has been removed, clean the subfloor thoroughly to remove any debris or adhesive residue. This will provide a clean surface for installing new flooring or making any necessary repairs.
8. Inspect for any damage: After removing the laminate flooring, inspect the subfloor for any damage or issues that need to be addressed before proceeding with new flooring installation. Make any necessary repairs to ensure a smooth and stable surface for your new floor.
9. Consider professional help if needed: If you encounter any difficulties during the removal process or if you are unsure about your ability to safely remove the laminate flooring, it is recommended to seek professional help. They have experience and knowledge that can help ensure a successful and efficient removal process.
Remember to always prioritize safety during the laminate flooring removal process. Use appropriate tools, wear protective gear, and take breaks as needed. With careful preparation and patience, you can successfully remove laminate flooring and prepare your space for new flooring or renovations. 10. Dispose of any hazardous materials properly: If you come across any hazardous materials, such as asbestos, during the removal process, it is important to handle them safely and dispose of them according to local regulations. Do not attempt to remove or dispose of hazardous materials on your own – contact a professional who is trained in handling and disposing of these substances.
11. Consider the condition of the subfloor: Before installing new flooring, assess the condition of the subfloor. If it is damaged or uneven, it may need to be repaired or leveled before proceeding with the installation. This will ensure a stable and long-lasting foundation for your new floor.
12. Choose the right replacement flooring: Take into consideration your needs and preferences when selecting new flooring. Consider factors such as durability, maintenance requirements, and aesthetics to choose a flooring option that best suits your space.
13. Follow proper installation techniques: When installing new flooring, make sure to follow manufacturer instructions and use appropriate tools and materials. Improper installation can result in damage to the new flooring or a shorter lifespan.
14. Maintain your new flooring: Once your new flooring is installed, make sure to properly maintain it to ensure its longevity and appearance. Follow recommended cleaning and maintenance practices for your specific type of flooring.
15. Consider hiring professionals for installation: If you are not confident in your ability to install new flooring or if you have a large area to cover, it may be worth hiring professionals for the installation. They will have the expertise and equipment needed to complete the job efficiently and effectively.
16. Enjoy your newly renovated space: Once the removal and installation processes are complete, take some time to enjoy your newly renovated space. Whether it’s a fresh coat of paint or new flooring, appreciate the effort you put into transforming your room!