Installation formats also vary, including click lock, glue down, along with floating, just to mention a few. Thanks to their ability to resist scratches and dents, laminate floors are the leading choices for high-traffic areas such as kitchens and bathrooms. If you're building a new home or maybe would like to update the current space of yours, laminate is a great option for the flooring needs of yours.
Images Related to Put Laminate Flooring Wall
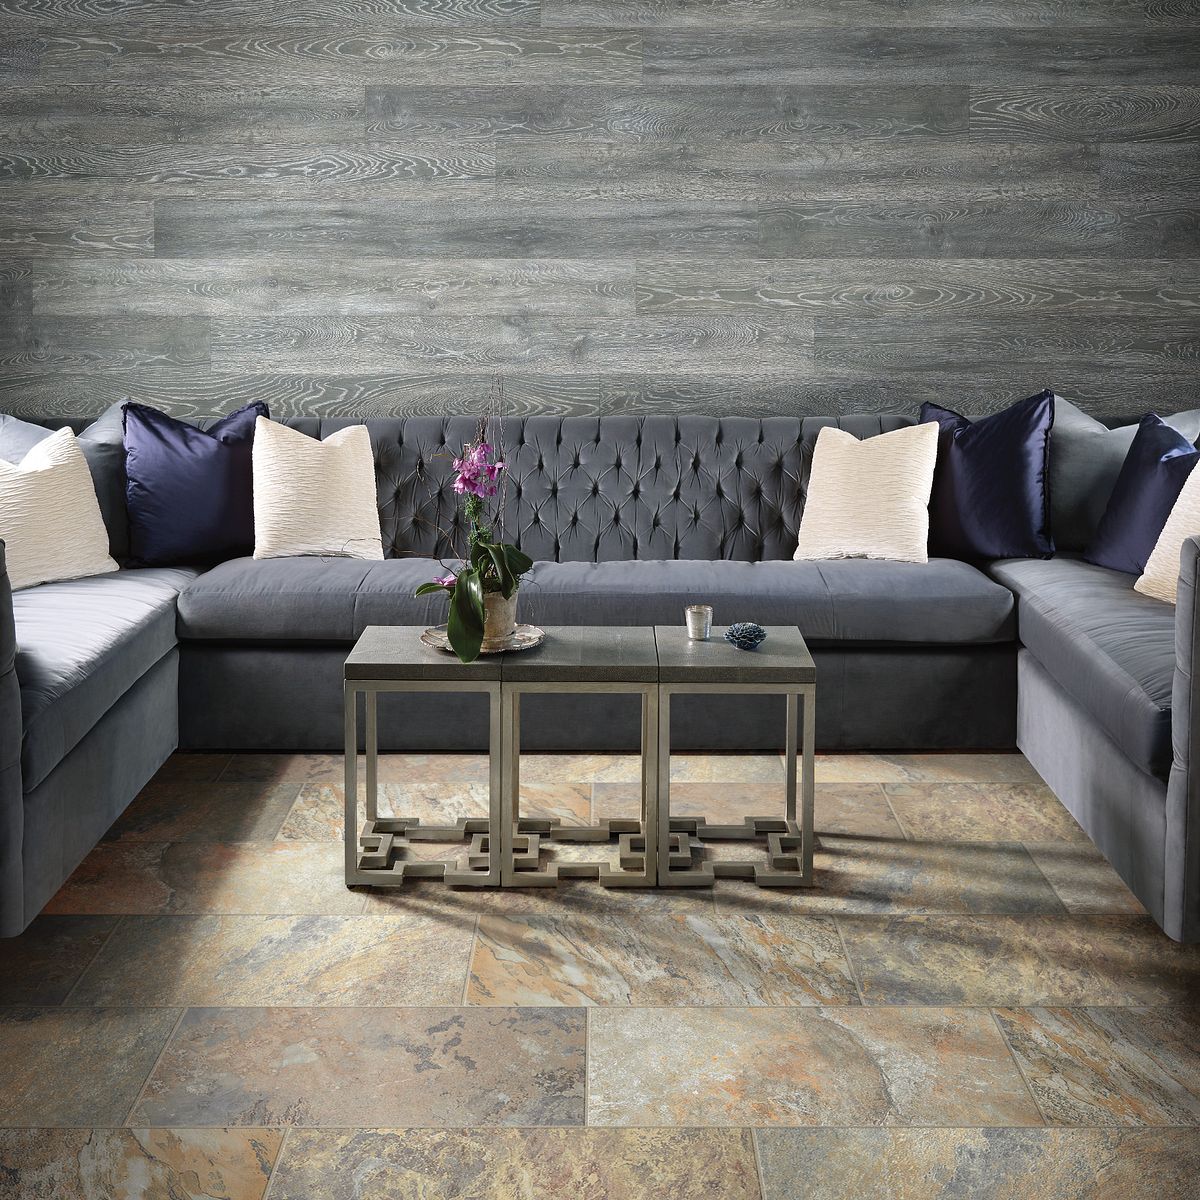
Put Laminate Flooring Wall
Because these floors can mimic virtually any floor surfaces on the market, your choices for texture and looks provide you with an abundance of options such as regular stone, breathtaking hardwood and ceramic tiles. Rooms such as the bathroom, sauna or maybe laundry room aren't great locations for installing laminate floors. Where you are able to follow your grove lines as you walk.
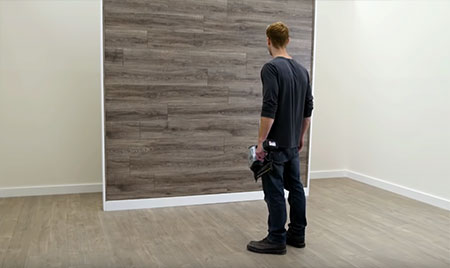
How to install laminate flooring on walls
Skeptics may argue that if Westhollow wood laminates are produced- Positive Many Meanings – from 90 % wood, in that case it would necessarily follow that Westhollow's floors will suffer from the popular affliction of wood flooring surfaces: fading. The very best layer is a protective sheet that prevents deterioration, for this reason the floors of yours always look a beginner. Just before you choose laminate for your project we'd love to supply you with some critical information.
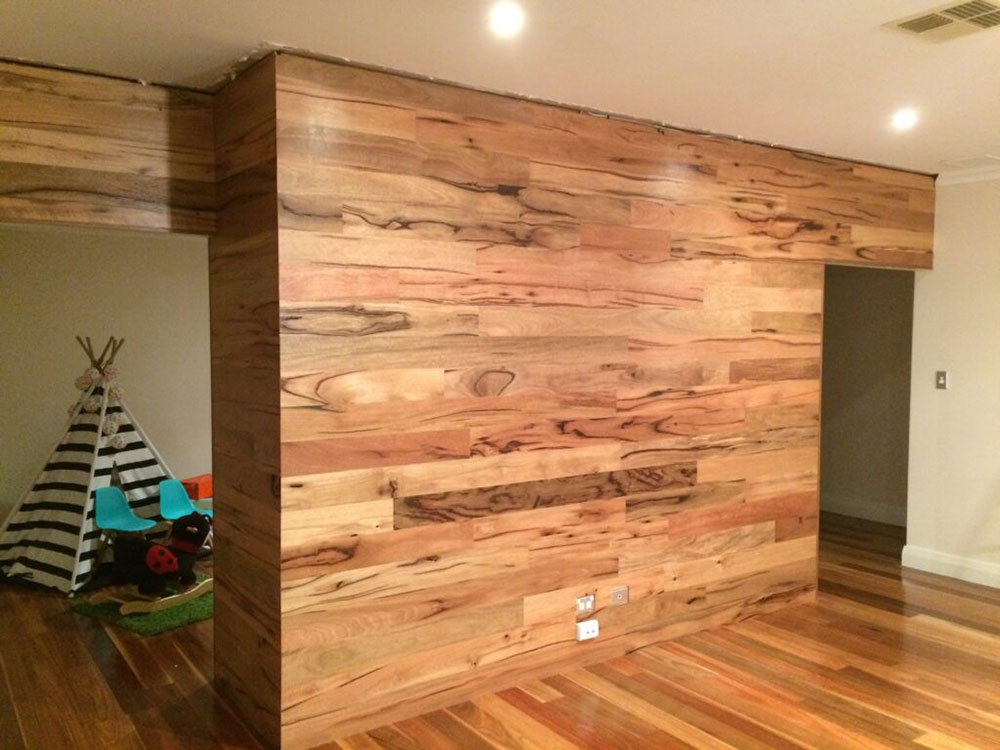
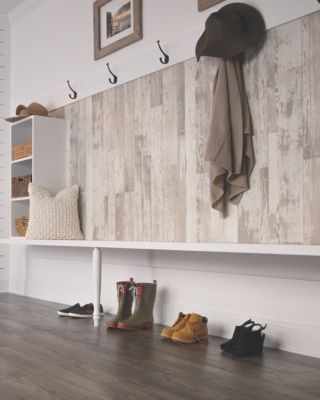
How to make a laminate flooring accent wall
How to Horizontally Install Pergo Laminate Flooring On Your Walls
Can I Use Laminate Flooring on Walls and How to Install It?

Laminate Flooring Backsplash (It looks like WOOD!) – Bower Power
Laminate on Walls Looks Great, Easy to Install Laminate on Walls
Flooring on Walls

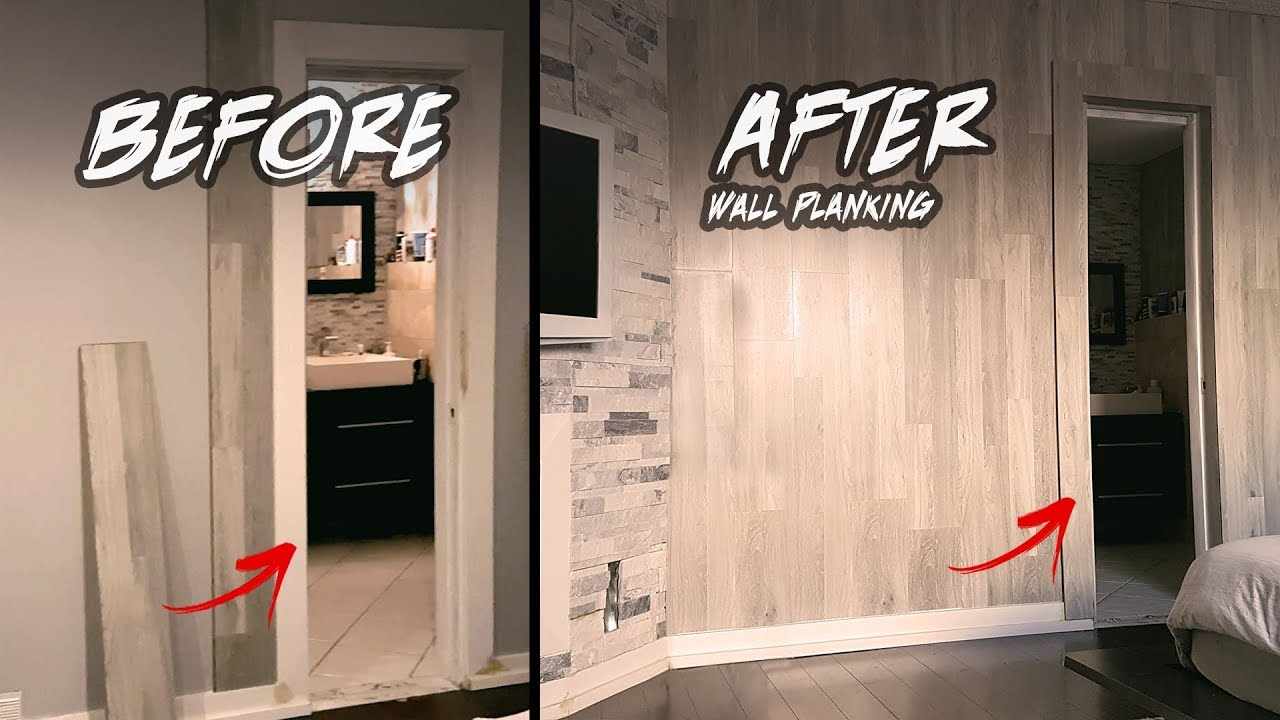
WALL PLANKING 101How To Install Laminate Flooring On Walls For
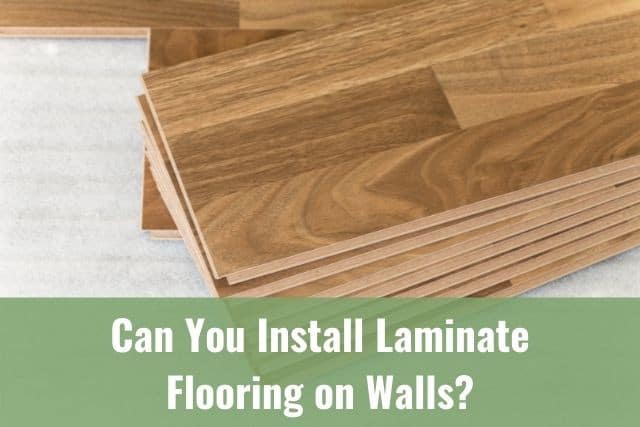
Can You Install Laminate Flooring on Walls? – Ready To DIY
Easy Installation Patterns
![]()
How to Install Laminate Flooring Shaw Floors
HOME DZINE Home Improvement Create a Feature Wall with Laminate
How to Install Laminate Flooring on Walls: 7 Easy Steps – Flooring Inc
Related articles:
- Coastal Laminate Flooring
- Commercial Laminate Flooring
- Slate Laminate Flooring
- Laminate Flooring Types
- Laminate Flooring Design
- Commercial Quality Laminate Flooring
- Black Laminate Flooring
- Tigerwood Laminate Flooring
- Royal Cherry Laminate Flooring
- Laminate Flooring Thickness For Basement
How to Put Laminate Flooring on the Wall: A Comprehensive Guide
Laminate flooring is a popular choice for homeowners due to its durability, versatility, and affordability. While it is commonly used on floors, many people are now exploring the option of using laminate flooring on walls as well. This innovative design choice can add a unique touch to any room, creating a modern and stylish look. In this article, we will provide you with a detailed guide on how to put laminate flooring on the wall, including step-by-step instructions and frequently asked questions.
I. Introduction to Laminate Flooring on Walls
Laminate flooring is a synthetic material made up of multiple layers fused together through lamination. It typically consists of four layers – a wear layer, a decorative layer, an inner core layer, and a backing layer. While it is primarily designed for use on floors, laminate flooring can also be installed on walls with proper preparation and installation techniques.
II. Choosing the Right Laminate Flooring for Walls
Before you begin installing laminate flooring on the wall, it is essential to select the right type of laminate flooring. While most laminate options are suitable for wall installation, consider factors such as color, texture, and thickness to ensure that it complements your existing decor.
FAQs:
Q1: Can I use any type of laminate flooring for wall installation?
A1: Yes, in general, most types of laminate flooring can be used for wall installation. However, it’s important to choose one that matches your desired aesthetic and fits well within the room.
Q2: Should I consider the thickness of the laminate flooring for wall installation?
A2: While thinner laminates can be easier to work with during installation, thicker laminates may provide better insulation and soundproofing properties. Consider your specific needs before making a decision.
III. Preparing the Wall Surface
Proper preparation of the wall surface is crucial for successful laminate flooring installation. Follow these steps to ensure a smooth and long-lasting result:
1. Clean the wall: Remove any dirt, dust, or debris from the wall surface using a damp cloth or sponge. This will help the adhesive bond properly to the wall.
2. Repair any imperfections: Fill in any cracks, holes, or dents with a suitable wall filler and sand it down until the surface is smooth. A smooth wall surface will ensure an even installation.
3. Prime the wall: Apply a coat of primer to the wall surface to enhance adhesion and prevent moisture from seeping through. Allow it to dry completely before proceeding.
FAQs:
Q1: Do I need to remove existing wallpaper before installing laminate flooring on the wall?
A1: It is generally recommended to remove any existing wallpaper as it may affect the adhesion of the laminate flooring. However, if the wallpaper is firmly attached and in good condition, you can install laminate flooring directly over it after ensuring a clean and smooth surface.
Q2: Can I install laminate flooring on textured walls?
A2: While laminate flooring can be installed on textured walls, it may be more challenging to achieve a seamless finish. Consider smoothing out the texture or choose a thicker laminate that can better accommodate uneven surfaces.
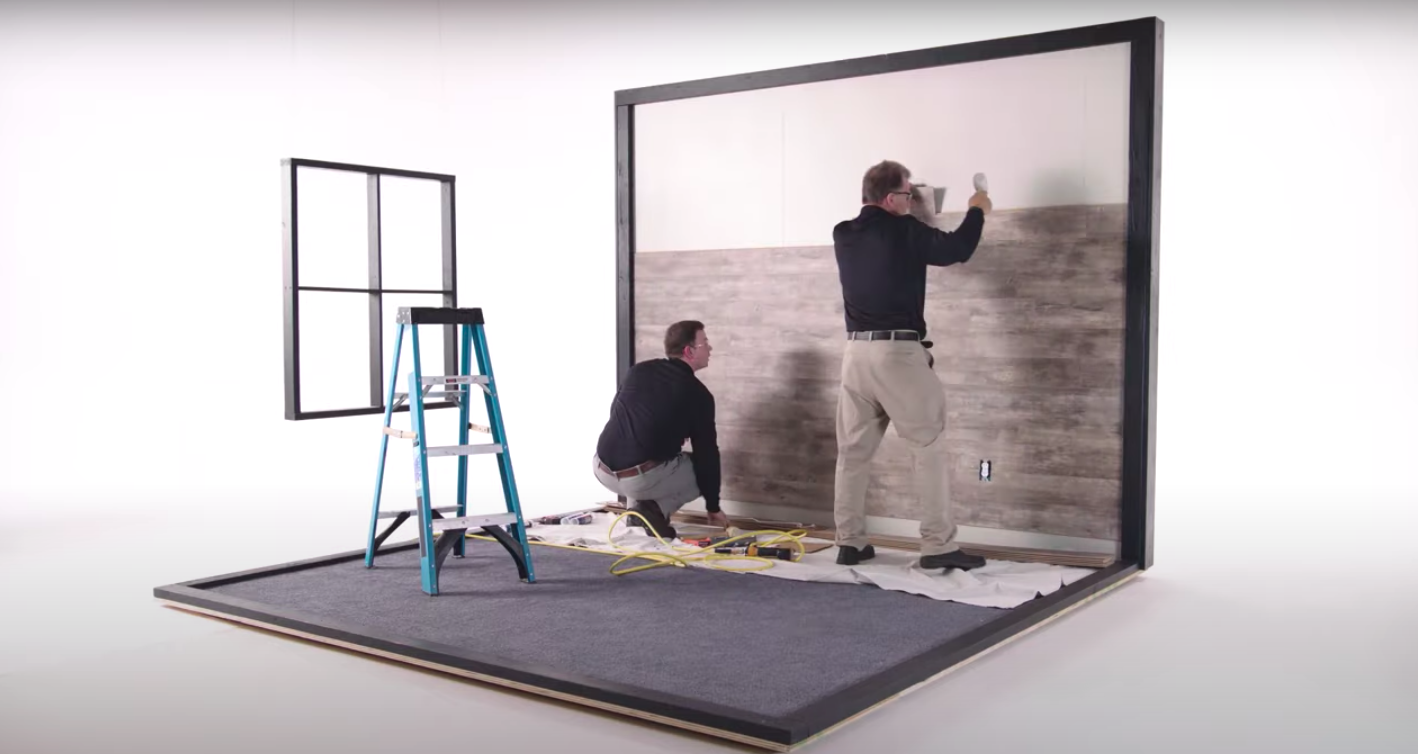
IV. Installing Laminate Flooring on the Wall
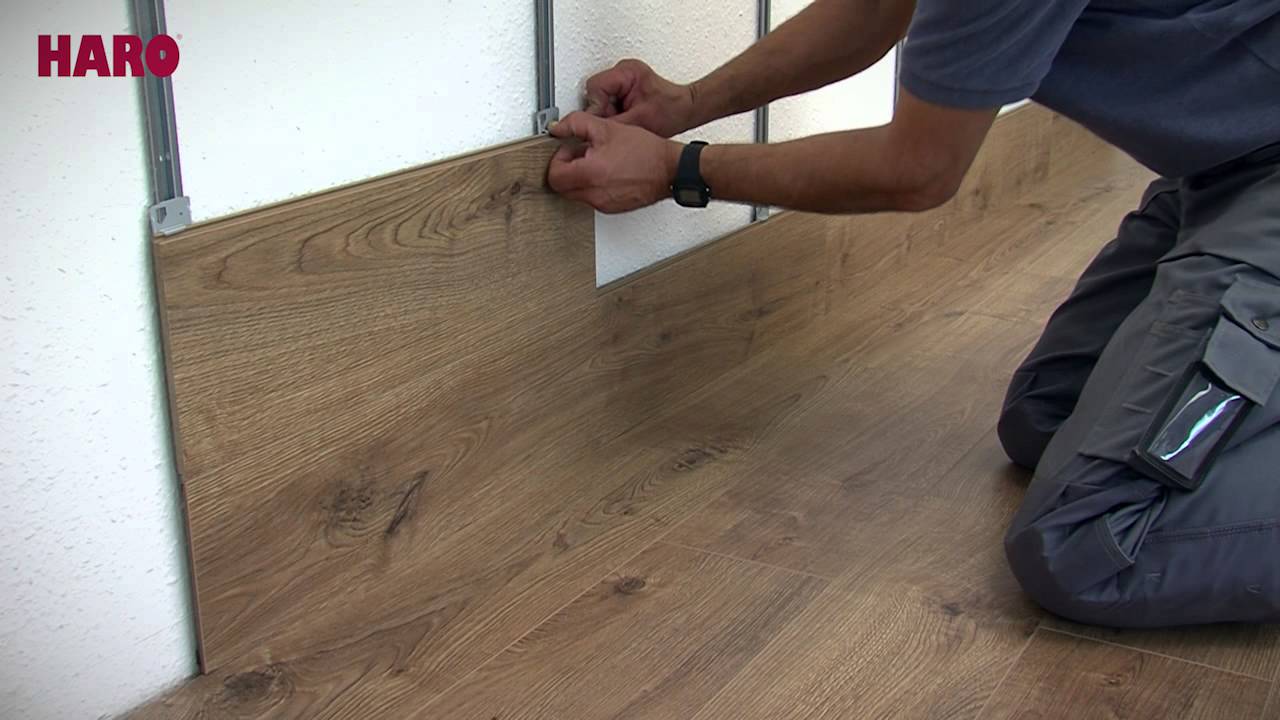
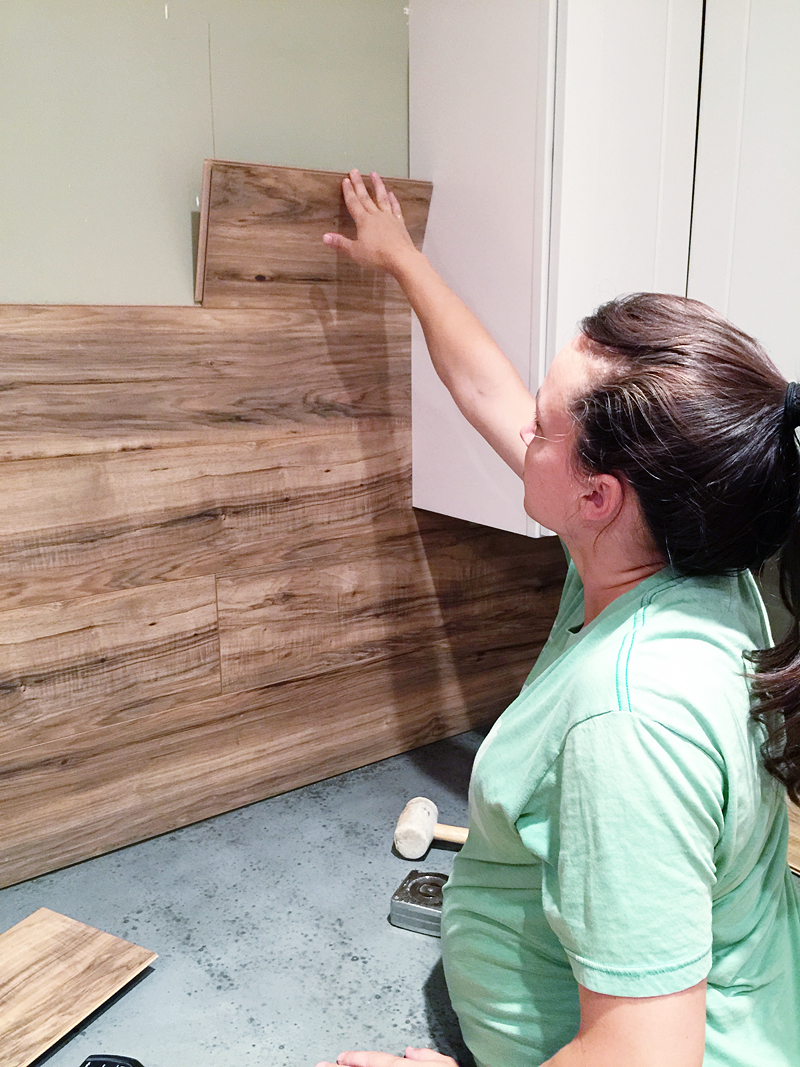
Now that you have prepared the wall surface, it’s time to start installing laminate flooring. Follow these step-by-step instructions for a successful installation:
1. Measure and cut the laminate boards: Measure the height of your wall and cut the laminate Boards to fit using a saw or laminate cutter. Be sure to leave a small gap at the top and bottom of the wall for expansion.
2. Apply adhesive: Apply a suitable adhesive to the back of each laminate board, following the manufacturer’s instructions. Make sure to apply enough adhesive for a secure bond.
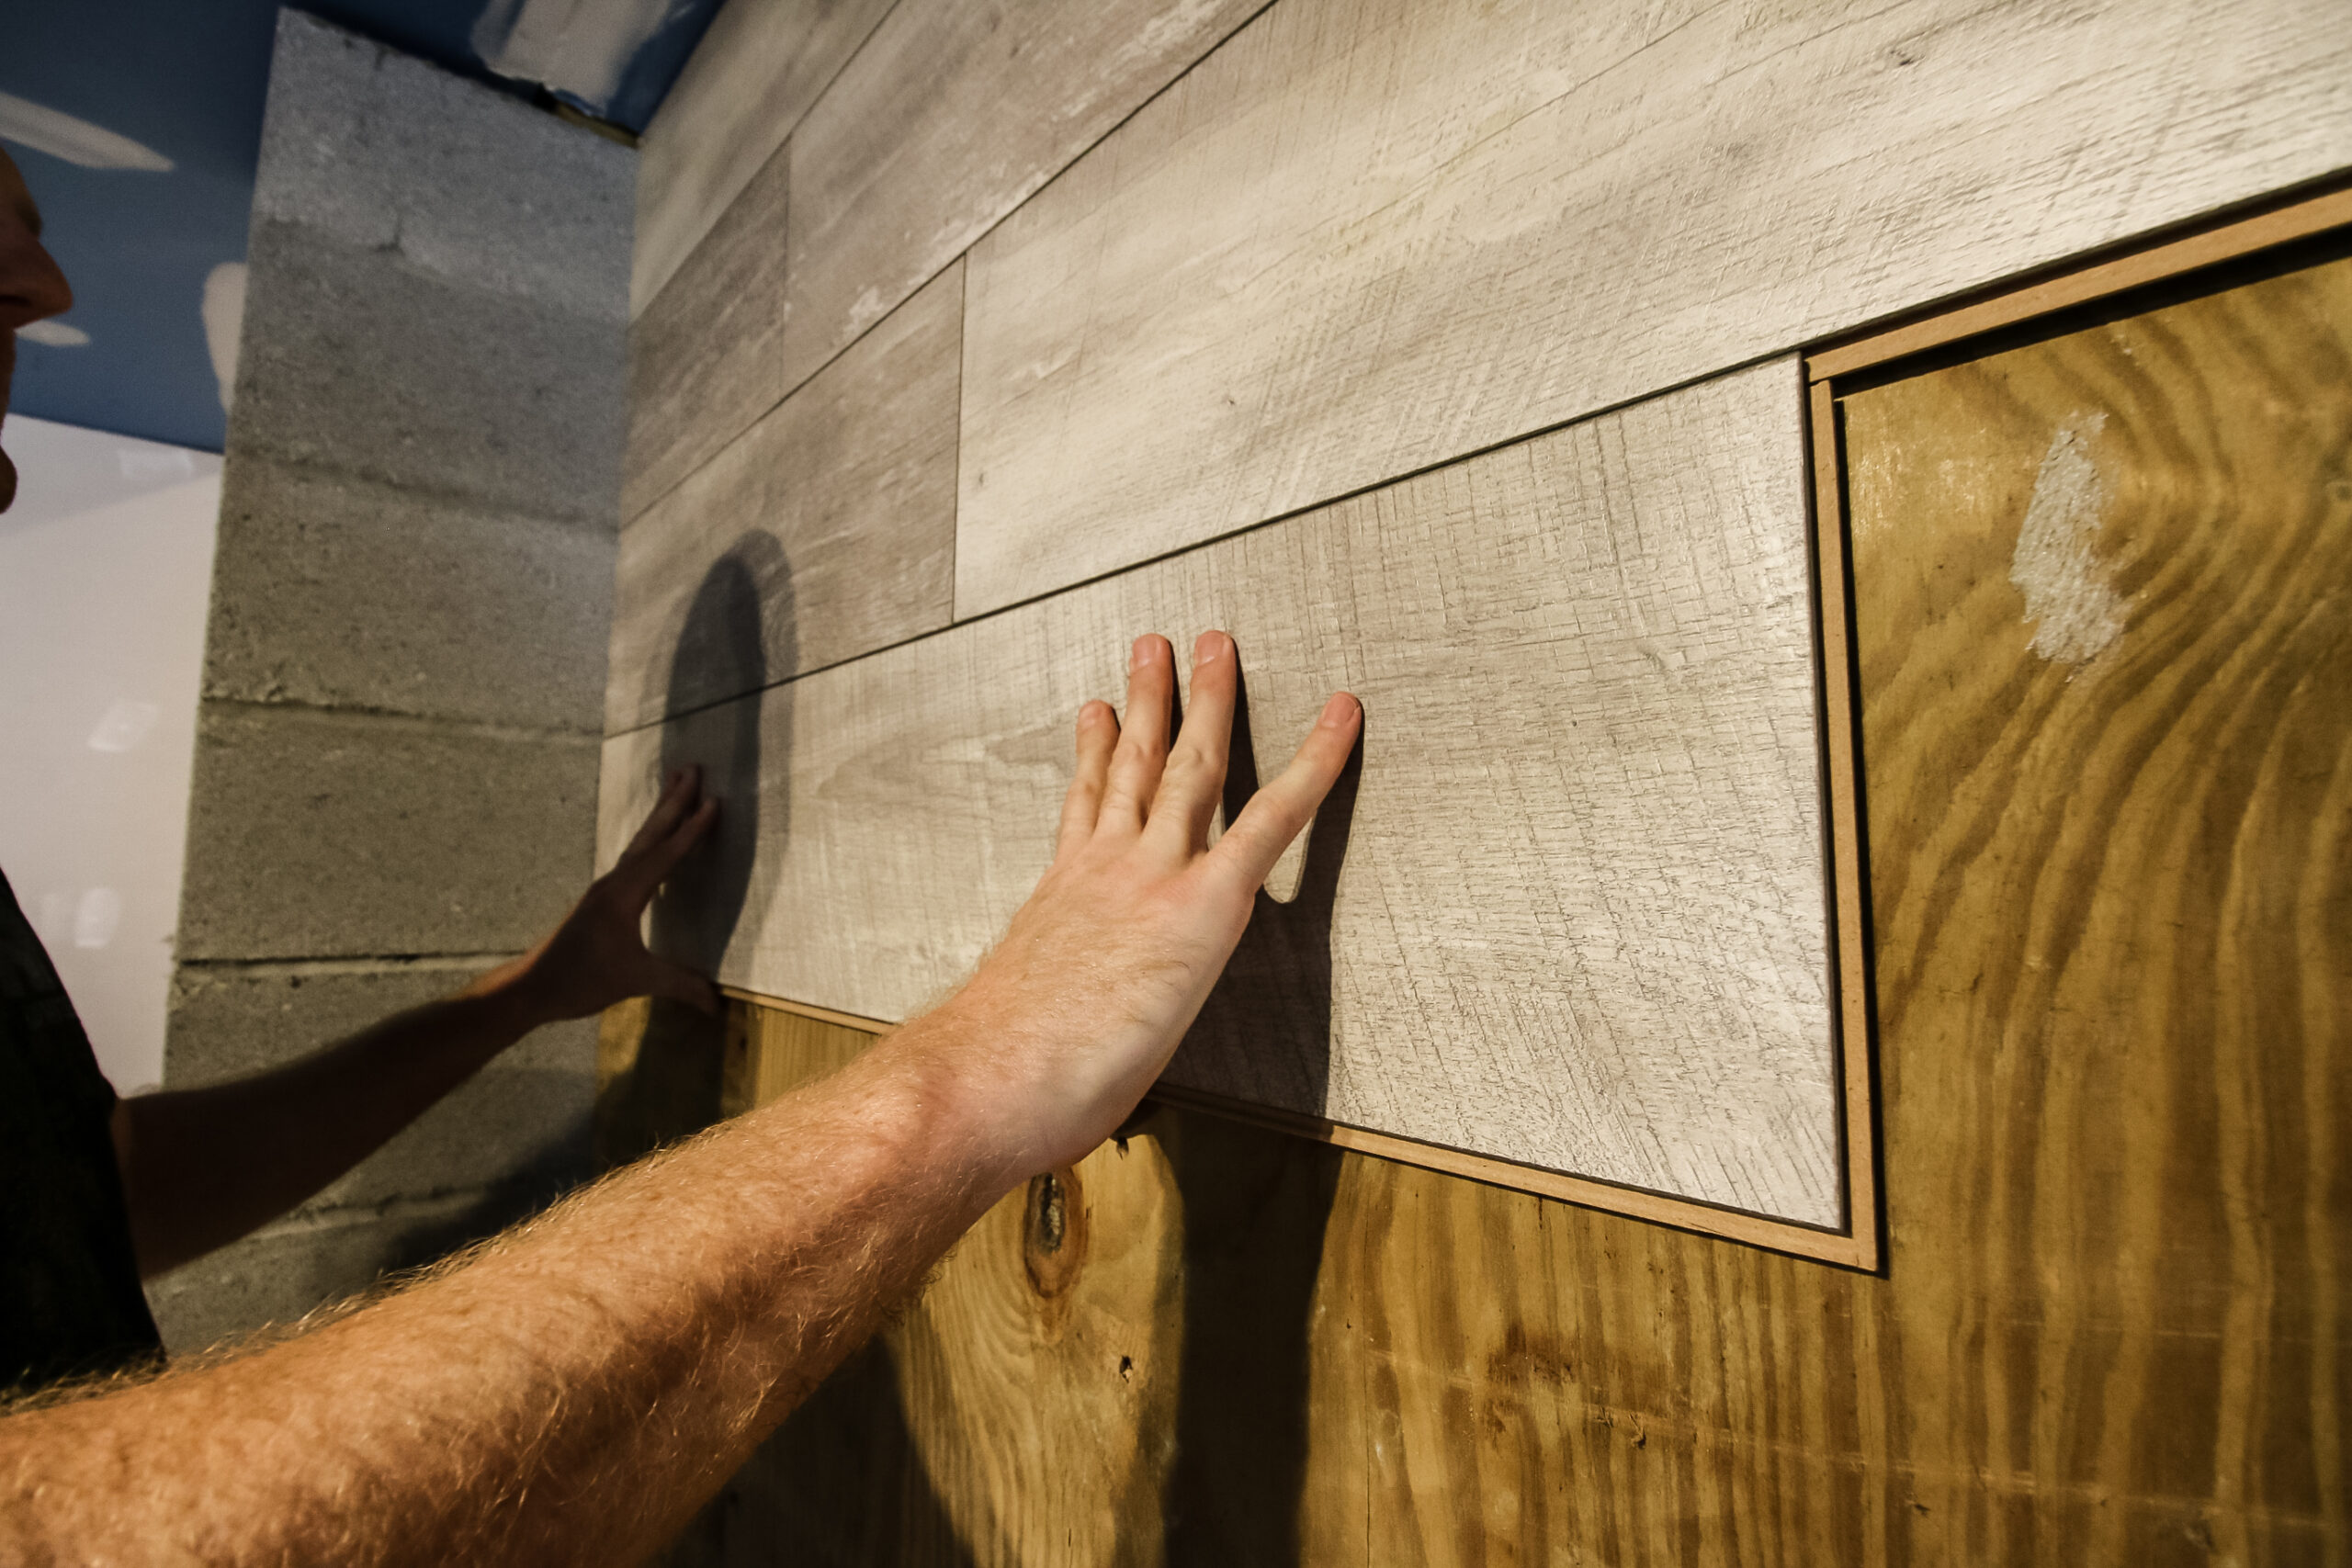
3. Place the boards on the wall: Starting from one corner, press the first laminate board firmly onto the wall, aligning it with the level line you created earlier. Continue placing each board next to the previous one, ensuring they are tightly fitted together.
4. Secure the boards: Use finishing nails or brad nails to secure the laminate boards in place. Place the nails near the edges of each board, making sure they are not visible once installation is complete.
5. Repeat steps 1-4: Continue measuring, cutting, applying adhesive, and placing boards until you have covered the entire wall surface.
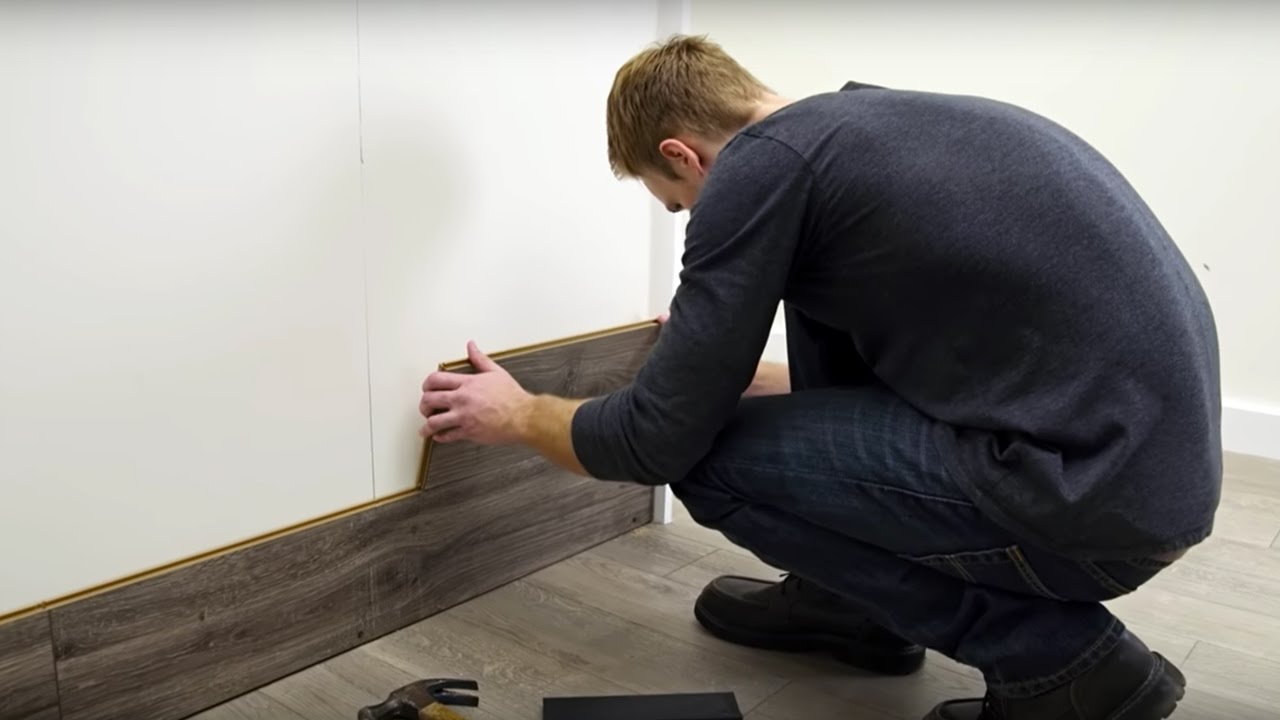
6. Trim and finish: Once all boards are installed, use a saw or laminate trimmer to trim any excess material at the top and bottom of the wall. Install baseboards or molding to cover any gaps and give your installation a finished look.
FAQs:
Q1: Can I install laminate flooring on a textured wall?
A1: While it is possible to install laminate flooring on a textured wall, it may be more challenging to achieve a smooth and seamless finish. Consider smoothing out the texture or choose a thicker laminate that can better accommodate uneven surfaces.
Q2: How do I cut laminate boards for wall installation?
A2: You can cut laminate boards for wall installation using a saw or a laminate cutter. Measure the height of your wall and mark the measurements on the laminate board. Use a straight edge as a guide and carefully cut along the marked line.
In summary, when choosing laminate flooring for wall installation, consider factors such as color, texture, and thickness. Properly prepare the wall surface by cleaning, repairing imperfections, and priming. Follow step-by-step instructions to measure, cut, apply adhesive, and place the laminate boards on the wall. Secure them in place with nails and trim any excess material for a finished look. 7. Clean and prepare the wall: Before starting the installation process, make sure the wall is clean and free of any dust or debris. Repair any imperfections such as holes or cracks and prime the wall if necessary. This will ensure a smooth surface for the laminate boards to adhere to.
8. Create a level line: Use a level to create a straight and level line on the wall where you want the first row of laminate boards to be installed. This will serve as a guide to ensure that the boards are installed evenly.
9. Acclimate the laminate boards: It is important to allow the laminate boards to acclimate to the room’s temperature and humidity for at least 48 hours before installation. This will prevent them from expanding or contracting after installation.
10. Start with a clean slate: Remove any existing baseboards or trim from the wall before installing the laminate boards. This will allow for a seamless installation and prevent any gaps between the boards and trim.
11. Install a vapor barrier: Depending on your specific needs, you may need to install a vapor barrier on the wall before installing the laminate boards. This will help protect against moisture and prevent damage to the boards over time.
12. Follow manufacturer’s instructions: Always refer to the manufacturer’s instructions for specific guidelines on how to install their particular brand of laminate flooring. They may have additional steps or recommendations that are specific to their product.
13. Take your time: Installing laminate flooring on walls can be a time-consuming process, so it is important to take your time and work carefully. Make sure each board is properly aligned and tightly fitted together for a professional-looking finish.
14. Seek professional help if needed: If you are unsure about any step of the installation process or if you encounter any difficulties, it is always best to seek professional help. They can provide guidance and ensure that the installation is done correctly.
15. Enjoy your new wall covering: Once the installation is complete, step back and admire your newly transformed wall. Laminate flooring can add a stylish and durable touch to any space, so enjoy the results of your hard work!