Properly sealed as well as maintained stained concrete can last for years and seldom needs replacement. Concrete flooring is actually outstanding flooring that's designing a lasting view on the quality of your life by boosting it holistically, no to mention the eco-friendly aspects. The shiny surface area is then sealed to retain the appearance and increase the floor's durability.
Here are Images about Preparing Concrete Floor For Ceramic Tile
Preparing Concrete Floor For Ceramic Tile
A number of profits of polished concrete floors are its long life, as well as the virtually endless design alternatives offered. Concrete flooring is excellent for warm climates since it remains cool even in probably the hottest weather. If you are setting up the floor of your home or office to be concreted, there are a couple of things you have to check.
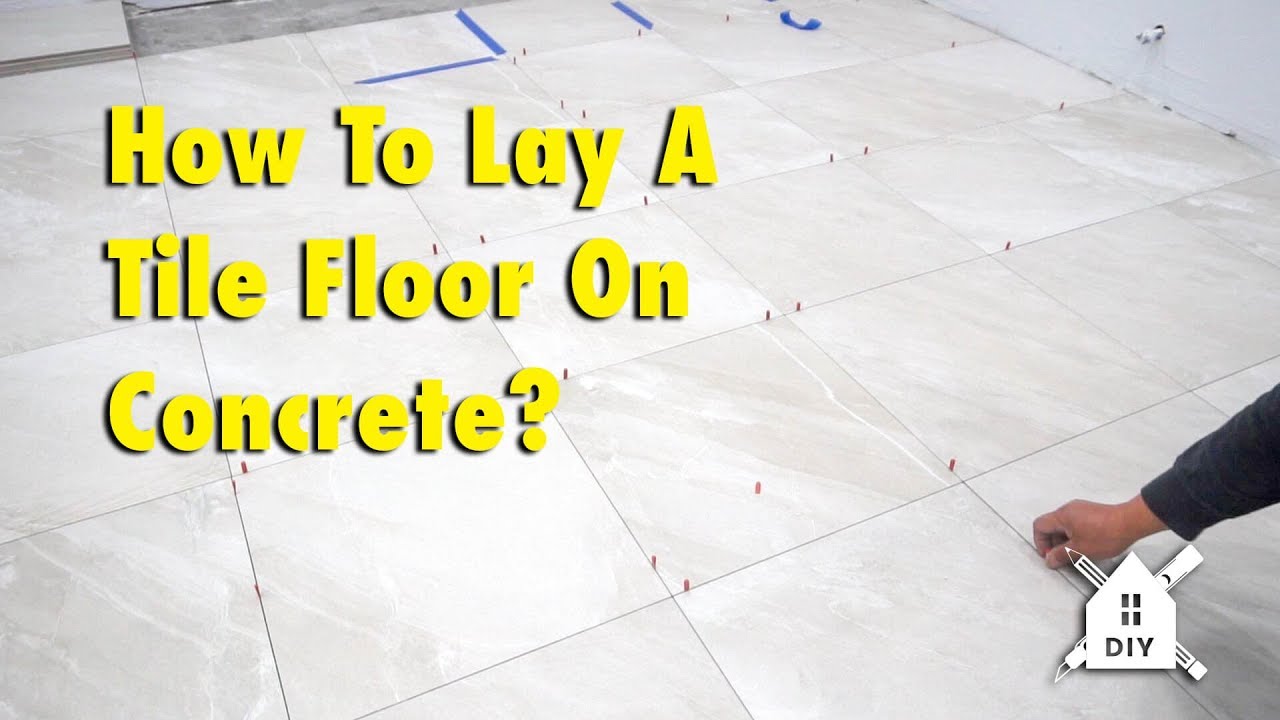
How To Lay A Tile Floor On Concrete #DIY #Homeimprovement
Stained concrete flooring comes in impressive colors and so in case you love colors, this is the perfect option for you. You are able to experiment with patterns on stained concrete floors. There are several companies which deal in floors that are polished and they promote a number of accessories including cleaning devices that can help one to look after their polished concrete floor quite sufficiently.
Images Related to Preparing Concrete Floor For Ceramic Tile
How to Install Ceramic Tile Flooring in 9 Steps – This Old House
:no_upscale()/cdn.vox-cdn.com/uploads/chorus_asset/file/19496947/color_gutters_illo_web_1.jpg)
Can I Lay Tile Over Painted Concrete Floor? – Ready To DIY

4 Ways to Prepare Concrete Floor for Ceramic Tile – wikiHow

Can You Install Tile Over Concrete?
:max_bytes(150000):strip_icc()/can-you-install-tile-directly-on-concrete-1822600-04-458f7bb6c78348c1835cf8054ef36553.jpg)
Subfloors and Underlayment for Ceramic Tile Floors
/best-subfloors-to-use-for-laying-tile-1822586-hero-efcfac9422ab457da5d2cbc7f7361df7.jpg)
How to Install Ceramic Tile Flooring in 9 Steps – This Old House
:no_upscale()/cdn.vox-cdn.com/uploads/chorus_asset/file/19496978/howto_tile_01.jpg)
How to lay ceramic tiles over concrete floor? [Step by step guide]
Can You Lay Tile Directly Over a Plywood Subfloor? – Todayu0027s Homeowner
Tiling over a Cracked Concrete Slab – Fine Homebuilding

How to Install Ceramic Tile Flooring in 9 Steps – This Old House
/cdn.vox-cdn.com/uploads/chorus_asset/file/19497064/howto_tile_12.jpg)
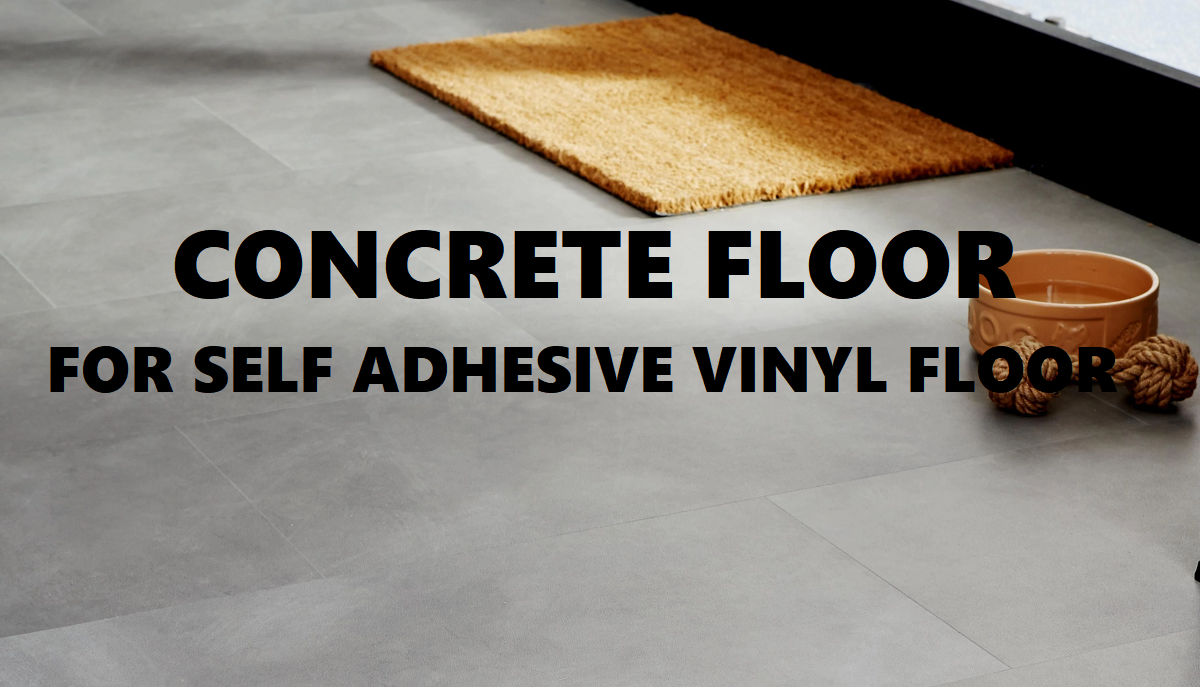
How To Prepare Concrete Floor For Self Adhesive Vinyl Tiles (Peel
How to tile a concrete floor HowToSpecialist – How to Build
Related articles:
- White Mold On Concrete Floor
- Polished Concrete Floor
- Polished Concrete Floor Cleaning
- Staining Concrete Floors Indoors Yourself
- Flooring Options For Concrete Floors
- White High Gloss Concrete Floors
- Redo Patio Concrete Floor
- Interior Concrete Floor Ideas
- Gloss Concrete Floor Paint
- Contemporary Concrete Floors
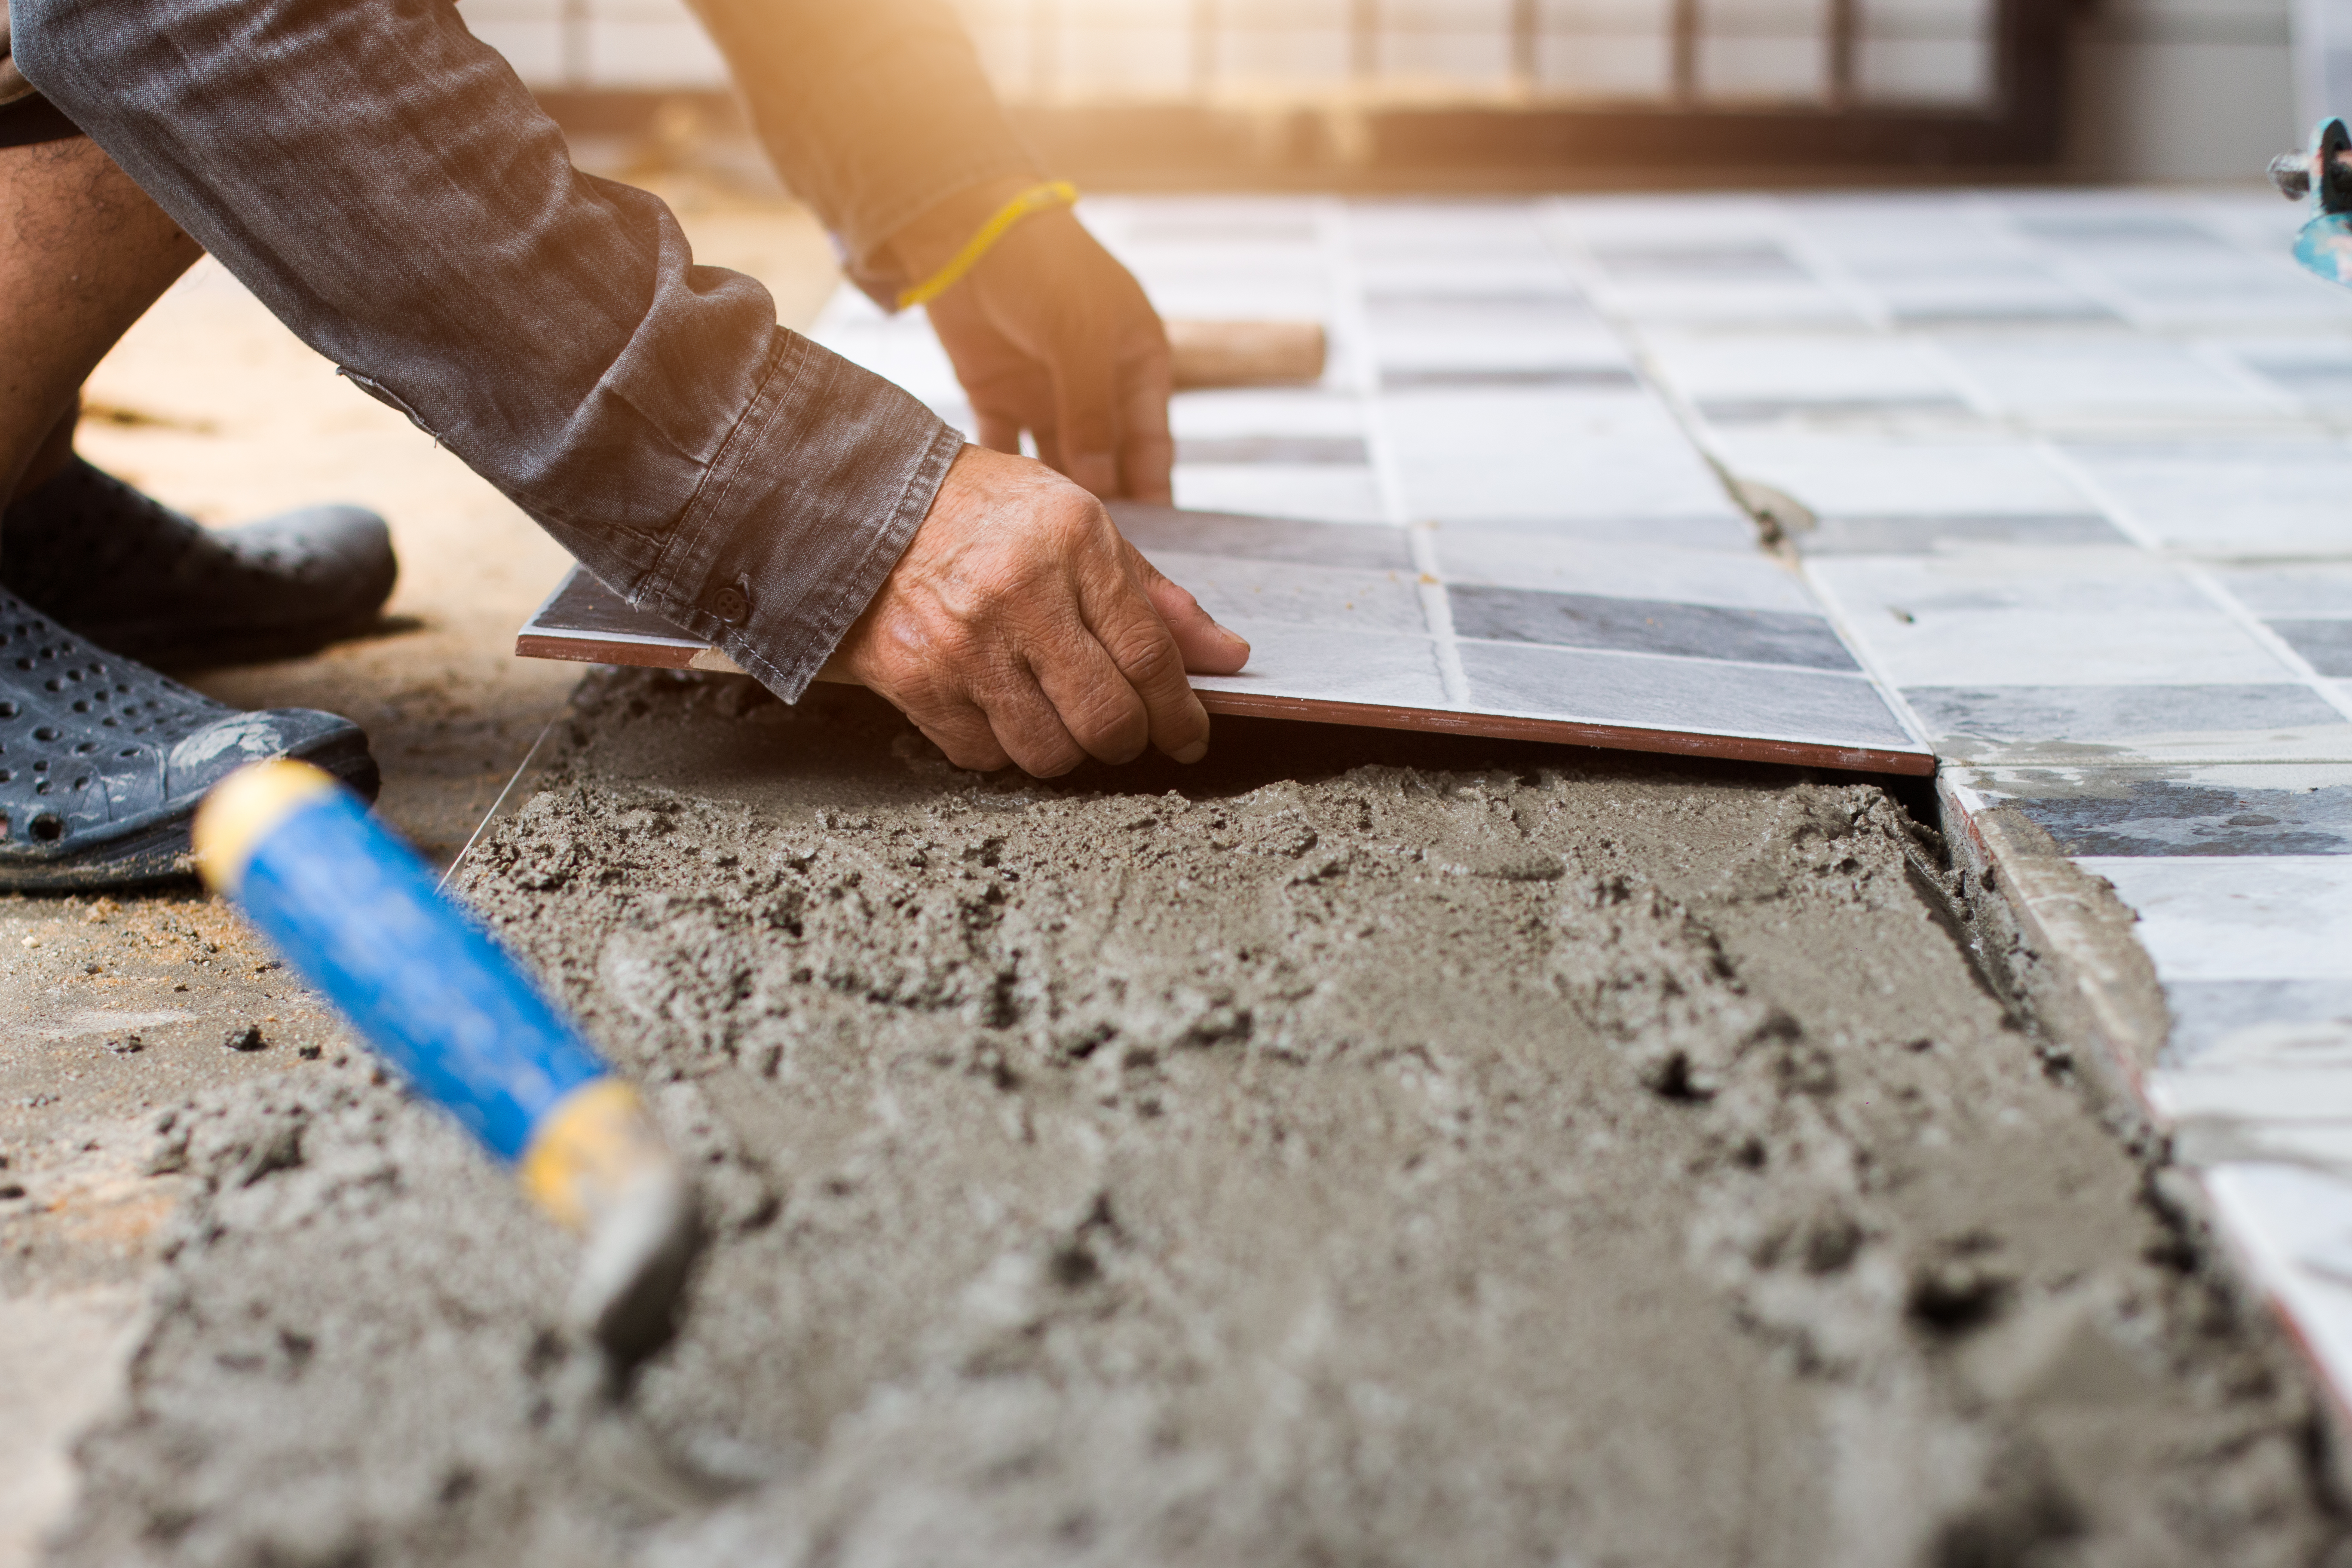
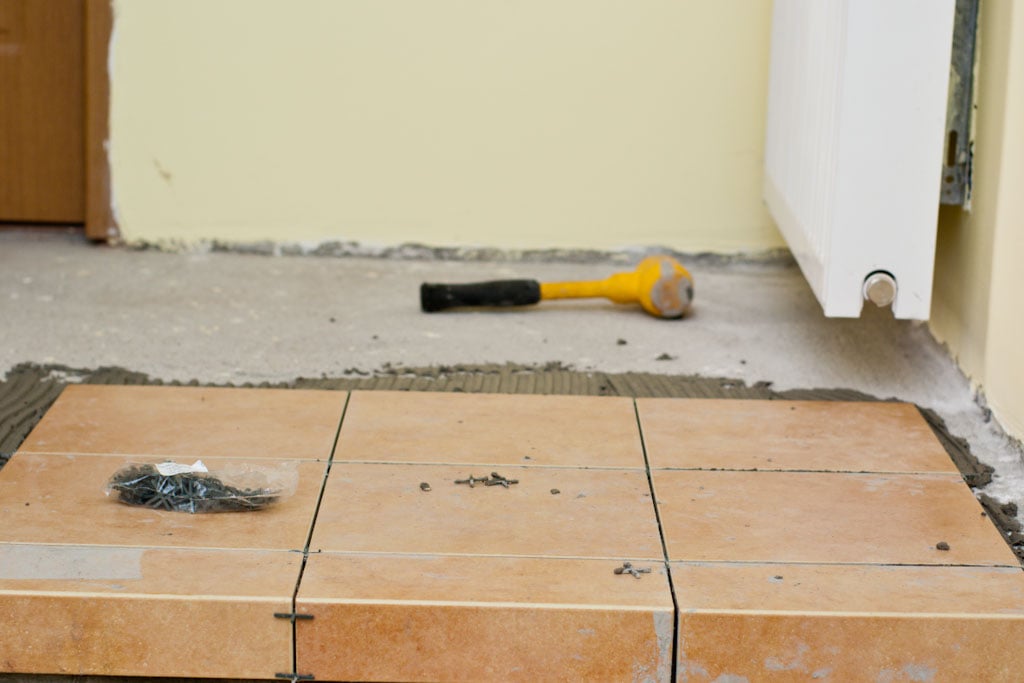
Installing ceramic tile over a concrete floor is a great way to enhance the look of a room. But before you can begin the installation process, it’s important that you properly prepare the concrete floor for ceramic tile. Doing so will ensure that your flooring lasts for years to come.
Surface Prep
The first step in preparing a concrete floor for ceramic tile is to thoroughly clean and prepare the surface. Use a broom or vacuum cleaner to remove all dirt, dust and debris from the surface. If any grease or oil spots are present, use a degreaser to remove them. If there is any existing sealer, paint or wax on the surface, use a chemical stripper to remove it. Once you’ve finished cleaning the surface, let it dry completely before proceeding with the next step.
Inspect for Damage
Once the surface is clean, inspect it for any cracks or holes. If any are present, use a concrete patching compound to fill them in. This will ensure that your ceramic tile has a level and even surface to adhere to.
Test for Moisture
Before you start tiling, it’s important that you test the concrete floor for moisture. Use a moisture meter or calcium chloride test kit to do this. If the moisture levels exceed 3%, you will need to apply a moisture barrier before proceeding with the installation process.
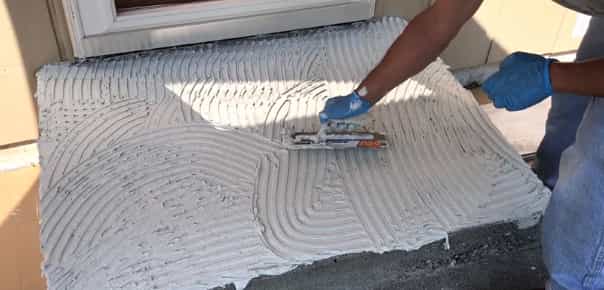
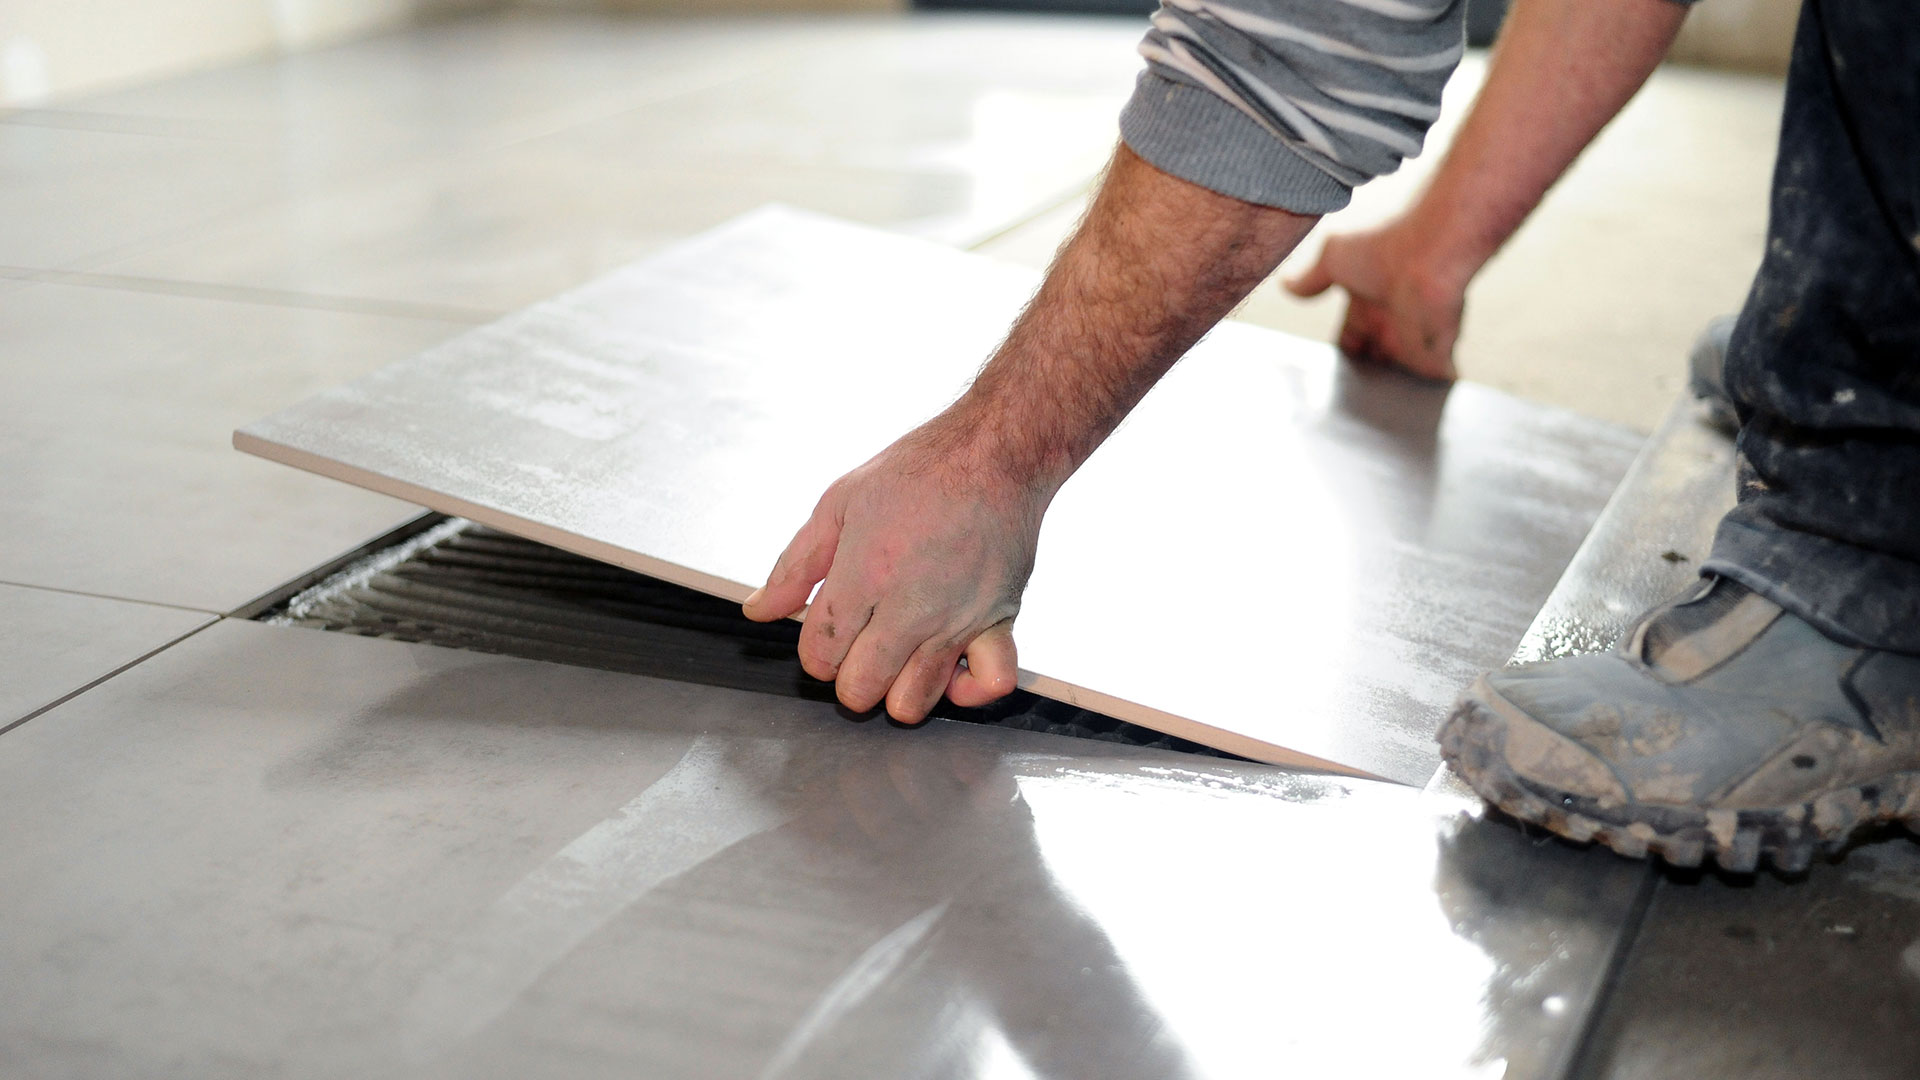
Apply Thinset
Once you’ve finished cleaning, inspecting and testing your concrete floor, it’s time to start applying thinset mortar. Thinset is an adhesive mixture that helps keep your tiles in place. Use a notched trowel to spread an even layer of thinset over the entire floor. Be sure to press down firmly on each tile as you lay them out so that they adhere properly to the thinset and concrete surface beneath them.
Grout and Seal
Once all of your tiles are in place, it’s time to grout and seal them. Choose a grout color that best complements your tile and applies it using a rubber float. Once your grout has had time to dry, use an acrylic sealer to protect it from water damage and wear and tear.
Common Questions and Answers
Q: What type of thinset should I use?
A: For ceramic tile installations on concrete surfaces, we recommend using an unmodified thinset mortar. This type of thinset has superior bonding properties and is designed specifically for ceramic tile installations on concrete surfaces.
Q: How long should I wait before grouting my tiles?
A: Wait at least 24 hours after laying down your tiles before grouting them. This will give the thinset enough time to set properly and create a strong bond between the tiles and the concrete surface below them.