They are a lot more expensive and just slightly more hard to set up as compared to floor mats, and range of price from $3 – six dolars per square foot. So, more number of people is coming forward to add storage area floor coatings for their garage. To establish the width of the rolls you are going to need you merely take the width of your garage and divide it by the many widths of flooring available.
Here are Images about Prep Garage Floor For Epoxy Paint
Prep Garage Floor For Epoxy Paint

These could guard garage floor from the impact of things stored. Tire tracks as well as other cosmetic damages are able to be the case when you do not allow your flooring abundant time to dry. Most garage floors are not hard enough for the normal homeowner to put in themselves thus, if you're up to the challenge, you will be able to put in all of these floors.
How To Prep A Garage Floor For Epoxy Coating Floor Shields

Garage floors coatings are starting to be popular due to protective and visual benefits that it offers. If you have a cracked cement garage floors or stains – you can help make it appear brand new by using an excellent garage flooring area. Cheap garage floors tiles can break and warp under heavy loads. Many of the garage floors available come in several patterns and are generally rolled out from the rear of this garage to the front side.
Images Related to Prep Garage Floor For Epoxy Paint
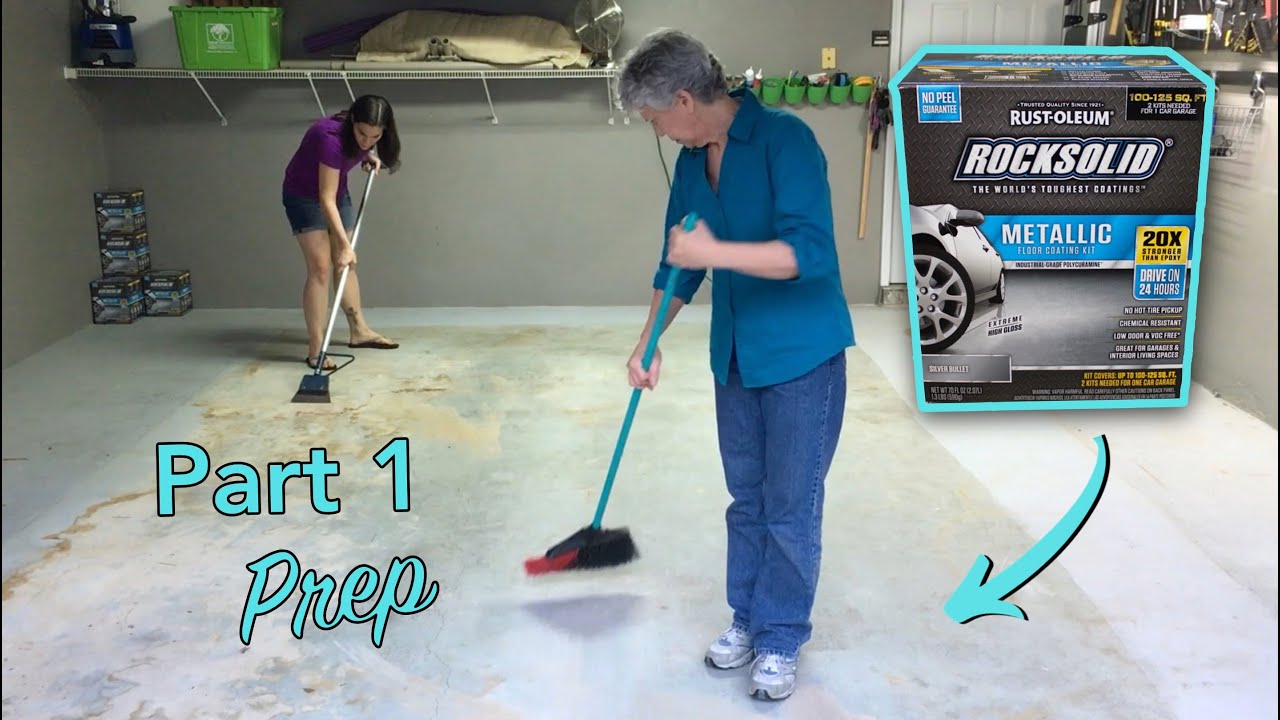
Rust-Oleum RockSolid Coating: Garage Floor Prep // Part 1
How to Use Epoxy Garage Floor Coating For Your Floor

How To Prepare Concrete for Epoxy Thermal-Chem

Concrete Prep Plus Toolu2014Prep Floors for Paint, Epoxy, or Carpet
How to Apply Epoxy Coating to a Garage Floor – This Old House
/cdn.vox-cdn.com/uploads/chorus_asset/file/19495950/epoxy_floor_overview.jpg)
How to Prep Garage Floor for Epoxy Coating One Day Custom Floors

Epoxy Equipment: What is needed to apply an epoxy floor
How to Recoat New Epoxy Over an Old Garage Floor Coating All
How to Apply Epoxy Coating to a Garage Floor
/clean-garage-178594527-ed57fd7843ba42f59bb637cf7cf5d47d.jpg)
How To Apply Commercial u0026 Garage Epoxy Floor Paint Coatings

How To Apply Commercial u0026 Garage Epoxy Floor Paint Coatings
How to Prep a Garage Floor and Apply Epoxy Painted concrete

Related articles:
- Interlocking Garage Floor Tiles
- Garage Floor Coatings
- Garage Floor Ideas
- Garage Floor Paint
- Garage Floor Rubber Covering
- Garage Floor Coating Paint
- Garage Floor Epoxy Ideas
- Best Garage Floor Material
- Black Epoxy Garage Floor Coating
- Garage Floor Slab Thickness
Prep Garage Floor For Epoxy Paint
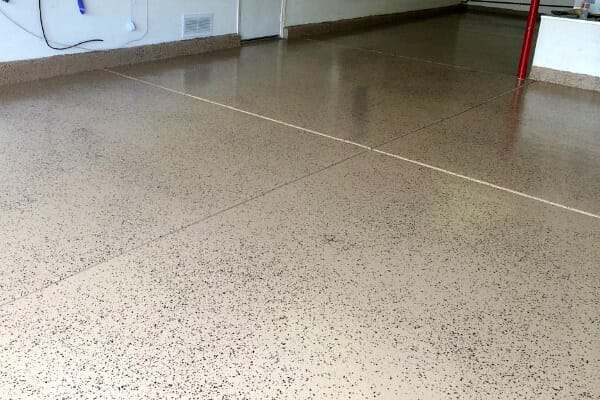
A garage floor can take a beating over time, with constant foot traffic, heavy vehicles, and spills that can leave unsightly stains. If you’re looking to transform your garage floor and give it a fresh, durable look, epoxy paint is an excellent solution. However, before you begin the application process, it is crucial to properly prepare your garage floor to ensure the best results. In this article, we will guide you through the necessary steps to prepare your garage floor for epoxy paint.
I. Clearing and Cleaning the Garage Floor
Before you start preparing your garage floor for epoxy paint, it is important to clear out any items or debris that may be obstructing the area. This includes removing all furniture, tools, boxes, and other belongings from the garage. By doing so, you will have a clean slate to work with and prevent any damage or interference during the preparation process.
Once the area is cleared, the next step is to thoroughly clean the garage floor. Start by sweeping away loose dirt and debris using a broom or dust mop. Pay close attention to corners and edges where dirt tends to accumulate. After sweeping, use a vacuum cleaner to remove any remaining dust particles.
After completing this initial cleaning process, it is essential to deep clean the floor surface. You can do this by using a pressure washer or a high-quality degreaser specifically designed for concrete floors. Apply the degreaser according to the manufacturer’s instructions and scrub the surface using a stiff-bristle brush or a scrubbing machine.
Frequently Asked Questions (FAQs):
Q1: Can I use regular household cleaners instead of a degreaser?
A1: While regular household cleaners can remove some dirt and grime from your garage floor, they may not be as effective at removing stubborn grease and oil stains. It is recommended to use a degreaser specifically formulated for concrete floors for optimal results.
Q2: Can I skip the pressure washing step and use a hose instead?
A2: While using a hose can help remove loose dirt and debris, a pressure washer provides a more thorough cleaning by removing deeply embedded stains and contaminants. If possible, it is best to use a pressure washer to achieve the cleanest surface before applying epoxy paint.
II. Repairing Cracks and Imperfections
Once your garage floor is completely clean and free of debris, it’s time to assess its condition for any cracks, holes, or imperfections. Repairing these issues before applying epoxy paint is crucial to ensure a smooth and even finish.
Start by inspecting the entire surface of your garage floor for any visible cracks or gaps. Use a concrete crack filler or epoxy paste to fill in these areas. Follow the manufacturer’s instructions for application and make sure to smooth out the surface with a putty knife or trowel for a seamless finish.
If there are larger holes or gouges present, you may need to use a concrete patching compound. Mix the compound according to the manufacturer’s instructions and apply it to the damaged areas using a trowel or putty knife. Smooth out the surface and allow it to dry completely before proceeding.
Frequently Asked Questions (FAQs):
Q1: Can I skip repairing small cracks and imperfections?
A1: It is not recommended to skip repairing small cracks as they can worsen over time and affect the durability of your epoxy coating. Taking the time to repair these imperfections will ensure a long-lasting And professional-looking finish for your garage floor.
Q2: Can I use regular concrete mix instead of a concrete patching compound?
A2: Regular concrete mix may not provide the same level of durability and bonding as a concrete patching compound. It is best to use a product specifically designed for patching and repairing concrete surfaces to ensure a strong and long-lasting repair.
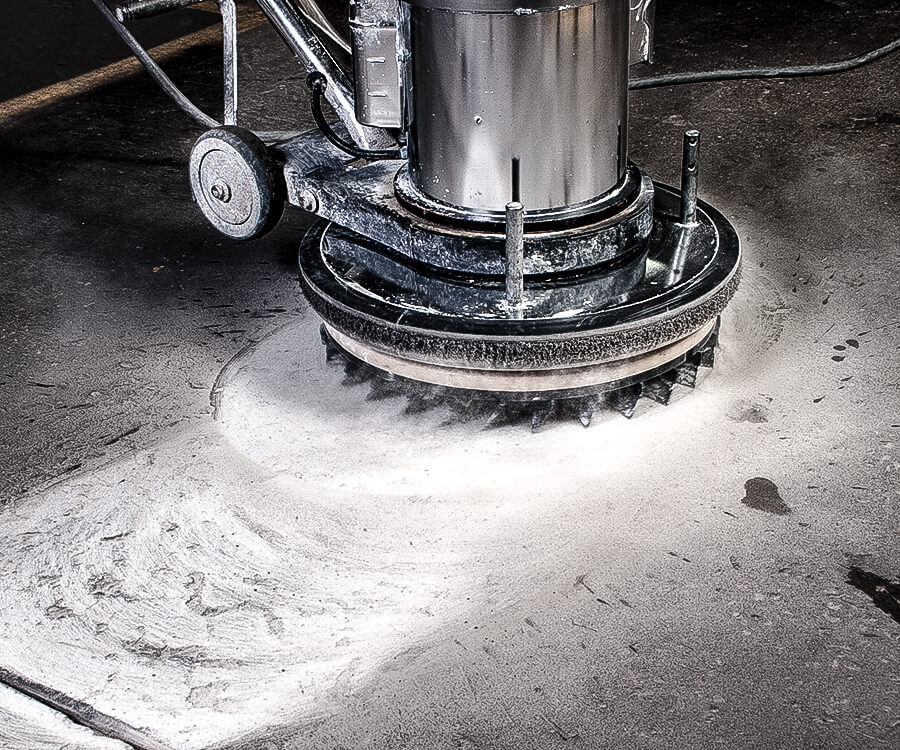
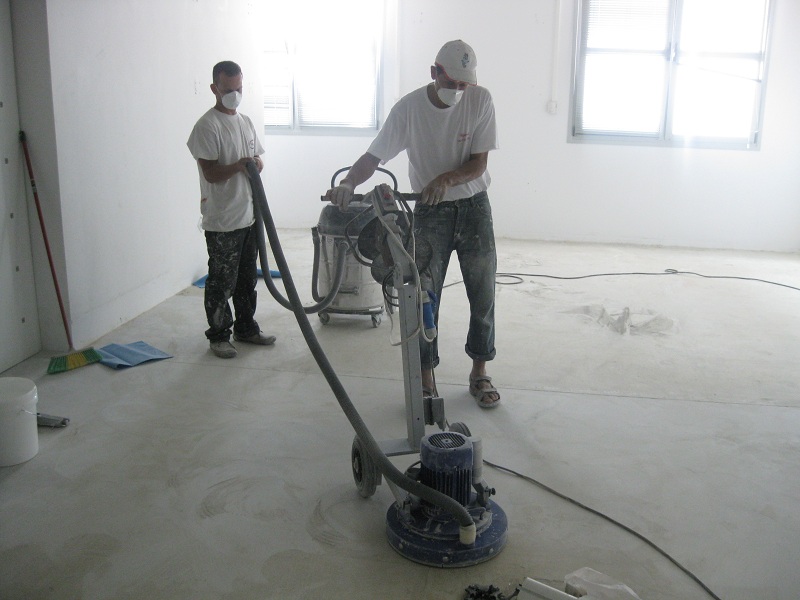
III. Etching the Surface
After repairing any cracks or imperfections, it is important to etch the surface of the garage floor to promote better adhesion of the epoxy coating. Etching creates a rough texture on the surface, allowing the epoxy to bond more effectively.
To etch the floor, you will need an etching solution, which can be purchased at most home improvement stores. Follow the manufacturer’s instructions for mixing and applying the solution. Use a mop or brush to spread the solution evenly over the entire floor surface. Allow it to sit for the recommended amount of time before rinsing it off with clean water.
Frequently Asked Questions (FAQs):
Q1: Can I skip the etching step if my garage floor is already clean?
A1: Even if your garage floor appears clean, it is still recommended to etch the surface before applying epoxy paint. Etching helps remove any remaining contaminants and creates a rougher texture for better adhesion of the epoxy coating.
Q2: Can I use muriatic acid instead of an etching solution?
A2: Muriatic acid can be used as an alternative to an etching solution, but it requires extra precautions due to its corrosive nature. It is important to follow safety guidelines and instructions carefully when using muriatic acid on your garage floor.
“How do I properly clean and prepare my garage floor before applying epoxy paint?”
Cleaning and properly preparing your garage floor before applying epoxy paint is essential to ensure a long-lasting and durable finish. Here are the steps to follow:1. Clear the area: Remove all items, tools, and debris from the garage floor. This includes sweeping away loose dirt, dust, and any loose paint or coatings.
2. Repair any damage: Inspect the floor for cracks, holes, or other damage. Use a concrete patching compound to fill in any cracks or gaps. Follow the manufacturer’s instructions for mixing and applying the compound.
3. Remove oil and grease stains: Use a degreaser or a strong detergent to clean any oil or grease stains on the floor. Apply the degreaser according to the manufacturer’s instructions and scrub the stains with a stiff brush. Rinse thoroughly with water and allow the floor to dry completely.
4. Etch the surface: Etching helps open up the pores of the concrete, allowing better adhesion of the epoxy paint. Mix an etching solution (typically muriatic acid diluted with water) according to the manufacturer’s instructions. Wet the entire floor with water, then apply the etching solution using a plastic watering can or sprayer. Scrub the surface with a stiff brush or broom to ensure even coverage. Allow it to sit for 10-15 minutes, then rinse thoroughly with water.
5. Test for porosity: After rinsing, check if your garage floor is porous enough for proper adhesion by sprinkling water on different areas of the floor. If it quickly absorbs into the concrete, you’re good to go. If it beads up or doesn’t absorb, repeat step 4 until you achieve adequate porosity.
6. Neutralize and rinse: After etching, neutralize any remaining acid on your floor by mixing baking soda with water and applying it liberally onto the surface. Scrub again with a stiff brush, then rinse thoroughly with water.
7. Allow the floor to dry: Ensure the floor is completely dry before applying the epoxy paint. Depending on the climate and humidity, this may take anywhere from 24 to 72 hours. Use fans or open windows to facilitate drying if necessary.
Once the floor is clean, repaired, etched, and thoroughly dried, it is ready for epoxy paint application. Follow the instructions provided by the epoxy paint manufacturer for proper application techniques, including mixing ratios, priming (if required), and applying multiple coats if necessary.