Designing with concrete countertops outdoors is likewise attractive because of their easy maintenance and great style flexibility. Concrete polishing is actually the finish of preference for the majority of owners of new and existing concrete floors. Polished concrete is seamless, leaving no spot for dust mites to collect as well as expose the bacteria which can be caught between tiles and floorboards.
Here are Images about Polished Concrete Floor Installation
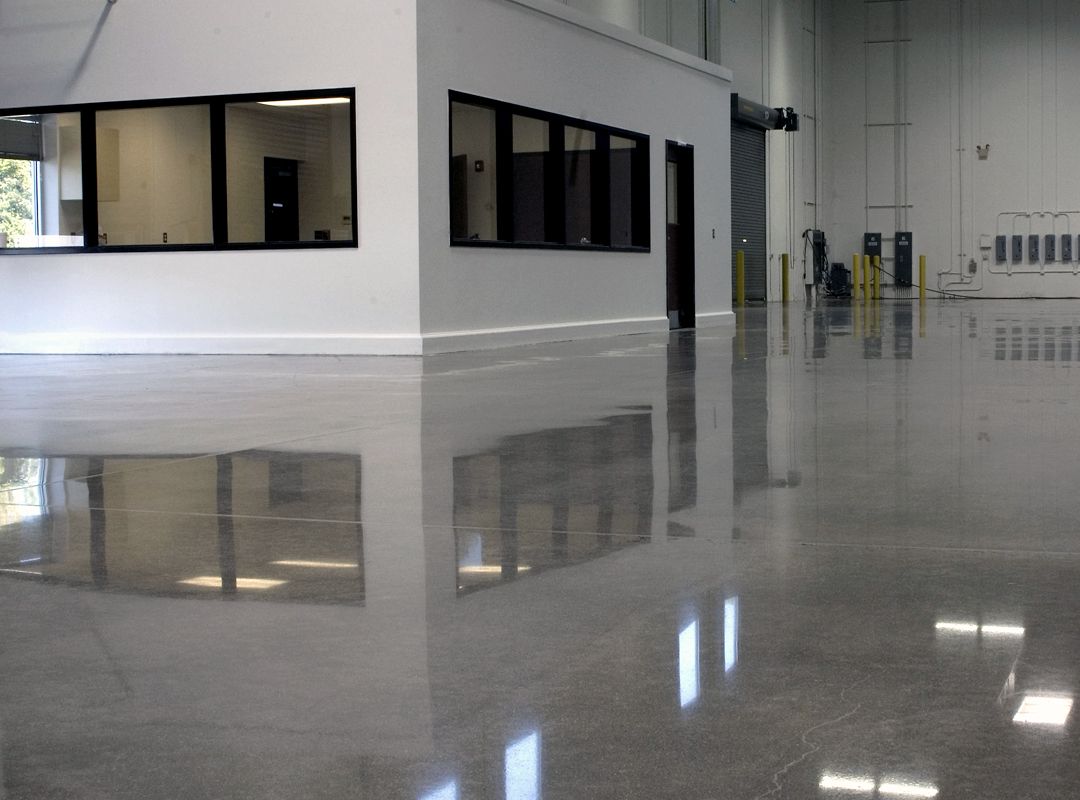
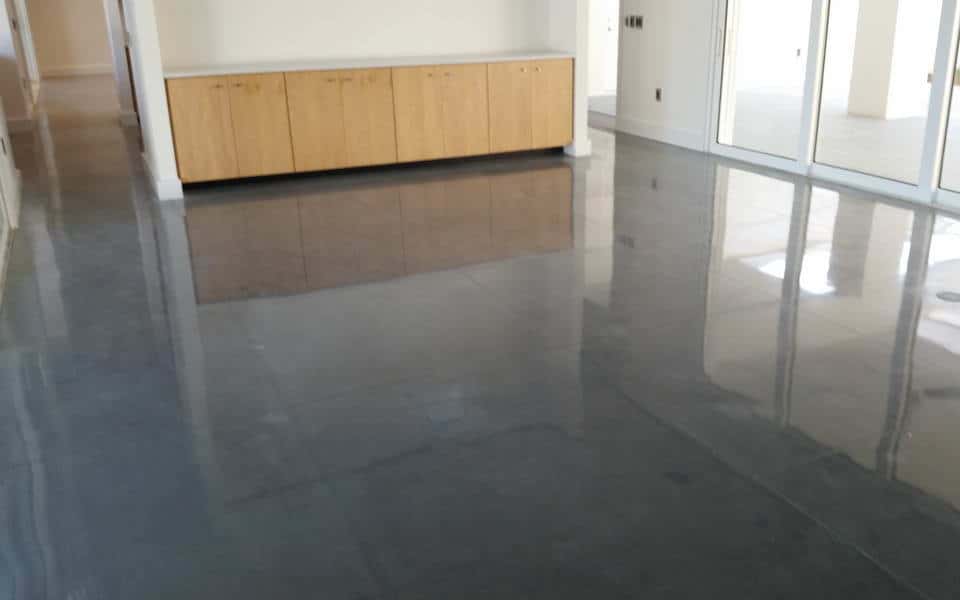
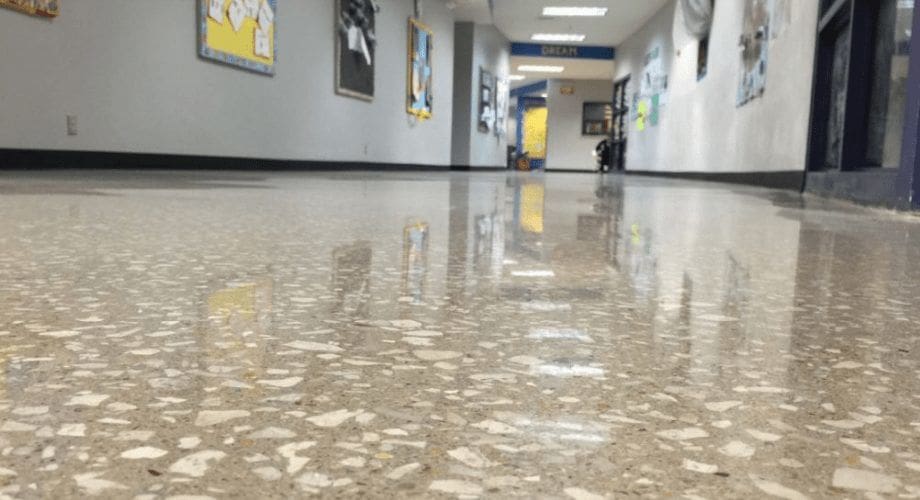
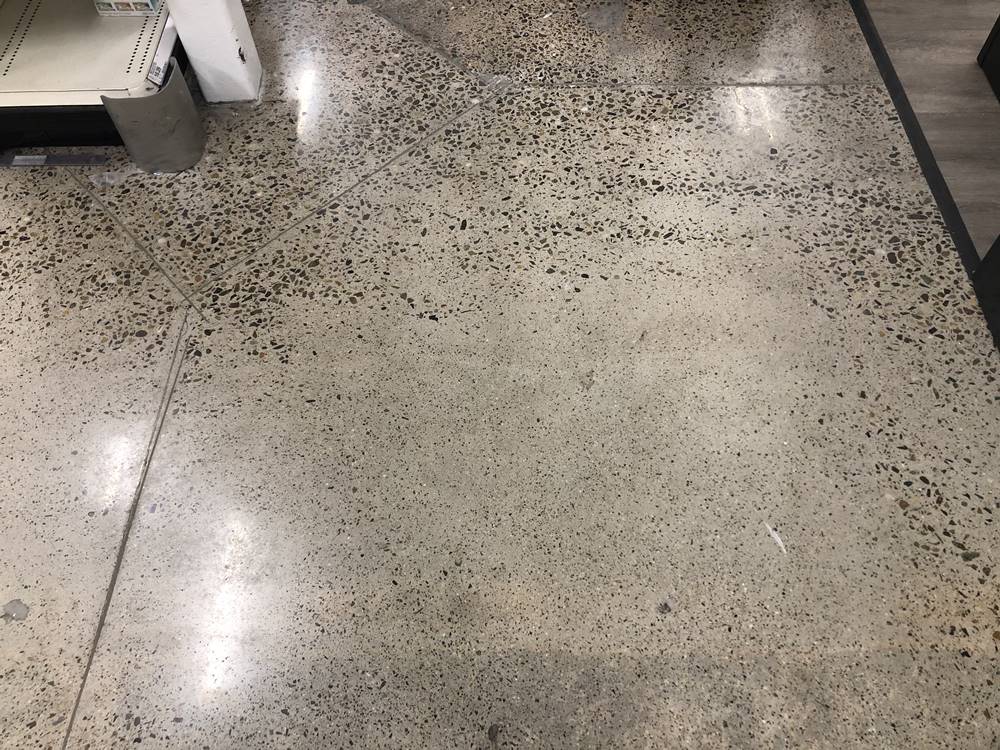
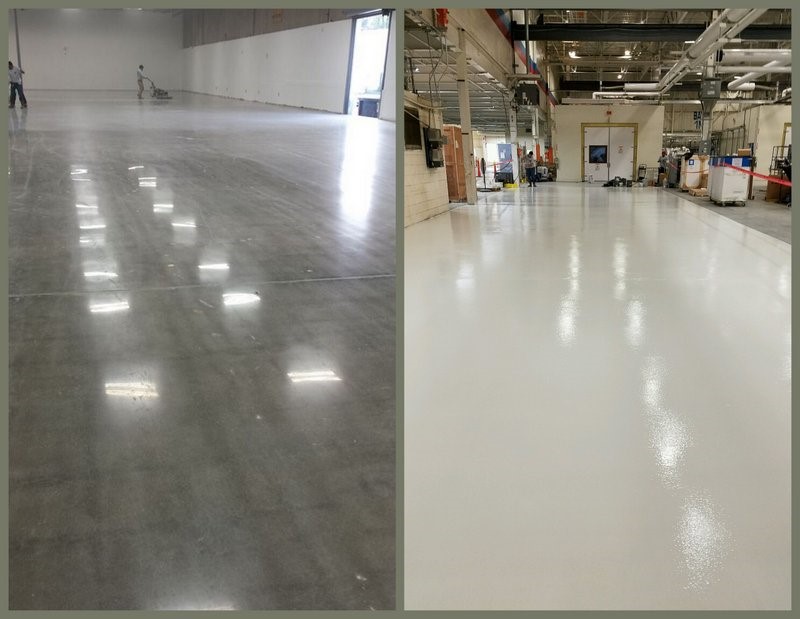
Polished Concrete Floor Installation

A polished concrete floor doesn't have to have frequent cleaning, which means that you can wash them alternatively or whenever you are free. Concrete is very long lasting and never has to be replaced although you may need to touch up the finish that's a pretty easy and inexpensive job. Along with these advantages, one of the major benefits of concrete floors is the pricing of its.
Polished concrete – Wikipedia
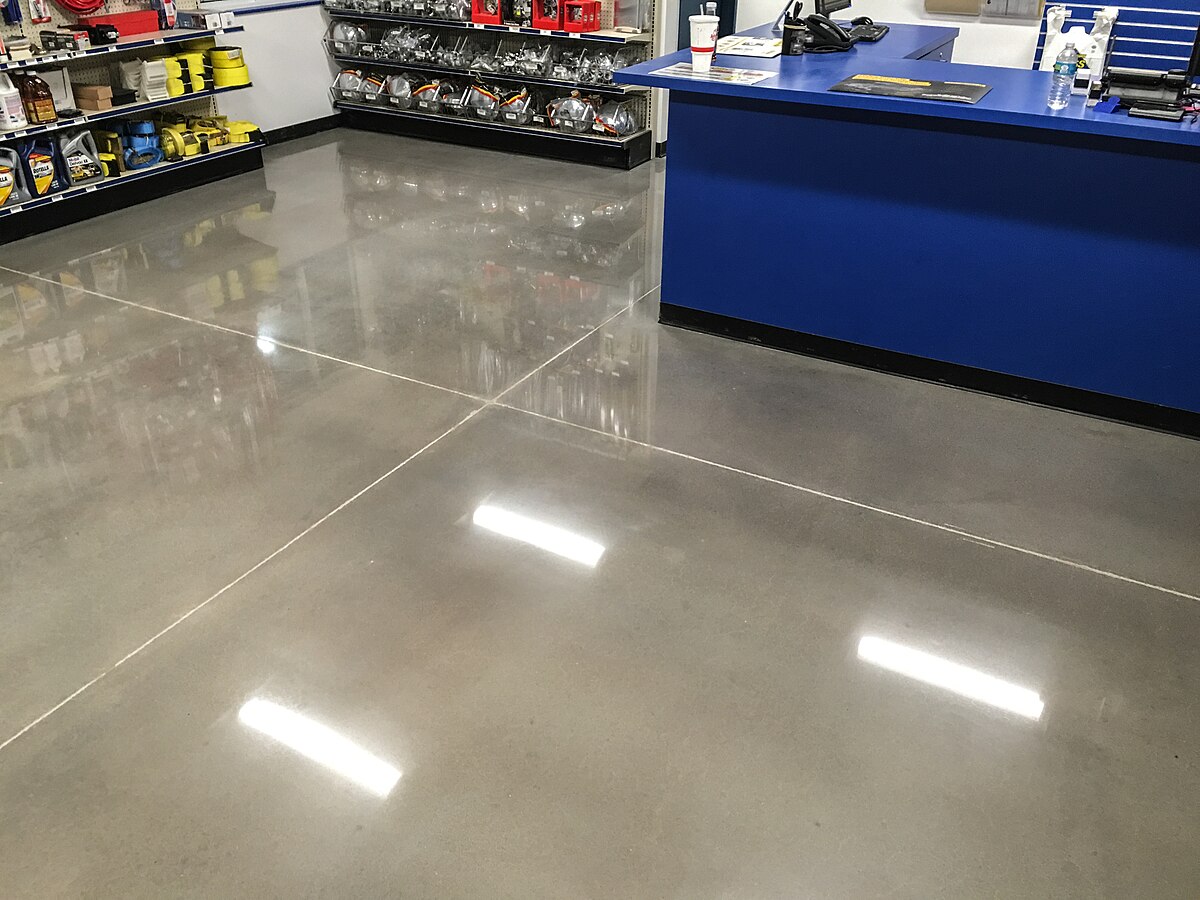
Stained concrete floors are actually stained with styles to match any decoration. When several dust collects on the polished concrete floors, it's better to gently clean them all before it can gather to amounts which will require a little scrubbing of sorts. After the chemical reaction takes spot, staining concrete floors repair a permanent bond with the concrete and won't peel away.
Images Related to Polished Concrete Floor Installation
Polishing Existing Concrete Floors – Can You Polish Old Concrete

Commercial Concrete Floor Polishing – JRI
Can All Concrete Be Polished? All Things Flooring
Polished Concrete Guide

Polished Concrete – Danek Flooring Inc. Flooring Contractor

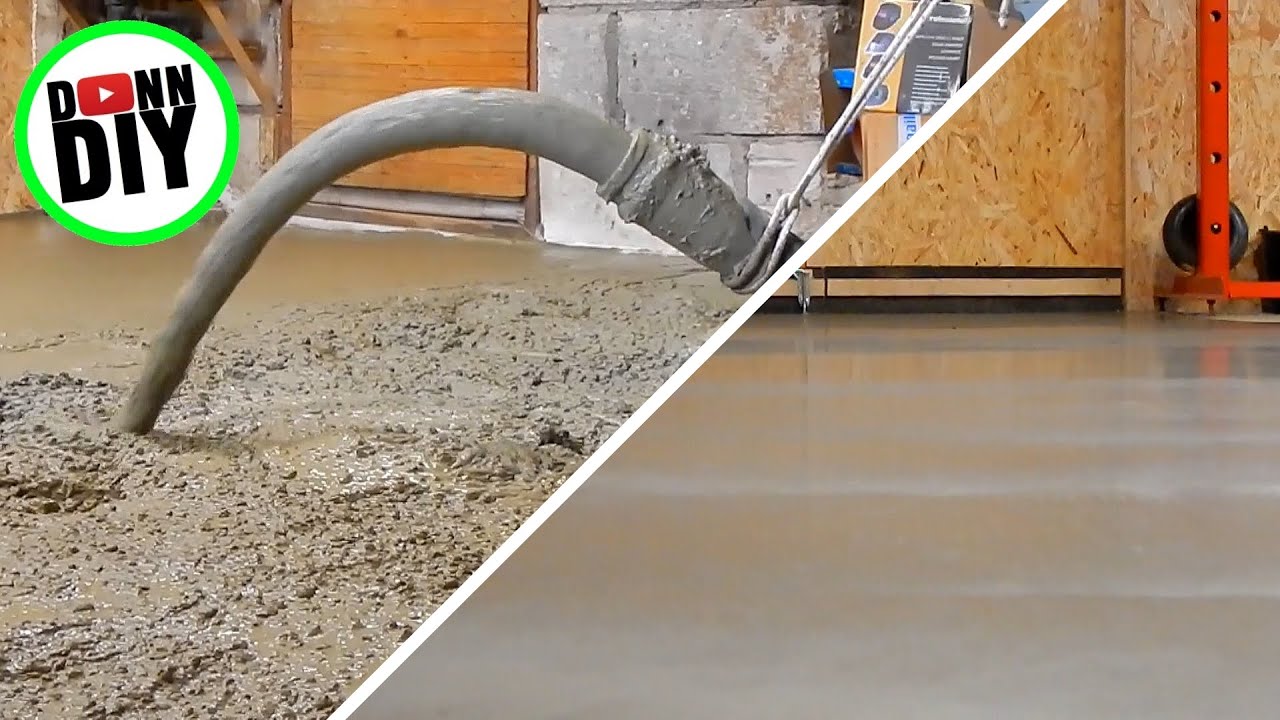
Concrete Pour and Polishing Concrete Floors, Incl. Full Time Lapse – Machine Shop Build Ep. 13
Polished Concrete Floors: DiamondQuest from QuestMark
Stained Concrete vs. Polished Concrete Floors – Advance Industrial
What Is Polished Concrete? Your Concrete Flooring Guide AllStar Blog
Polished Overlay Helps Overcome Floor Challenges – Concrete Decor
The Rise (and Shine) of Mechanically Polished Concrete Floors

Concrete Floor Coating vs. Polished Concrete
Related articles:
- White Mold On Concrete Floor
- Polished Concrete Floor
- Polished Concrete Floor Cleaning
- Staining Concrete Floors Indoors Yourself
- Flooring Options For Concrete Floors
- White High Gloss Concrete Floors
- Acid Stain Concrete Floors DIY
- Redo Patio Concrete Floor
- Interior Concrete Floor Ideas
- Gloss Concrete Floor Paint
Polished Concrete Floor Installation: A Comprehensive Guide
Introduction:
Polished concrete floors have gained immense popularity in recent years due to their durability, low maintenance, and aesthetic appeal. Whether it’s for residential or commercial spaces, polished concrete is an excellent choice for flooring. In this comprehensive guide, we will delve into the process of polished concrete floor installation, covering everything from surface preparation to the final polishing stages. So let’s dive in!
I. Surface Preparation:
Before embarking on the installation of polished concrete floors, proper surface preparation is crucial to ensure a flawless end result. This step involves several key processes:
1. Assessing the Existing Surface:
The first step is to evaluate the condition of the existing concrete surface. Any cracks, chips, or unevenness should be identified and addressed before proceeding with the installation. This may involve repairing cracks using specialized fillers or resurfacing the concrete if necessary.
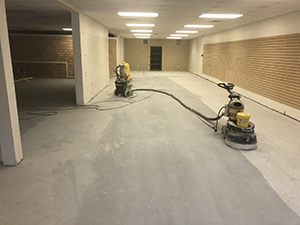
2. Grinding and Leveling:
To achieve a smooth and even surface, grinding and leveling are essential. This process involves using heavy-duty grinding machines equipped with diamond abrasive tools that gradually remove imperfections and create a uniform surface profile. The number of grinding passes required depends on the condition of the concrete and desired level of smoothness.
3. Cleaning and Dust Removal:
Once the grinding process is complete, it is important to thoroughly clean the surface to remove any dust, debris, or residue. This can be accomplished using industrial-grade vacuum cleaners equipped with HEPA filters to ensure effective dust extraction.
FAQs:
Q1: What are the benefits of surface preparation before installing polished concrete floors?
A1: Surface preparation ensures a level and smooth substrate for the polished concrete finish, enhances adhesion between layers, and helps eliminate future issues such as cracking or delamination.
Q2: Is surface preparation necessary for new concrete slabs?
A2: Yes, even newly poured concrete slabs require surface preparation to eliminate any imperfections and achieve a uniform finish.
II. Concrete Treatment:
Once the surface is properly prepared, the next step is to treat the concrete to enhance its durability and aesthetics. This involves applying various treatments and sealers:
1. Densifier Application:
A concrete densifier is used to harden the surface and increase its resistance to abrasion and staining. The densifier penetrates into the concrete pores, chemically reacting with calcium hydroxide to form a stronger crystalline structure. This process improves the overall strength and durability of the concrete.
2. Stain or Colorant Application (Optional):
If desired, stains or colorants can be applied to the concrete surface to achieve a specific color or pattern. These can be acid-based stains or water-based dyes that penetrate into the concrete, creating unique and vibrant hues. It is important to apply these products carefully, following manufacturer instructions, to ensure even distribution and proper bonding with the concrete.
FAQs:
Q1: Is it possible to change the color of an existing concrete floor?
A1: Yes, polished concrete floors can be stained or colored to alter their appearance. However, it is important to note that the final result may vary depending on the original color and condition of the concrete.
Q2: Are stains or colorants permanent?
A2: Yes, once applied and properly sealed, stains or colorants become a permanent part of the concrete floor. However, regular maintenance and resealing may be required over time to maintain their vibrancy.
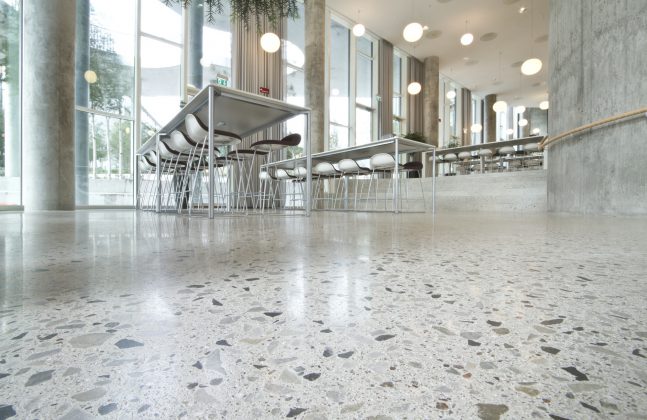
III. Polishing Process:
Now comes the most Important step in achieving a polished concrete floor – the polishing process. This involves using progressively finer diamond grits to grind and smooth the surface, resulting in a high-gloss finish. Here is an overview of the polishing process:
1. Initial Grinding:
The first step is to use coarse diamond grits to remove any remaining imperfections, such as scratches, stains, or unevenness. This is typically done using a planetary grinder equipped with diamond grinding pads.
2. Honing:
After the initial grinding, finer diamond grits are used to further refine the surface and achieve a smoother finish. This process is called honing and can be repeated multiple times with progressively finer grits until the desired level of smoothness is achieved.
3. Polishing:
Once the surface has been honed to the desired smoothness, a polishing compound is applied to enhance the shine and reflectivity of the concrete. This can be done using a high-speed burnisher or a polishing machine equipped with resin-bonded diamond pads.
4. Final Polishing and Sealing:
To achieve a mirror-like finish, an additional round of polishing may be performed using ultra-fine diamond grits. After the final polish, a sealer is applied to protect the concrete from stains, moisture, and wear. The sealer can be either solvent-based or water-based, depending on the specific requirements.
FAQs:
Q1: How long does it take to polish a concrete floor?
A1: The time required for polishing depends on various factors such as the size of the area, condition of the concrete, and desired level of smoothness. It can range from a few hours for small areas to several days for larger spaces.
Q2: How long does the polished concrete floor last?
A2: With proper maintenance and regular cleaning, a polished concrete floor can last for many years. The durability of the floor also depends on factors such as foot traffic, usage, and the quality of the initial surface preparation and polishing process. A well-maintained polished concrete floor can last for 10-20 years or even longer. However, it is important to note that the shine and appearance of the floor may diminish over time due to wear and tear. In such cases, a professional re-polishing may be required to restore its original beauty. Q3: Can a polished concrete floor be customized with colors or patterns?
A3: Yes, a polished concrete floor can be customized with colors and patterns. This can be achieved through the use of concrete dyes, stains, or integral colorants that are applied during the polishing process. Additionally, decorative saw cuts or stencils can be used to create unique patterns or designs on the surface of the concrete.
Q4: Is polishing a concrete floor a noisy process?
A4: Yes, polishing a concrete floor can be a noisy process due to the use of grinding and polishing machinery. It is recommended to use hearing protection when working in close proximity to the equipment. Additionally, it is advisable to inform nearby residents or occupants about the noise levels during the polishing process.
Q5: Can all types of concrete be polished?
A5: Polishing is typically suitable for most types of concrete, including new and old slabs. However, certain factors such as the condition of the concrete, its hardness, and any existing coatings or sealers may affect the overall results. It is important to assess the condition of the concrete before proceeding with the polishing process to ensure optimal outcomes.
Q6: How should a polished concrete floor be maintained?
A6: To maintain a polished concrete floor, regular cleaning is essential. This can be done by sweeping or vacuuming to remove dirt and debris. Spills should be cleaned up promptly to prevent staining. Additionally, periodic damp mopping with a neutral pH cleaner can help maintain the shine and cleanliness of the floor. It is important to avoid using harsh chemicals or abrasive cleaners that can damage the surface.