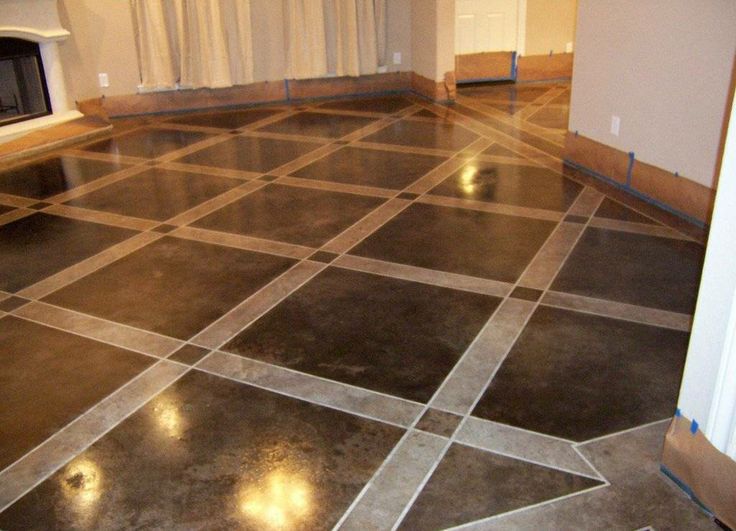
With regards to flooring, polished concrete floors are materials that are excellent , which are a lot more commonly used. The truth is: concrete comes pre-installed in the majority of homes, because the majority of houses are made on concrete slabs. The period it takes to complete the assembly of a concrete floor is actually based on how large or tiny the floor area is actually.
Here are Images about Paint Concrete Floor To Look Like Tile
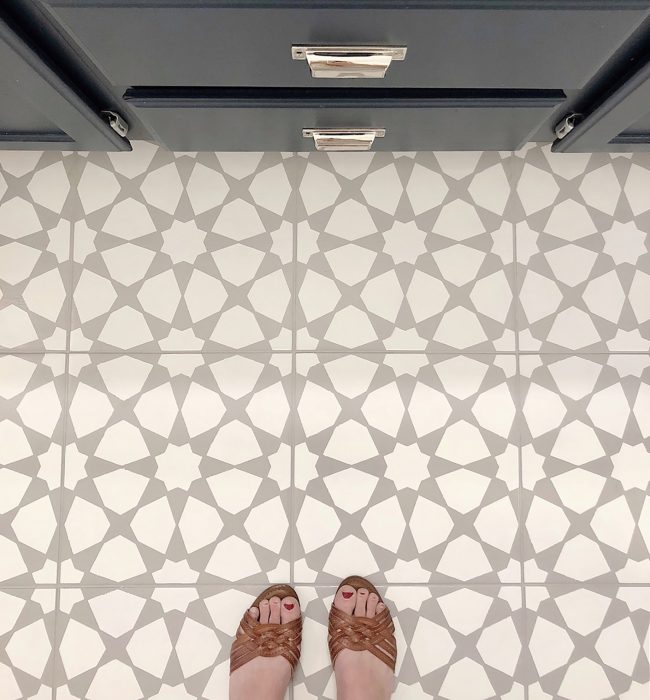
Paint Concrete Floor To Look Like Tile
/GettyImages-172517140-585586ab5f9b586e02617694.jpg)
The mantra is covering the current concrete floor with a small cement-based overlay to generate a fresh brand new photo to work on. As soon as they've cured, latest concrete installations are easily and inexpensively brought to a gloss. When installing polished concrete floors, the concrete is actually sanded with a diamond surfaced polishing machine.
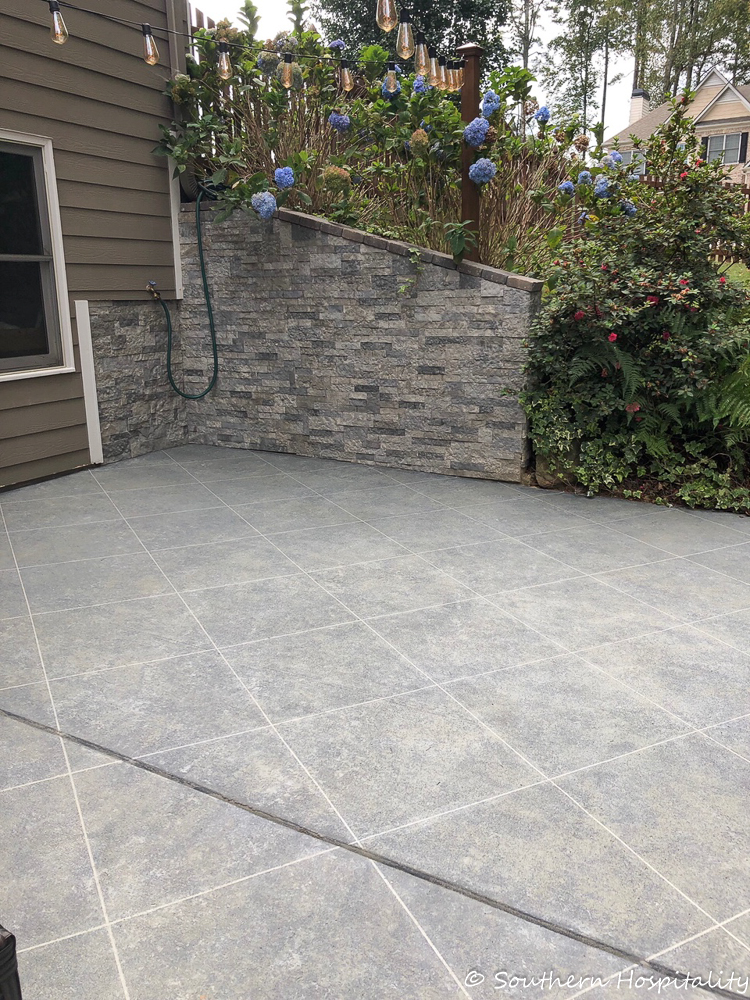
Concrete Porch Painted to Look Like Tile Paint concrete patio

In some instances, all that will be needed is a simple rebuffing of the flooring surfaces with a bit of polishing compound. Remember it is important to use concrete floor sealers to help you look after the surface. It is true that one requires quite some basic approach of looking after these concrete floors but there are certain facts about maintenance that need to be saved in mind.
Images Related to Paint Concrete Floor To Look Like Tile
Intel Xeon E5-4620 SR0L4 8-Core 2.2GHz 16MB LGA 2011 Processor

Painted Concrete Floors, Concrete Floor Paint; Tutorial u0026 Videos
How to Create Faux Tile Look on Concrete Patio – Southern Hospitality
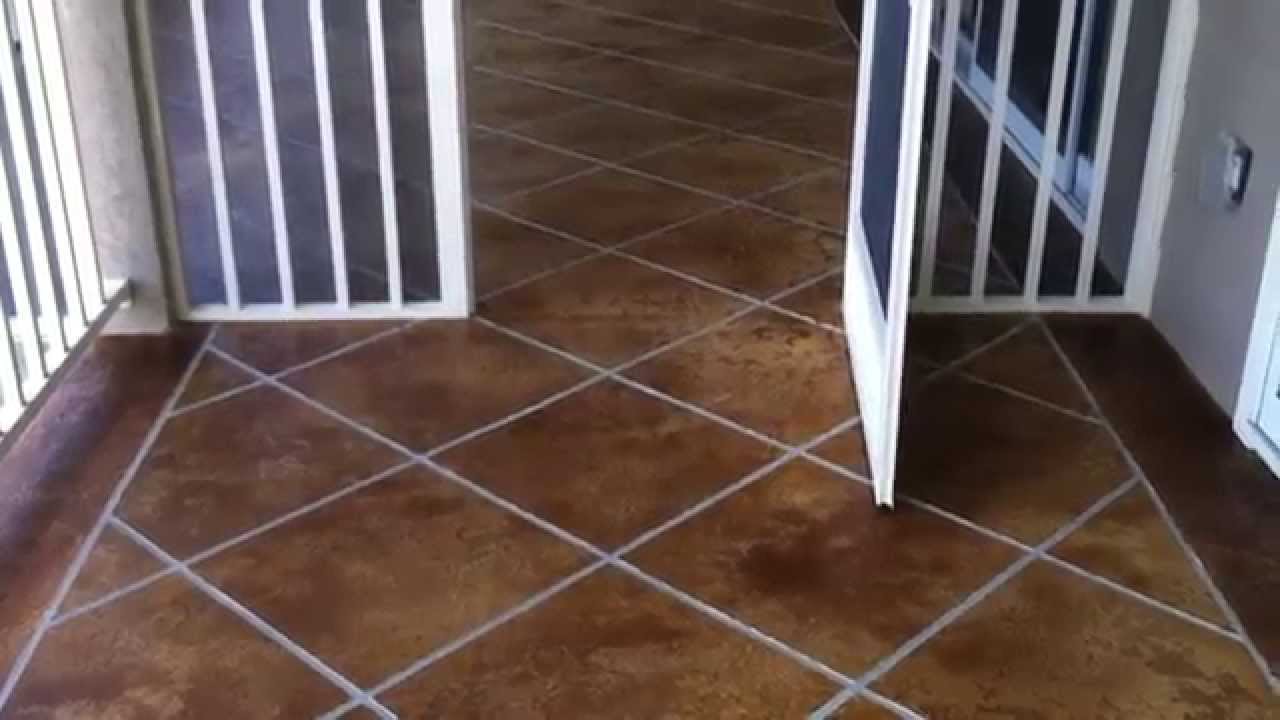
Decorative Concrete Condo Deck Osage Beach MO Acid Stained Faux Tile Flooring Lake Ozark MO
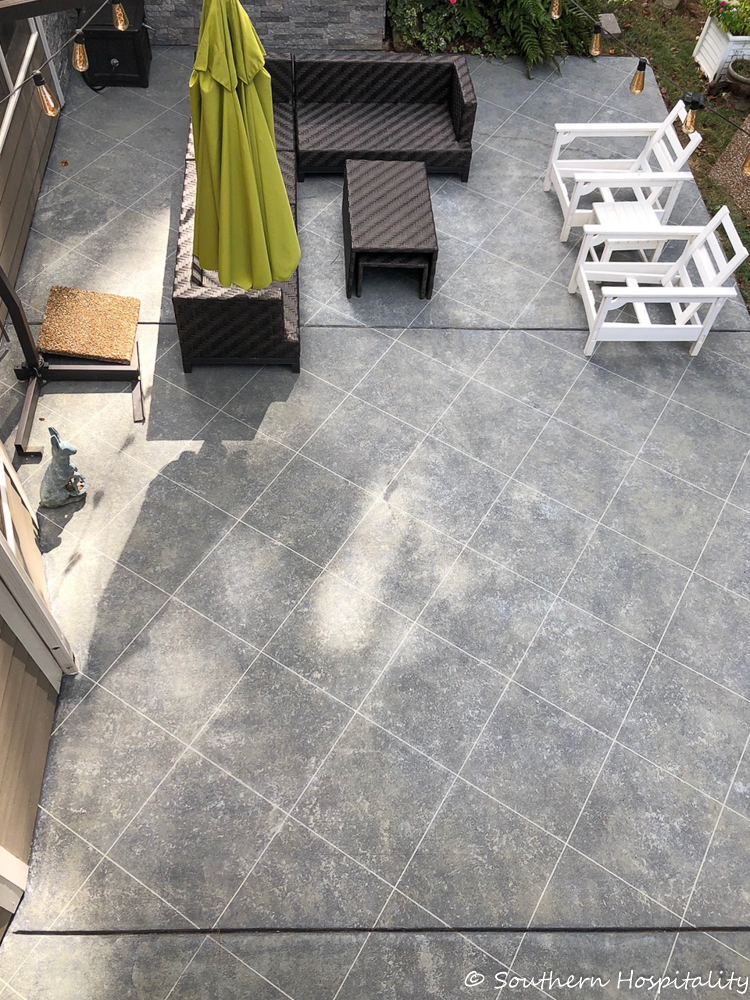
New u201cTileu201d Patio Floor Reveal! – Beneath My Heart

How to paint concrete to make it look like real stone including

Faux Cement Tile Painted Floors – Bright Green Door

Backyard Makeover! How to paint concrete to look like oversize

Faux Cement Tile Painted Floors – Bright Green Door

How to Create Faux Tile Look on Concrete Patio – Southern Hospitality
Faux tile Painted Concrete Floor Painted concrete floors, Faux

How To Paint A Bathroom Floor To Look Like Cement Tile (For Under
Related articles:
- Stained Concrete Floors Design
- Decorative Concrete Floors
- Acid Stained Concrete Floors
- Polished Concrete Floor In Bathroom
- Concrete Floor Stain And Polish
- White Mold On Concrete Floor
- Polished Concrete Floor
- Polished Concrete Floor Cleaning
- Staining Concrete Floors Indoors Yourself
- Flooring Options For Concrete Floors
Painting a concrete floor to look like tile is a creative and cost-effective way to transform the appearance of any space. Whether you want to spruce up your basement, garage, or patio, this DIY project can give your floor a stylish and sophisticated look without breaking the bank. In this article, we will guide you through the process of painting a concrete floor to look like tile, providing detailed instructions and tips along the way.
Choosing the Right Paint and Tools
Before embarking on this project, it’s crucial to gather all the necessary tools and materials. Here are some key items you’ll need:
1. Concrete floor paint: Look for a high-quality paint that is specifically designed for use on concrete surfaces. Opt for a paint that offers durability, stain resistance, and easy cleanability.
2. Primer: Applying a primer before painting will ensure better adhesion and longevity of the paint job. Select a primer that is compatible with both concrete and the chosen paint.
3. Paint rollers and brushes: Invest in high-quality rollers and brushes designed for concrete surfaces. The rollers should have a medium nap to allow for smooth application of paint.
4. Painter’s tape: Use painter’s tape to protect areas you don’t want to be painted, such as baseboards or walls adjacent to the floor.
5. Tile stencil or template: To achieve the desired tile pattern, you’ll need a stencil or template that mimics the look of tiles. These can be purchased online or created using cardboard or acetate sheets.
Preparing the Concrete Surface
Proper surface preparation is essential for achieving a durable and long-lasting finish. Follow these steps to prepare your concrete floor:
1. Clean the floor thoroughly: Remove any dirt, dust, grease, or stains from the surface using a broom, vacuum cleaner, and detergent solution. Rinse off any cleaning residue with clean water.
2. Repair cracks and imperfections: Inspect the floor for cracks, holes, or other imperfections. Fill them with a patching compound and smoothen the surface using a putty knife. Allow the compound to dry completely before proceeding.
3. Etch the concrete: If your concrete floor is smooth and non-porous, it’s important to etch it to promote better adhesion. Use an acid-based concrete etching solution following the manufacturer’s instructions. Rinse off the etching solution thoroughly and allow the floor to dry completely.
Applying Primer and Base Coat
To ensure proper paint adhesion and coverage, applying a primer and base coat is crucial. Follow these steps:
1. Prime the floor: Apply a thin coat of concrete primer using a roller or brush. Ensure even coverage and allow the primer to dry according to the manufacturer’s instructions.
2. Apply the base coat: Once the primer has dried, apply a base coat of your chosen color using a roller. Work in small sections, overlapping each stroke to achieve an even finish. Allow the base coat to dry completely before moving on to stenciling.
Creating Tile Patterns with Stencils
Creating tile patterns on your concrete floor is where the magic happens. Follow these steps to achieve a realistic tile appearance:
1. Position the stencil: Place the stencil or template on one corner of the floor, aligning it with your desired pattern. Use painter’s tape to secure it in place.
2. Apply paint through stencil: Dip a foam brush or roller into your chosen paint color and apply it over the stencil openings in a Dabbing motion. Make sure to apply an even and consistent amount of paint. Avoid using too much paint, as it can cause the edges of the stencil to become blurry.
3. Move the stencil: Carefully lift the stencil and reposition it next to the painted area, aligning it with the pattern. Secure it with painter’s tape again and repeat the painting process.
4. Fill in gaps: After completing one row or section, you may have gaps between the stenciled tiles. Use a smaller brush or stencil brush to fill in these gaps with paint, ensuring a seamless appearance.
5. Allow paint to dry: Once you have stenciled the entire floor, allow the paint to dry completely before applying any additional coats or sealants.
Sealing the Painted Floor
To protect your newly painted concrete floor and enhance its durability, apply a sealant. Follow these steps:
1. Choose a sealant: Select a high-quality concrete floor sealant that is suitable for your specific needs, such as a matte or glossy finish.
2. Apply the sealant: Use a roller or brush to apply an even coat of sealant over the entire painted floor surface. Follow the manufacturer’s instructions for drying time and additional coats if necessary.
3. Allow for curing time: After applying the sealant, allow sufficient time for it to cure and harden before allowing foot traffic or placing furniture on the floor. This curing time may vary depending on the product used.
By following these steps and using high-quality materials, you can transform your concrete floor into a beautiful and durable tiled masterpiece. Enjoy your newly painted floor for years to come! After the primer has dried and the base coat of your chosen color has been applied, it’s time to move on to stenciling. Follow these steps to create tile patterns on your concrete floor:
1. Position the stencil: Start by placing the stencil or template on one corner of the floor, aligning it with your desired pattern. Use painter’s tape to secure it in place.
2. Apply paint through stencil: Dip a foam brush or roller into your chosen paint color and apply it over the stencil openings in a dabbing motion. Make sure to apply an even and consistent amount of paint. Avoid using too much paint, as it can cause the edges of the stencil to become blurry.
3. Move the stencil: Carefully lift the stencil and reposition it next to the painted area, aligning it with the pattern. Secure it with painter’s tape again and repeat the painting process.
4. Fill in gaps: After completing one row or section, you may have gaps between the stenciled tiles. Use a smaller brush or stencil brush to fill in these gaps with paint, ensuring a seamless appearance.
5. Allow paint to dry: Once you have stenciled the entire floor, allow the paint to dry completely before applying any additional coats or sealants.
To protect your newly painted concrete floor and enhance its durability, apply a sealant by following these steps:
1. Choose a sealant: Select a high-quality concrete floor sealant that is suitable for your specific needs, such as a matte or glossy finish.
2. Apply the sealant: Use a roller or brush to apply an even coat of sealant over the entire painted floor surface. Follow the manufacturer’s instructions for drying time and additional coats if necessary.
3. Allow for curing time: After applying the sealant, allow sufficient time for it to cure and harden before allowing foot traffic or placing furniture on the floor. This curing time may vary depending on the product used.
By following these steps and using high-quality materials, you can transform your concrete floor into a beautiful and durable tiled masterpiece. Enjoy your newly painted floor for years to come!