Polished concrete floors do not just look wonderful, in addition, they boast a wide variety of benefits that mark them as being past other options of flooring. The coating put on to polished flooring is shiny although it's thoroughly tested for slip resistance at all traffic amounts. Earlier concrete floors that were also referred to as cement floors had simply a gray along with a dull appearance, but today that is not the case.
Here are Images about Making Concrete Floors
Making Concrete Floors
Every time you will undertake maintenance labor for the polished concrete floors of yours, you need spending just a portion of cash as as opposed to other flooring we have choices. In domestic ways polished concrete floors are chosen for the good looks of its, but in industrial settings it's preferred due to practicality; these floor surfaces are also very functional.
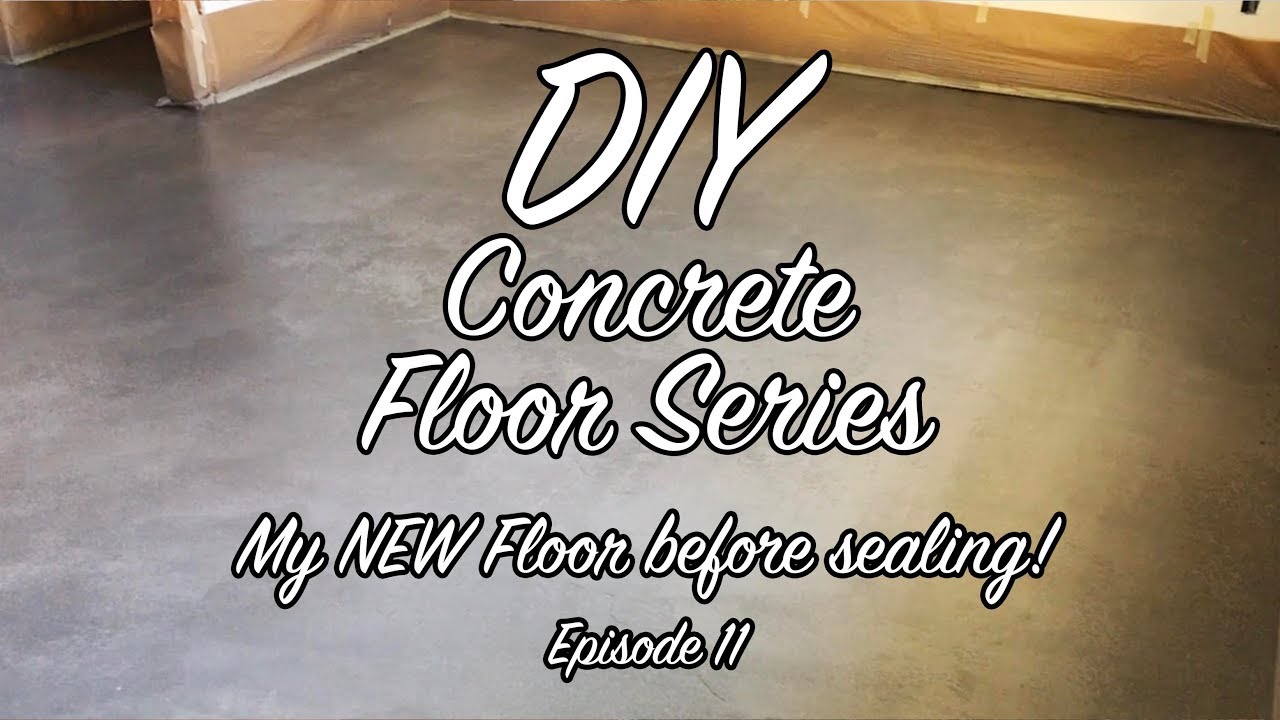
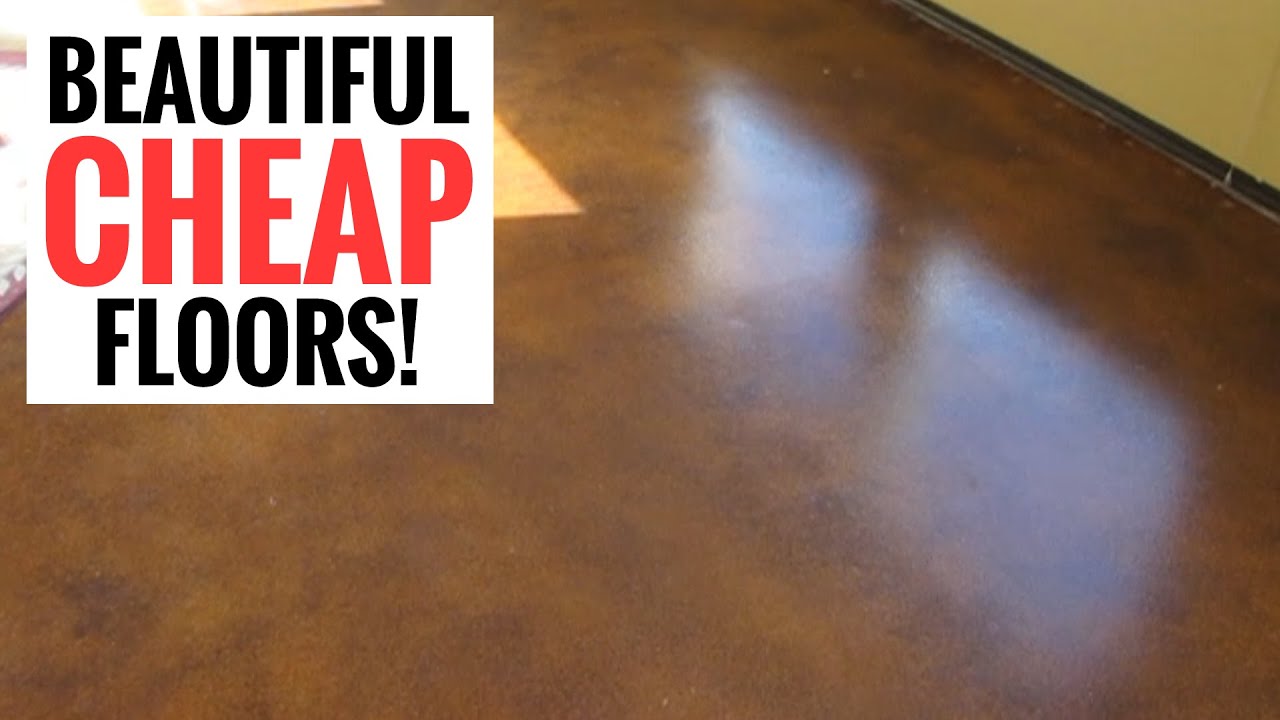
DIY Concrete Floor Series – EP38 – My NEW floor before sealing!
This easy cleaning method is likely to stay polished concrete floors essential and attractive for years on end. Everybody wants an alternative appearance for the home of theirs and therefore is concrete floors, they offer range of options at cheapest rates. You are able to put in the concrete flooring by yourself in order to save a bit of money, but do a careful job.
Images Related to Making Concrete Floors
DIY Concrete Floor Cheap Home DIYs Design Mom
Making a Polished Concrete Floor DoItYourself.com
DIY Concrete Flooring Makeover Concrete stained floors, Floor

The Beginneru0027s Guide to DIY Stained Concrete, A Step by Step Tutorial

DIY Concrete Floor Step-by-Step Preparation and Installation Advice

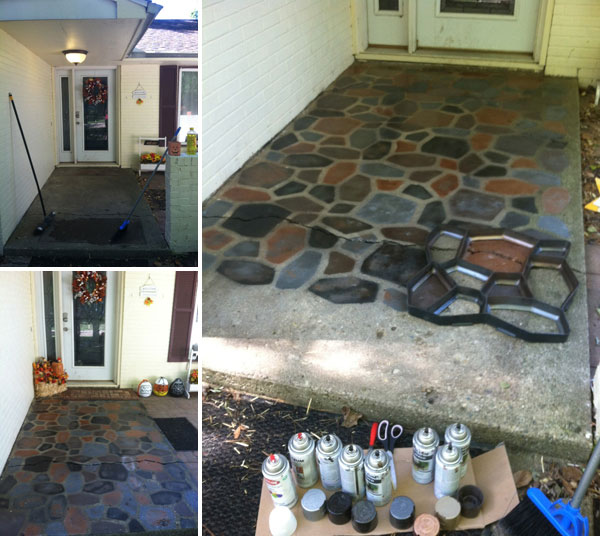
Amazingly cheap and stunningly beautiful floors – Easy DIY Stained Concrete
The Beginneru0027s Guide to DIY Stained Concrete, A Step by Step Tutorial

How to Make Cement Floors More Appealing DIY Projects Craft Ideas
DIY Concrete Flooring Makeover
Can You DIY Concrete Floor Overlay?
Diy Concrete Floor Houses Flooring Ideas Blogule – Decoratorist

DIY Concrete Floor Cheap Home DIYs Design Mom
Related articles:
- Stained Concrete Floors Design
- Decorative Concrete Floors
- Acid Stained Concrete Floors
- Polished Concrete Floor In Bathroom
- Concrete Floor Stain And Polish
- White Mold On Concrete Floor
- Polished Concrete Floor
- Polished Concrete Floor Cleaning
- Staining Concrete Floors Indoors Yourself
- Flooring Options For Concrete Floors
Preparing the Subfloor
Before laying down concrete, it’s important to make sure the subfloor is properly prepared. This includes cleaning, leveling, and filling any cracks or holes. If necessary, use a concrete patching compound to fill in any gaps in the subfloor. Once the subfloor is ready, it’s time to install the concrete.
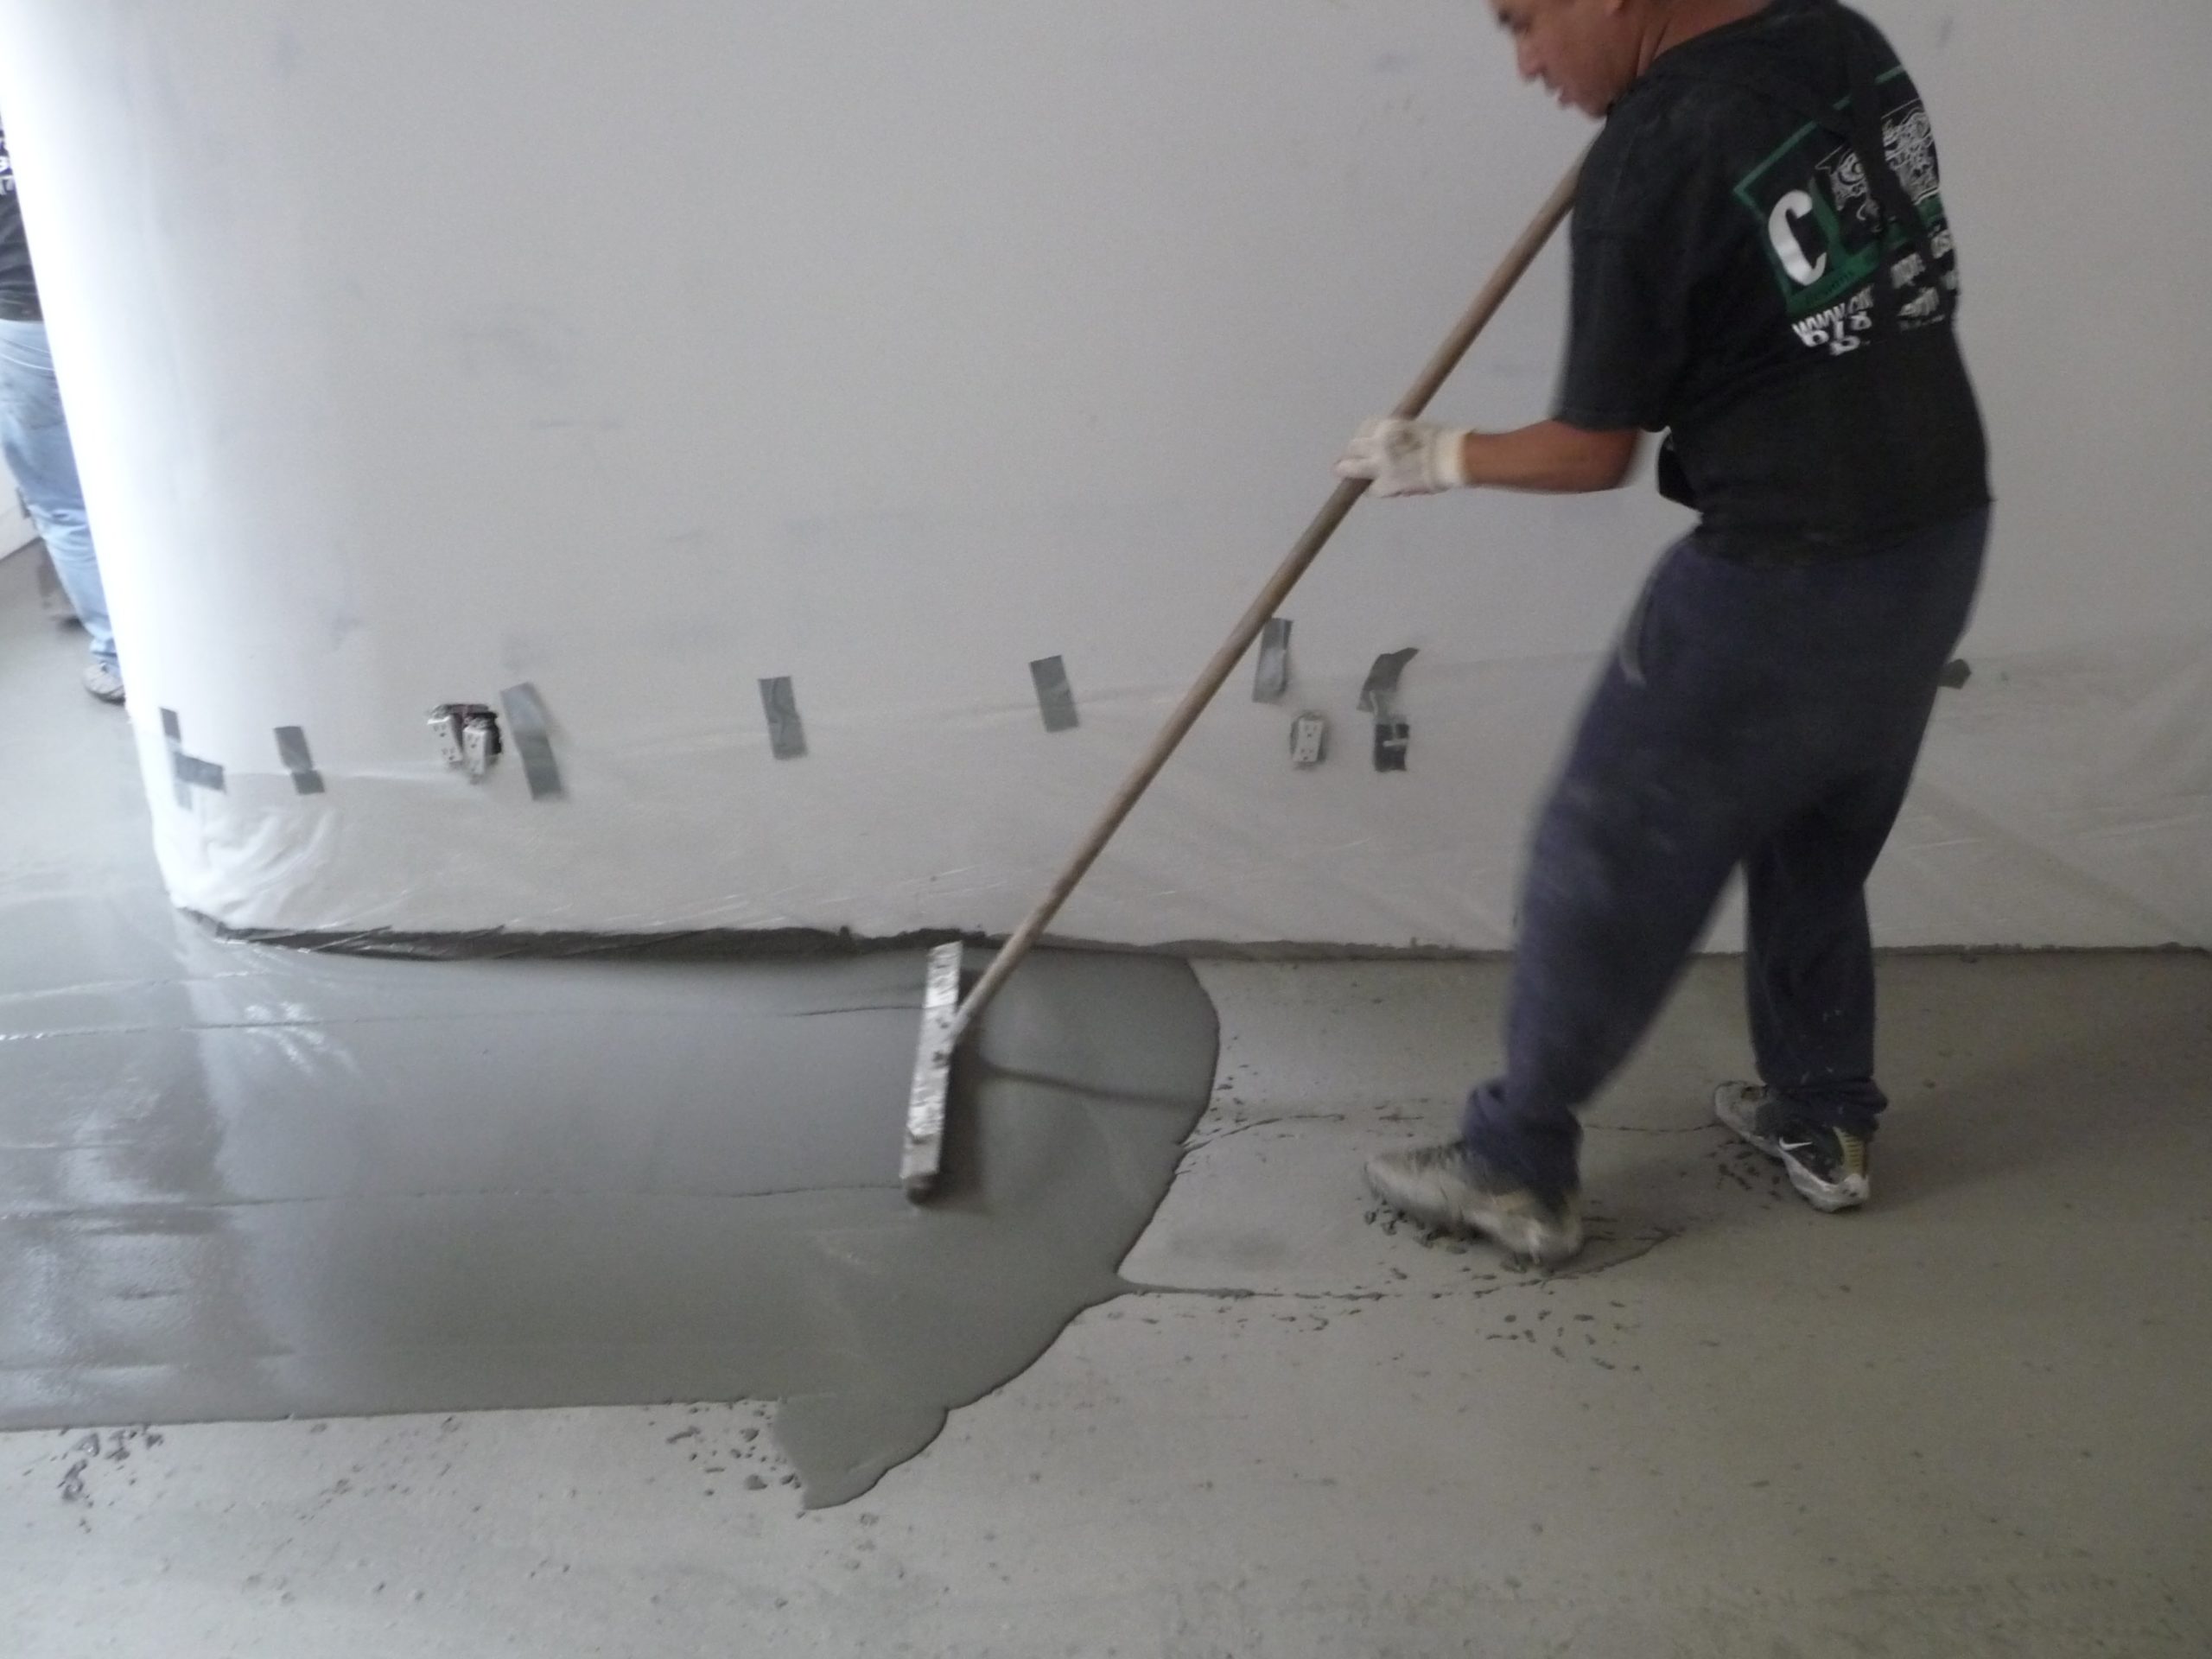
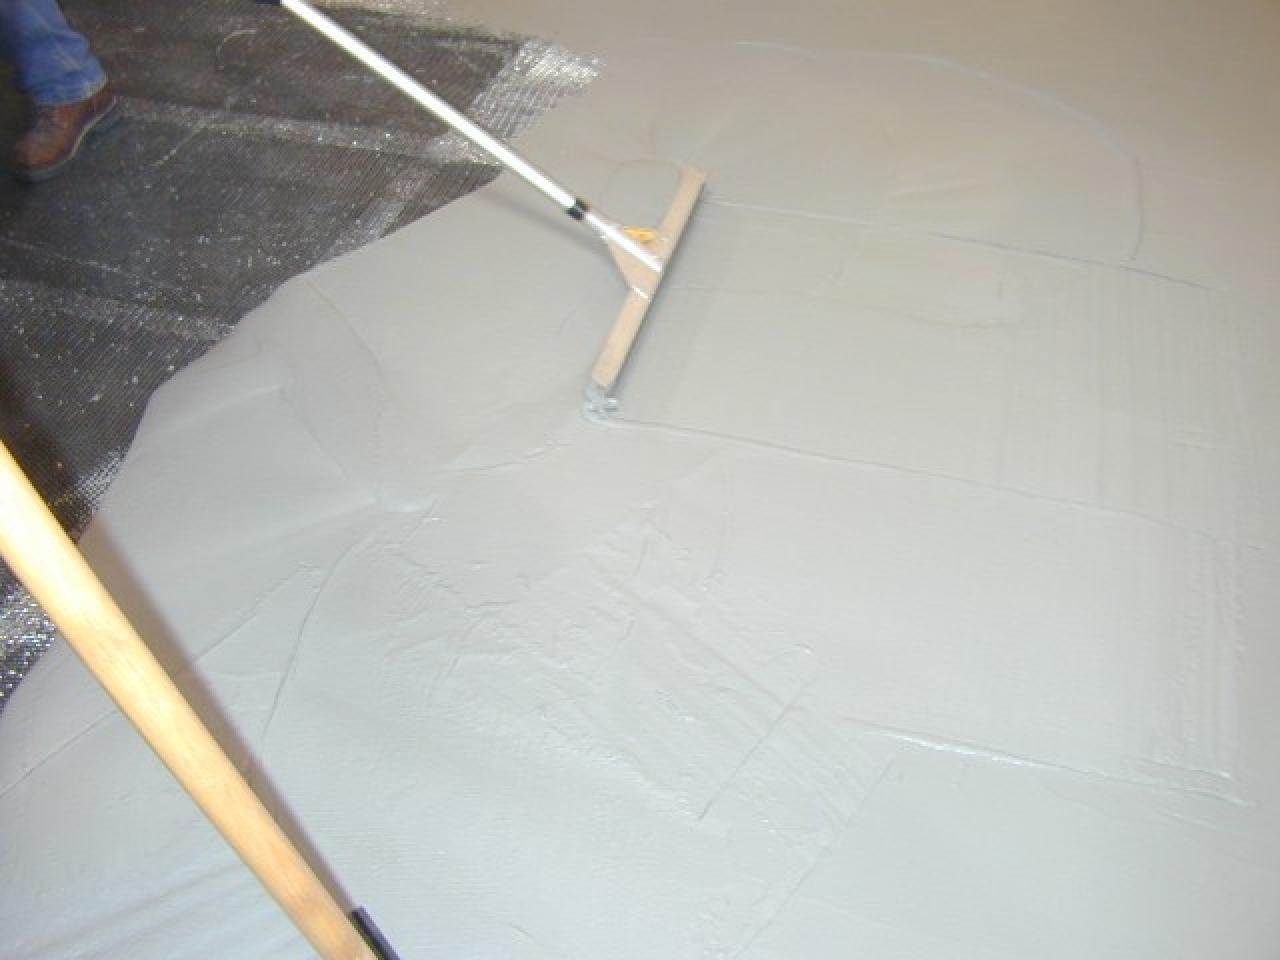
Installing the Concrete
The next step in making concrete floors is installing the concrete. Before installing, you should mix the concrete in a large container using a trowel or hoe. Make sure to mix it consistently until it reaches a creamy texture. Once it’s mixed, pour the concrete into the area and spread it evenly using a trowel. Use a straight edge to make sure the surface is level. You may also need to add additional concrete if needed.
Curing the Concrete
Once the concrete has been poured and leveled, it needs to be cured. The curing process can take several weeks, so be sure to be patient during this process. To cure the concrete, cover it with plastic sheeting and keep it moist for at least seven days. This will help ensure that the concrete has enough time to fully set and harden before you begin using it.
Finishing Touches
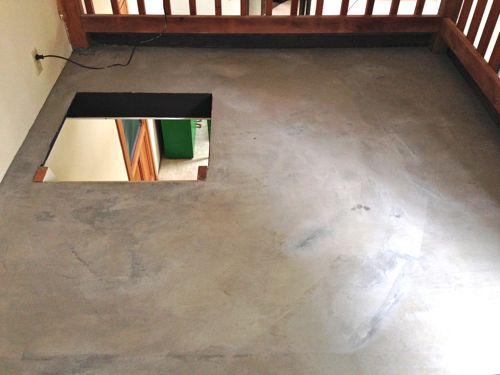
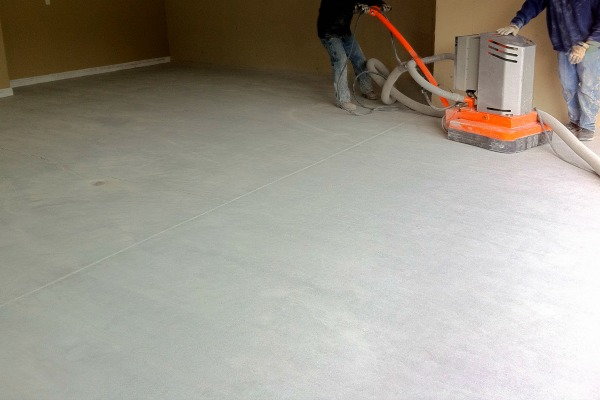
After the curing process is complete, you can begin adding finishing touches to your concrete floors. This includes sealing, staining, and polishing. Sealing your concrete will help protect it from water damage and other elements that may cause damage over time. Staining your concrete can add color and texture while polishing will give your floors a professional shine.
Tips for Making Concrete Floors
• Make sure that your subfloor is completely clean and level before pouring the concrete.
• Take your time when mixing the concrete so that it reaches a creamy texture.
• Use a straight edge to make sure that the surface is even after pouring.
• Cover your freshly poured concrete with plastic sheeting and keep moist for at least seven days so that it can properly cure.
• Seal, stain, and polish your newly installed floor for added protection and aesthetics.
• Be sure to use proper safety equipment such as goggles and gloves when working with concrete mix or cement.
Conclusion
Making concrete floors is a great way to improve any home improvement project while adding lasting durability at an affordable price. It’s important to make sure that you take your time when preparing, mixing, pouring, and curing your concrete floors so that you get the best results possible. Follow these tips and you’ll have beautiful new floors in no time!