Vinyl flooring comes in different make, size and design. In fact the methods utilized to generate this particular flooring make it really difficult for somebody to distinguish it from the real thing as well as again has got the CleanSweep Plus finish along with light weight aluminum oxide and polycarbonate. The tiles are actually neutral to common reagents including alkalis, the like, aliphatic hydrocarbons and acids.
Images Related to Laying Self Adhesive Vinyl Floor Tiles
Laying Self Adhesive Vinyl Floor Tiles
Therefore, you are able to get your hands on anything, beginning from very smooth to a bit rough and all the way up to pebbled surfaces. The padded part of the vinyl is within the middle layer, between the wear layer and the backing. Vinyl flooring is more durable as compared to the various other kinds of flooring. It's hard-wearing and tough so that you do not need to spend for the frequent maintenance of its.
How to lay vinyl floor tiles u0026 revamp a tired kitchen Dove Cottage
![]()
The draw back to vinyl is, although it's huge plus points, it nevertheless has got the main flaw that every one flooring has; it is not invincible. Nevertheless, some aromatic hydrocarbons are able to soften the tiles to a certain degree. Vinyl by nature is very sensitive to imperfections that might be contained in the sub floor where you lay it on. After installation plays an immensely important part. These are in tile as well as sheet forms.
Installing Selfstick Vinyl Tile Better Homes u0026 Gardens

Installing Your Peel-and-Stick Vinyl Tile Floor

How to Lay Self-Adhesive Vinyl Tiles : Working on Flooring

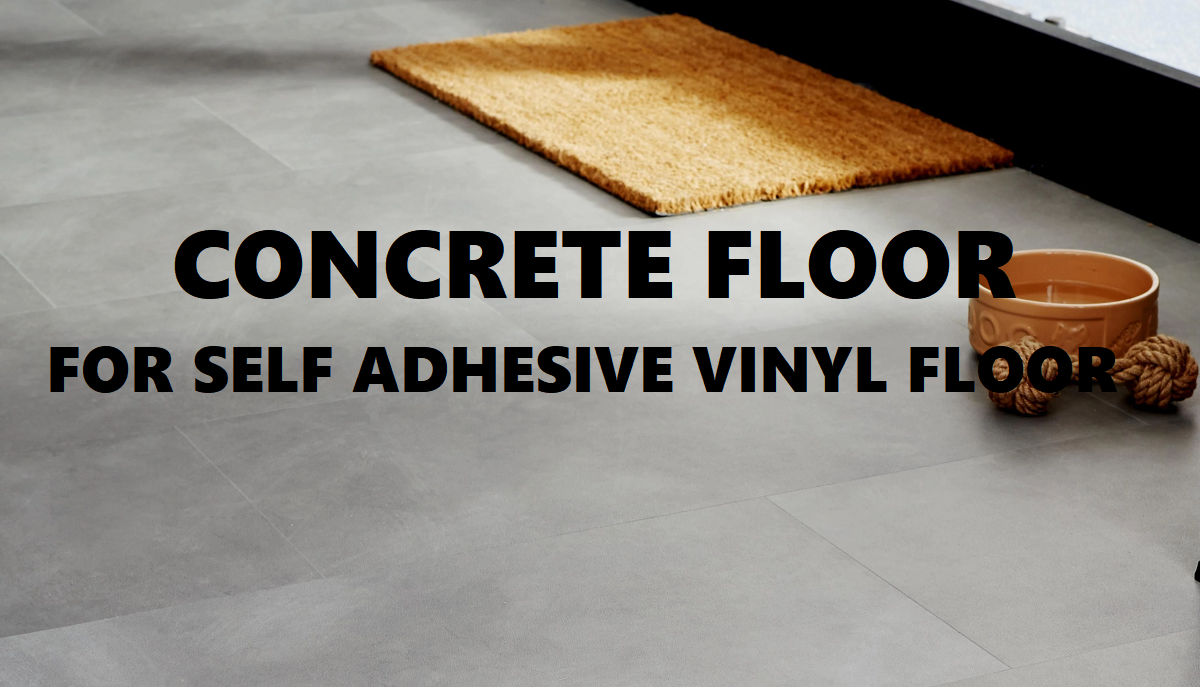
How To Prepare Concrete Floor For Self Adhesive Vinyl Tiles (Peel
How to Lay Peel-and-Stick Vinyl Tile Flooring – Dengarden
How to lay vinyl floor tiles u0026 revamp a tired kitchen Dove Cottage
![]()
How to lay vinyl floor tiles u0026 revamp a tired kitchen Dove Cottage
![]()
How to Lay Vinyl Tiles on Top of Old Flooring : Flooring Help

Self-Adhesive Vinyl Floor Tiles Review: Pros u0026 Cons
/self-adhesive-vinyl-tiles-1314720_0520-1c50e2ceee874166a6e39d47153a052f.jpg)
Self Adhesive Vinyl Floor Tiles – An Installation Guide

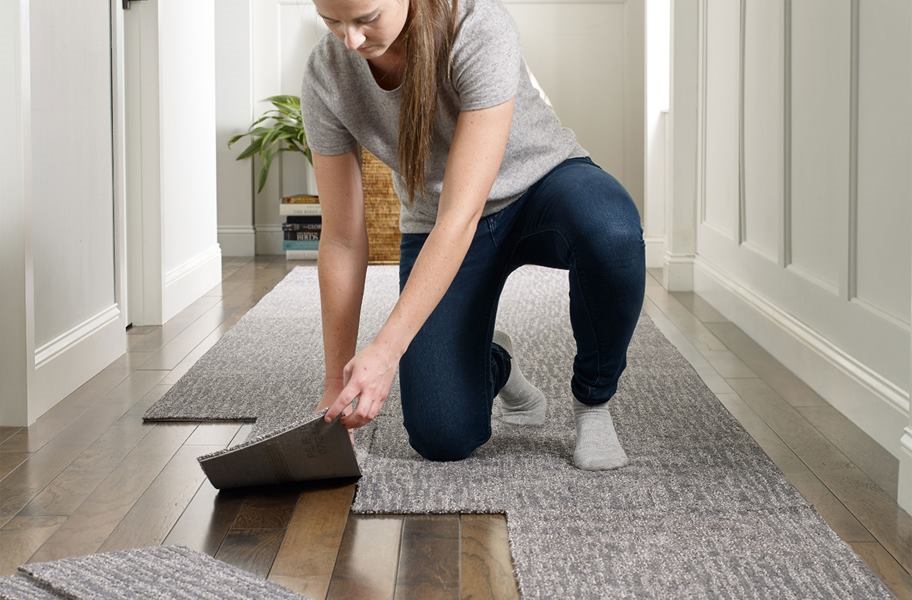
How to lay vinyl tiles u0026 carpet tiles part 2: laying the tiles

Peel and Stick Flooring: 5 Myths Debunked – Flooring Inc
Related articles:
- Vinyl Flooring Bathroom Tile
- Modern Vinyl Flooring
- Funky Vinyl Flooring
- Vinyl Flooring For Kitchen
- Vintage Look Vinyl Flooring
- Kitchen Vinyl Floor Tiles Ideas
- Vinyl Flooring With Wood Look
- Waterproof Vinyl Flooring
- Vinyl Flooring For Cheap
- How To Remove Vinyl Flooring
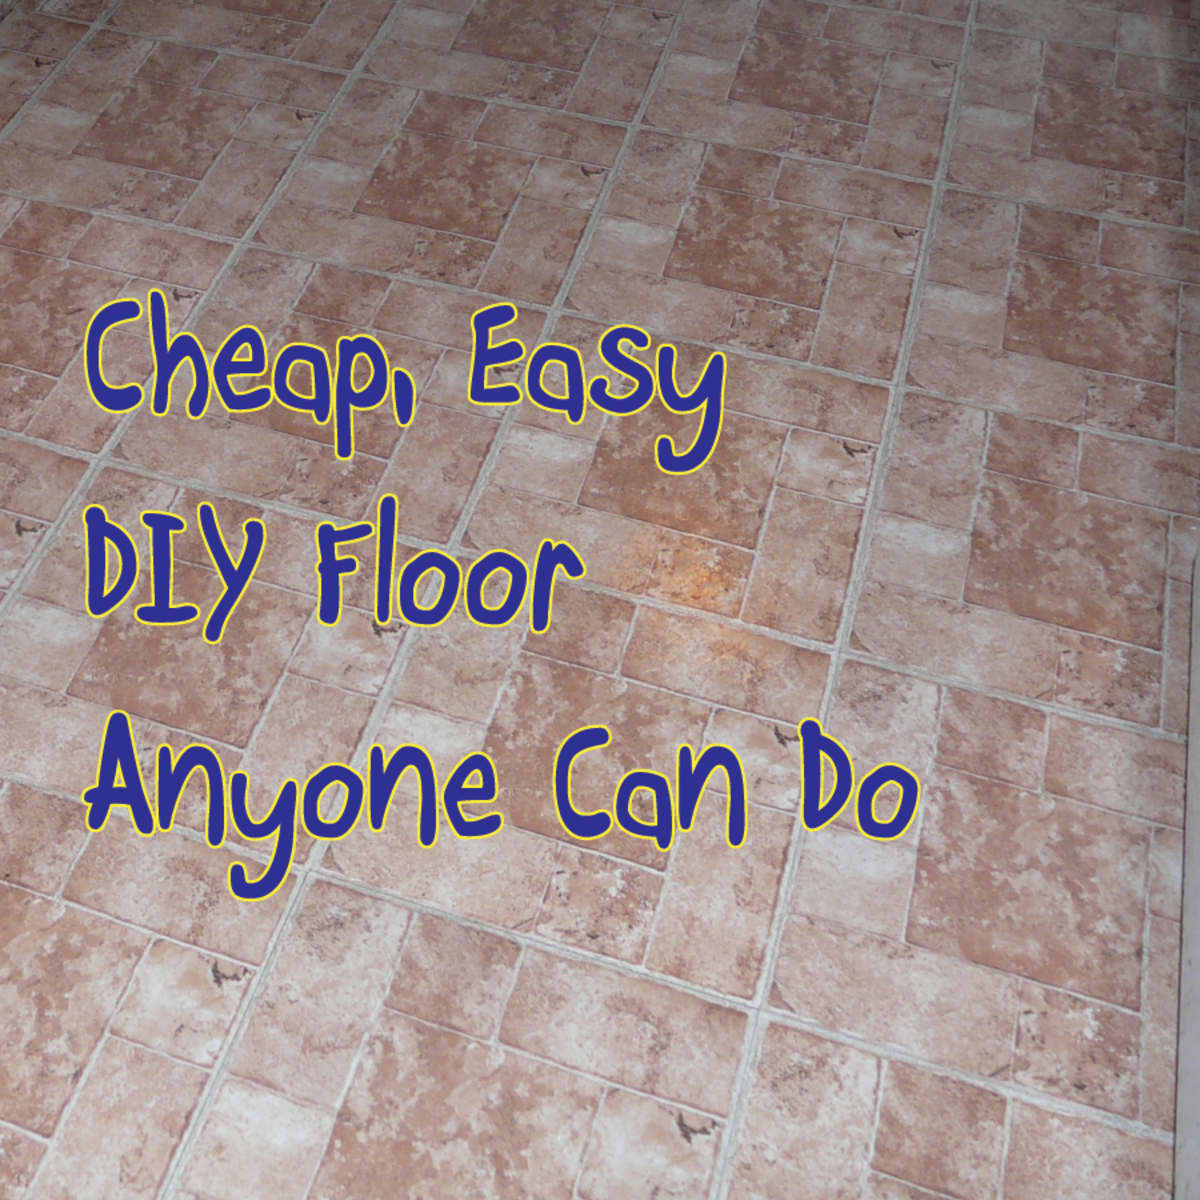
Laying self-adhesive vinyl floor tiles can be a cost-effective and efficient way to transform the look of your space. Whether you’re renovating your home or updating a commercial space, these tiles offer a variety of benefits. From their easy installation process to their durability and wide range of styles, self-adhesive vinyl floor tiles have become a popular choice among homeowners and designers alike.
In this article, we will guide you through the step-by-step process of laying self-adhesive vinyl floor tiles. We will also address some frequently asked questions to ensure that you have all the information you need for a successful installation.
1. Gather the necessary tools and materials
Before you begin laying self-adhesive vinyl floor tiles, it’s important to gather all the necessary tools and materials. Here’s a list of what you’ll need:
– Self-adhesive vinyl floor tiles: Measure your space accurately to determine the amount of tiles needed.
– Measuring tape: Use this tool to measure the dimensions of your space.
– Utility knife: A utility knife will be essential for cutting the tiles to fit around edges and corners.
– Self-leveling compound: If your subfloor is uneven, you may need to use a self-leveling compound to create a smooth surface for installation.
– Trowel: This tool is used for spreading adhesive or leveling compound.
– Notched trowel: A notched trowel helps create an even layer of adhesive on the subfloor.
– Roller: A roller is used to ensure proper adhesion between the tiles and the subfloor.
– Straight edge or ruler: This tool is helpful when cutting tiles for precise measurements.
– Cleaning supplies: Make sure to have a broom, vacuum cleaner, and mop on hand to prepare the subfloor before installation.
2. Prepare the subfloor
Before installing self-adhesive vinyl floor tiles, it’s crucial to prepare the subfloor properly. Start by removing any existing flooring, such as carpet or tiles. Clean the subfloor thoroughly, removing any debris or dust. If you have a concrete subfloor, make sure it is dry and free from cracks. For wooden subfloors, check for any loose boards and secure them in place.
If your subfloor is uneven, you may need to use a self-leveling compound to create a smooth surface. Follow the manufacturer’s instructions for mixing and applying the compound. Allow it to dry completely before proceeding with the installation.
FAQ: Can I install self-adhesive vinyl floor tiles over existing ceramic tiles?
Yes, you can install self-adhesive vinyl floor tiles over existing ceramic tiles. However, it’s important to ensure that the ceramic tiles are in good condition, with no loose or cracked pieces. Thoroughly clean the ceramic tiles and remove any wax or sealant before installing the vinyl tiles. It’s also recommended to apply a primer or adhesive promoter to improve adhesion.
3. Plan your layout
Before you start laying self-adhesive vinyl floor tiles, take some time to plan your layout. Begin by finding the center of the room and mark it with a chalk line or pencil. This will serve as your starting point.
Lay out a few rows of tiles from the center point towards one wall without removing their backing. This will give you an idea of how the tiles will fit and allow you to make adjustments if necessary. It’s essential to ensure that you won’t end up with tiny slivers of tile at the edges of the room.
Consider Any obstacles or patterns in the space that may affect the layout, such as cabinets or doorways. It’s also important to consider the direction of the tiles and how they will flow with the rest of the room. Once you have a plan in mind, you can start installing the tiles.
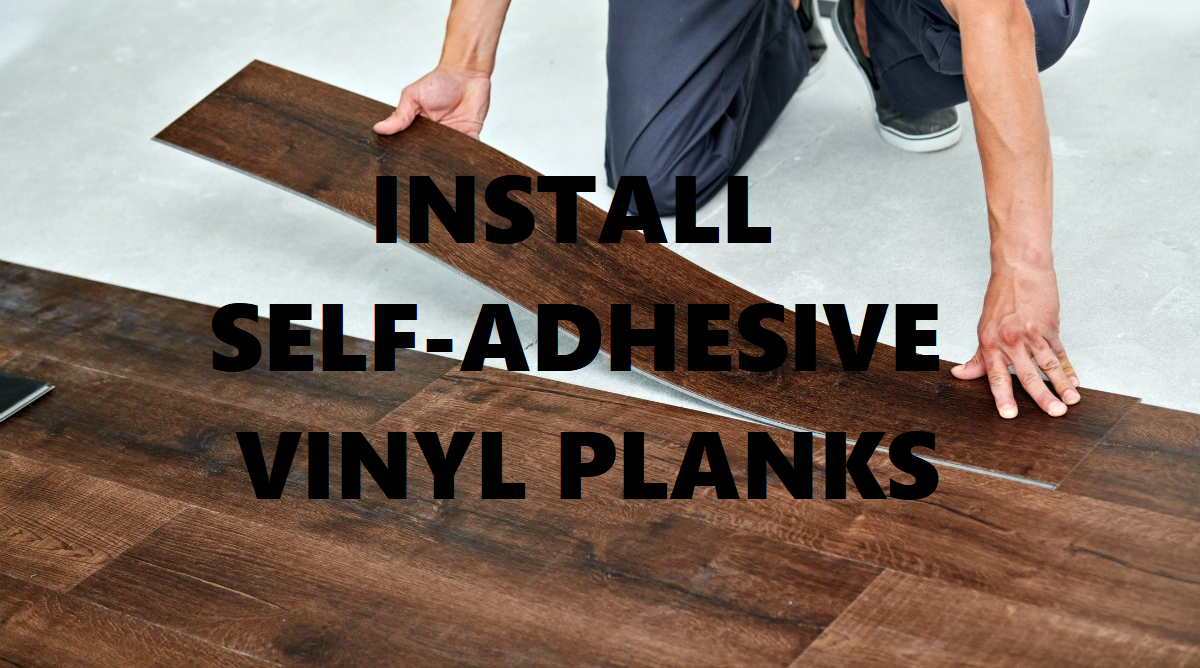
4. Install the tiles
Start by removing the backing from the first tile and align it with your starting point. Press it firmly onto the subfloor, making sure it is level and aligned with adjacent tiles. Continue this process, removing the backing from each tile one at a time and pressing them firmly into place.
For edges and corners, use a utility knife to carefully cut the tiles to fit. Make sure to measure and cut accurately for a precise fit. Apply adhesive or leveling compound to any areas that require it, using a trowel or notched trowel to spread it evenly.
Once all the tiles are installed, use a roller to ensure proper adhesion between the tiles and subfloor. This will help eliminate any air bubbles or unevenness in the installation.
5. Finishing touches
After installing all the tiles, allow them to set according to manufacturer instructions before walking on them or applying any weight. Once they are fully set, you can replace any baseboards or trim that were removed during installation.
Regularly clean your self-adhesive vinyl floor tiles using a broom, vacuum cleaner, or mop to keep them looking their best. Avoid using harsh chemicals or abrasive cleaners that could damage the surface of the tiles.
In conclusion, installing self-adhesive vinyl floor tiles requires careful measuring, preparation of the subfloor, planning of layout, and precise installation. With the right tools and techniques, you can achieve a beautiful and durable floor that will enhance the appearance of your space. To improve adhesion when installing self-adhesive vinyl floor tiles, you can use an adhesive promoter. An adhesive promoter is a product that helps enhance the bonding strength between the tile and the subfloor.
Here are some steps to follow when using an adhesive promoter:
1. Clean the subfloor: Before applying the adhesive promoter, make sure the subfloor is clean and free of any dust, dirt, or debris. Use a broom or vacuum cleaner to remove any loose particles.
2. Apply the adhesive promoter: Follow the instructions provided by the manufacturer of the adhesive promoter. Typically, you will need to apply it with a brush or roller. Make sure to apply it evenly and coat the entire surface where the tiles will be installed.
3. Allow drying time: Give the adhesive promoter enough time to dry completely before proceeding with tile installation. This drying time will vary depending on the specific product you are using, so refer to the manufacturer’s instructions for guidance.
4. Install the tiles: Once the adhesive promoter is dry, you can start laying your self-adhesive vinyl floor tiles following the steps mentioned earlier in the text.
By using an adhesive promoter, you can enhance adhesion between the tiles and subfloor, ensuring a more secure and long-lasting installation. The adhesive promoter helps to create a stronger bond between the tiles and the subfloor, reducing the risk of tiles lifting or shifting over time. It is especially useful in areas with high foot traffic or where moisture is present, as these conditions can weaken the adhesive bond.
When using an adhesive promoter, it is important to follow the manufacturer’s instructions carefully. Here are some additional tips to keep in mind:
– Wear proper protective gear, such as gloves and goggles, when applying the adhesive promoter.
– Make sure the room is well-ventilated to allow for proper drying of the adhesive promoter.
– Apply the adhesive promoter in thin, even coats to avoid excessive buildup or pooling.
– Allow the adhesive promoter to dry completely before proceeding with tile installation. This may take several hours or overnight, depending on the product and environmental conditions.
– Once the adhesive promoter is dry, you can begin installing the self-adhesive vinyl floor tiles following the steps mentioned earlier.
Remember to always read and follow the manufacturer’s instructions for both the adhesive promoter and the self-adhesive vinyl floor tiles. This will ensure that you achieve a secure and long-lasting installation.