Simply because these floors are able to imitate just about any flooring surfaces on the market, the choices of yours for texture and looks provide you with a great deal of selections such as regular stone, ceramic tiles and beautiful hardwood. Rooms like the bathroom, sauna or perhaps laundry room are not great places for setting up laminate floors. In which you are able to follow your grove lines as you walk.
Images Related to Laminate Flooring On Concrete Base
Laminate Flooring On Concrete Base
Tiles and laminate flooring planks are for sale in an enormous variety of colors and styles to match up with each and every mom's private tastes. Regardless of the room you're shopping for, understand that you will get the best wear out of the laminate of yours when the starting flooring is in condition which is good and you clean your laminate regularly.
How to Install Laminate Flooring on Concrete – Floor Techie

Right here every little thing is glued together and utilizing pressure which is high that they start to be very hard and long-lasting. You can be confident that laminate floor will give you the style you want for your home, and probably at a considerably lower cost compared to what it emulates. The laminate wood floors is practically invincible to spills, staining, burns along with an extremely high tolerance to scratches.
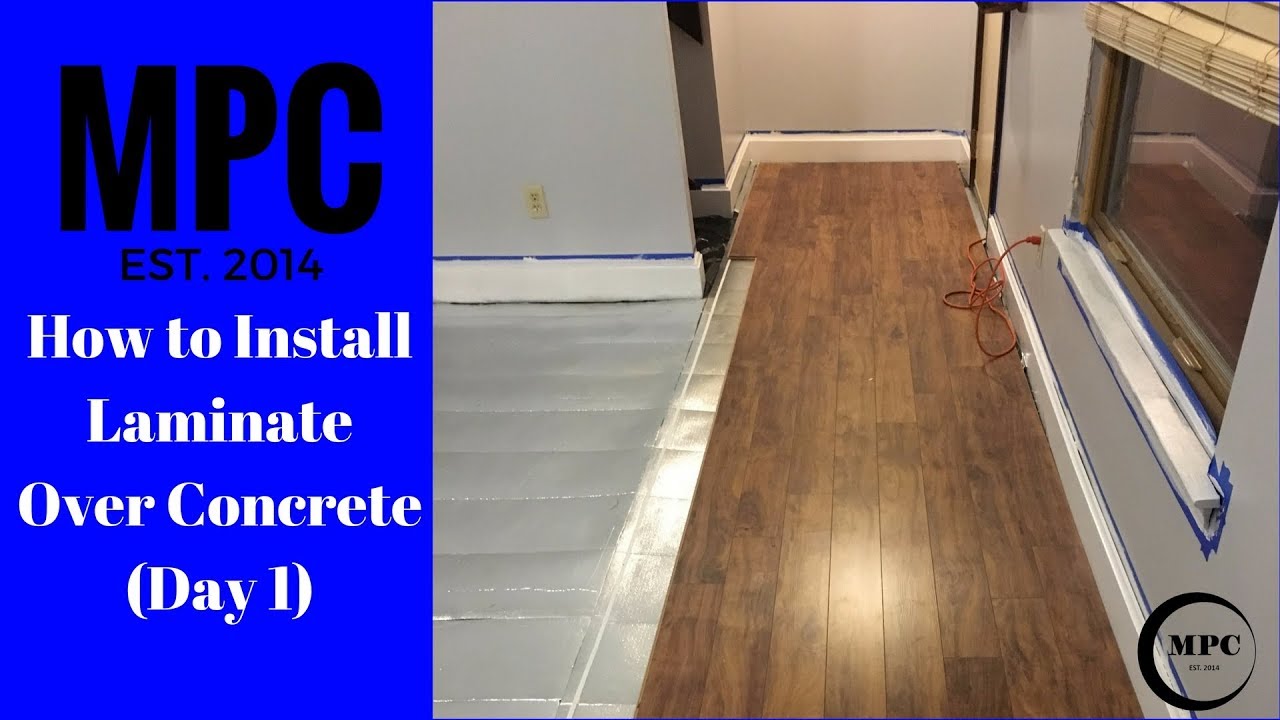
How to Install Laminate Flooring on Concrete Slab in Tiny Room Mryoucandoityourself
Installing Laminate Flooring Over Concrete – The Ultimate Guide

Installing Wood Flooring Over Concrete (DIY)

How to Install Laminate Flooring Over Concrete Slab Hunker

Concrete Subfloor Preparation Leveling for Laminate Hardwood Floor Installation MrYoucandoityouself
Installing Laminate Flooring For The First Time // Home Renovation

Can You Install Laminate on Uneven Concrete? – Ready To DIY

Which Laminate flooring underlay is best for your floor?
How to install Pergo laminate flooring on concrete subfloor
Choose the Best Underlayment for Laminate Flooring
/laminate-flooring-underlayment-1314969-hero-3894e0b403fb4e59a87a076e3da9914f.jpg)
How to Install Laminate Flooring Over Concrete 2022 Home
How To Install Laminate Flooring Over Concrete
Related articles:
- Coastal Laminate Flooring
- Commercial Laminate Flooring
- Slate Laminate Flooring
- Laminate Flooring Types
- Laminate Flooring Design
- Commercial Quality Laminate Flooring
- Black Laminate Flooring
- Tigerwood Laminate Flooring
- Royal Cherry Laminate Flooring
- Laminate Flooring Thickness For Basement
Laminate Flooring On Concrete Base: A Comprehensive Guide
Introduction:
Laminate flooring has become a popular choice among homeowners due to its durability, affordability, and easy installation process. When it comes to installing laminate flooring, one common question that arises is whether it can be installed on a concrete base. In this comprehensive guide, we will explore the process of installing laminate flooring on a concrete base, discussing the necessary preparations, tools required, step-by-step instructions, and addressing frequently asked questions.
Preparations before Installation:
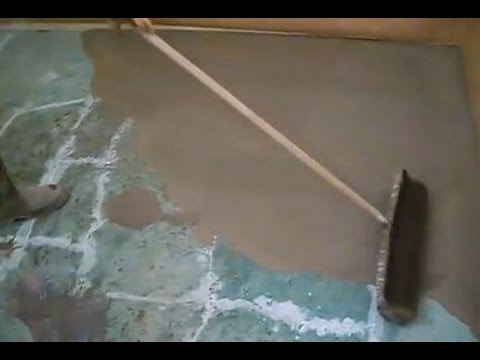
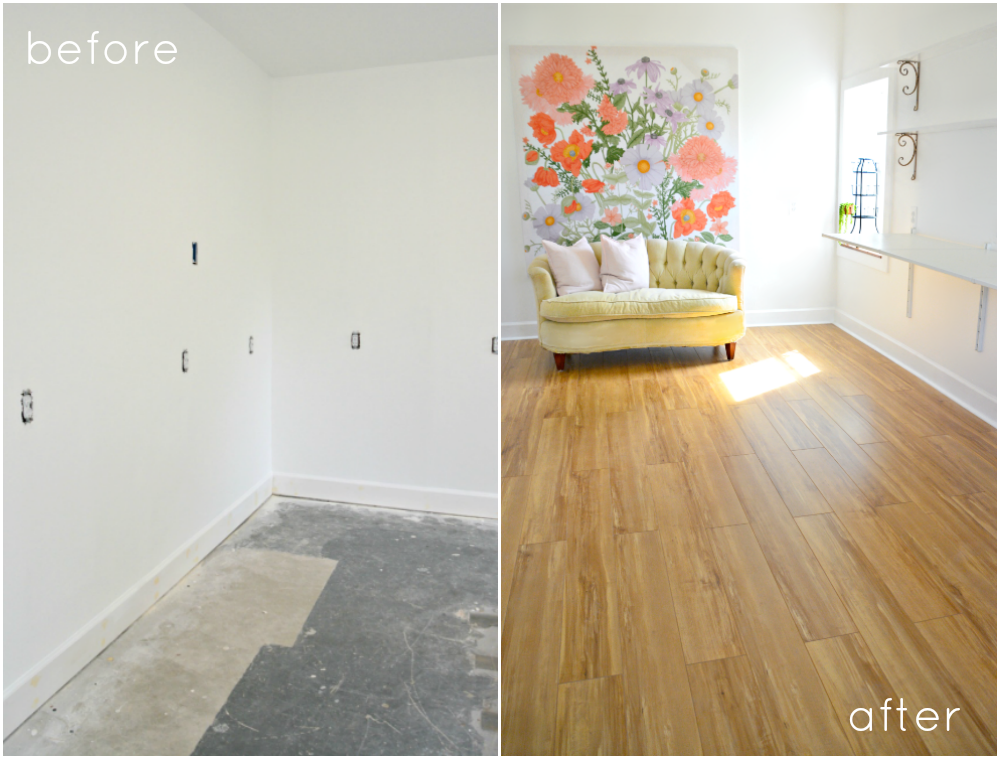
1. Assessing the Concrete Base: Before beginning the installation process, it is crucial to evaluate the condition of the concrete base. Ensure that it is clean, level, and free from any moisture or dampness. Any cracks or uneven surfaces should be repaired before proceeding with the installation.
2. Moisture Testing: Moisture can seep through concrete and cause damage to laminate flooring over time. It is essential to conduct a moisture test using a moisture meter to ensure that the concrete base is dry enough for installation. The moisture content should be below 4-5% for most laminate flooring products.
3. Acclimatization: Laminate flooring needs to acclimate to the room’s temperature and humidity before installation. Leave the unopened boxes of laminate flooring in the room where they will be installed for at least 48 hours. This allows the planks to adjust to the environment and prevents any expansion or contraction issues after installation.
Tools Required:
1. Tape Measure: Measure the dimensions of the room accurately to determine how much laminate flooring you will need.
2. Moisture Meter: Test the moisture content of the concrete base to ensure it meets the required standards.
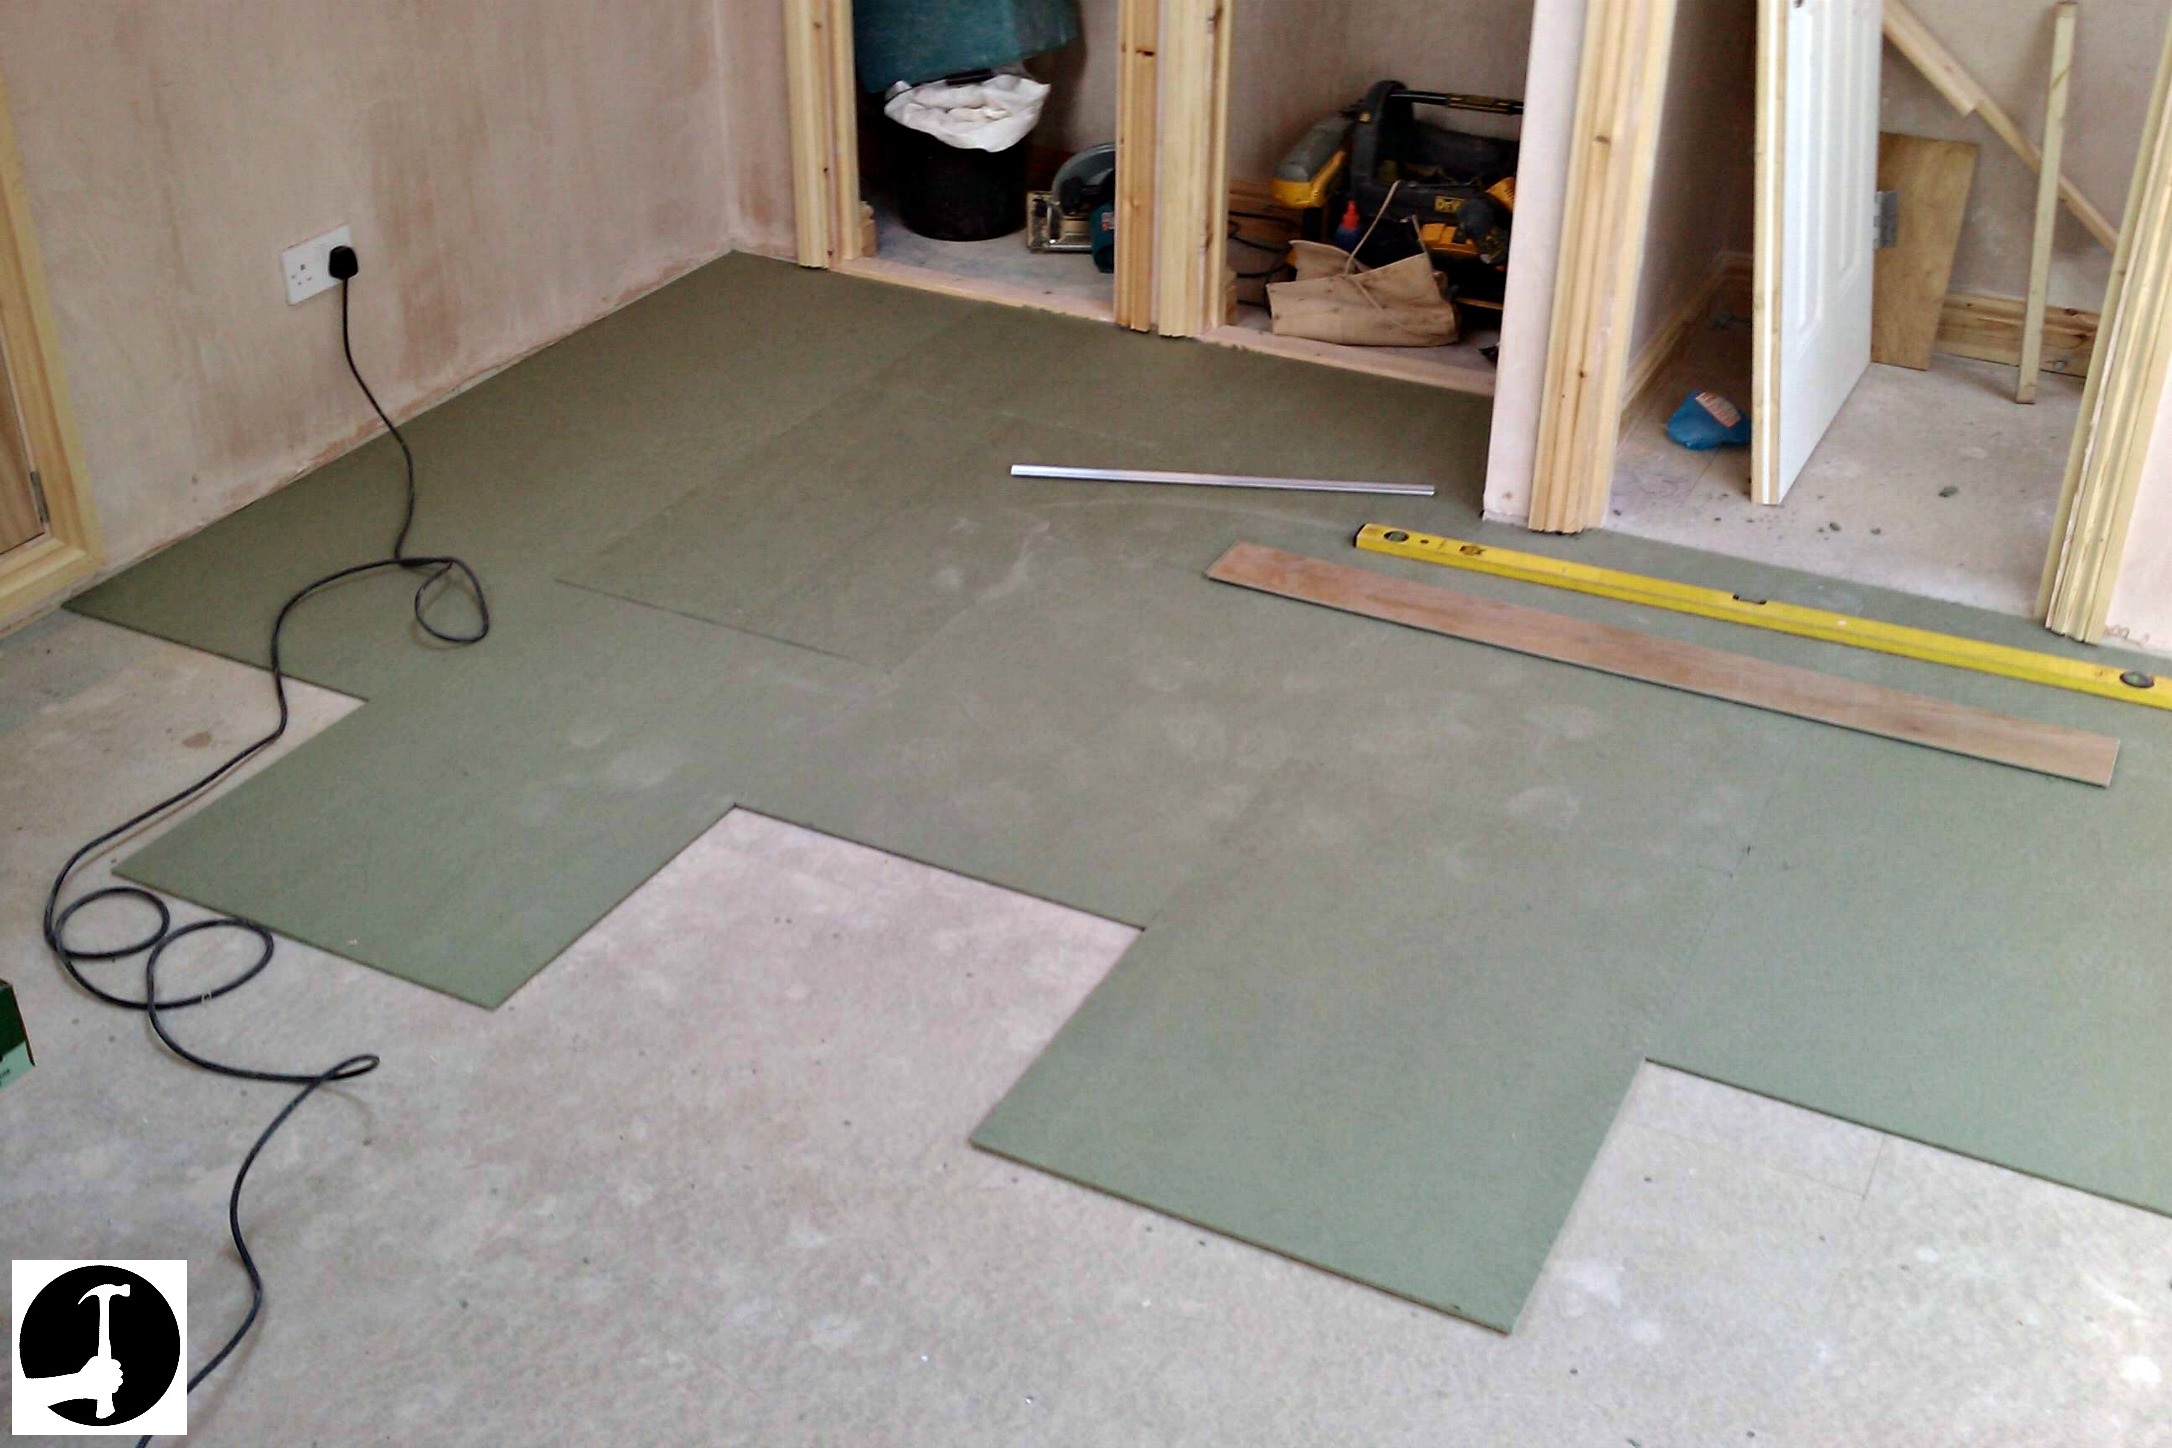
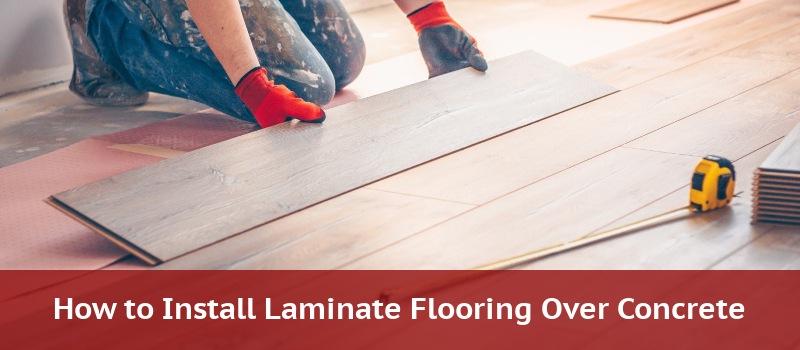
3. Underlayment: Install underlayment on top of the concrete base to provide cushioning, moisture protection, and soundproofing properties.
4. Laminate Flooring Installation Kit: This kit typically includes spacers, a tapping block, and a pull bar, which are essential for proper installation.
5. Circular Saw or Miter Saw: Use a saw to cut the laminate flooring planks to fit the dimensions of the room.
Step-by-Step Installation Process:
1. Prepare the Concrete Base: Thoroughly clean the concrete base, removing any dust, debris, or adhesive residue. Repair any cracks or uneven surfaces using a suitable patching compound. Ensure that the surface is level and smooth.
2. Install Underlayment: Roll out the underlayment across the entire floor, ensuring that it extends up the walls by a few inches. Secure it in place using adhesive or tape, making sure there are no gaps or overlaps.
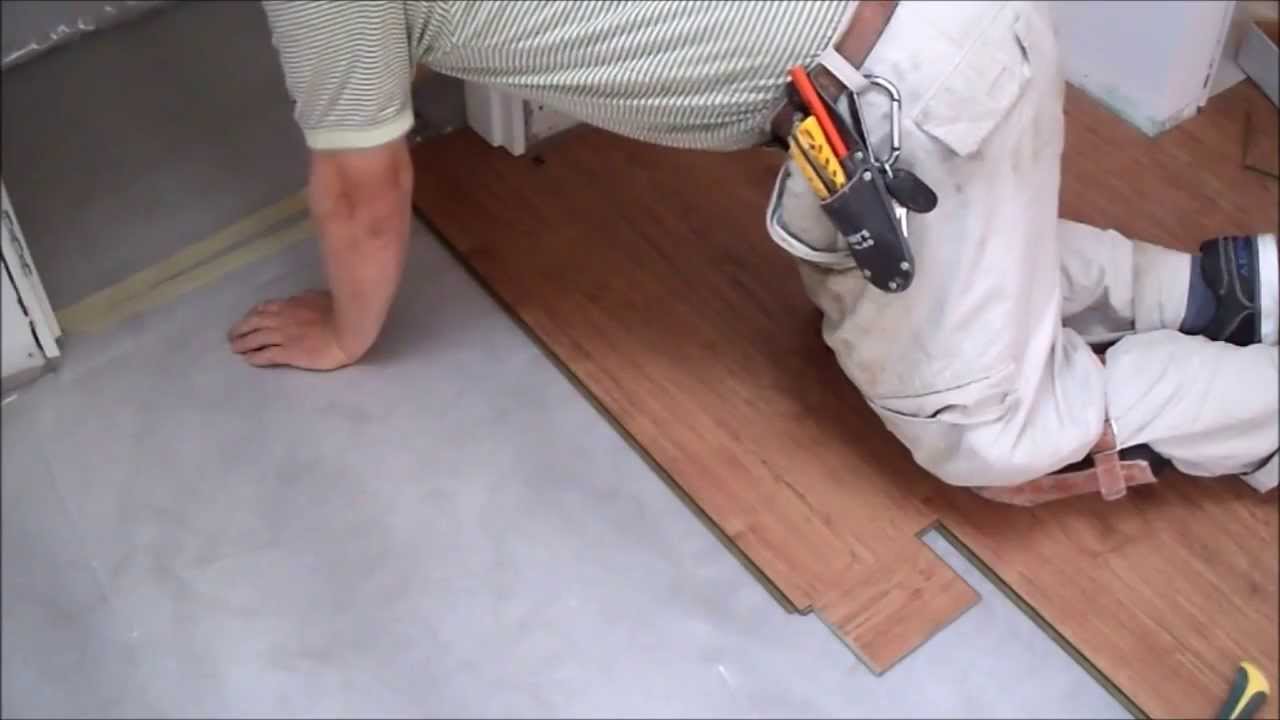
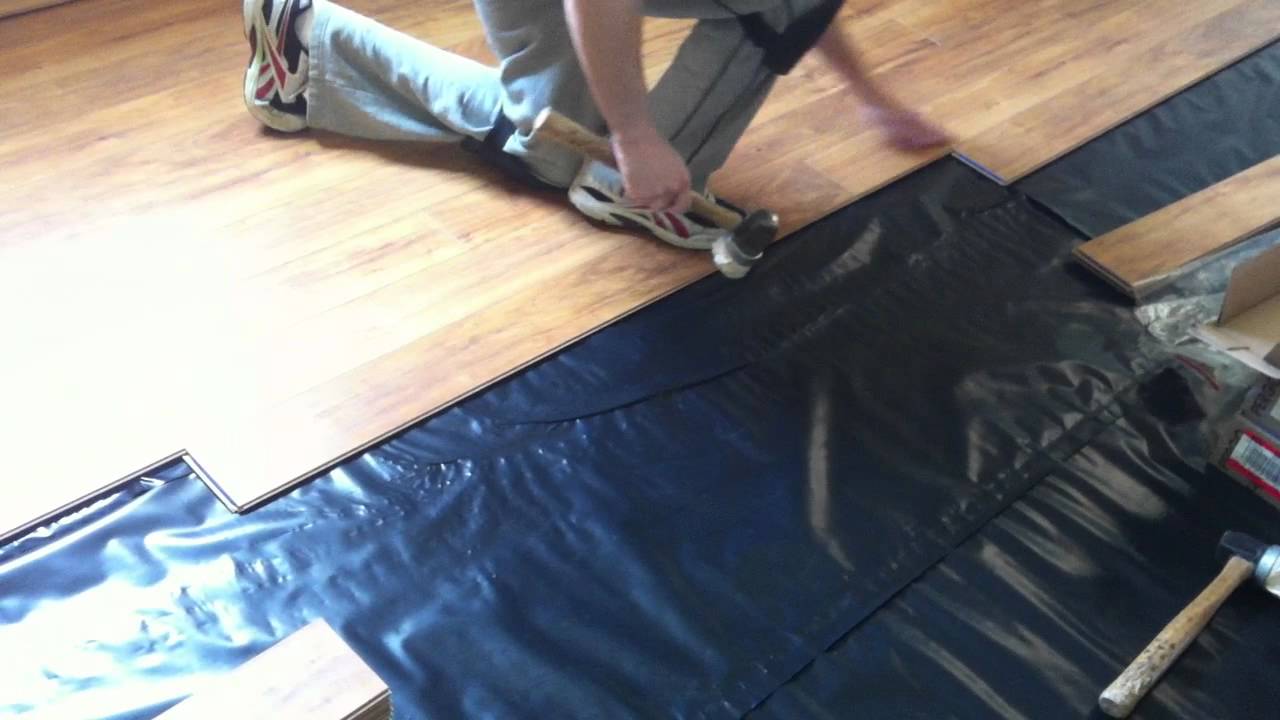
3. Lay the First Row: Start in a corner of the room and lay the first row of laminate flooring with the tongue side facing the wall. Use spacers to maintain an even gap between the planks and the walls (usually around ¼ inch). This gap allows for expansion and contraction of the flooring.
4. Continue Installing Rows: Connect subsequent rows by inserting the tongue of one plank into the groove of another at a slight angle. Gently tap each plank with a rubber mallet or tapping block to ensure a secure fit. Stagger the end joints of adjacent rows to create a visually appealing pattern and increase stability.
5. Cut Planks to Fit: Measure and mark the planks that need to be cut to fit around doorways, corners, or any other obstacles in the room. Use a circular saw or miter Saw to make the necessary cuts. Remember to wear safety goggles and follow the manufacturer’s instructions for using the saw.
6. Install Transition Pieces: If needed, install transition pieces at doorways or where the laminate flooring meets other types of flooring. These pieces will provide a smooth transition between different rooms or surfaces.
7. Finish the Installation: Once all the planks are installed, remove the spacers and use a pull bar to ensure that the planks are tightly locked together. Clean any excess adhesive or debris from the floor. Install baseboards or trim to cover the expansion gap along the walls.
8. Allow for Acclimation: After installation, allow the laminate flooring to acclimate to its new environment for at least 48 hours before walking on it or moving furniture back into the room.
9. Regular Maintenance: To keep your laminate flooring looking its best, regularly clean it with a broom, vacuum cleaner, or damp mop. Avoid excessive water or harsh chemicals that may damage the surface.
Overall, installing laminate flooring can be a DIY project with proper preparation and tools. However, if you are not confident in your abilities or prefer professional assistance, it is always recommended to hire a qualified flooring installer. Hiring a professional will ensure that the job is done correctly and efficiently. Additionally, a professional installer may be able to provide guidance on selecting the right type of underlayment and laminate flooring for your specific needs. They can also assist with any necessary repairs or adjustments to the subfloor before installation.