This's where homeowners opt to store their food, dining utensils, kitchen gadgets and also the like. Natural slate stone tiles are long-lasting, stain resistant and non-slip surface as a result of the textures of theirs; intended for the busy kitchen. Stone is unquestionably long-lasting and hard-wearing, but calls for sealing to stop dirt buildup. It is impossible to tell that they're laminate flooring until you appear closer at them.
Here are Images about Kitchen Flooring Limestone
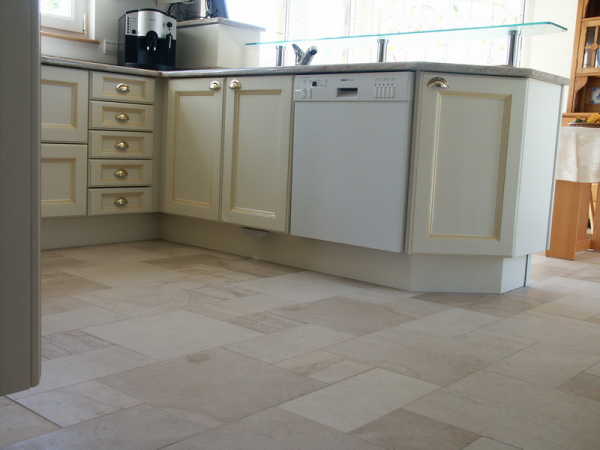
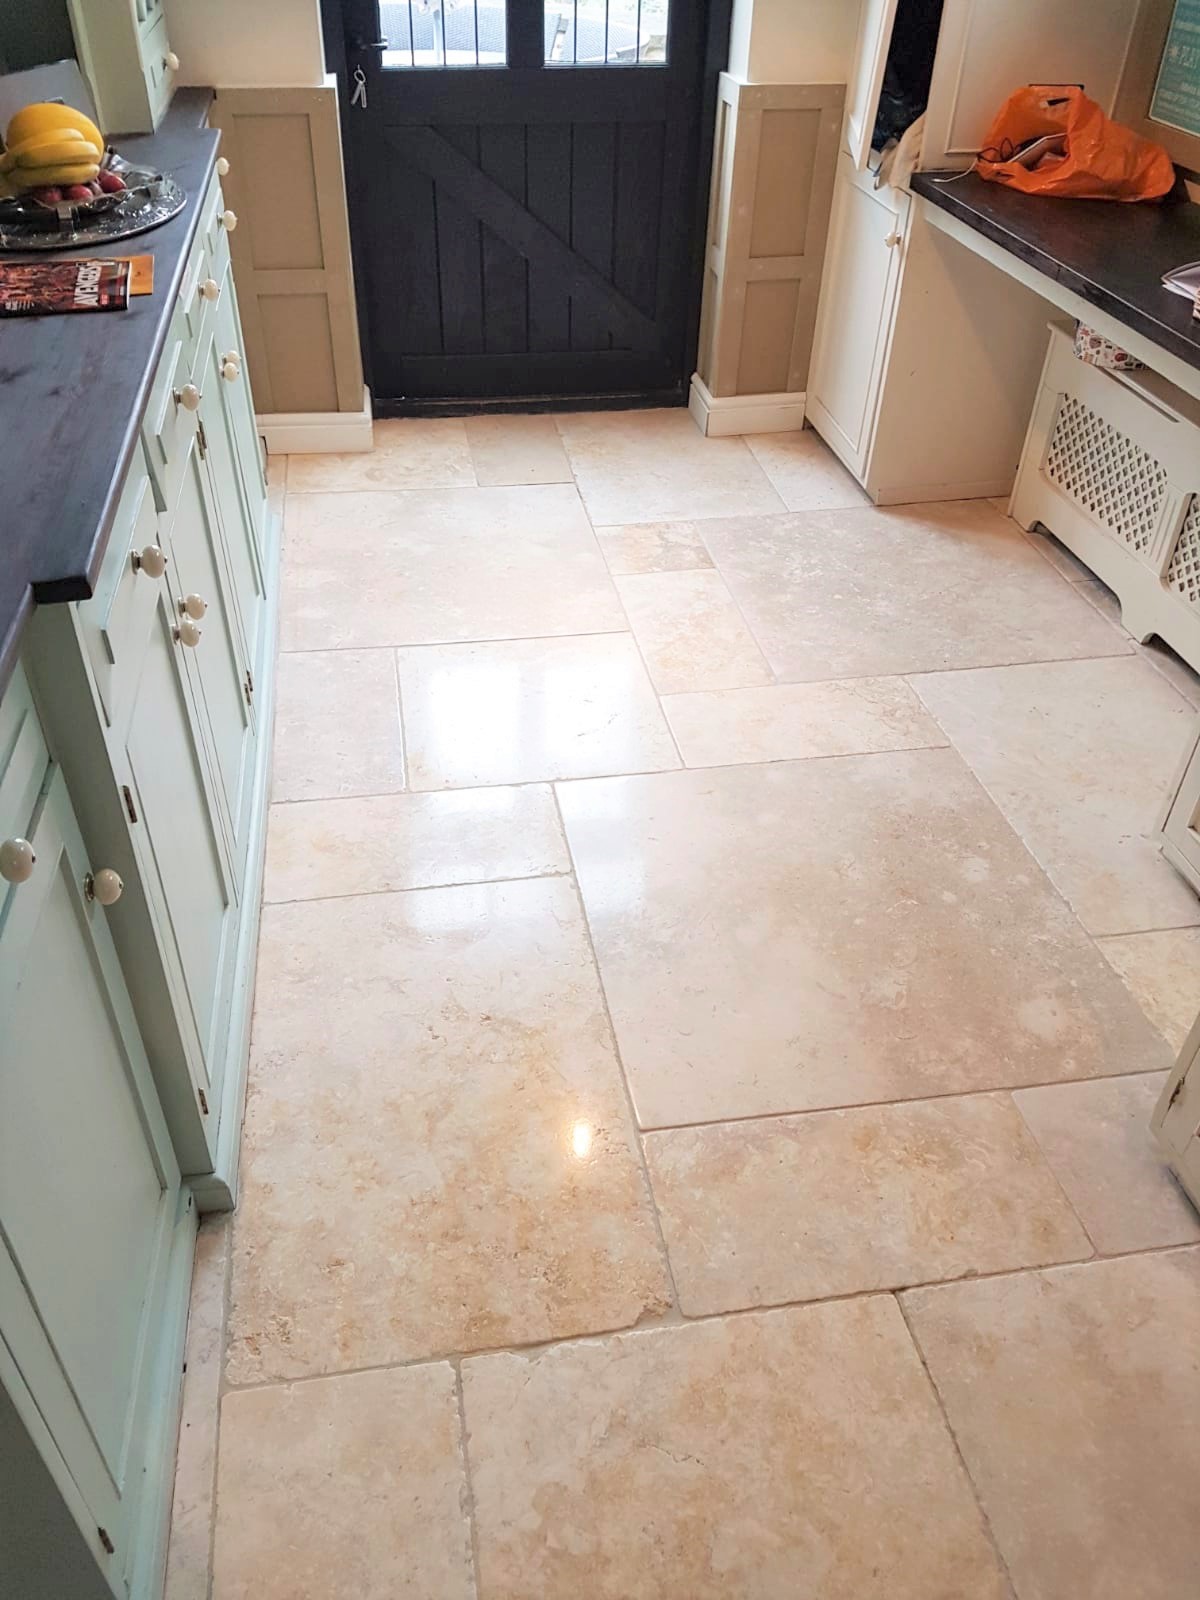
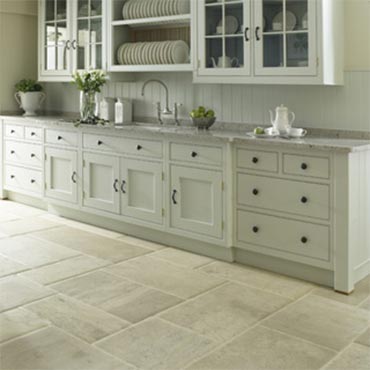
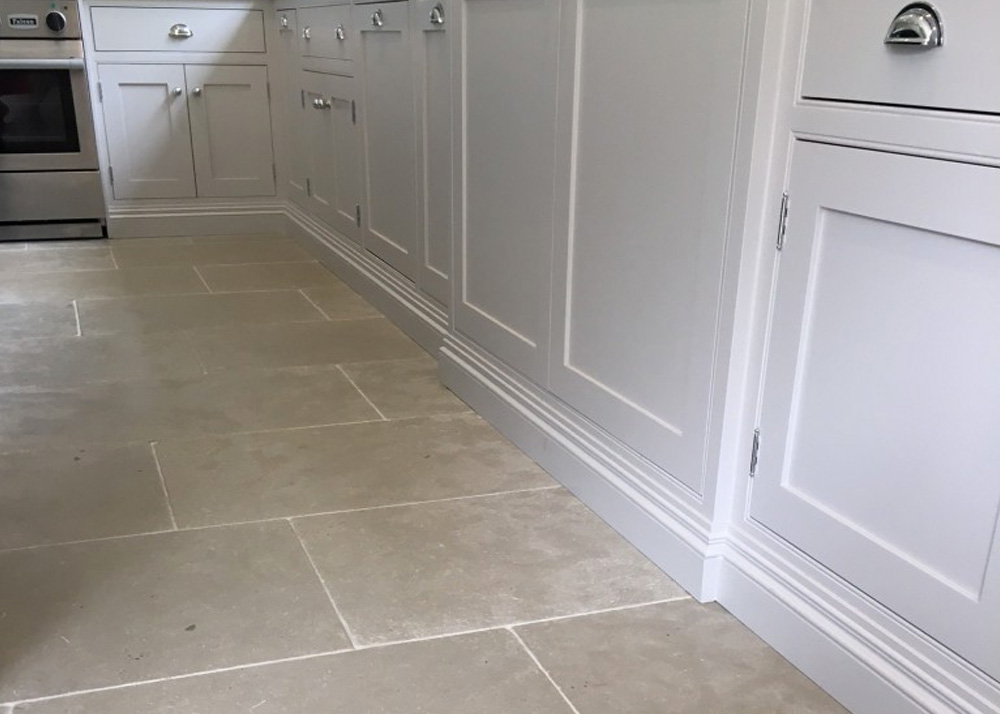
Kitchen Flooring Limestone

Any part of your home which experiences high traffic, such as the cooking area or family room can easily benefit from ceramic kitchen flooring. The right kitchen flooring will definitely add to the entire appearance and design of your kitchen, will be able to alter the ambiance, and really can complement the remainder of the decor in the space.
Top 6 Advantages of Limestone Flooring

It's not just due to design and the decor of your home that you have to contemplate using kitchen area floor tiles for the floor of yours but also you are looking at toughness and durability in the sense your floor can take the spills as well as splashes that can occur regularly in a hectic kitchen.
Images Related to Kitchen Flooring Limestone
Limestone Tile Flooring Pros and Cons when buying Limestone

Will my limestone or marble flooring stain?
Best Stone Floors For Kitchens – Blog Quorn Stone

Pin on bhandari marble group

Renovating Polished Limestone Floor Tiles in a Beaconsfield
Restoring the Appearance of a Limestone Tiled Floor Cleaning Tile

Limestone Tile Natural Stone Floors Shelton, CT – Morgan
Limestone is proving more and more popular for a stone kitchen floor
Limestone Kitchen Flooring: Pros u0026 Cons, Cleaning u0026 Maintenance

Renovating Polished Limestone Floor Tiles in a Beaconsfield

2017 Guide for Limestone Tile Pros and Cons

What is the difference between limestone and porcelain? – HM

Related articles:
- Stained Concrete Basement Floor
- Finishing Basement Floor
- Refinish Concrete Basement Floor
- Best Flooring For Basement
- Basement Gym Flooring Ideas
- Laminate Flooring In Basement
- Basement Concrete Floor Sweating
- Basement Floor Finishing Ideas
- Painting Unfinished Basement Floor
- Unique Basement Flooring
Kitchen Flooring Limestone: A Durable and Timeless Choice
Introduction:
When it comes to choosing the perfect flooring option for your kitchen, many factors need to be considered. Durability, style, and maintenance are just a few of the aspects that come into play. One material that ticks all these boxes and more is limestone. With its inherent strength, timeless beauty, and versatility, limestone flooring has become a popular choice among homeowners. In this article, we will explore the various aspects of kitchen flooring limestone, including its benefits, installation process, maintenance requirements, and frequently asked questions.
I. The Benefits of Kitchen Flooring Limestone:
Limestone offers numerous advantages when used as a kitchen flooring material. Let’s take a closer look at some of these benefits:
1. Durability: Limestone is a natural stone that is renowned for its strength and durability. It can withstand heavy foot traffic without showing signs of wear and tear. This makes it an ideal choice for busy kitchens where spills and accidents are common.
2. Timeless Beauty: Limestone exudes elegance and sophistication with its natural variations in color and texture. Its neutral tones create a warm and inviting atmosphere in any kitchen decor. Whether you prefer a rustic farmhouse look or a modern aesthetic, limestone flooring can adapt to your preferred style effortlessly.
3. Versatility: Limestone comes in various finishes such as polished, honed, brushed, or tumbled, allowing you to choose the perfect look for your kitchen. Additionally, it can be cut into different shapes and sizes to accommodate any design preference or layout.
4. Heat Resistance: Limestone is highly heat-resistant, making it a practical choice for kitchens where hot pans or pots may accidentally come into contact with the floor. Unlike some other flooring materials, limestone does not crack or warp under extreme temperatures.
5. Natural Coolness: Limestone has the ability to retain coolness even in warmer climates or during the summer months. This natural cooling effect can help to maintain a comfortable temperature in your kitchen, making it a pleasant space to work in.
FAQs:
Q1. Is limestone flooring suitable for high-traffic kitchens?
A1. Yes, limestone is an excellent choice for high-traffic kitchens due to its exceptional durability. However, it is advisable to seal the limestone properly to protect it from stains and scratches.
Q2. Can limestone flooring be installed over radiant heating systems?
A2. Absolutely! Limestone works well with radiant heating systems as it efficiently conducts and retains heat. This ensures that your kitchen remains cozy and comfortable throughout the year.
II. Installation Process of Kitchen Flooring Limestone:
Installing limestone flooring requires careful planning and execution to ensure a long-lasting and visually appealing result. Here is a step-by-step guide on how to install limestone flooring in your kitchen:
1. Preparing the Subfloor: Before installing limestone tiles, it is crucial to ensure that the subfloor is clean, level, and dry. Any irregularities or moisture issues should be addressed before proceeding further.
2. Acclimatizing the Tiles: Limestone tiles should be acclimatized in the kitchen for at least 24-48 hours before installation. This allows them to adjust to the temperature and humidity of the space, reducing the risk of future cracks or damages.
3. Choosing an Adhesive: Select a high-quality adhesive specifically designed for natural stone installations. Follow the manufacturer’s instructions regarding mixing ratios and application techniques.
4. Applying the Adhesive: Spread a Thin and even layer of adhesive on the subfloor using a trowel. Make sure the adhesive is applied in small sections to prevent it from drying out before the tiles are placed.
5. Placing the Tiles: Carefully place each limestone tile onto the adhesive, pressing them firmly to ensure proper adhesion. Use spacers to maintain consistent spacing between tiles.
6. Cutting and Fitting: Use a wet saw or tile cutter to cut any tiles that need to be resized or fitted around obstacles such as cabinets or appliances. Take accurate measurements and make precise cuts for a seamless finish.
7. Grouting: After allowing the adhesive to dry according to the manufacturer’s instructions, remove the spacers and mix grout according to the package instructions. Apply the grout using a grout float, making sure to fill all gaps between tiles.
8. Cleaning and Sealing: Once the grout has dried, clean off any excess grout from the surface of the tiles using a damp sponge. Afterward, apply a suitable sealer to protect the limestone from stains and enhance its durability.
9. Final Touches: Allow the sealer to dry completely before walking on or placing any furniture on the newly installed limestone flooring. Sweep or vacuum regularly to maintain its cleanliness and shine.
Conclusion:
Limestone flooring is an excellent choice for kitchens due to its durability, aesthetic appeal, versatility, heat resistance, and natural coolness. It can withstand high foot traffic, accommodate various design preferences, and retain its beauty even under extreme temperatures. By following a careful installation process, you can enjoy a stunning and long-lasting limestone floor in your kitchen for years to come. Limestone flooring is a popular choice for kitchens due to its many benefits, including durability, aesthetic appeal, versatility, heat resistance, and natural coolness. However, proper installation is crucial to ensure the longevity and beauty of the floor. Here are the steps to follow when installing limestone tiles in a kitchen:
1. Preparing the Subfloor: Start by ensuring that the subfloor is clean, level, and dry. Any irregularities or moisture issues should be addressed before proceeding further.
2. Acclimatizing the Tiles: Before installation, it’s important to acclimatize the limestone tiles in the kitchen for at least 24-48 hours. This allows them to adjust to the temperature and humidity of the space, reducing the risk of future cracks or damages.
3. Choosing an Adhesive: Select a high-quality adhesive specifically designed for natural stone installations. Follow the manufacturer’s instructions regarding mixing ratios and application techniques.
4. Applying the Adhesive: Spread a thin and even layer of adhesive on the subfloor using a trowel. Make sure to apply the adhesive in small sections to prevent it from drying out before the tiles are placed.
5. Placing the Tiles: Carefully place each limestone tile onto the adhesive, pressing them firmly to ensure proper adhesion. Use spacers to maintain consistent spacing between tiles.
6. Cutting and Fitting: Use a wet saw or tile cutter to cut any tiles that need to be resized or fitted around obstacles such as cabinets or appliances. Take accurate measurements and make precise cuts for a seamless finish.
7. Grouting: After allowing the adhesive to dry according to the manufacturer’s instructions, remove the spacers and mix grout according to the package instructions. Apply the grout using a grout float, making sure to fill all gaps between tiles.
8. Cleaning and Sealing: Once the grout has dried, clean off any excess grout from the surface of the tiles using a damp sponge. Afterward, apply a suitable sealer to protect the limestone from stains and enhance its durability.
9. Final Touches: Allow the sealer to dry completely before walking on or placing any furniture on the newly installed limestone flooring. Sweep or vacuum regularly to maintain its cleanliness and shine.
By following these steps, you can ensure a proper installation of limestone tiles in your kitchen. Properly installed limestone flooring will not only enhance the beauty of your kitchen but also provide long-lasting durability and functionality.