Bamboo kitchen flooring has some of the same features of hardwood floor with regards to durability. Mom's went in there to make food and then simply serve it in the dining region. With resilience, stains, standing up comfort, etc. However kitchen flooring must be able to take common wear and tear including heavy traffic and spills. This kind of beautiful and original hardwood would last for a really long time with adequate care.
Here are Images about Kitchen Floor Tile Removal
Kitchen Floor Tile Removal

Bamboo kitchen flooring is recognized for being pretty durable and strong. Ultimately the most ideal procedure for make the selection on kitchen flooring content is to look through samples which are free from warehouse, wholesale, commercial enterprises & showrooms in your general vicinity. Many house holders have a tendency making the error of not giving enough thought to kitchen flooring options.
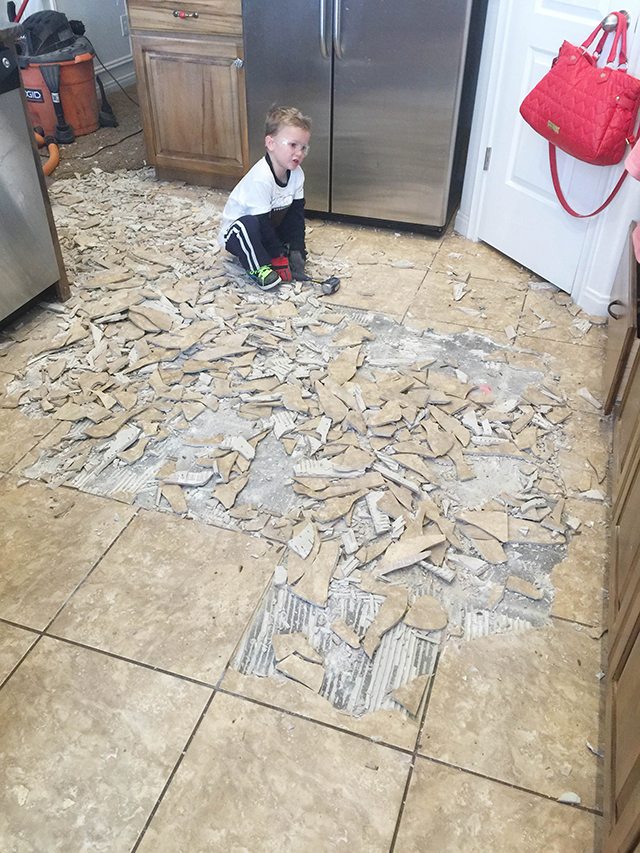
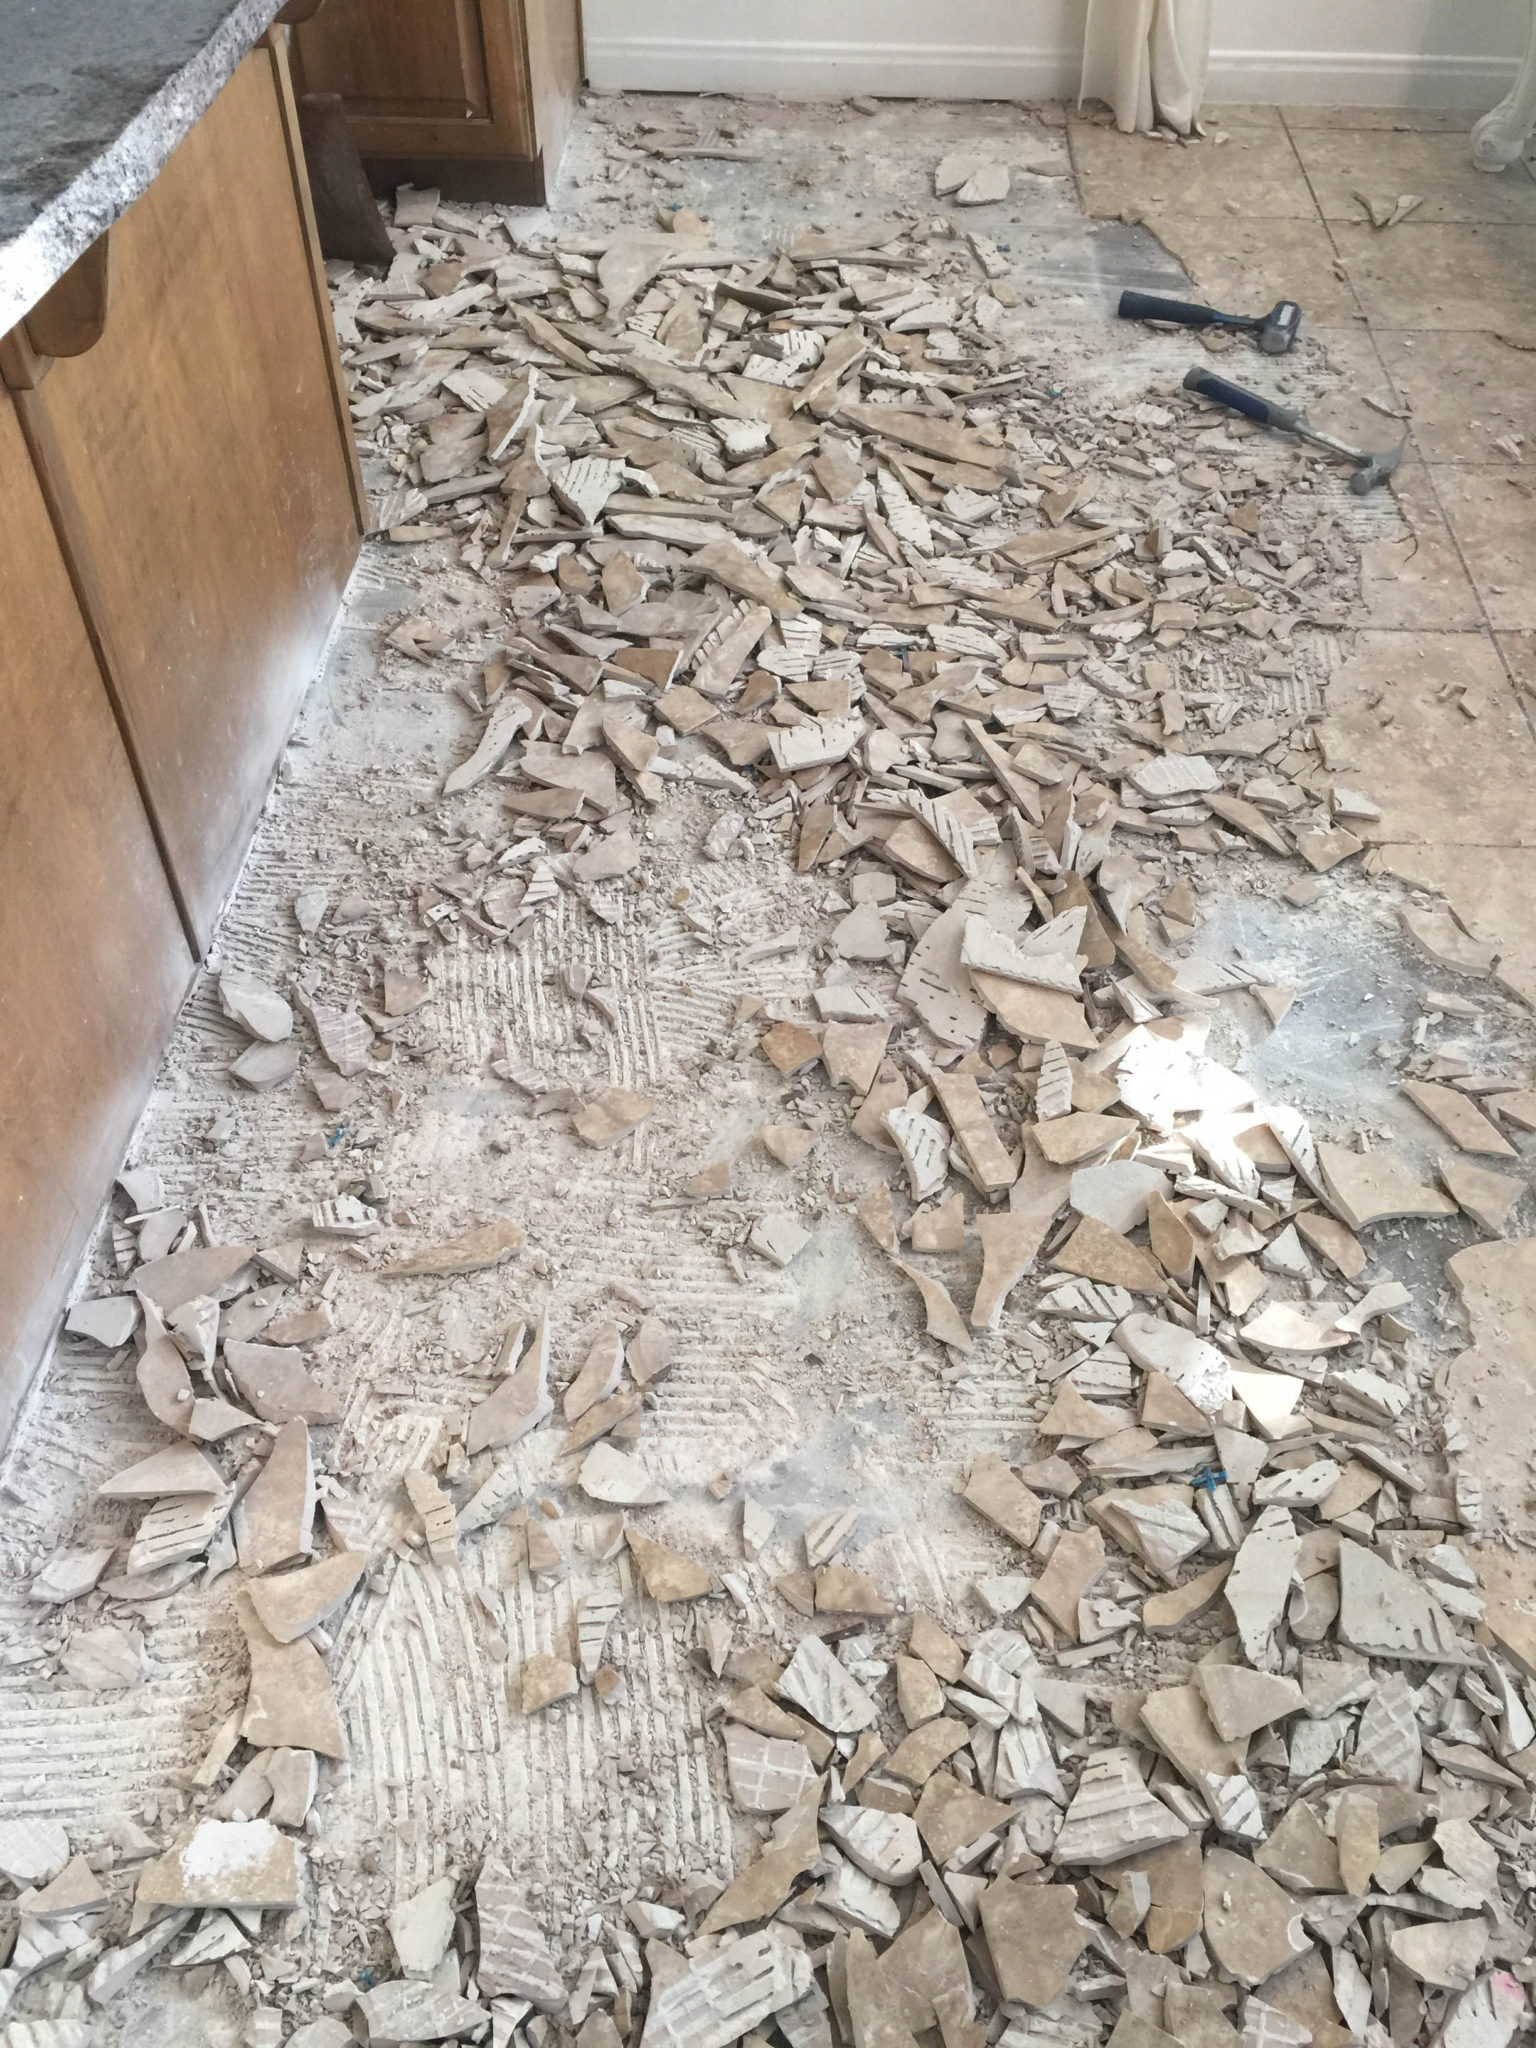
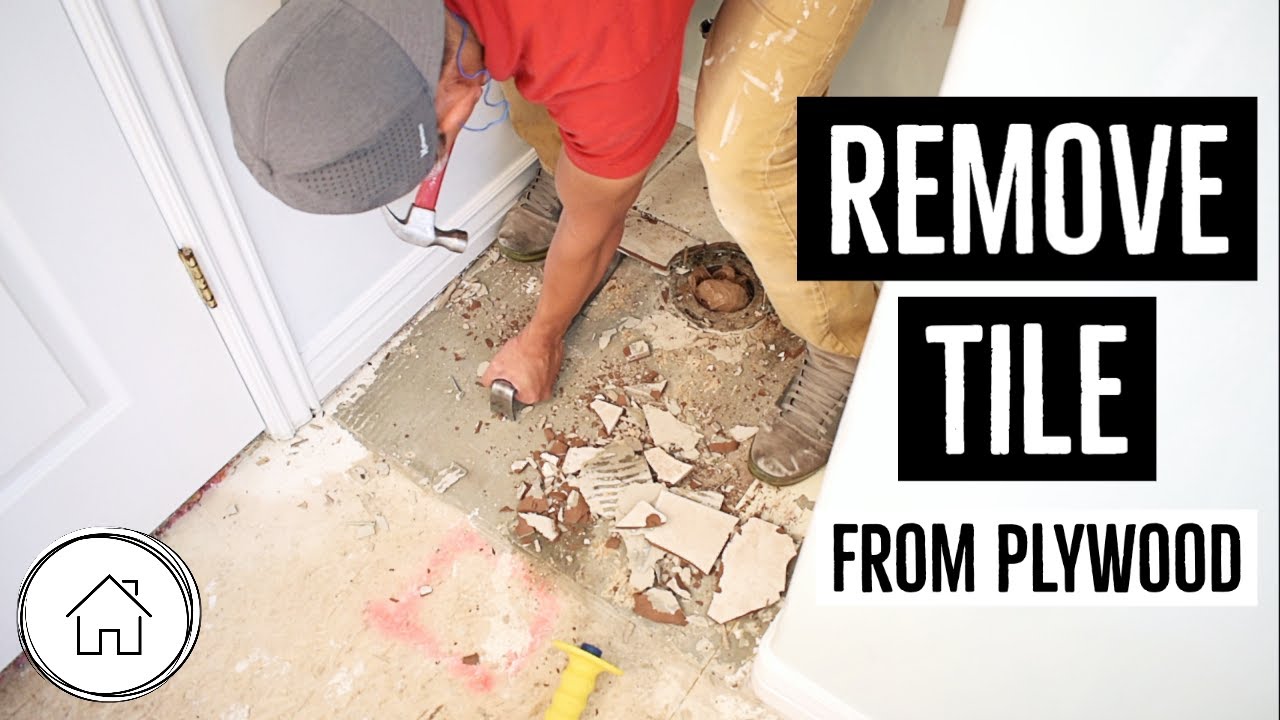
How to Remove Tile Flooring Yourself {with Tips and Tricks} All
You've to make your choice among all these various options of kitchen flooring materials and as soon as you have made your decision, you can start searching for a professional floor installer that is going to enable you to complete the task. The floors consist of sound strips of bamboo that are joined together into a good bamboo laminate.
Images Related to Kitchen Floor Tile Removal
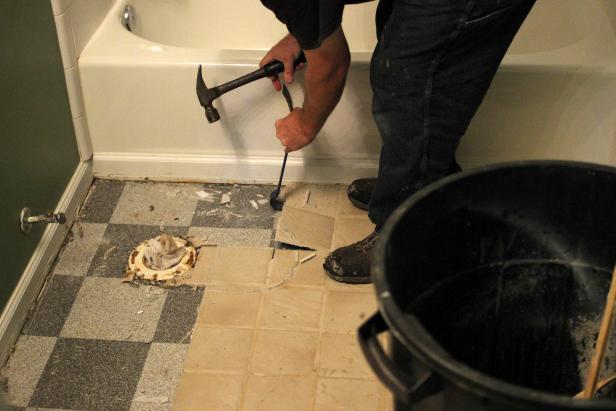
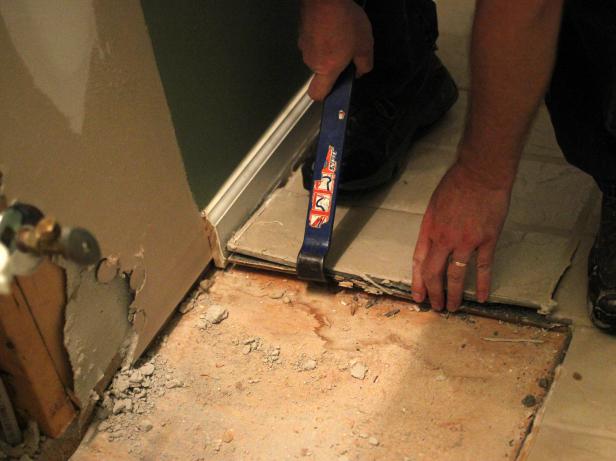
How to Remove a Tile Floor HGTV
How to Remove Tile Flooring Yourself {with Tips and Tricks} All
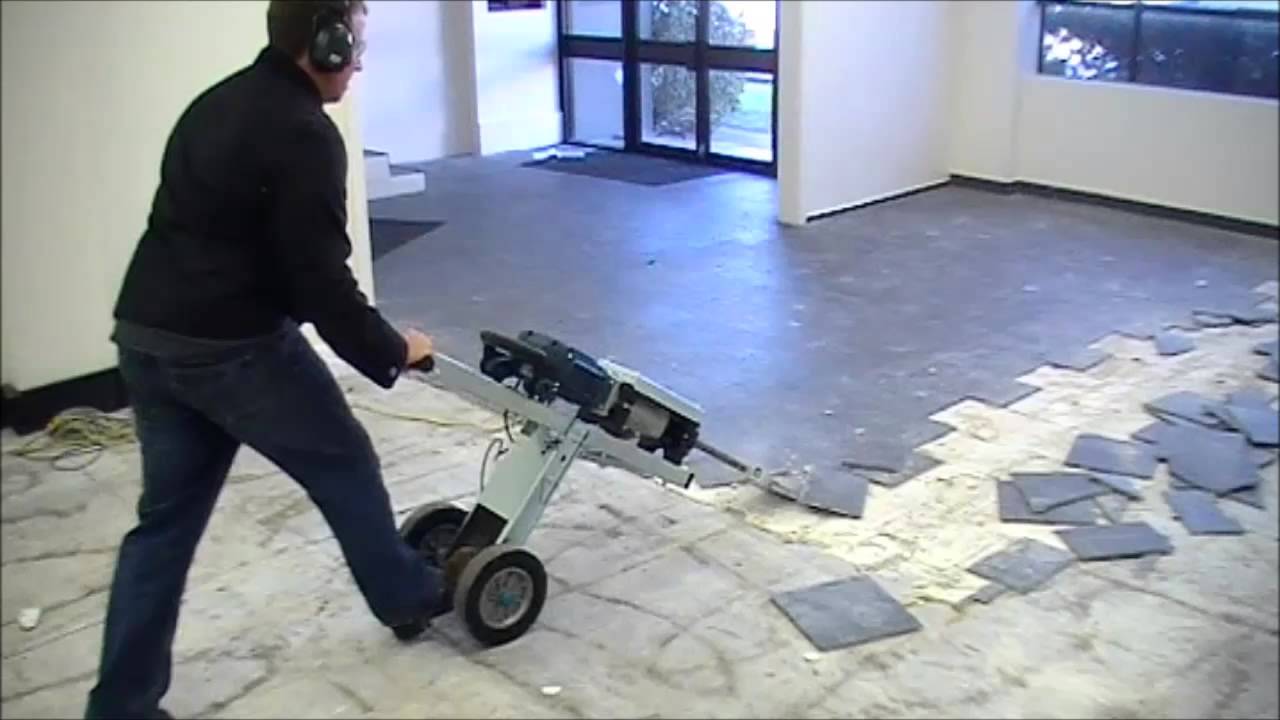
FASTEST WAY TO REMOVE FLOOR TILES
How to Remove a Tile Floor HGTV
How to Remove Ceramic Floor Tiles BuildDirect® Learning

How to Remove Tile Floors – The Harper House
How To Remove A Tile Floor and Underlayment – Concord Carpenter

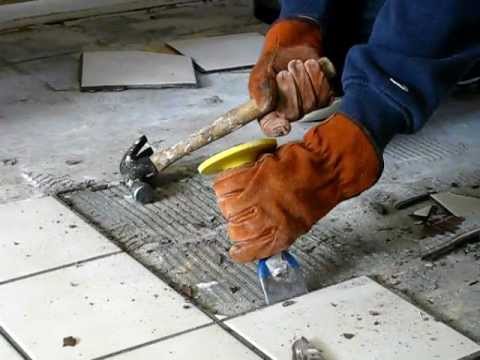
How to remove tile – easy ceramic tile removal
Replacing the Kitchen Floor: Removing Old Tile Flooring – Always

Tearing Out Old Kitchen Flooring PlanItDIY

HOW TO REMOVE TILE THE EASY WAY – Be Your Own Handyman @ Home
Ceramic Tile Removal Costs 2022 Costimates.com

Related articles:
- Stained Concrete Basement Floor
- Finishing Basement Floor
- Refinish Concrete Basement Floor
- Best Flooring For Basement
- Basement Gym Flooring Ideas
- Laminate Flooring In Basement
- Basement Concrete Floor Sweating
- Basement Floor Finishing Ideas
- Painting Unfinished Basement Floor
- Unique Basement Flooring
Kitchen Floor Tile Removal: A Comprehensive Guide
Introduction:
The kitchen is the heart of every home, and its flooring plays a vital role in the overall aesthetics and functionality of the space. Over time, however, kitchen floor tiles may become worn out, outdated, or damaged, necessitating their removal. While it may seem like a daunting task, with the right tools and techniques, you can successfully remove kitchen floor tiles and prepare your space for a stylish upgrade. In this comprehensive guide, we will walk you through each step of the process, provide expert tips and advice, and address some frequently asked questions to ensure a successful kitchen floor tile removal project.
I. Preparing for Kitchen Floor Tile Removal:
Before diving into the tile removal process, proper preparation is key to ensure efficiency and minimize potential damage. Here are the essential steps to take:
1. Clearing the Area:
Remove all furniture, appliances, and any other items from the kitchen floor to create an unobstructed workspace. This will not only provide you with ample room to work but also protect your belongings from potential damage during the tile removal process.
2. Protecting Surfaces:
To safeguard adjacent surfaces such as countertops or cabinets from accidental scratches or chips, apply painter’s tape along their edges. Additionally, covering them with drop cloths or old sheets will provide an extra layer of protection against debris and dust generated during the tile removal.
3. Gather Essential Tools:
Equipping yourself with the right tools is crucial for a smooth tile removal process. Some essential tools you will need include:
– Safety goggles: Protect your eyes from flying debris.
– Dust mask: Shield yourself from harmful dust particles.
– Knee pads: Provide comfort and protection while working on your knees.
– Pry bar: Assist in lifting and removing tiles.
– Hammer: Aid in breaking up stubborn tiles.
– Chisel: Help remove adhesive or grout residue.
– Floor scraper: Efficiently scrape off any remaining adhesive or grout.
– Vacuum cleaner: Clean up debris and dust post-removal.
FAQs:
Q1: Can I use a regular chisel instead of a floor scraper?
A1: While a regular chisel may work in some cases, a floor scraper is specifically designed for flooring applications, making it more effective and efficient.
Q2: Do I need to wear knee pads during tile removal?
A2: Wearing knee pads is highly recommended, as they provide comfort and protect your knees from potential injuries caused by prolonged kneeling on hard surfaces.
II. Removing Kitchen Floor Tiles:
Once you have completed the preparatory steps, it’s time to begin removing the kitchen floor tiles. Follow these detailed instructions for a successful tile removal process:
1. Start with a Corner Tile:
Begin by selecting a corner tile as your starting point. Insert the edge of the pry bar or chisel under the corner of the tile and gently lift it upwards. Apply steady pressure until the tile pops out.
2. Continue with Adjacent Tiles:
Once you have successfully removed the first tile, move on to the adjacent tiles. Slide the pry bar or chisel underneath each tile and lift it gradually. Take care not to apply excessive force to avoid damaging the subfloor underneath.
3. Address Difficult Tiles:
Some tiles may be more challenging to remove due to stronger adhesive or grout residue. In such cases, use a hammer and chisel combo to break up stubborn tiles into smaller pieces before Attempting to remove them. This will make the removal process easier and prevent damage to the subfloor.
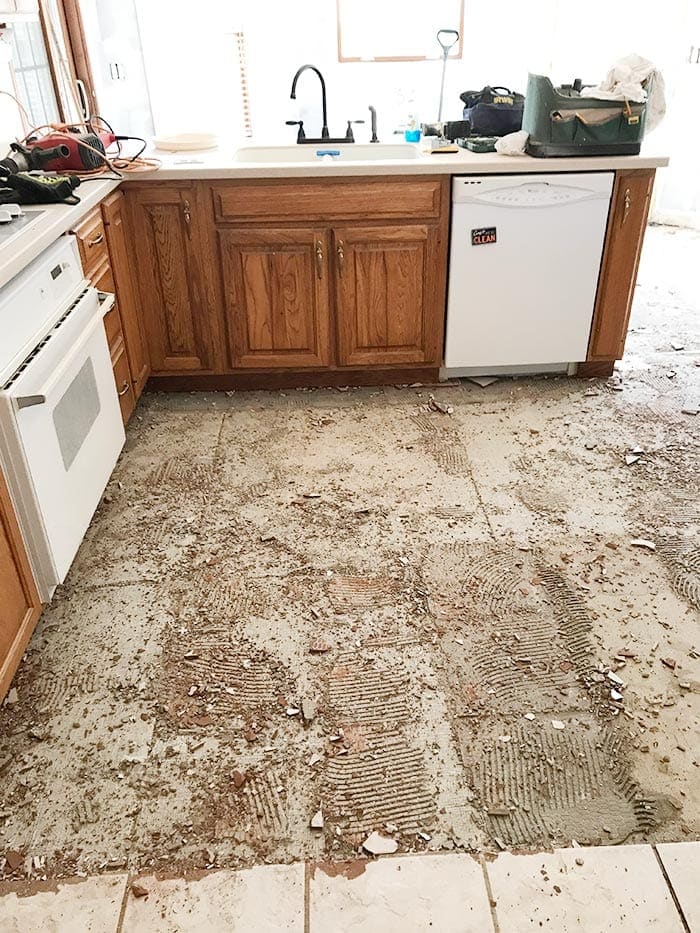
4. Remove Adhesive and Grout Residue:
After removing all the tiles, there may still be adhesive or grout residue on the subfloor. Use a chisel or floor scraper to carefully scrape off any remaining residue. Take your time and work slowly to avoid damaging the subfloor.
5. Clean Up Debris and Dust:
Once all the tiles and residue have been removed, use a vacuum cleaner to clean up any debris and dust left behind. This will ensure a clean surface for the next step of your flooring project.
6. Evaluate Subfloor Condition:
After removing the tiles, inspect the subfloor for any damage or repairs that may be needed. Address any issues before proceeding with installing new flooring to ensure a smooth and stable foundation.
7. Dispose of Tiles Properly:
Dispose of the old tiles responsibly by either recycling them if possible or disposing of them according to local waste disposal regulations. Make sure to follow proper guidelines to minimize environmental impact.
8. Consider Professional Help:
If you are unsure about removing kitchen floor tiles yourself or if you encounter unexpected challenges during the process, it is advisable to seek professional help. Tile removal experts can ensure a safe and efficient removal process while minimizing potential damage.
By following these steps and taking necessary precautions, you can successfully remove kitchen floor tiles and prepare your space for new flooring installation. Remember to work carefully and patiently to protect both yourself and your surfaces from potential damage. Removing kitchen floor tiles can be a challenging task, but by following these steps and taking necessary precautions, you can successfully remove them without causing damage. Here’s a step-by-step guide:
1. Start with a Corner Tile:
– Select a corner tile as your starting point.
– Insert the edge of a pry bar or chisel under the corner of the tile.
– Gently lift the tile upwards, applying steady pressure until it pops out.
2. Continue with Adjacent Tiles:
– Once the first tile is removed, move on to the adjacent tiles.
– Slide the pry bar or chisel underneath each tile and lift gradually.
– Be careful not to apply excessive force to avoid damaging the subfloor.
3. Address Difficult Tiles:
– Some tiles may be more challenging to remove due to strong adhesive or grout residue.
– Use a hammer and chisel combo to break up stubborn tiles into smaller pieces before attempting to remove them.
– This will make the removal process easier and prevent damage to the subfloor.
4. Remove Adhesive and Grout Residue:
– After removing all the tiles, there may still be adhesive or grout residue on the subfloor.
– Use a chisel or floor scraper to carefully scrape off any remaining residue.
– Take your time and work slowly to avoid damaging the subfloor.
5. Clean Up Debris and Dust:
– Once all the tiles and residue are removed, use a vacuum cleaner to clean up any debris and dust left behind.
– This will ensure a clean surface for the next step of your flooring project.
6. Evaluate Subfloor Condition:
– After removing the tiles, inspect the subfloor for any damage or repairs that may be needed.
– Address any issues before proceeding with installing new flooring to ensure a smooth and stable foundation.
7. Dispose of Tiles Properly:
– Dispose of the old tiles responsibly by either recycling them if possible or following local waste disposal regulations.
– Follow proper guidelines to minimize environmental impact.
8. Consider Professional Help:
– If you are unsure about removing kitchen floor tiles yourself or encounter unexpected challenges, seek professional help.
– Tile removal experts can ensure a safe and efficient removal process while minimizing potential damage.
By following these steps and taking necessary precautions, you can successfully remove kitchen floor tiles and prepare your space for new flooring installation. Remember to work carefully and patiently to protect yourself and your surfaces from potential damage.