By failing to provide more thought to the kitchen floor alternatives of yours and choosing the wrong flooring surface will guarantee that an overall exceptional house will look just normal, and also get dated quicker. You can go from an extremely plain look to highly stylish in kitchen flooring. Part of what really makes it painless to keep clean is seamless inside design.
Here are Images about Kitchen Floor Tile Installation
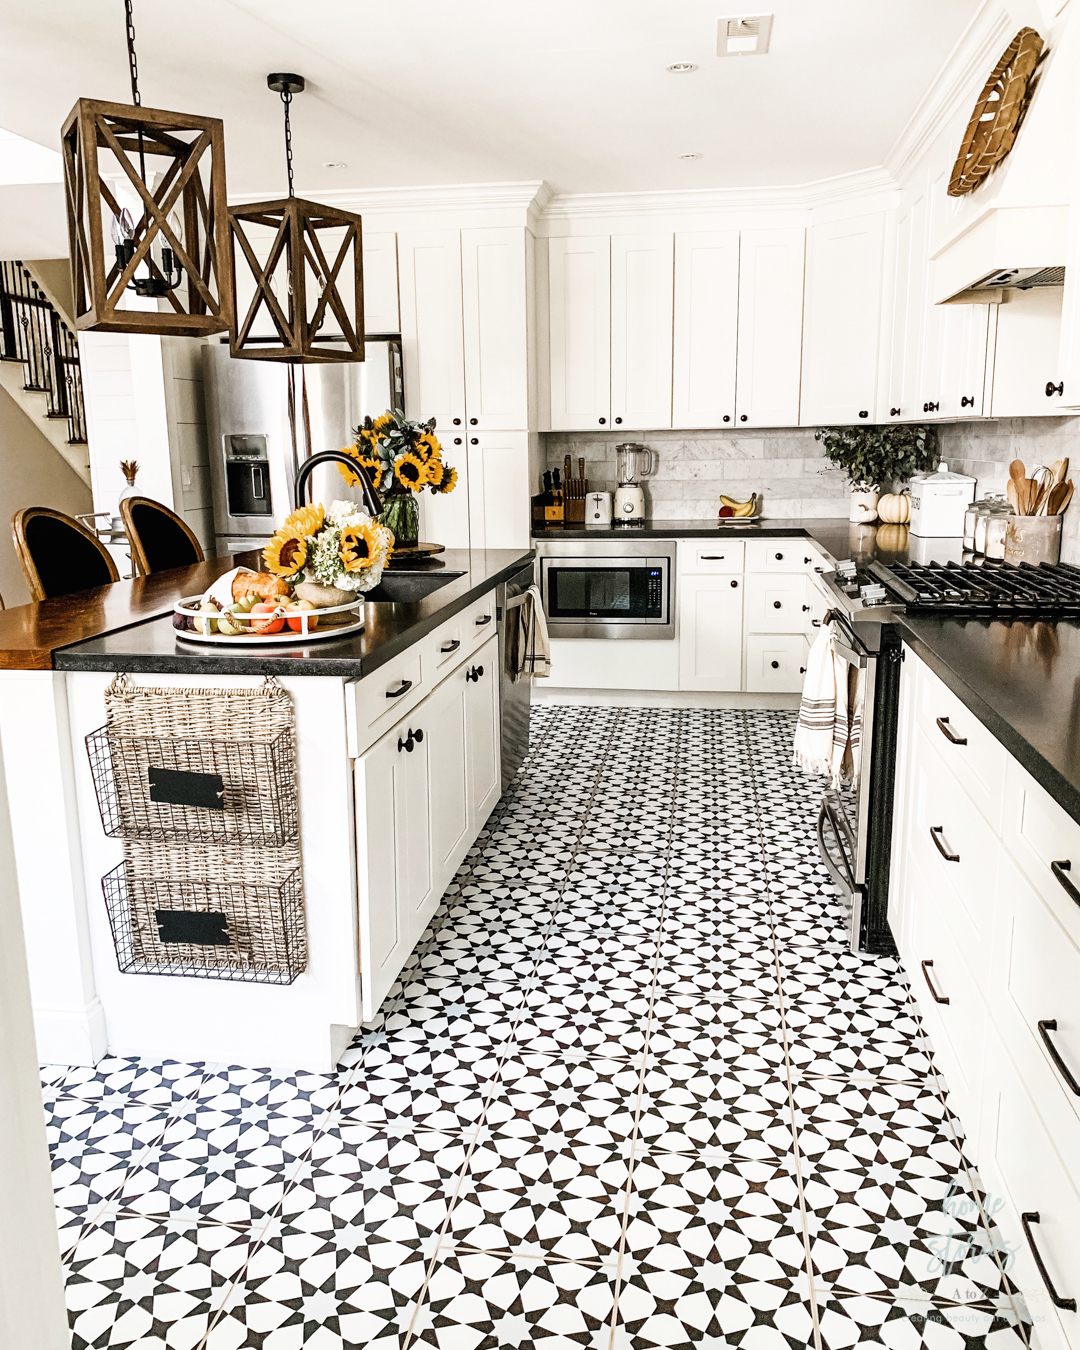
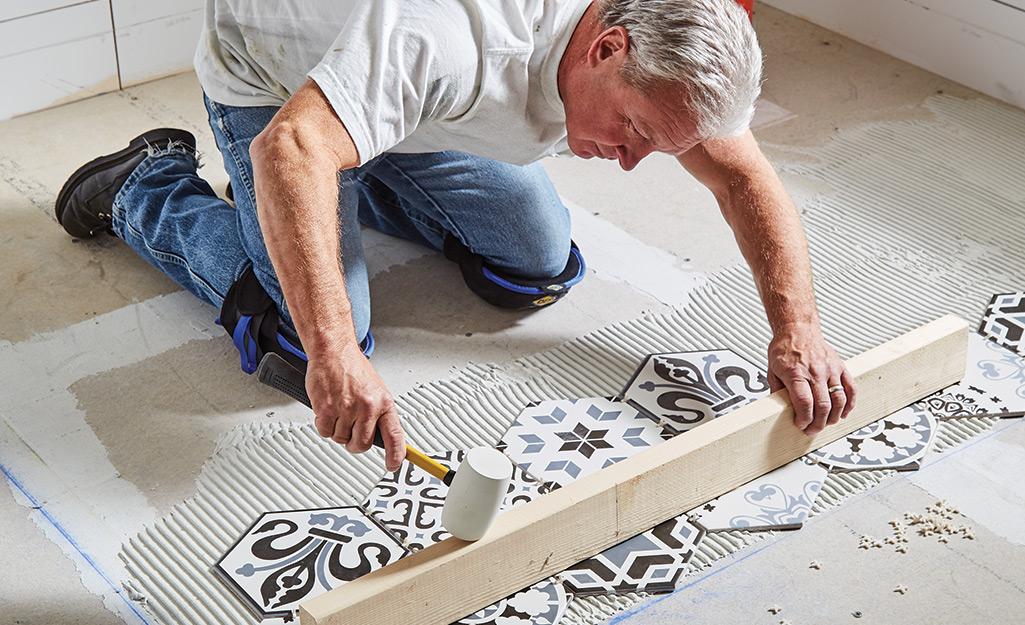
Kitchen Floor Tile Installation
:no_upscale()/cdn.vox-cdn.com/uploads/chorus_asset/file/19496947/color_gutters_illo_web_1.jpg)
This's where homeowners choose to store the food of theirs, dining utensils, kitchen gadgets as well as the like. All-natural slate stone tiles are long-lasting, stain non-slip and resistant surface due to the textures of theirs; made for the hectic kitchen. Stone is unquestionably long-lasting and hard-wearing, but calls for sealing to prevent dirt buildup. It's impossible to tell that they're laminate flooring until you look closer at them.
Help, Ceramic Tile Cracks On My Kitchen Floor!

Each completely different kitchen style has a suitable type of flooring that would look good on it. Here are a few kitchen area flooring methods you are able to choose from to fit your personal preferences as well as needs. Your kitchen floor is subject to day abuse, coming from shoes, animals, dishware, liquids, and any other way of dirt and debris, which put it under constant attack.
Images Related to Kitchen Floor Tile Installation
How to Update Tile Without Removing It {Peel and Stick Floor Tiles}
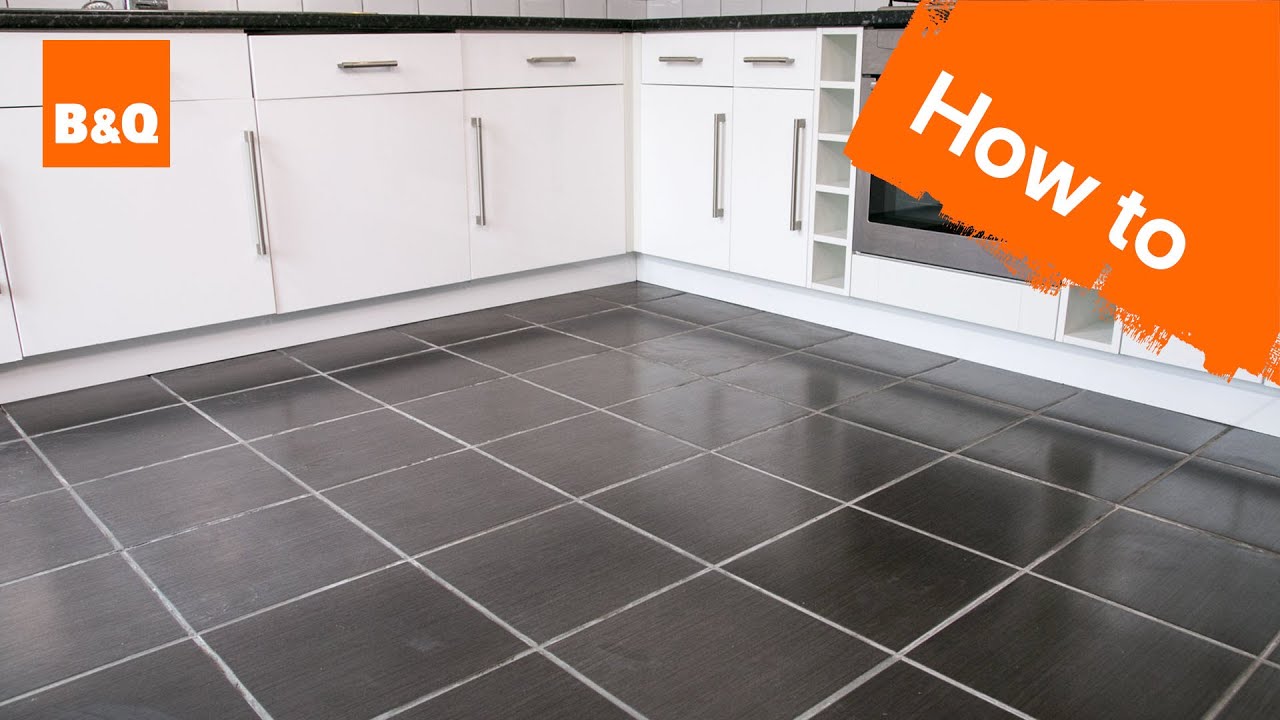
How to tile a floor part 1: preparation
Tips For Installing A Kitchen Vinyl Tile Floor merrypad

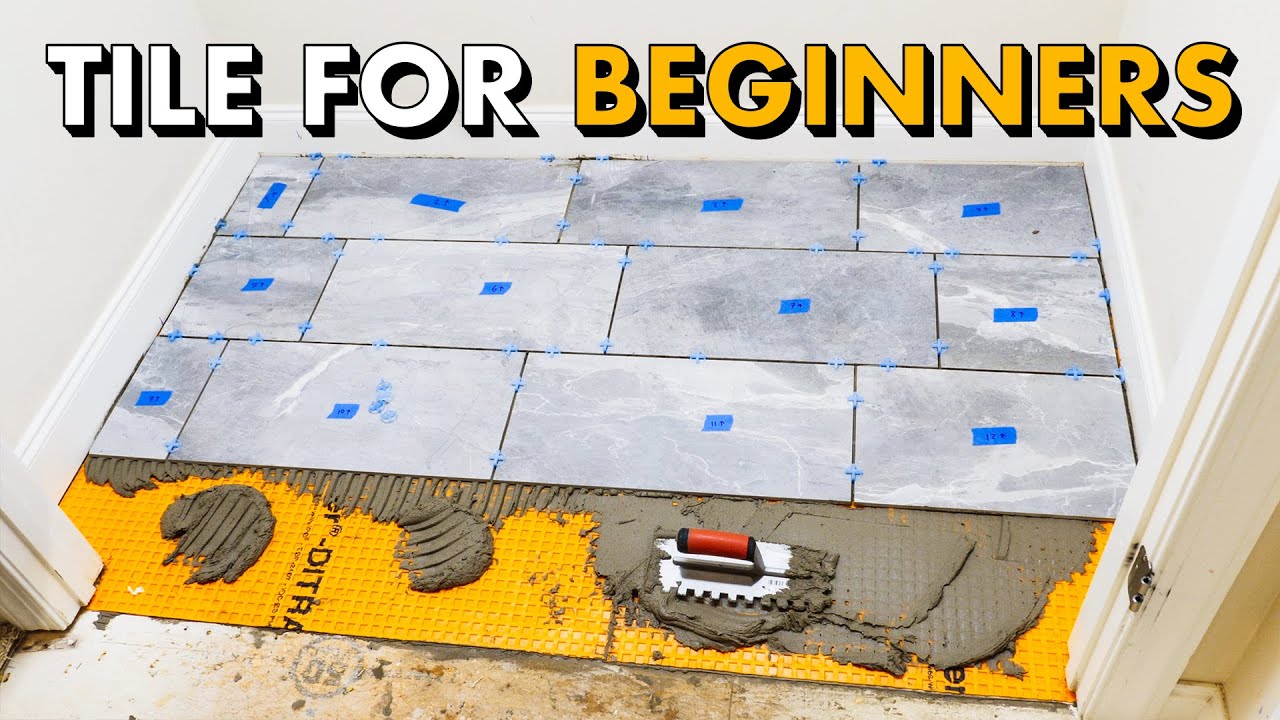
Installing TILE FLOOR for the FIRST TIME 🛠 How To Lay Tile Floor
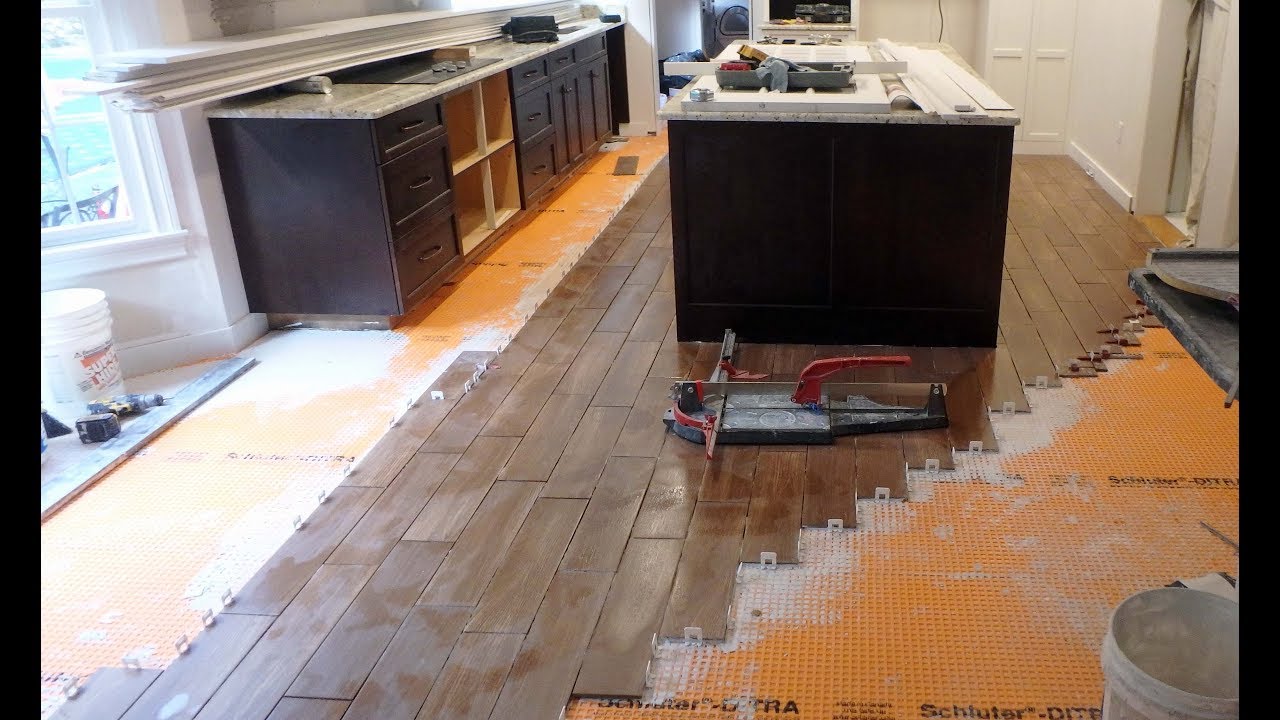
How to install floor tile around a Kitchen Island with wood look plank tile
How to Tile a Kitchen Floor Part 2 The Home Depot

How to Install a Tile Floor
Subfloors and Underlayment for Ceramic Tile Floors
/best-subfloors-to-use-for-laying-tile-1822586-hero-efcfac9422ab457da5d2cbc7f7361df7.jpg)
24×24 kitchen floor tile installation with dry pack Toronto / GTA

LVT Flooring Over Existing Tile the Easy Way – Vinyl Floor

Kitchen Flooring Materials and Ideas – This Old House
/cdn.vox-cdn.com/uploads/chorus_asset/file/19866713/May_June2019_sleek_pulls.jpg)
Kitchen Floor Tiles: How To Choose Easy Maintenance Tiles

Related articles:
- Stained Concrete Basement Floor
- Finishing Basement Floor
- Refinish Concrete Basement Floor
- Best Flooring For Basement
- Basement Gym Flooring Ideas
- Laminate Flooring In Basement
- Basement Concrete Floor Sweating
- Basement Floor Finishing Ideas
- Painting Unfinished Basement Floor
- Unique Basement Flooring
Kitchen Floor Tile Installation: A Comprehensive Guide to Transforming Your Space
Introduction:
When it comes to kitchen renovations, one of the most impactful changes you can make is updating your flooring. Installing new floor tiles not only enhances the aesthetic appeal of your kitchen but also adds durability and functionality. However, the process of kitchen floor tile installation can be daunting if you’re not familiar with it. In this comprehensive guide, we will take you through each step of the installation process, providing detailed information and expert tips to help you achieve a flawless result.
I. Planning and Preparation:
Before diving into the installation, it is crucial to adequately plan and prepare for the project. This stage involves measuring your kitchen space, selecting suitable tiles, preparing the subfloor, and gathering the necessary tools and materials.
1. Measuring your Kitchen Space:
Start by accurately measuring your kitchen floor to determine how many tiles you’ll need. Measure both the length and width of the room, then multiply these measurements together to find the square footage. Remember to account for any cutouts or irregular areas that might require additional tiles.
FAQ:
Q: How do I measure my kitchen floor if it’s not a simple rectangular shape?
A: If you have an irregularly shaped kitchen, break it down into smaller sections and measure each section individually. Then add up all the sections’ square footage to get a total.
2. Selecting Suitable Tiles:
Choosing the right tiles for your kitchen floor is essential in achieving a cohesive and long-lasting result. Consider factors such as material, size, color, pattern, and durability when making your selection. Ceramic and porcelain tiles are popular choices due to their versatility and resistance to moisture and stains.
FAQ:
Q: What size of tiles should I choose for my kitchen floor?
A: The tile size depends on personal preference and the size of your kitchen. Larger tiles can create an illusion of spaciousness while smaller tiles can add intricate patterns. However, be cautious with very large tiles in small kitchens as they may overwhelm the space.
3. Preparing the Subfloor:
To ensure a stable and even surface for your new tiles, it’s crucial to prepare the subfloor properly. Remove any existing flooring materials, clean the subfloor thoroughly, and repair any damage or unevenness. If necessary, apply a leveling compound to create a smooth base for tile installation.
FAQ:
Q: Can I install tiles over an existing vinyl or laminate floor?
A: It is generally not recommended to install tiles directly over vinyl or laminate flooring. These surfaces lack the necessary stability and will not provide a suitable base for tile installation. It is best to remove these materials before proceeding with tile installation.
4. Gathering Tools and Materials:
Before starting the installation process, gather all the necessary tools and materials to ensure a smooth workflow. Some essential items include a trowel, tile cutter or wet saw, grout float, level, spacers, adhesive or mortar, grout, and a sponge for cleaning.
FAQ:
Q: Do I need special tools to cut tiles?
A: Yes, you will need a tile cutter or a wet saw to cut tiles accurately. These tools are designed specifically for cutting through different types of tiles cleanly and efficiently.
II. Tile Installation Process:
Now that you have completed the planning and preparation stage, it’s time to move on to the actual tile installation process. This section will guide you through each step involved in installing kitchen floor tiles.
1. Applying Adhesive or Mort Ar:
Start by applying a thin layer of adhesive or mortar to a small section of the subfloor using a trowel. Make sure to follow the manufacturer’s instructions for the specific product you are using. Spread the adhesive evenly and create grooves using the notched side of the trowel to ensure proper adhesion.
2. Placing the Tiles:
Carefully place each tile onto the adhesive, pressing it firmly to ensure good contact. Use spacers to maintain consistent spacing between tiles. Continue this process, working in small sections at a time, until all tiles are in place.
3. Cutting Tiles:
If needed, use a tile cutter or wet saw to cut tiles to fit along edges or around obstacles such as cabinets or appliances. Measure and mark each tile before cutting, and always wear safety goggles when using cutting tools.
4. Allowing for Expansion Joints:
Leave a small gap, usually about 1/8 inch, between tiles to allow for expansion. This gap will be filled with grout later on.
5. Grouting the Tiles:
Once the adhesive has dried and the tiles are securely in place, it’s time to fill in the gaps between tiles with grout. Mix the grout according to the manufacturer’s instructions and apply it using a grout float, pressing it into the gaps and smoothing it out. Remove any excess grout from the tile surface using a damp sponge.
6. Sealing (if necessary):
Depending on the type of tile you have chosen, sealing may be necessary to protect it from stains and moisture. Follow the manufacturer’s instructions for the specific sealer you are using, and allow the sealer to fully dry before using the kitchen.
7. Allowing for Drying Time:
After completing the installation and grouting process, allow the tiles and grout to dry completely before walking on or placing heavy objects on the floor. This usually takes about 24-48 hours, but always refer to the manufacturer’s instructions for specific drying times.
III. Tile Maintenance and Care:
Proper maintenance and care are essential to keep your kitchen floor tiles looking their best for years to come. Here are some tips to help you maintain your newly installed tiles:
1. Regular Cleaning:
Sweep or vacuum your kitchen floor regularly to remove dirt and debris that can scratch the tiles. For a deeper clean, use a mop or sponge with a mild detergent or tile cleaner.
2. Avoid Harsh Chemicals:
Avoid using harsh chemicals or abrasive cleaners on your tiles as they can damage the surface. Stick to gentle cleaners specifically designed for tile surfaces.
3. Promptly Clean Spills:
Clean up spills immediately to prevent staining, especially if you have porous tiles such as natural stone. Blot the spill with a clean cloth or paper towel, and then clean the area with a mild detergent and water.
4. Protect Against Scratches:
Use felt pads under furniture legs, avoid dragging heavy objects across the floor, and trim pets’ nails regularly to prevent scratches on your tiles.
5. Periodic Sealing:
If your tiles are not already sealed, it may be necessary to periodically seal them to maintain their appearance and protect them from stains and moisture. Follow the manufacturer’s instructions for the specific sealer you are using, and reapply as recommended.
6. Addressing Grout Issues:
Over time, grout can become discolored or cracked. If you notice any issues with your grout, such as stains or crumbling, it is important to address them promptly. Clean stained grout with a mixture of baking soda and water or a mild bleach solution, and repair cracks by removing the damaged grout and applying new grout.
7. Regular Inspections:
Regularly inspect your kitchen floor tiles for any signs of damage or wear. Catching and addressing issues early can help prevent further damage and extend the lifespan of your tiles.