Even worse, a flooded basement can draw a great deal of headaches. In addition, you need to remember that the basement will very usually be vulnerable to flooding so whatever flooring solution you buy, be sure that the room is adequately insulated or maybe the sort of flooring you select won't perish with flooding.
Here are Images about Interlocking Rubber Floor Tiles For Basement
Interlocking Rubber Floor Tiles For Basement

Basement flooring is clearly the basis of the procedure of remodeling your basement. Though costlier compared to linoleum or vinyl, ceramic and porcelain tile are wonderful selections for a basement too. In addition to all these basement flooring suggestions you will likewise have a wide variety of choices.
The Best Basement Flooring Options – Flooring Inc
Some are actually colors that are strong and some have specks added in them, which would provide a great look to basement flooring. Cork flooring is certainly one such option and there are challenges which are many faced it doesn't matter what you have settled for. Functional products are plenty so long as it can withstand tear and wear.
Images Related to Interlocking Rubber Floor Tiles For Basement
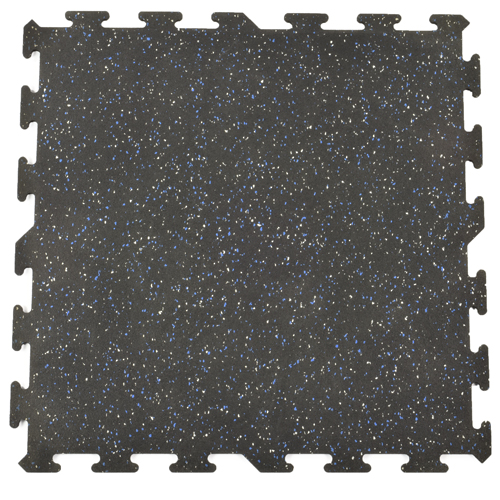
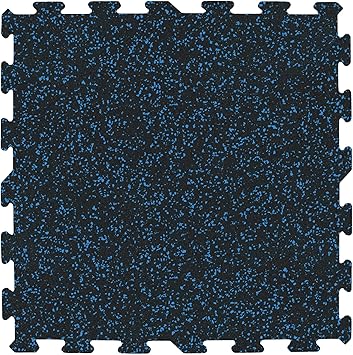
Interlocking Rubber Floor Tiles Color 8 mm x 2×2 Ft.
Rubber-Cal Eco-Sport 3/4 in. x 19.5 in. x 19.5 in. Green
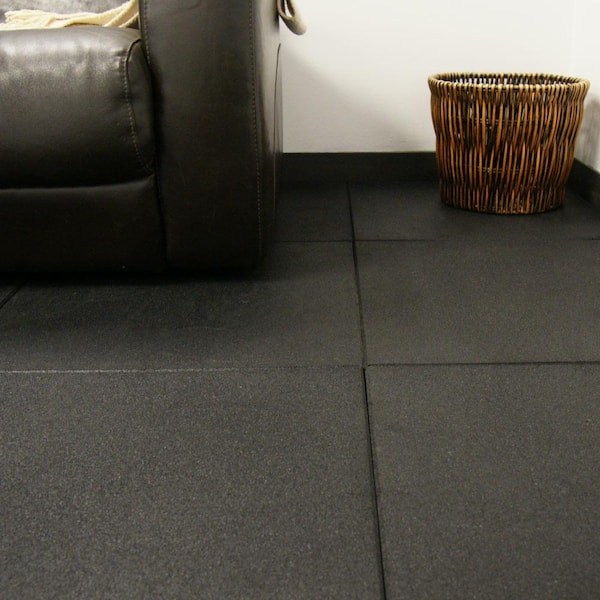
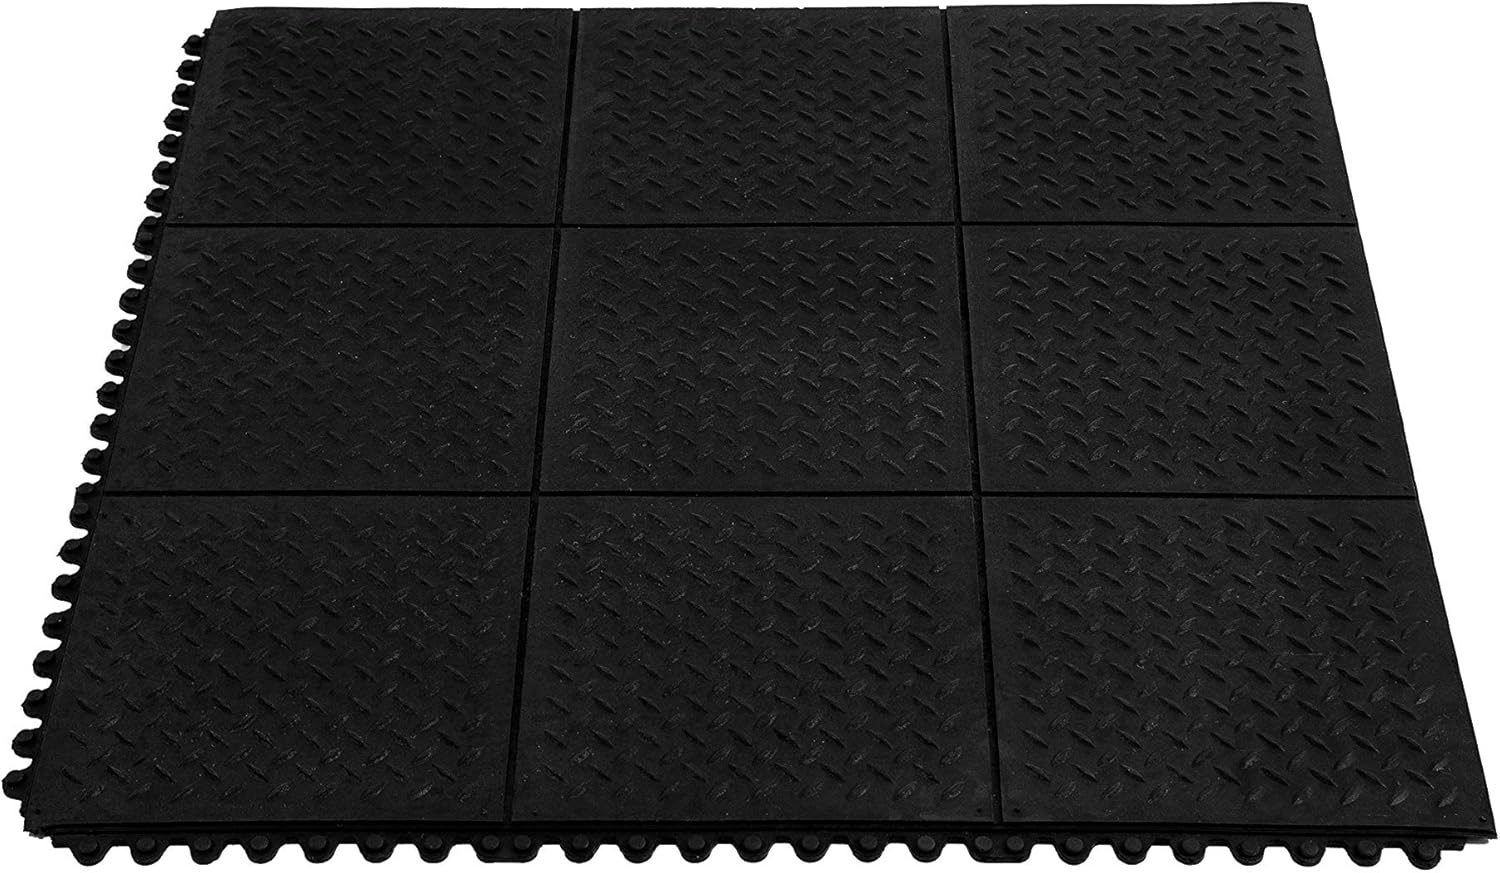
Interlocking Foam u0026 Rubber Floor Tile for Basements We Sell Mats

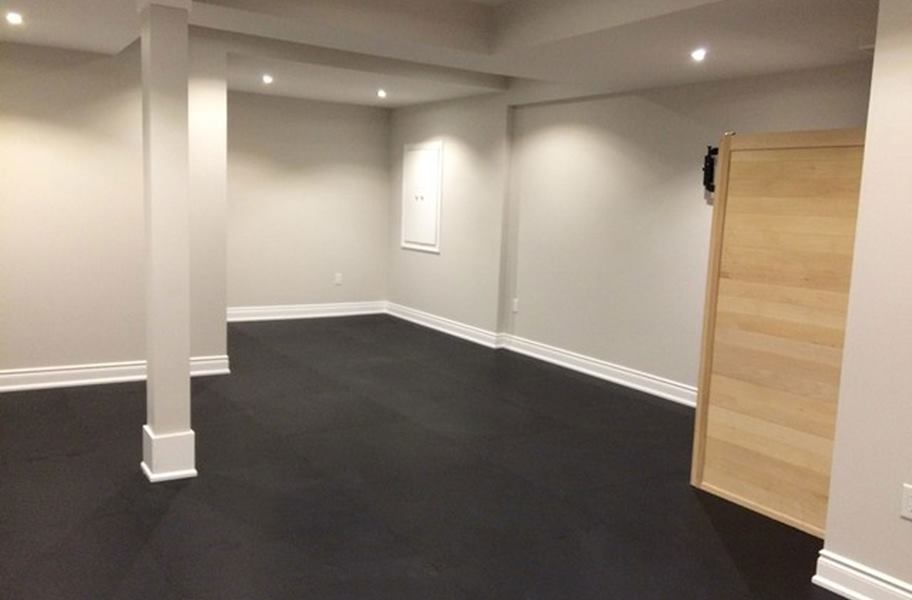
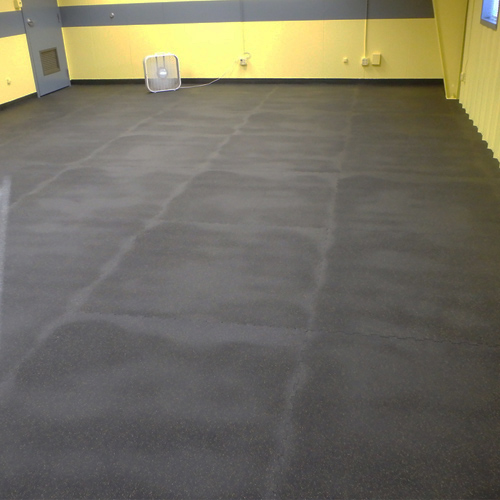
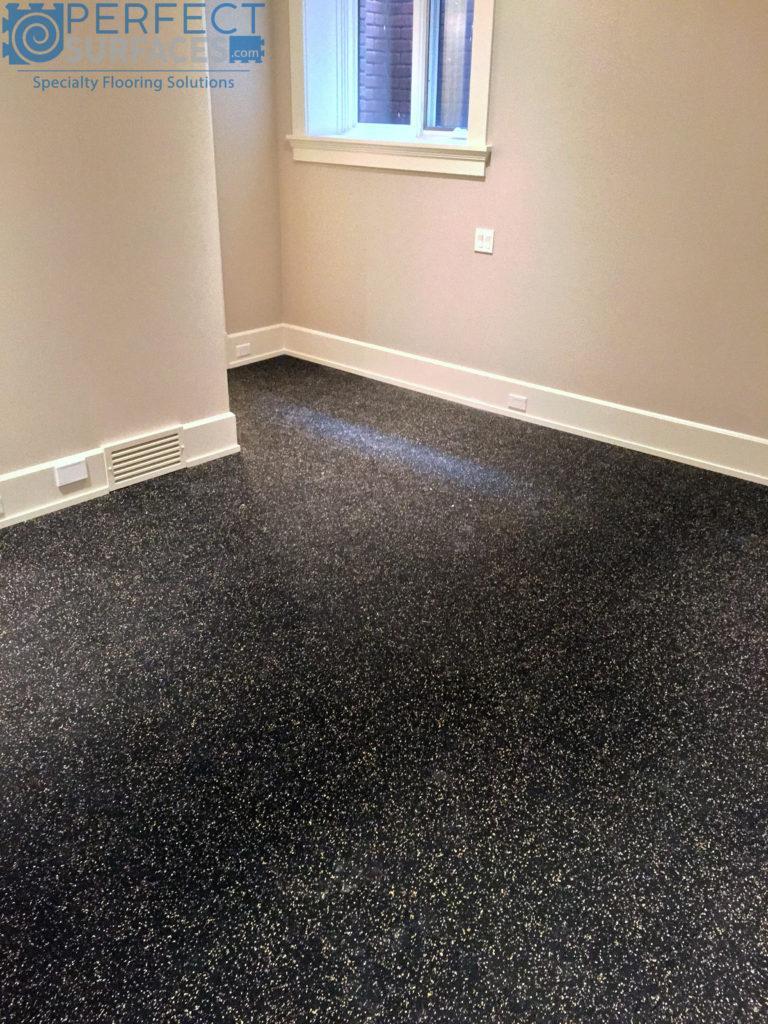
Rubber Flooring for Basements Will Breathe New Life into Any Cellar
What Are the Best Interlocking Rubber Floor Tiles: Sizes u0026 Options
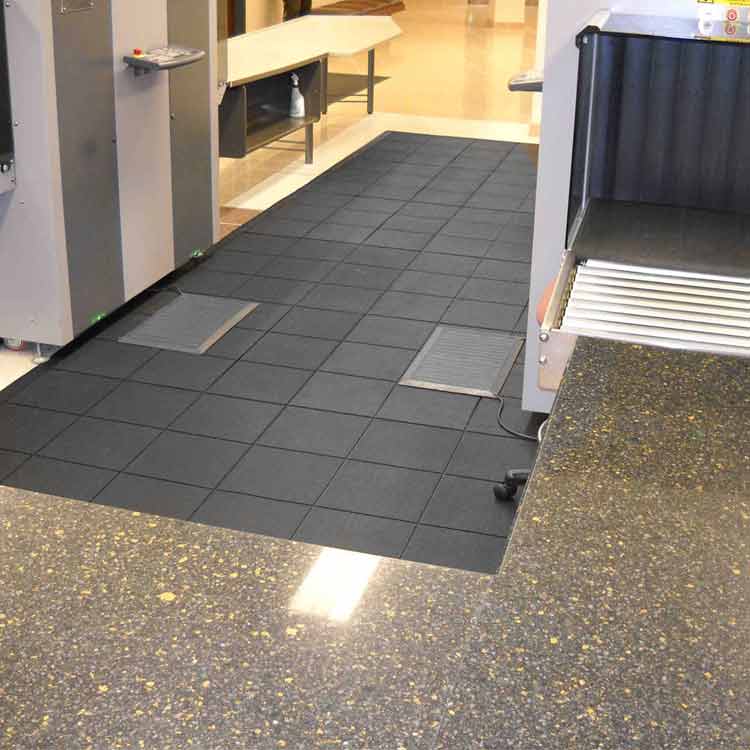
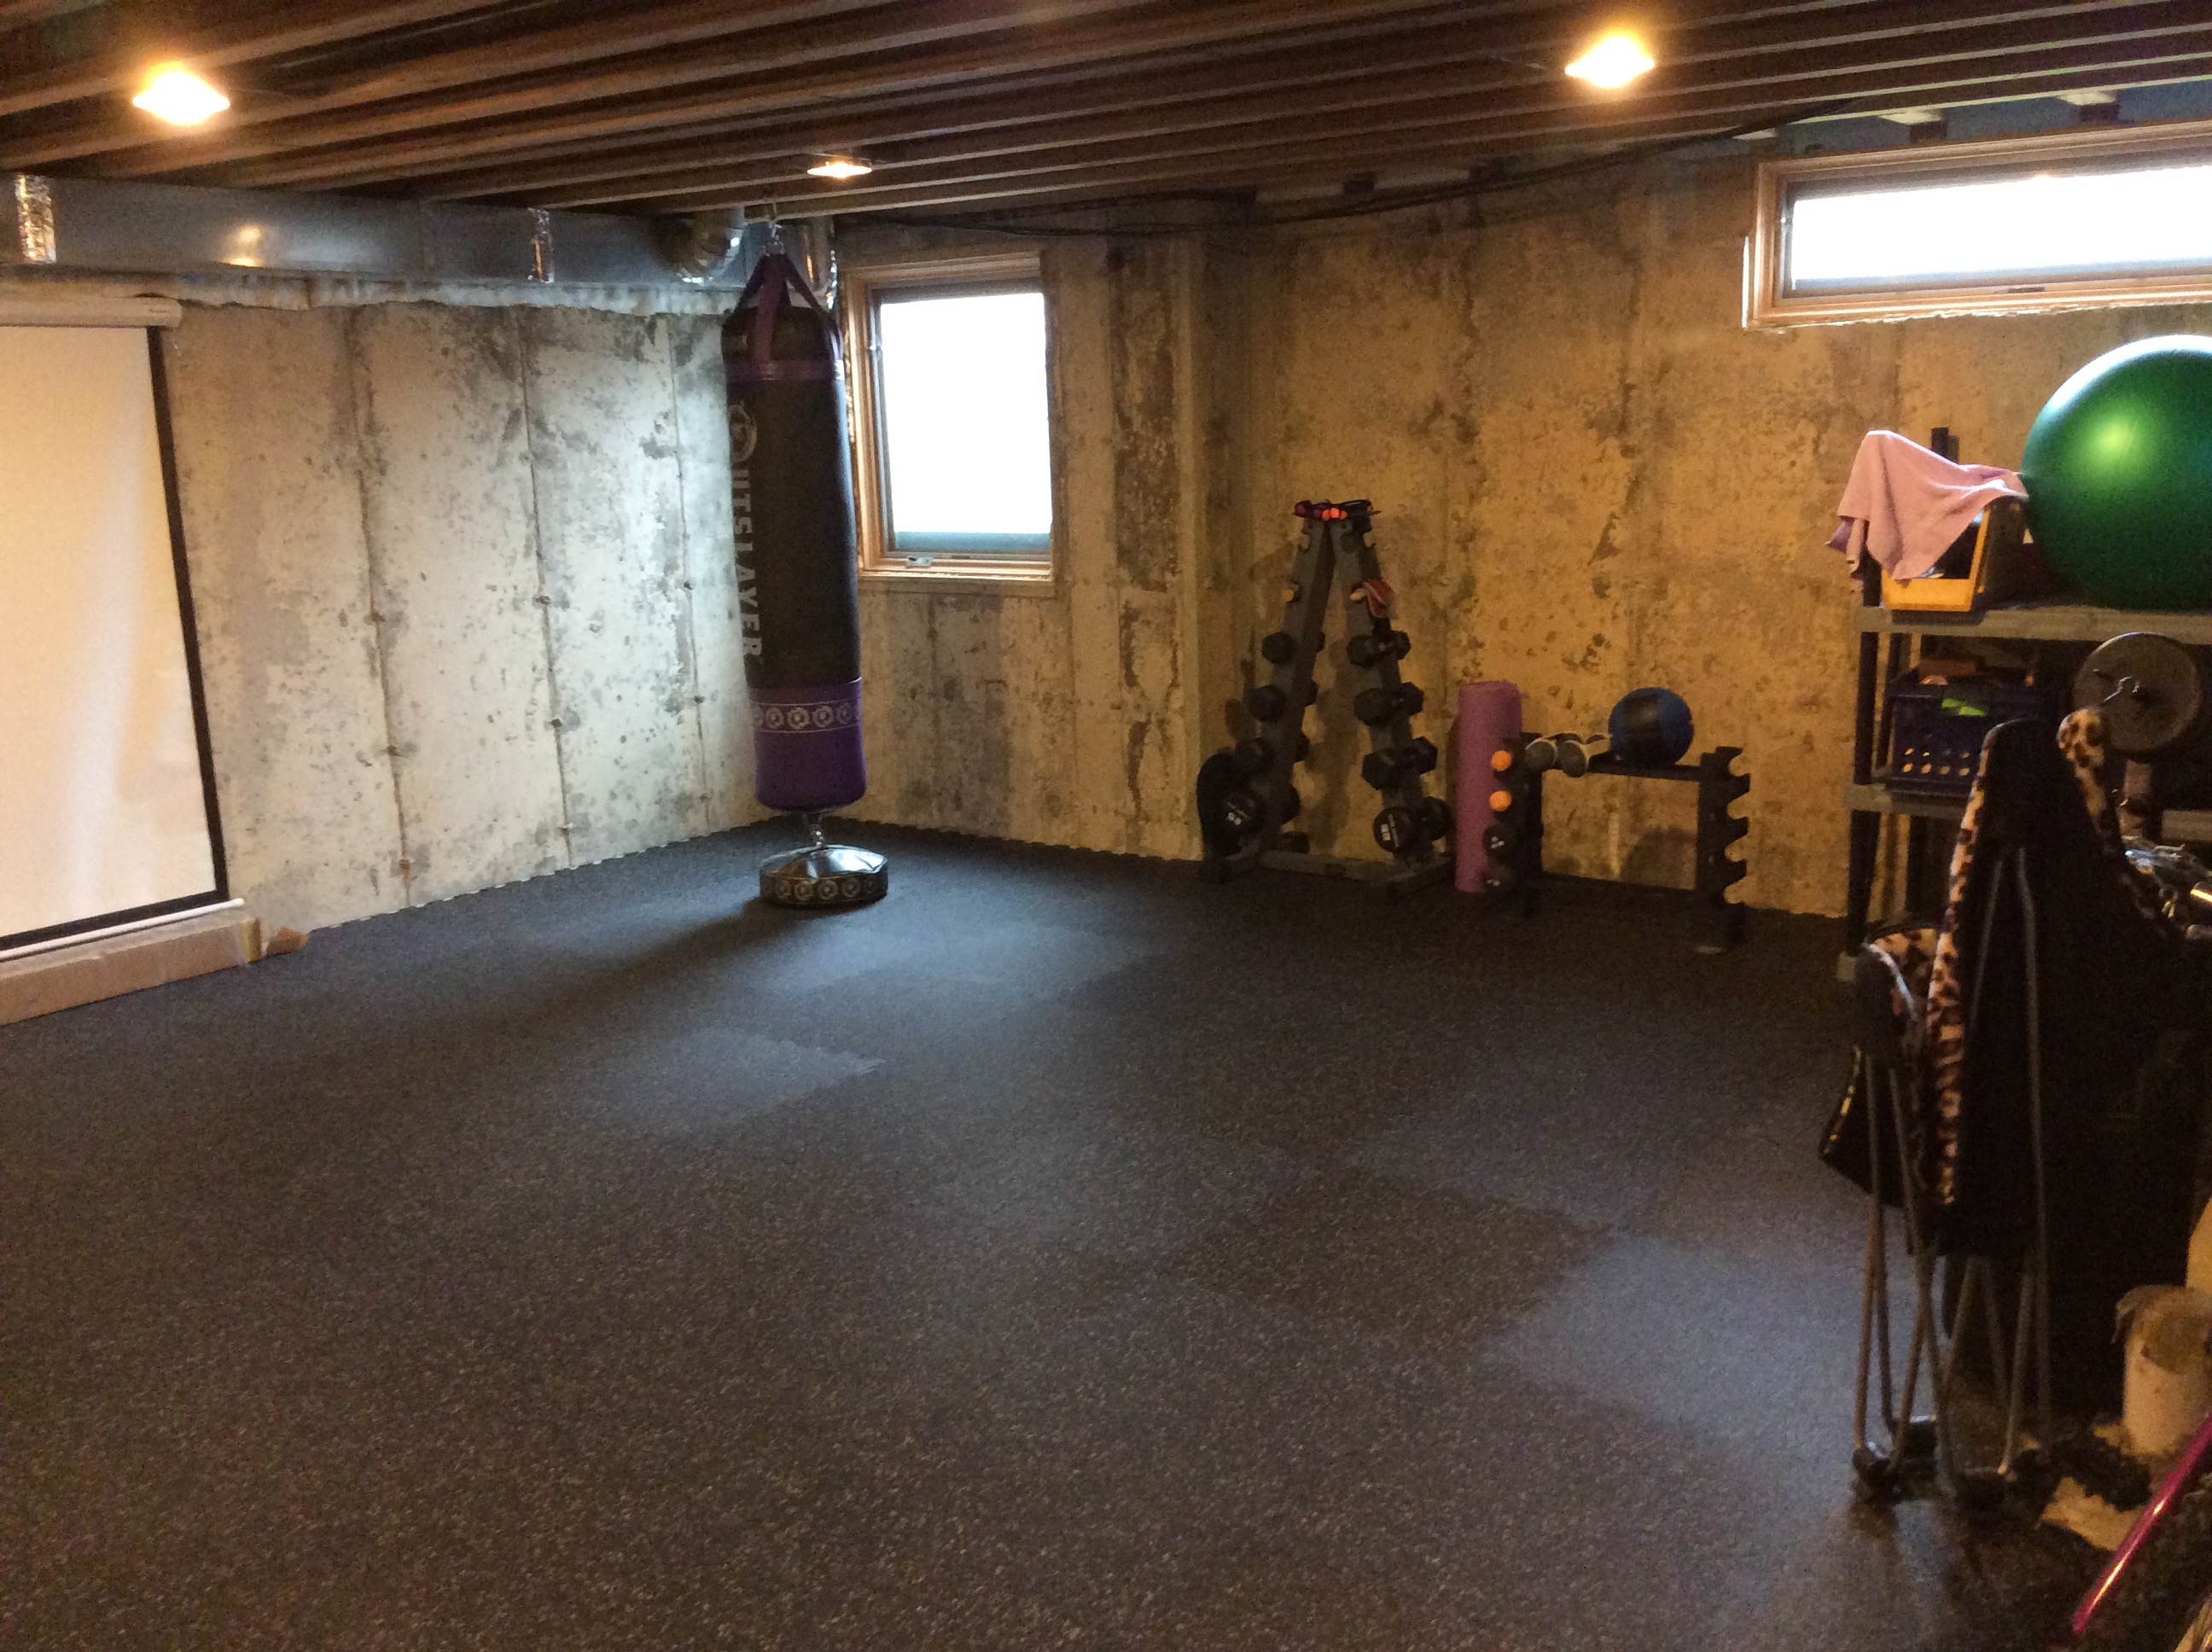
IncStores 6mm Thick Energy Rubber Interlocking Floor Tiles Large Recycled Rubber Floor Tiles for a Stronger and Safer Basement, Home Gym, Shed, or
Rubber Flooring for Basements
/GettyImages-1144563033-53699971db3c4925a2ebed7793605407.jpg)
Revolution” Interlocking Flooring Tiles
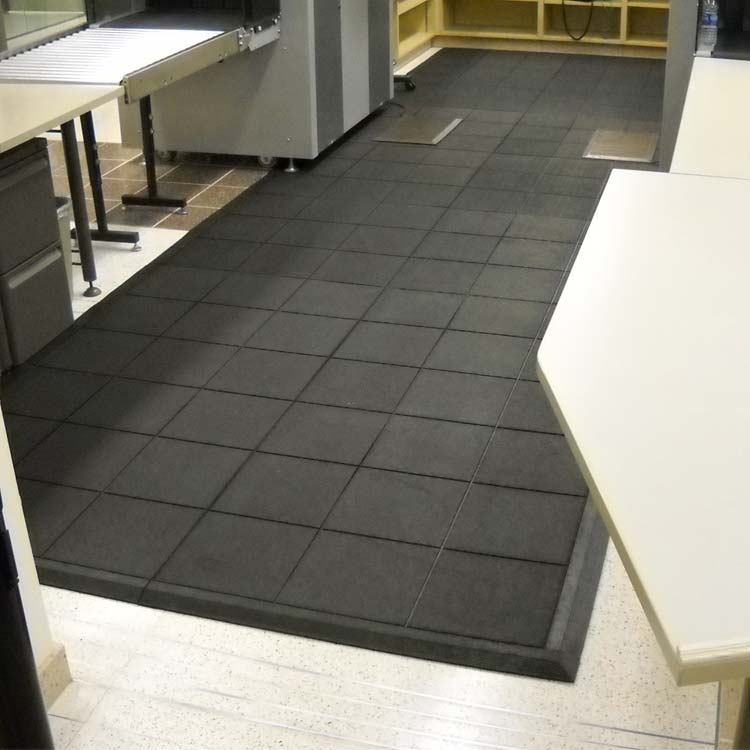
Interlocking Basement, Garage u0026 Home Gym Rubber Floor Tiles 2x2Ftx8mm
GatorLOC – Interlocking Tiles Perfect Surfaces Shop
IncStores 5/8 Inch Thick Evolution Rubber Interlocking Floor Tiles Flexible Rubber Floor Tiles for a Stronger and Safer Basement, Home Gym, Shed, or
Rubber Flooring for Basements vs. Foam and Plastic Tiles: Best Options

Related articles:
- Stained Concrete Basement Floor
- Finishing Basement Floor
- Refinish Concrete Basement Floor
- Best Flooring For Basement
- Basement Gym Flooring Ideas
- Laminate Flooring In Basement
- Basement Concrete Floor Sweating
- Basement Floor Finishing Ideas
- Painting Unfinished Basement Floor
- Unique Basement Flooring
Interlocking Rubber Floor Tiles For Basement: A Cost-Effective and Versatile Flooring Solution
Introduction:
When it comes to basement flooring, homeowners often face the challenge of finding a durable and moisture-resistant option that is also budget-friendly. This is where interlocking rubber floor tiles for basements come into play. These innovative flooring solutions are designed to provide a reliable and long-lasting surface that can withstand the unique challenges of basement environments. In this article, we will explore the benefits, installation process, maintenance tips, and frequently asked questions surrounding interlocking rubber floor tiles for basements.
1. What are Interlocking Rubber Floor Tiles?
Interlocking rubber floor tiles are modular flooring systems that consist of individual tiles with interlocking edges. These tiles are typically made from high-quality rubber materials, which offer exceptional durability and resistance to wear and tear. The interlocking design allows for easy installation without the need for adhesives or special tools. These tiles come in various sizes, thicknesses, and designs, making them suitable for a wide range of applications, including basements.
2. Benefits of Interlocking Rubber Floor Tiles for Basements:
2.1 Durability:
One of the most significant advantages of interlocking rubber floor tiles is their exceptional durability. Made from tough rubber materials, these tiles can withstand heavy foot traffic, furniture movement, and other potential sources of damage without losing their structural integrity. This makes them an ideal choice for basements that may be used as recreational areas, home gyms, or workshops.
2.2 Moisture Resistance:
Basements are notorious for their susceptibility to moisture-related issues such as dampness and mold growth. Interlocking rubber floor tiles offer excellent moisture resistance, preventing water from seeping through the flooring and causing damage to the underlying foundation or subfloor. Additionally, these tiles have anti-slip properties, providing a safe surface even in damp conditions.
2.3 Easy Installation:
Installing interlocking rubber floor tiles in your basement is a hassle-free process that doesn’t require professional assistance. The interlocking design allows for a simple “puzzle-like” installation, where the tiles fit together seamlessly without the need for adhesives or specialized tools. This means that you can easily install or remove the tiles as needed, making them a flexible choice for homeowners.
2.4 Versatility:
Interlocking rubber floor tiles are available in a wide range of colors, patterns, and thicknesses. This versatility allows you to choose a design that complements your basement’s aesthetic while meeting your specific functional requirements. Whether you prefer a classic black tile or a vibrant colored pattern, there is a suitable option for every style preference.
2.5 Comfort and Noise Reduction:
Rubber flooring provides excellent cushioning and shock absorption properties, making it comfortable to walk or stand on for extended periods. This is particularly beneficial if you plan to use your basement as a play area or home gym where impact resistance is crucial. Additionally, rubber flooring helps reduce noise transmission between floors, creating a quieter environment in your home.
3. Installation Process:
3.1 Preparation:
Before installing interlocking rubber floor tiles in your basement, it is essential to prepare the surface properly. Start by cleaning the floor thoroughly to remove any dirt, dust, or debris. Repair any cracks or imperfections in the concrete subfloor and ensure it is level.
3.2 Lay Out Tiles:
Begin by laying out the first row of tiles along one wall of the basement. Leave a small gap (about 0. 5 inches) between the tiles and the wall to allow for expansion. Place spacers between the tiles to maintain consistent spacing. Continue laying out tiles row by row until the entire floor is covered, adjusting and cutting tiles as necessary to fit around obstacles or edges.
3.3 Interlock Tiles:
Once all the tiles are laid out, begin interlocking them together. Start by sliding one tile’s interlocking edge into the corresponding edge of the adjacent tile at a 45-degree angle. Press down firmly to lock them in place. Continue interlocking the tiles row by row until the entire floor is secured.
3.4 Trim Edges:
After all the tiles are interlocked, trim any excess or uneven edges using a utility knife or rubber flooring cutter. Be careful not to cut too close to the wall or leave gaps between tiles.
3.5 Finishing Touches:
Once the installation is complete, remove any spacers and clean the floor to remove any debris or residue. If desired, you can add edge ramps or transition strips to create a smooth transition between the rubber flooring and other flooring surfaces.
4. Maintenance and Care:
To keep your interlocking rubber floor tiles in good condition, follow these maintenance and care tips:
4.1 Regular Cleaning:
Sweep or vacuum the floor regularly to remove dirt and debris that may accumulate on the surface. Use a damp mop with mild soap and water for deeper cleaning when necessary.
4.2 Avoid Harsh Chemicals:
Avoid using harsh cleaning chemicals or abrasive cleaners on your rubber floor, as they can damage the surface. Stick to mild soap and water or specialized rubber floor cleaners.
4.3 Prevent Stains:
Wipe up spills immediately to prevent stains from setting into the rubber floor. Oil, grease, and other substances can leave marks if left unattended for too long.
4.4 Protect from Furniture:
Use furniture pads or coasters under heavy furniture to prevent indentations or scratches on the rubber floor. Avoid dragging furniture across the floor, as it can damage the surface.
4.5 Inspect Regularly:
Periodically inspect your rubber floor for any signs of damage or wear. Replace any damaged tiles promptly to maintain the integrity of the flooring.
Overall, the process of installing and maintaining interlocking rubber floor tiles involves laying out the tiles, interlocking them together, trimming any excess edges, and then performing regular cleaning and maintenance to keep the floor in good condition.