However you might be on a budget or perhaps a keen DIY enthusiast as well as wish want to set up the tiles yourself, therefore have a look at this step by step guide to ceramic floor tile flooring installation. For regular cleaning, damp mopping does the trick. Cost of garage tile flooring is able to add up, that is among the drawbacks to this technique. It is able to immediately change the appearance of any floor.
# Benefits of Using Wood Look Tile Flooring
Low maintenance
Low cost
Highly durable
Air drying
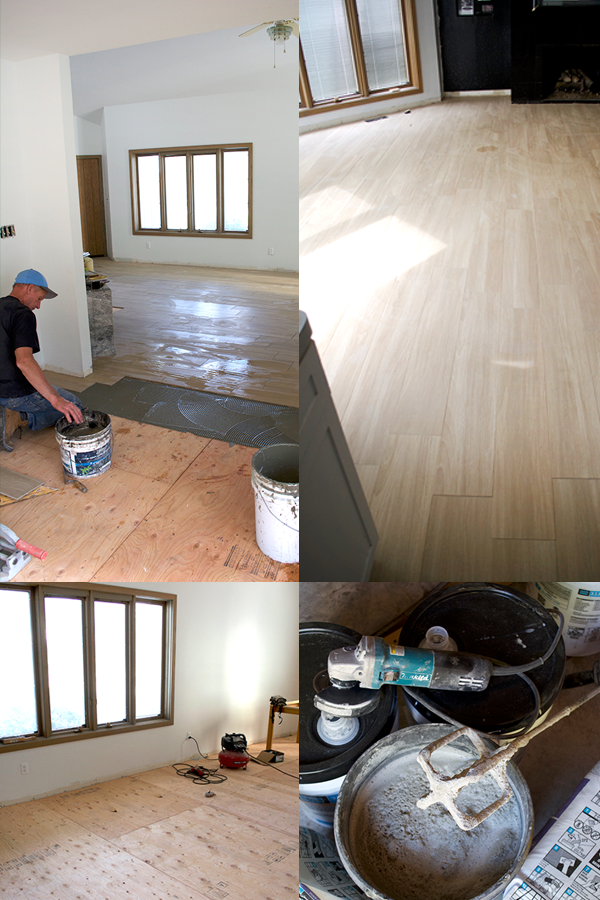
# Installation
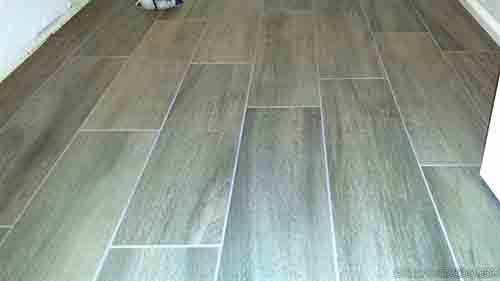
# Images Related to Installing Wood Look Tile Flooring
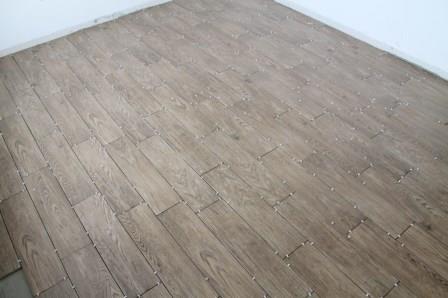
Installing Wood Look Tile Flooring
Ceramic tiling is an enticing resource generally useful for bathroom floors, skirting together walls and also kitchens. So you do not need to get worried about staining them. These days, you can make use of tiles to beautify your family room, make your bedroom more dramatic and so on. Instead of mostly smooth tiles, you can find tile flooring in textures that're raised or dimpled.
How to Install Wood-Look Floor Tile
In the event that you're unsure, and you have an older home, you might wish to have a lot that done be a specialist just in case there is asbestos of the product. Just wipe it with a wet cloth and you are done. Apply firm and also pressure after measuring the size that must be cut. If you know what the present flooring is made of, this might be a very good deal. Scrubbing or the usage of sanitizers won't always help eliminate germs.
Wood-look Tile Flooring: How to Lay Tile professionally – Blog RUBI
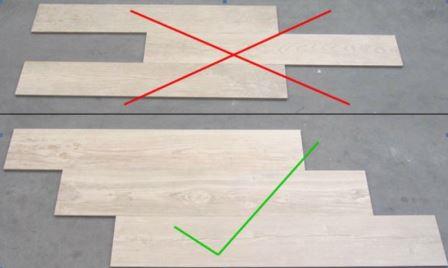
Tips when installing wood-look tiles
Wood-look Tile Flooring: How to Lay Tile That Looks like Wood
How to Install Wood-Look Floor Tile
Installing Wood Look Tile + Tips from a Pro! BREPURPOSED
Installing Wood Look Tile + Tips from a Pro! BREPURPOSED
Tips when installing wood-look tiles
How to Install Wood-Look Floor Tile

Installing Wood Look Tile + Tips from a Pro! BREPURPOSED
More tips for installing wood look tile flooring DIYTileGuy
Wood-Look Tile: Your Complete Guide FlooringStores
Insider Tips for a Perfect DIY Wood Look Tile Plank Installation

Related articles:
- Vintage Bathroom Floor Tile Patterns
- Bathroom Floor Tile DIY
- Limestone Bathroom Floor Tiles
- Bathroom Floor Porcelain Tile
- Concrete Bathroom Floor Ideas
- White Bathroom Ceramic Tiles
- Bathroom Floor Baseboard
- Rustic Bathroom Flooring Ideas
- Bathroom Flooring Options
- Bamboo Bathroom Flooring Ideas
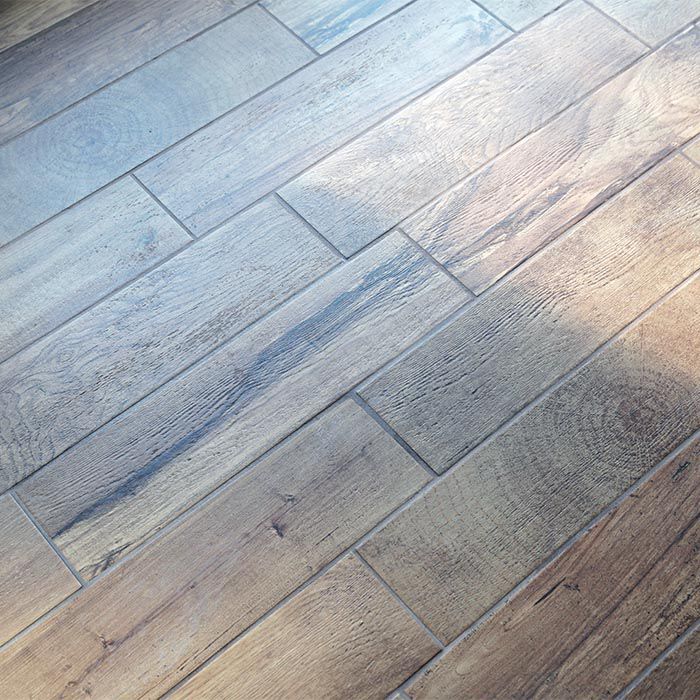
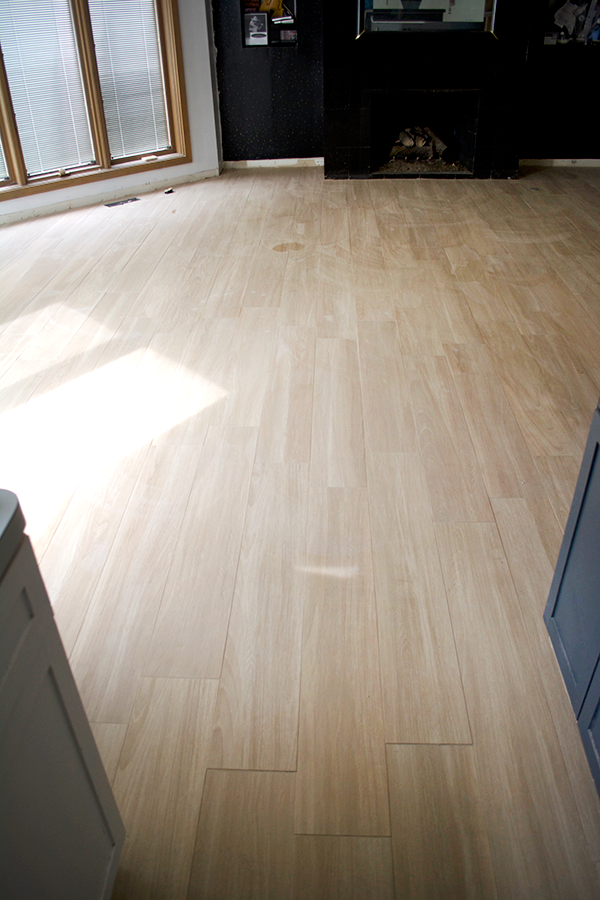
Wood look tile flooring is a trend that is gaining popularity in many homes. This type of flooring is a great way to update your home’s decor while maintaining a timeless and classic look. Installing wood look tile is similar to installing traditional ceramic tile, but there are a few key points to keep in mind. Here’s a comprehensive guide to help you install wood look tile flooring with confidence.
What You’ll Need
Before starting your project, make sure you have all the necessary supplies. You’ll need the following:
– Wood look tile
– Tile spacers
– Level
– Grout and grout float
– Sandpaper
– Thinset mortar
– Notched trowel
– Tape measure
– Pencil
– Safety goggles
– Work gloves
Prepare the Subfloor
The success of your wood look tile installation hinges on having a strong and level subfloor. Start by removing any old flooring, such as carpet or vinyl, and any nails or tacks that may have been left behind. Sweep the floor thoroughly and fill in any uneven surfaces with a self-leveling compound. Before laying down the tile, make sure the subfloor is clean, dry, and level.
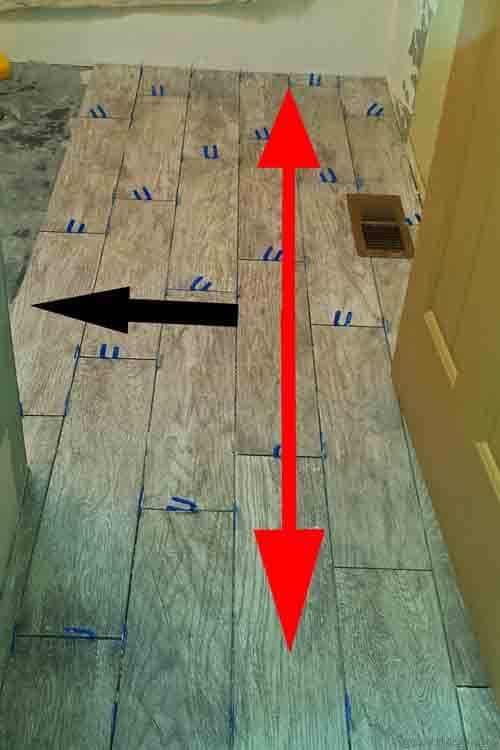
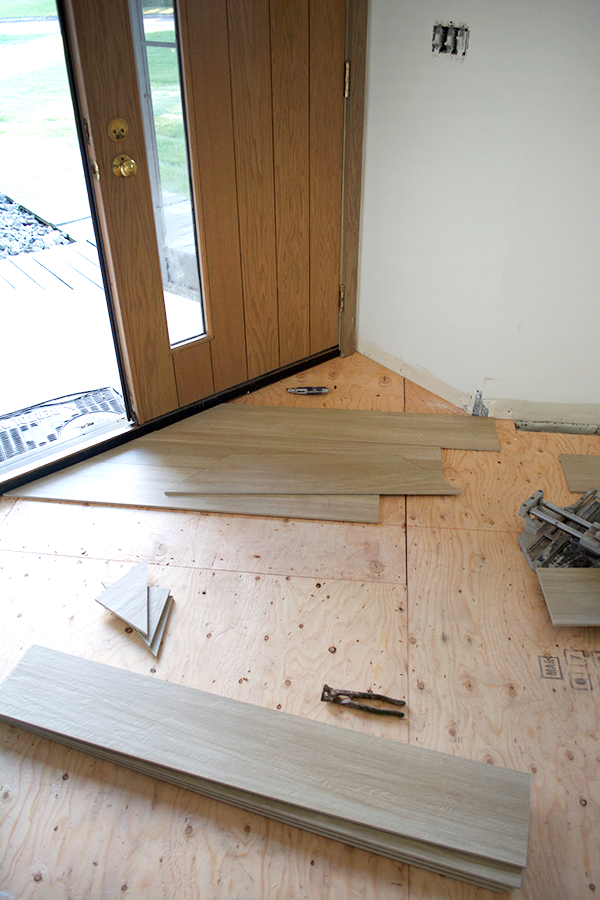
Lay Out the Tile
Before applying any adhesive, it’s important to lay out the tiles to ensure that you have enough for your project. Dry fit the tiles in place to get an idea of how they will look in your space. Allow for at least a 1/4 inch gap between each tile for expansion. Use a tape measure to mark off your lines so that you can be certain you’re laying them out evenly.
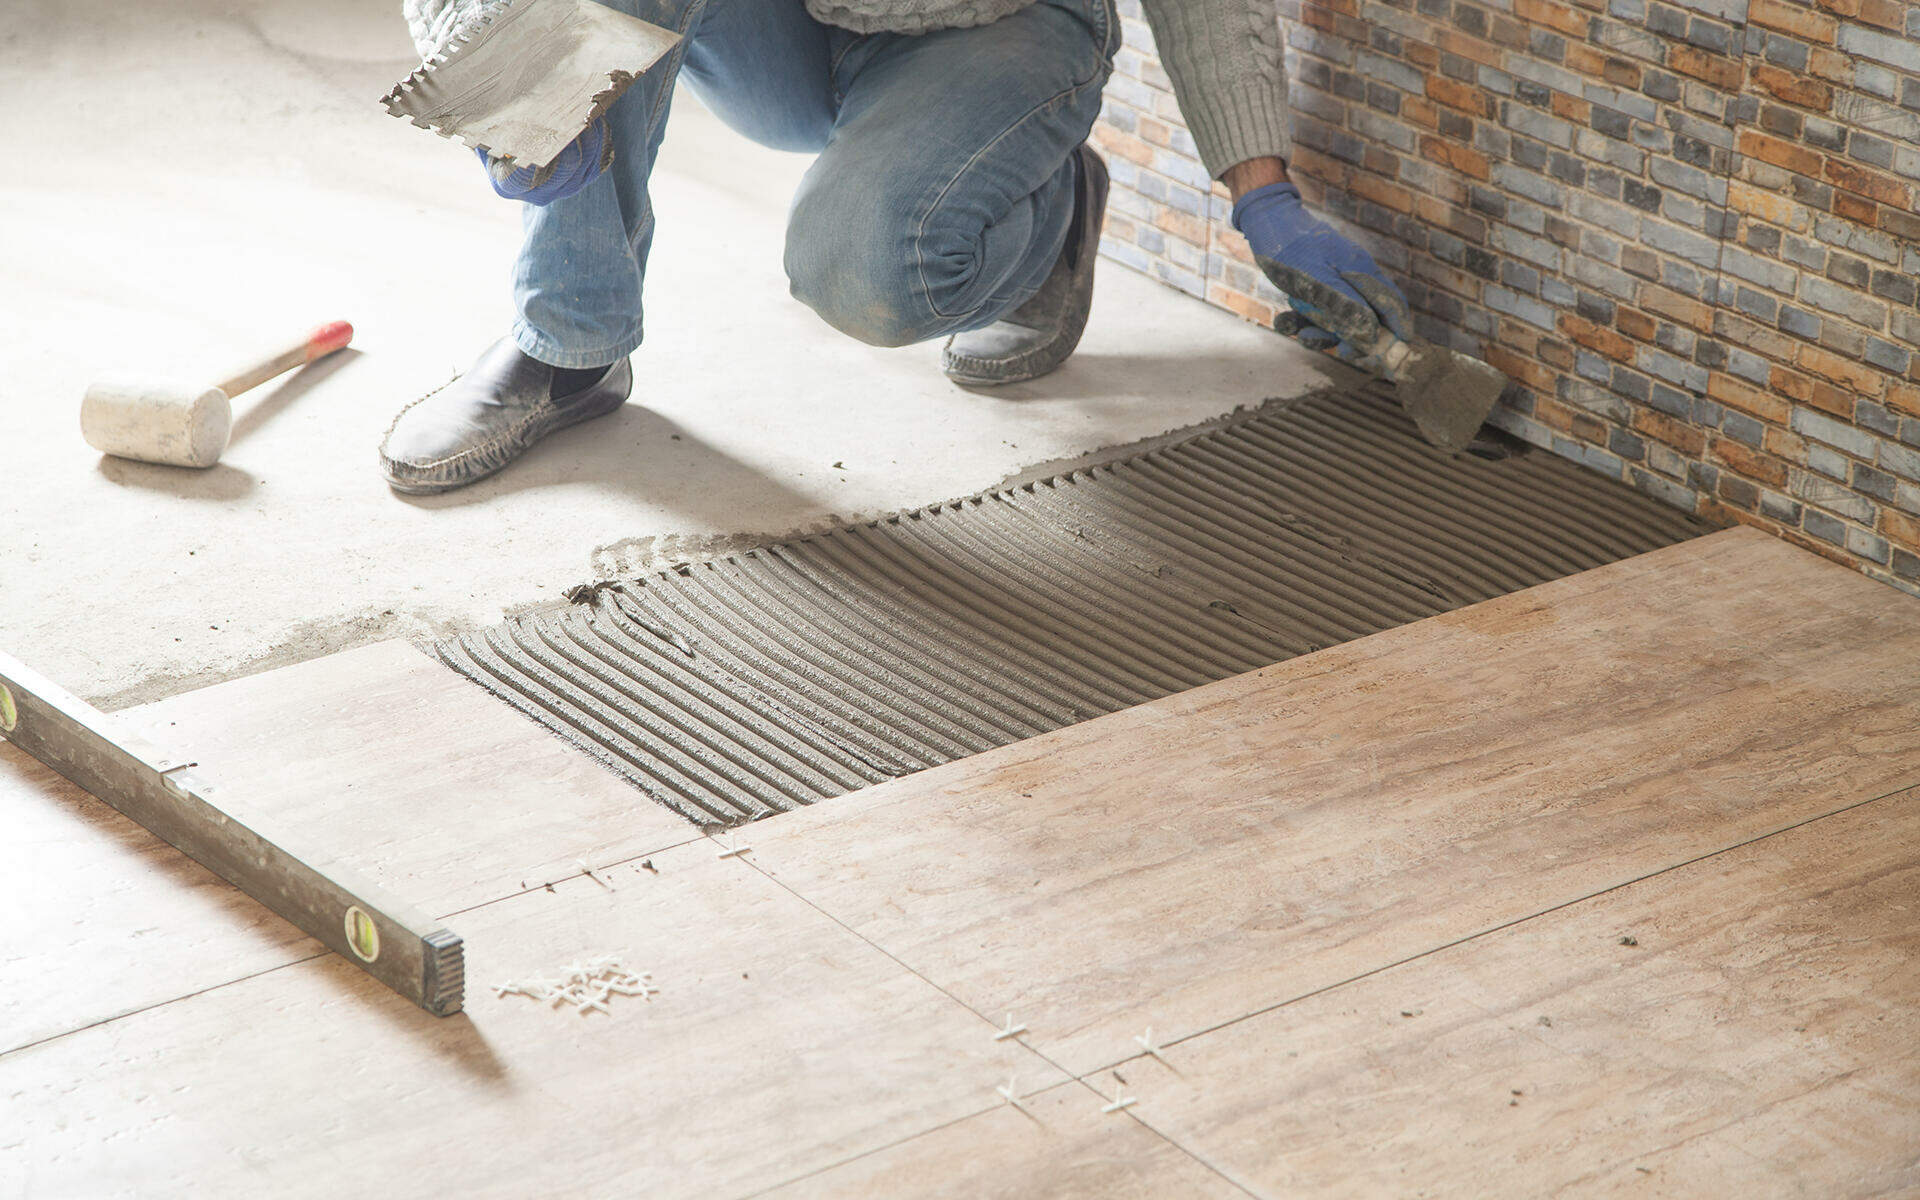
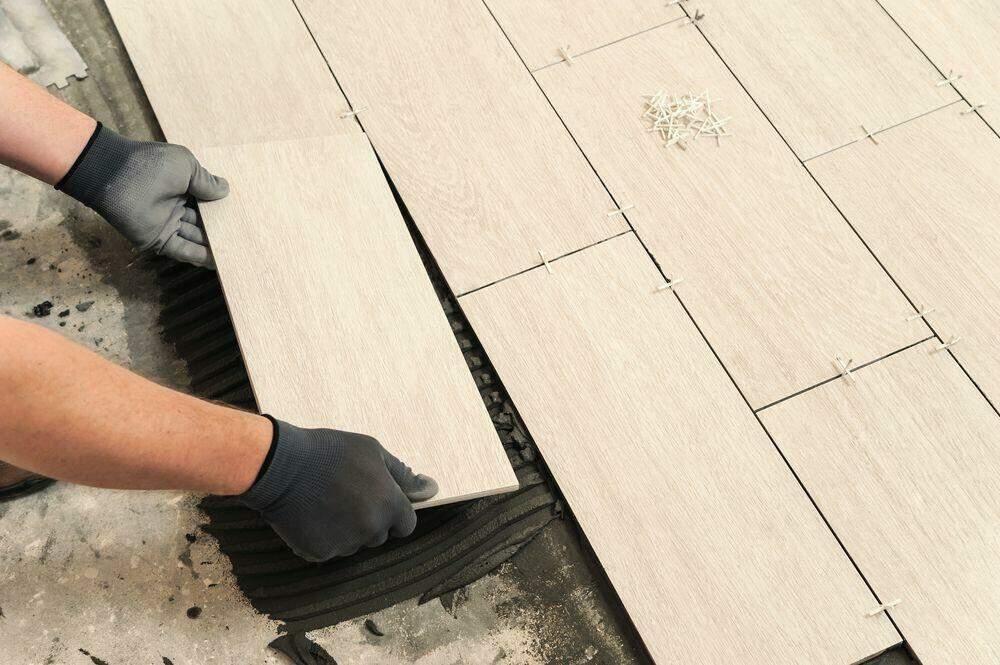
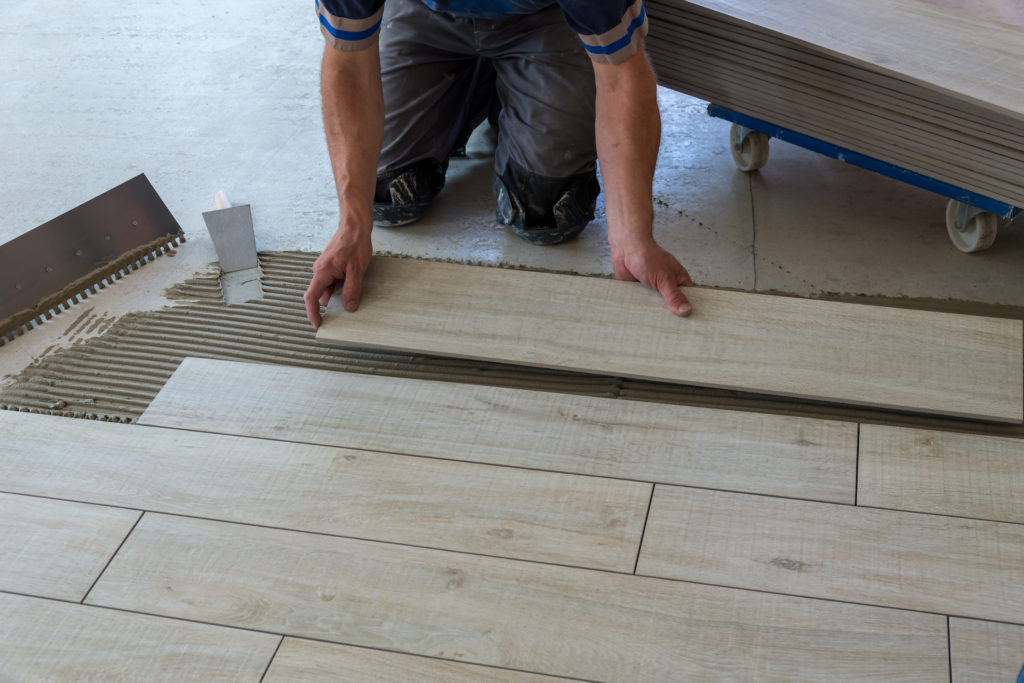
Mix the Thinset Mortar
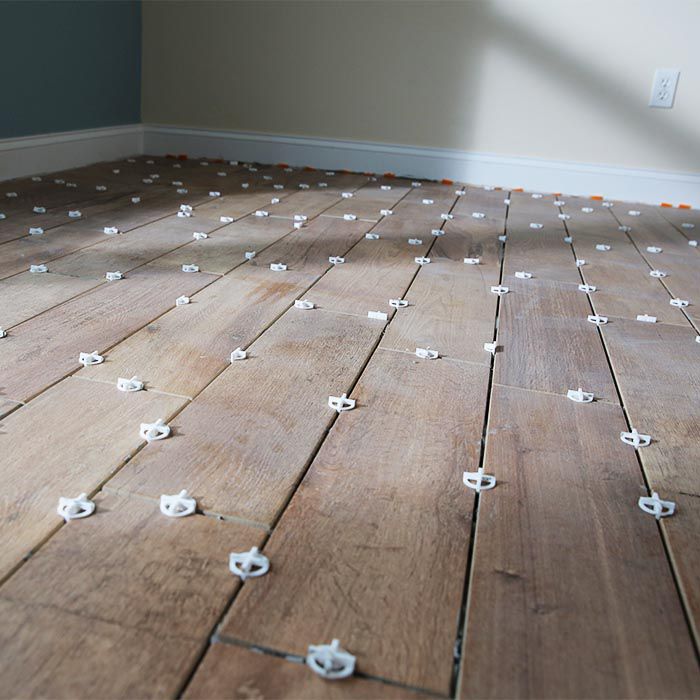
Once you’ve laid out the tiles, mix up some thinset mortar according to the manufacturer’s instructions. Apply the mortar to the subfloor with a notched trowel and begin laying down the tiles. Use tile spacers between each tile to create consistent spacing throughout your project. Make sure you press down firmly on each tile to ensure it is securely adhered to the subfloor.
Grout the Tiles
Once all of the tiles are in place, let them sit for 24 hours before grouting. Mix up a batch of grout according to manufacturer’s instructions and use a grout float to apply it to the gaps between each tile. Wait about 20 minutes before wiping away any excess grout from the surface of the tiles with a damp sponge. Let the grout dry for 24 hours before walking on it or adding furniture back into the room.
Common Questions & Answers about Installing Wood Look Tile Flooring
Q: Do I need special tools for installing wood look tile?
A: Yes, you will need several specialized tools for installing wood look tile correctly, such as thinset mortar, tile spacers, grout float, and more.
Q: How long should I wait before walking on my wood look tile floor?
A: It’s important to let your wood look tile floor cure for at least 24 hours before walking on it or adding furniture back into the room.
Q: How can I clean my wood look tile floors?
A: Wood look tile floors are easy to maintain – simply vacuum or sweep regularly and use a damp mop when necessary. Avoid using harsh chemical cleaners as this could damage your flooring over time.
Conclusion
Installing wood look tile flooring can be a great way to update your home’s decor without breaking the bank or spending too much time on installation. By following these simple steps and keeping these helpful tips in mind, you’ll be able to successfully install wood look tile flooring in no time!