So, aside from reducing your worries of wear and tear, this particular kind of flooring will save your cash. This floor is durable and won’t rip or tear. Be sure that spillages as well as spots get wiped up sooner rather than later; tougher stains might often be tackled with white spirits or ammonia solution, but consult the instructions or maybe your supplier.
Images Related to Installing Karndean Vinyl Flooring
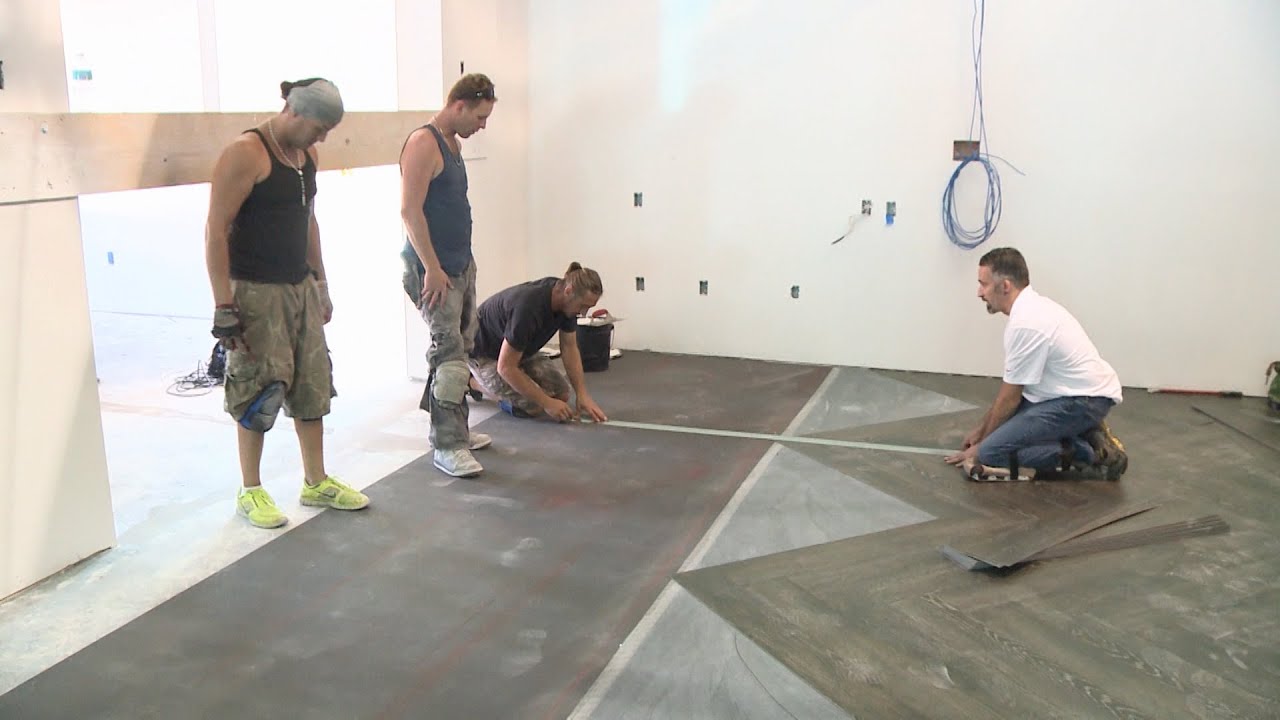
Installing Karndean Vinyl Flooring
Particularly when you’re considering flooring of bathrooms as well as kitchen, vinyl floor is the smartest choice. The wear level is probably the topmost level which suffers most abuse, including scratches, stains and dents. Below some of the main advantages you can expect from selecting vinyl are discussed. When working with a stain, make use of a stain remover which is especially intended for luxury vinyl flooring.
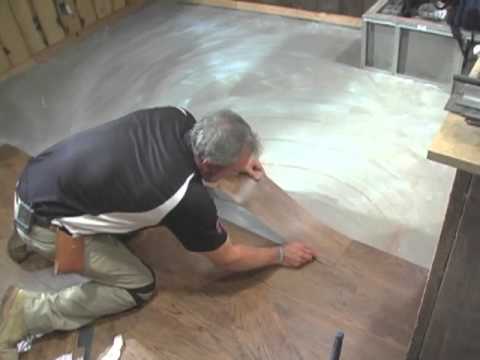
Karndean Installation Demo Pt#2
Apart from being affordable, there are a variety of colors and designs for you to pick from, which might suit the theme that you want for the house of yours. A multitude of colors, patterns and textures make endless possibilities. Vinyl and/or resilient flooring, as it’s also known as, is available in many patterns, styles and textures. It looks really good – you are able to let them are like warm natural wood floor or rich stone floor.
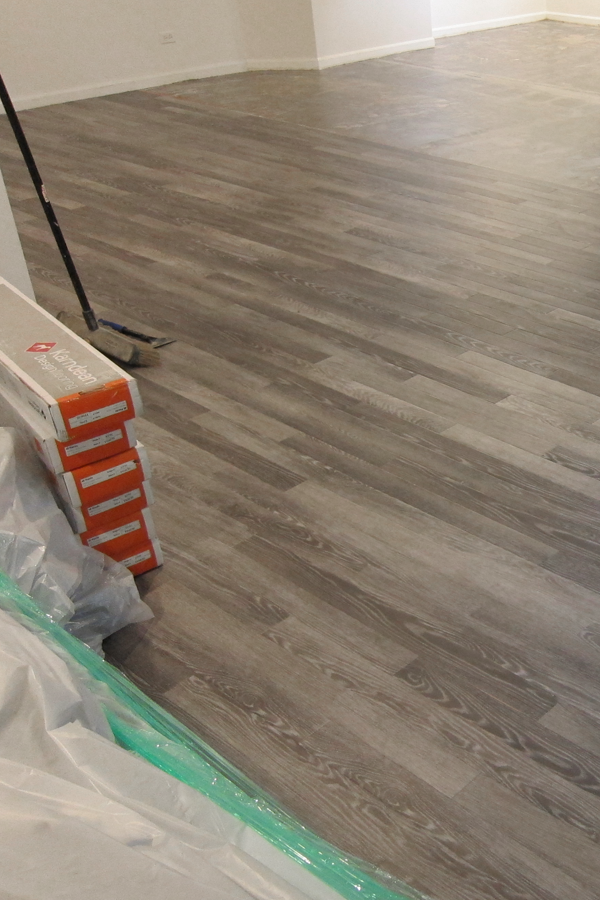
Karndean Vinyl Flooring Install – House Of Hipsters
Fitting Karndean Vinyl LooseLay Flooring Review
Luxury Vinyl Tiles with Karndean
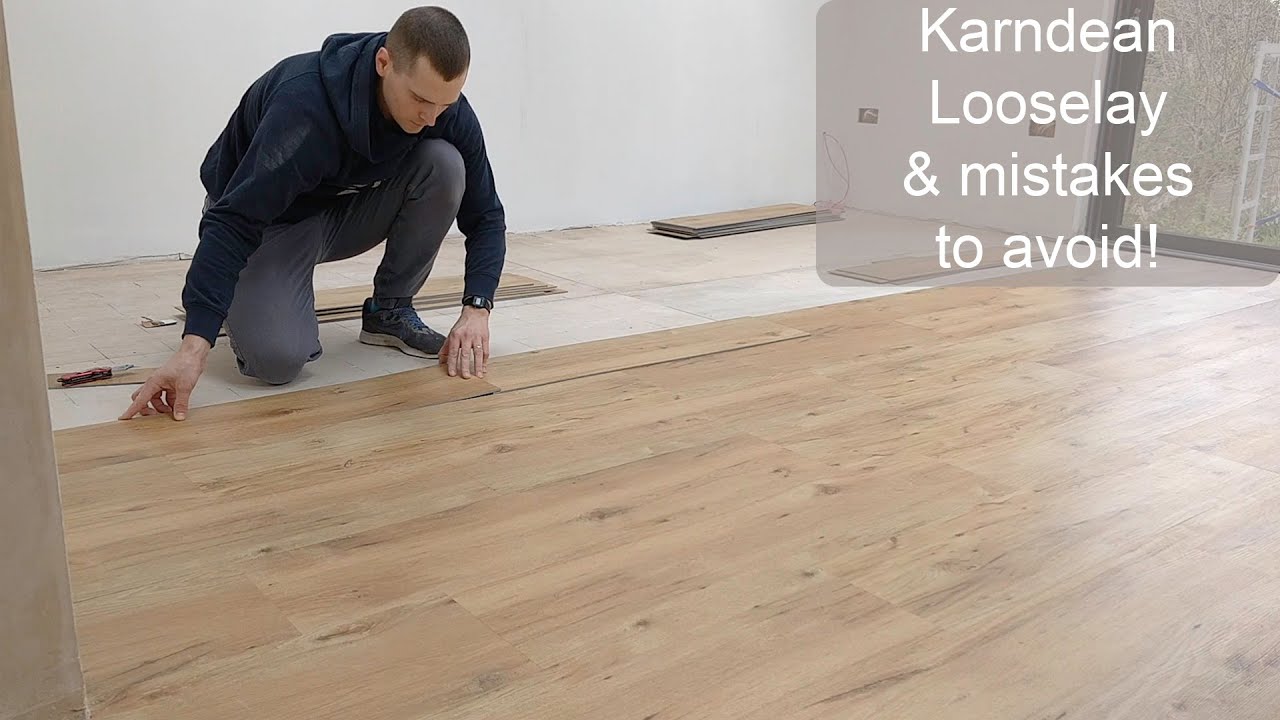
Installing Karndean Looselay flooring + mistakes to avoid!
5 minute video guide to laying Karndean vinyl flooring
Luxury Vinyl Plank Floor Installation
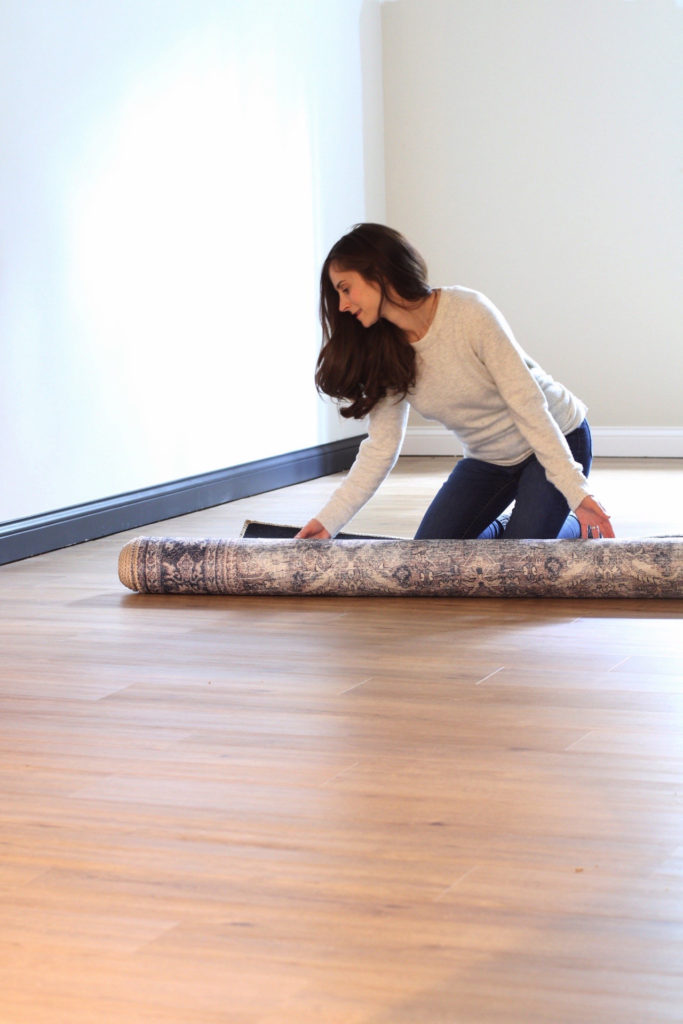
Karndean Vinyl Flooring Install – House Of Hipsters
Karndean How To SeriesCutting and fitting a plank to a wall – Rigid core 5G
Laying Vinyl Planks the Right Way Expert Guide by Fantastic Handyman
Karndean Flooring Installation Cost u0026 Prices 2022 – Price This Please

Karndean Floor Fitting Karndean Floor Installation Grosvenor
Easiest Install: DIY Vinyl Plank Flooring Vinyl plank flooring

Related articles:
- Vinyl Flooring Bathroom Tile
- Modern Vinyl Flooring
- Funky Vinyl Flooring
- Vinyl Flooring For Kitchen
- Vintage Look Vinyl Flooring
- Kitchen Vinyl Floor Tiles Ideas
- Vinyl Flooring With Wood Look
- Waterproof Vinyl Flooring
- Vinyl Flooring For Cheap
- How To Remove Vinyl Flooring
Installing Karndean vinyl flooring can be a great way to enhance the appearance and functionality of your home. With its durability, easy maintenance, and wide range of design options, Karndean vinyl flooring has become increasingly popular in recent years. Whether you are a DIY enthusiast or prefer to hire a professional, this article will guide you through the process of installing Karndean vinyl flooring, providing detailed instructions and answering frequently asked questions along the way.
1. Preparing for Installation:
Before installing Karndean vinyl flooring, it is essential to prepare the subfloor properly. The subfloor should be clean, dry, flat, and structurally sound. Remove any existing flooring materials and thoroughly clean the surface. If there are any irregularities or imperfections on the subfloor, ensure they are leveled using a suitable leveling compound.
FAQ: Can I install Karndean vinyl flooring over an existing floor?
Yes, in most cases, you can install Karndean vinyl flooring over an existing floor as long as it is clean, dry, and level. However, it is crucial to assess the condition of the existing floor to ensure it is suitable for installation. For example, if the existing floor has excessive moisture issues or significant damage, it may need to be repaired or replaced before installing Karndean vinyl flooring.
2. Acclimating the Flooring:
Karndean recommends acclimating their vinyl flooring for at least 48 hours before installation. This allows the planks or tiles to adjust to the temperature and humidity of the room where they will be installed. Stack the boxes of flooring in the room and leave them unopened during this acclimation period.
FAQ: Can I install Karndean vinyl flooring immediately after delivery?
No, it is crucial to allow the flooring to acclimate to its surroundings before installation. This helps prevent any expansion or contraction of the planks or tiles once they are laid down. Failure to acclimate the flooring may result in gaps or buckling.
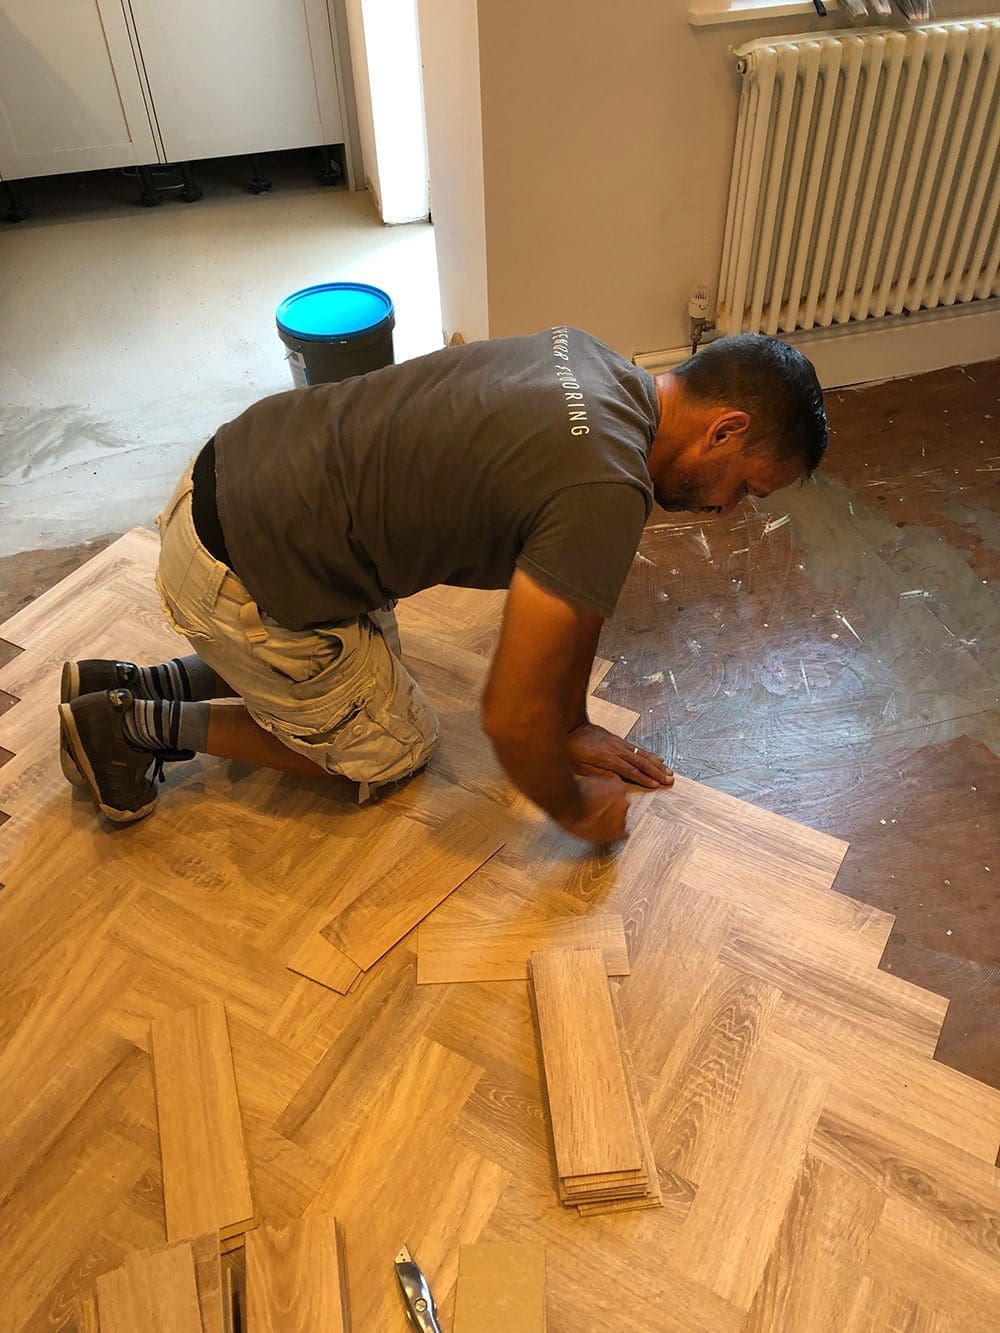
3. Planning the Layout:
Before starting the installation, carefully plan the layout of your Karndean vinyl flooring. Consider the shape and size of the room, as well as any obstructions such as doorways or cabinets. It is generally recommended to start laying the flooring from the longest wall or the focal point of the room.
FAQ: Can I install Karndean vinyl flooring on a diagonal?
Yes, you can install Karndean vinyl flooring on a diagonal if desired. However, keep in mind that this may require more precise cutting and may result in more waste compared to a straight installation.
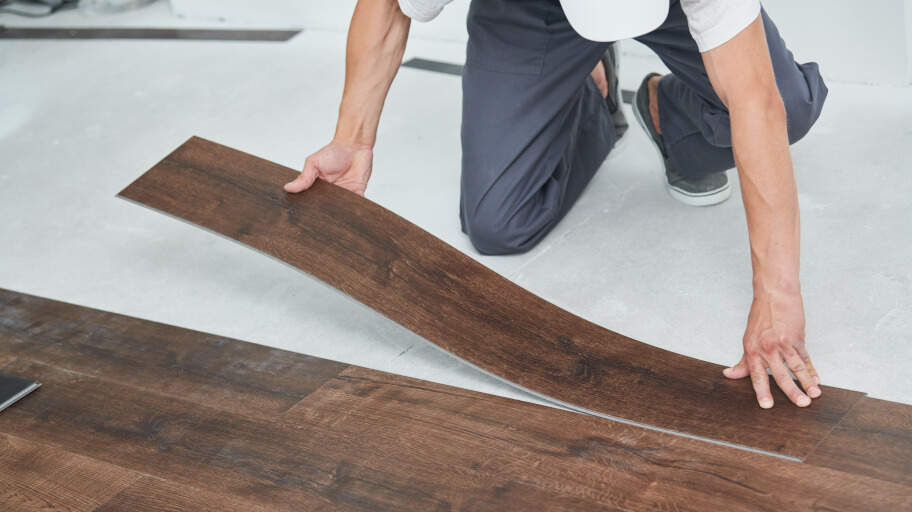
4. Installing the First Row:
To ensure a professional-looking installation, it is crucial to start with a straight and secure first row of Karndean vinyl flooring. Measure and mark a reference line parallel to the longest wall, allowing for an expansion gap (typically 3/16 inch) along both walls. Apply adhesive to the back of the first plank or tile using a recommended Karndean adhesive trowel and press it firmly into place along the reference line.
FAQ: Can I use any adhesive for installing Karndean vinyl flooring?
No, it is essential to use an adhesive specifically recommended by Karndean for their vinyl flooring. Using improper adhesives may result in poor bonding and void any warranty provided by the manufacturer.
5. Continuing with Installation:
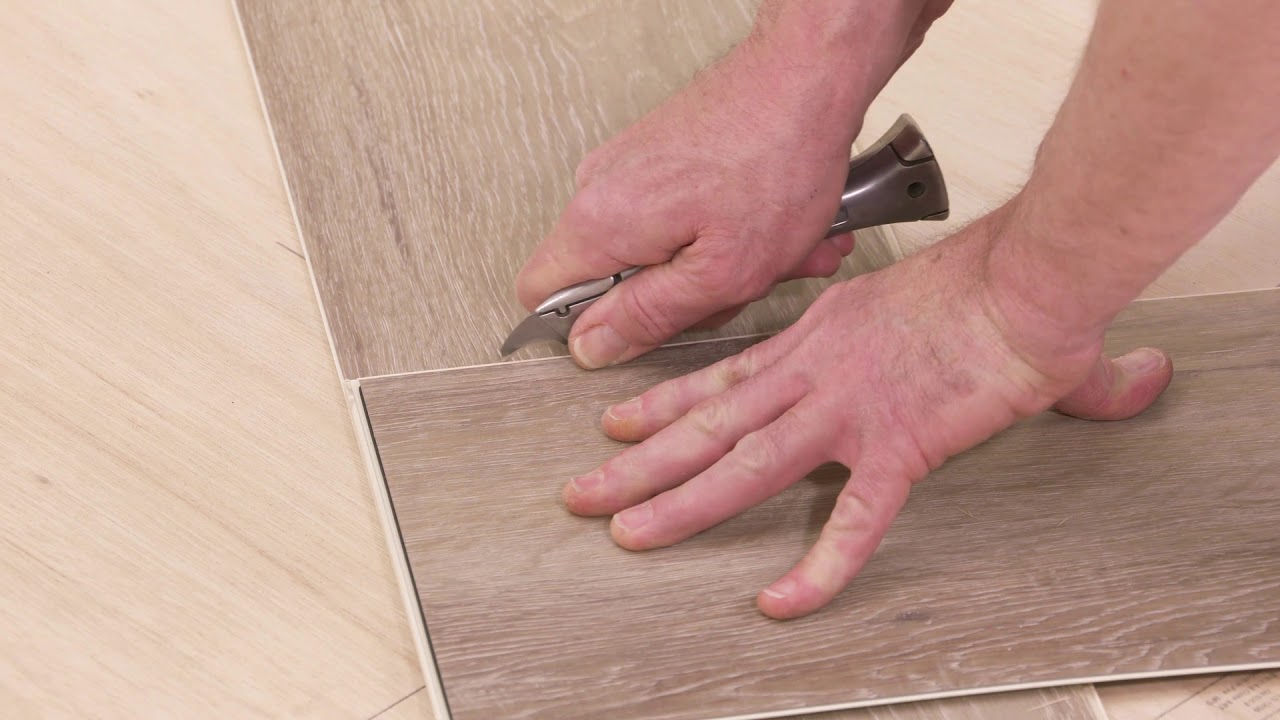
After installing the first row, continue laying subsequent rows of Karndean vinyl flooring. Use a Karndean roller to ensure proper Adhesion between the planks or tiles and the floor. Trim any excess material as needed, using a utility knife or Karndean’s recommended cutting tool. It is important to maintain the expansion gap along the walls and between planks or tiles to allow for movement. 6. Sealing the Edges:
Once the main area of the Karndean vinyl flooring is installed, seal the edges with a recommended Karndean adhesive. Apply a thin bead of adhesive along the perimeter of the room and press down firmly to create a secure bond.
FAQ: Do I need to seal the entire floor after installation?
No, Karndean vinyl flooring does not require sealing. The protective wear layer on the surface of the planks or tiles provides sufficient protection against stains and spills.
7. Cleaning and Maintenance:
After installation, it is important to properly clean and maintain your Karndean vinyl flooring to ensure its longevity and appearance. Use a recommended Karndean cleaner and follow the instructions provided. Avoid using harsh chemicals or abrasive tools that may damage the flooring.
FAQ: Can I use a steam mop on Karndean vinyl flooring?
No, steam mops should not be used on Karndean vinyl flooring as they can cause damage to the adhesive and wear layer. It is best to use a damp mop or Karndean’s recommended cleaning method.
8. Regular Inspections:
Periodically inspect your Karndean vinyl flooring for any signs of damage or wear. Address any issues promptly to prevent further damage. If necessary, contact a professional for repairs or replacements.
FAQ: How long does Karndean vinyl flooring last?
Karndean vinyl flooring is designed to be durable and long-lasting. With proper care and maintenance, it can last for many years. The exact lifespan may vary depending on factors such as traffic, usage, and maintenance practices.
By following these installation guidelines and taking proper care of your Karndean vinyl flooring, you can enjoy a beautiful and functional floor for years to come.
What tools do I need for installing Karndean vinyl flooring?
To install Karndean vinyl flooring, you will need the following tools:
1. Measuring tape: For accurately measuring the dimensions of the room and determining the amount of flooring needed.
2. Utility knife or vinyl cutter: For cutting the vinyl planks or tiles to fit around corners, edges, and obstacles.
3. Trowel: To spread adhesive evenly over the subfloor before laying the vinyl flooring.
4. Chalk line: A straight line is needed to ensure proper alignment during installation. A chalk line helps in marking this line.
5. Notched trowel: Used to spread adhesive on the subfloor in an even pattern, ensuring good adhesion.
6. Roller: A heavy-duty roller is used to press down the vinyl planks or tiles after installation, ensuring they adhere properly to the adhesive.
7. Pry bar or crowbar: To remove any existing flooring or baseboards that may be in the way during installation.
8. Floor leveler: If there are any uneven spots on the subfloor, a floor leveler can be used to smooth them out before installing the vinyl flooring.
9. Knee pads: These can provide comfort and protect your knees while working on your hands and knees during installation.
10. Safety glasses and gloves: To protect your eyes from any debris or sharp edges while cutting and handling materials and to keep your hands safe during the installation process.
It is worth noting that Karndean provides specific guidelines for installation, so it is important to refer to their instructions and recommendations for a successful installation.